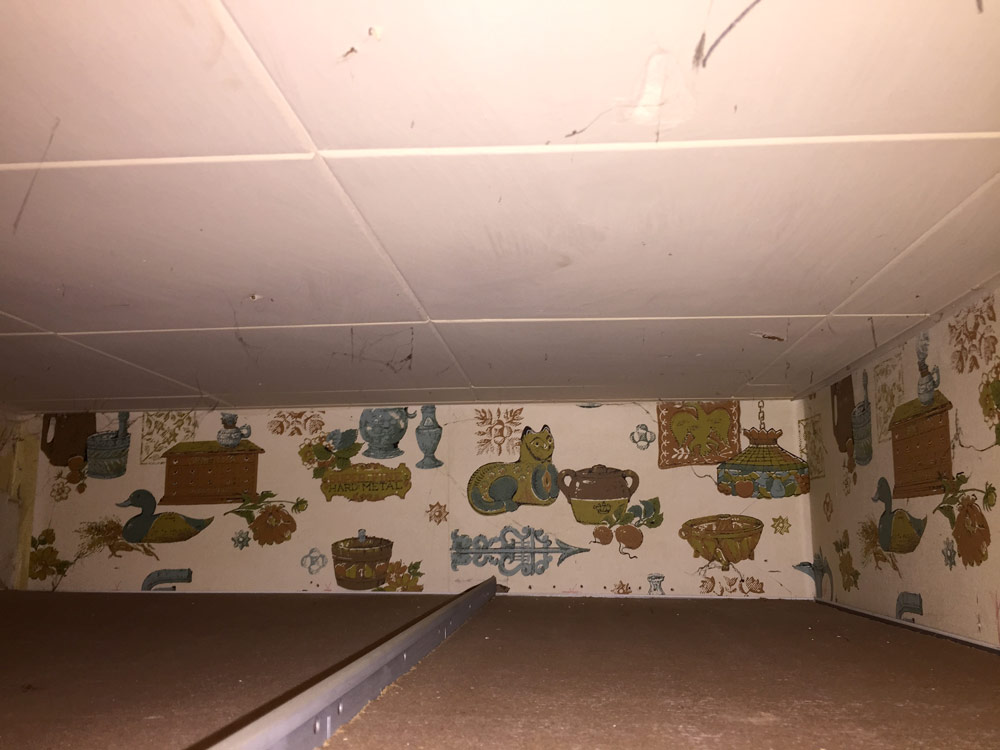
Let’s jump back into my kitchen. Today, we’re talking about removing drywall, plaster, and lath ceilings that were hiding under the drop ceiling. I need to start with an apology. In the last post about tearing out the cabinet, you can see a little bit of this CRAZY wallpaper and I didn’t call attention to it at all. Please enjoy:
Now buckle up, because this is a long post with a bunch of pictures of hideous ceilings and piles of trash. I got one quick win by tearing out that cabinet to get better access to the refrigerator, but I was still left with a bunch of horrifying plumbing dangling from the ceiling:
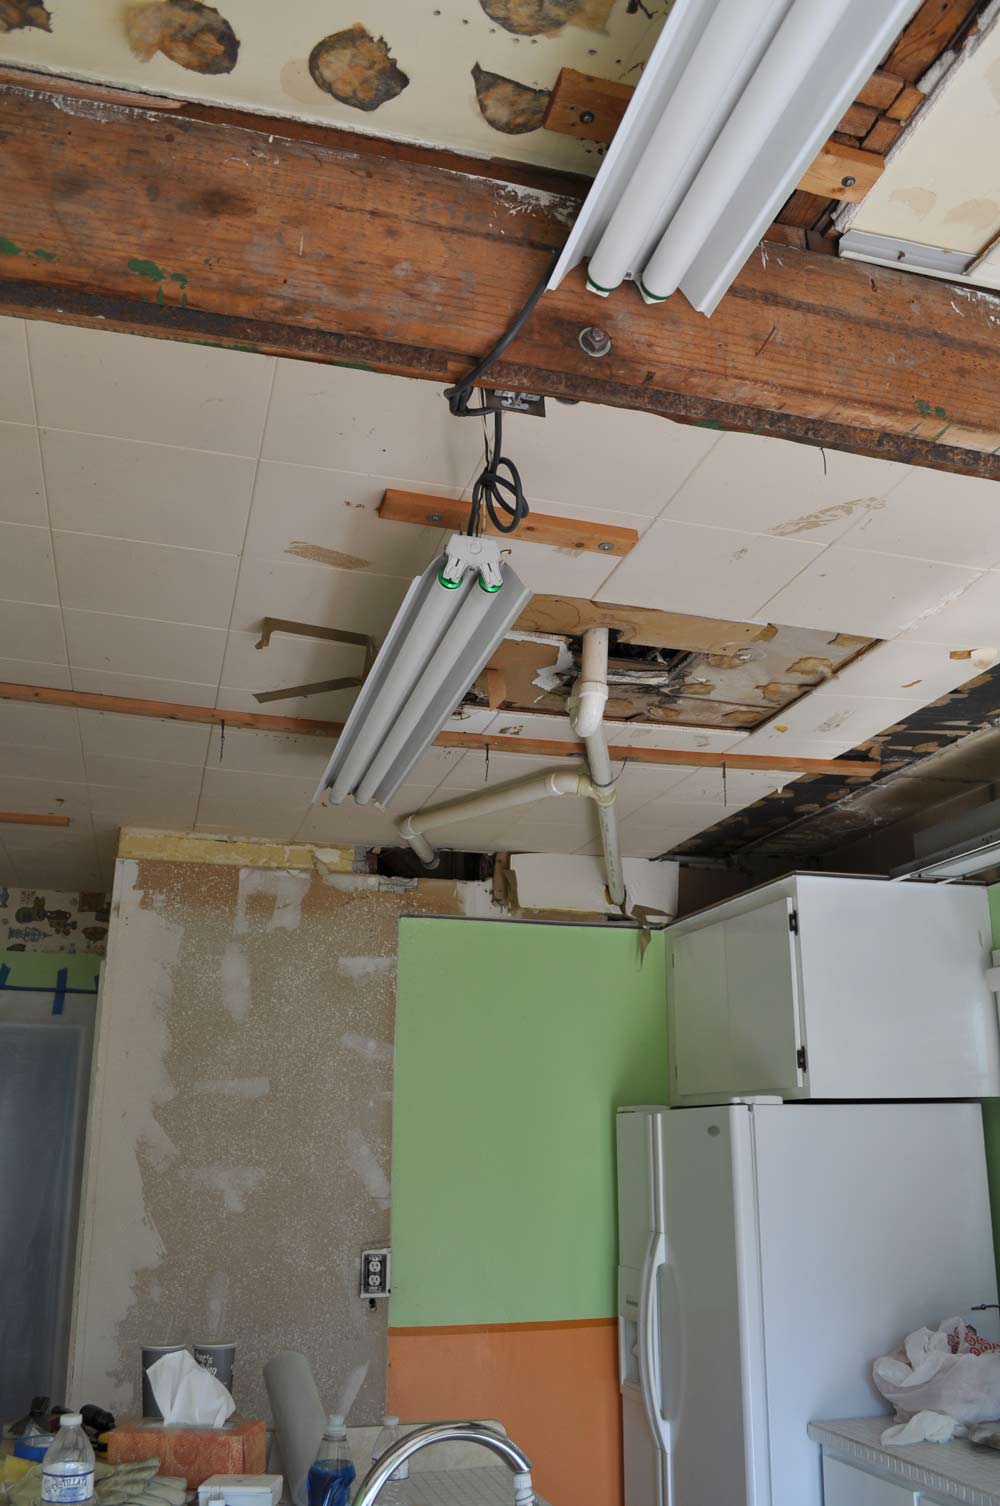
My sister Jennifer and I got to work popping off the square acoustical tiles (ceiling #2) and the packing tape plumbing supports, and after that, we were left with these glue spots and plumbing that was getting in the way.
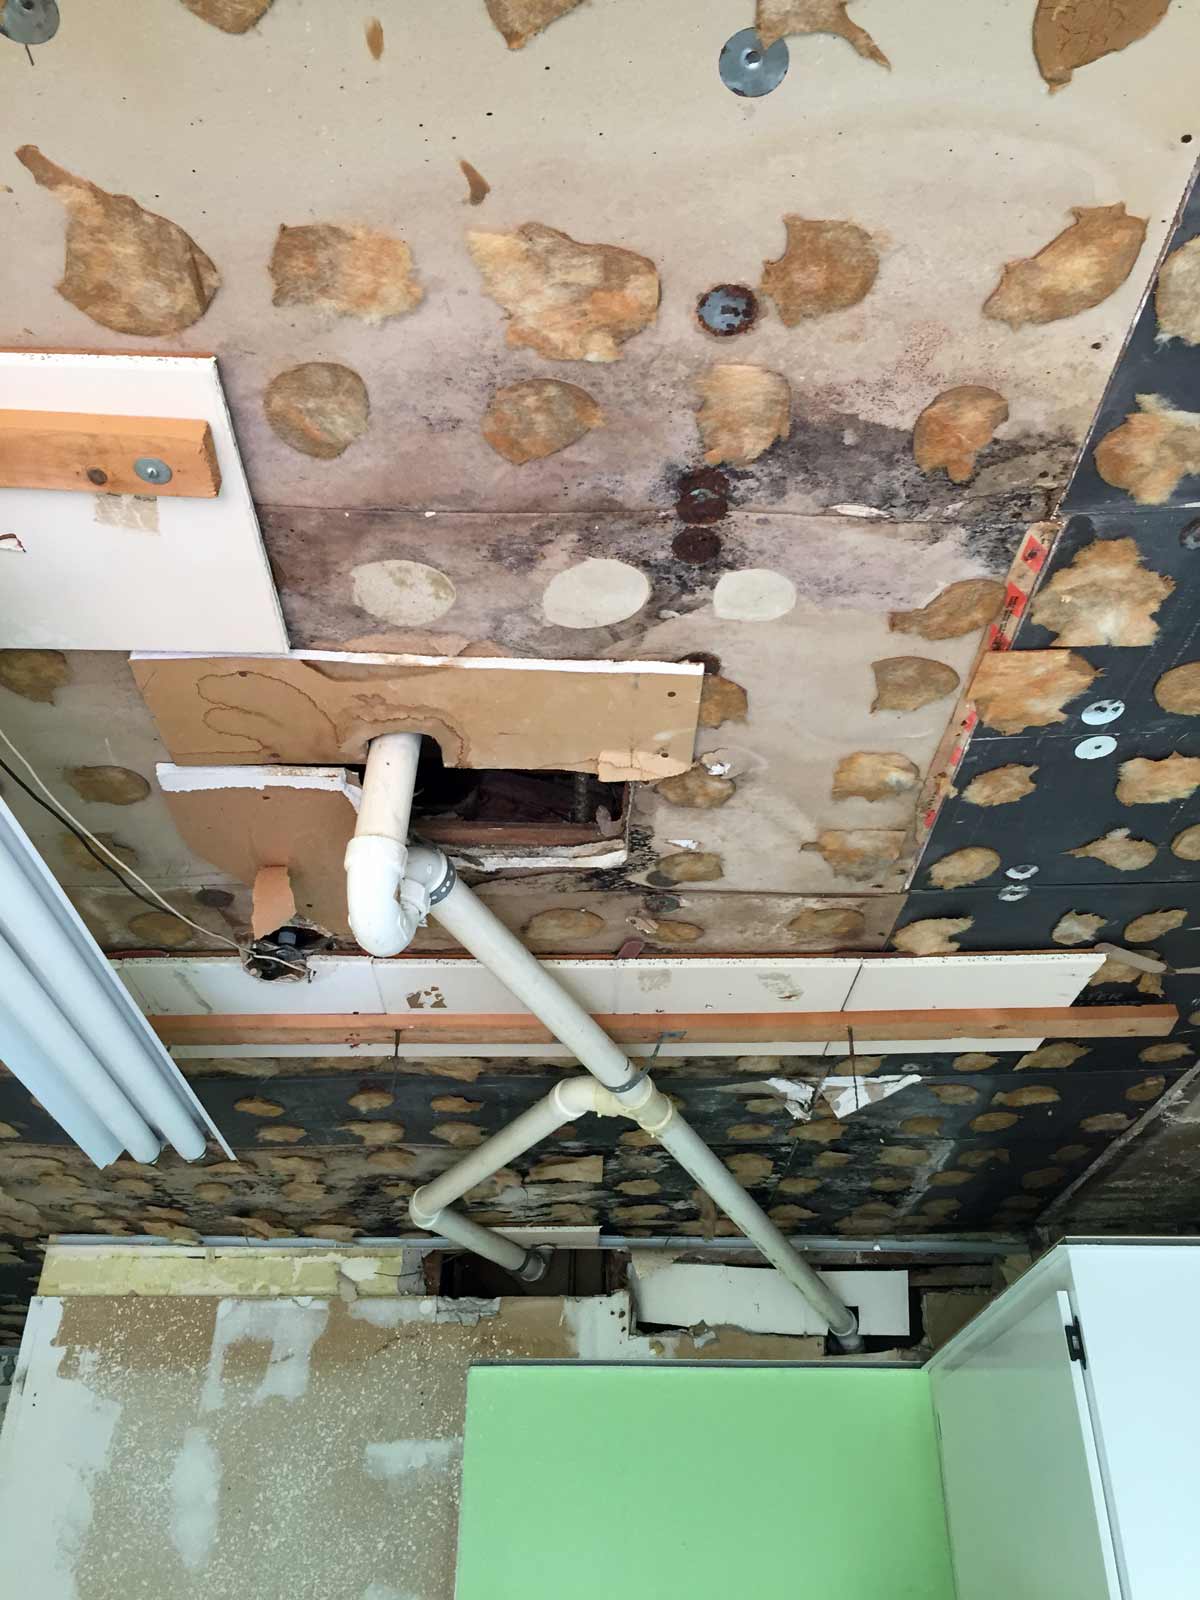
It was pretty clear that the drop ceiling was installed to cover up this very lazy plumbing job, and I definitely couldn’t leave the pipes shooting across the ceiling like this. So I called my plumber, Joe, to come take a look at rerouting the pipes so that they weren’t just taped to the ceiling with packing tape and were actually tucked into the ceiling like they should be. Before he could get to work, he said I had to deal with another couple layers of the ceiling.
A quick note about my plumber, in order to save me some money, Joe would leave all the prep and clean up for me to handle, so instead of paying him to sweep up the mess or cut some holes, I pay him for the things I can’t do myself.
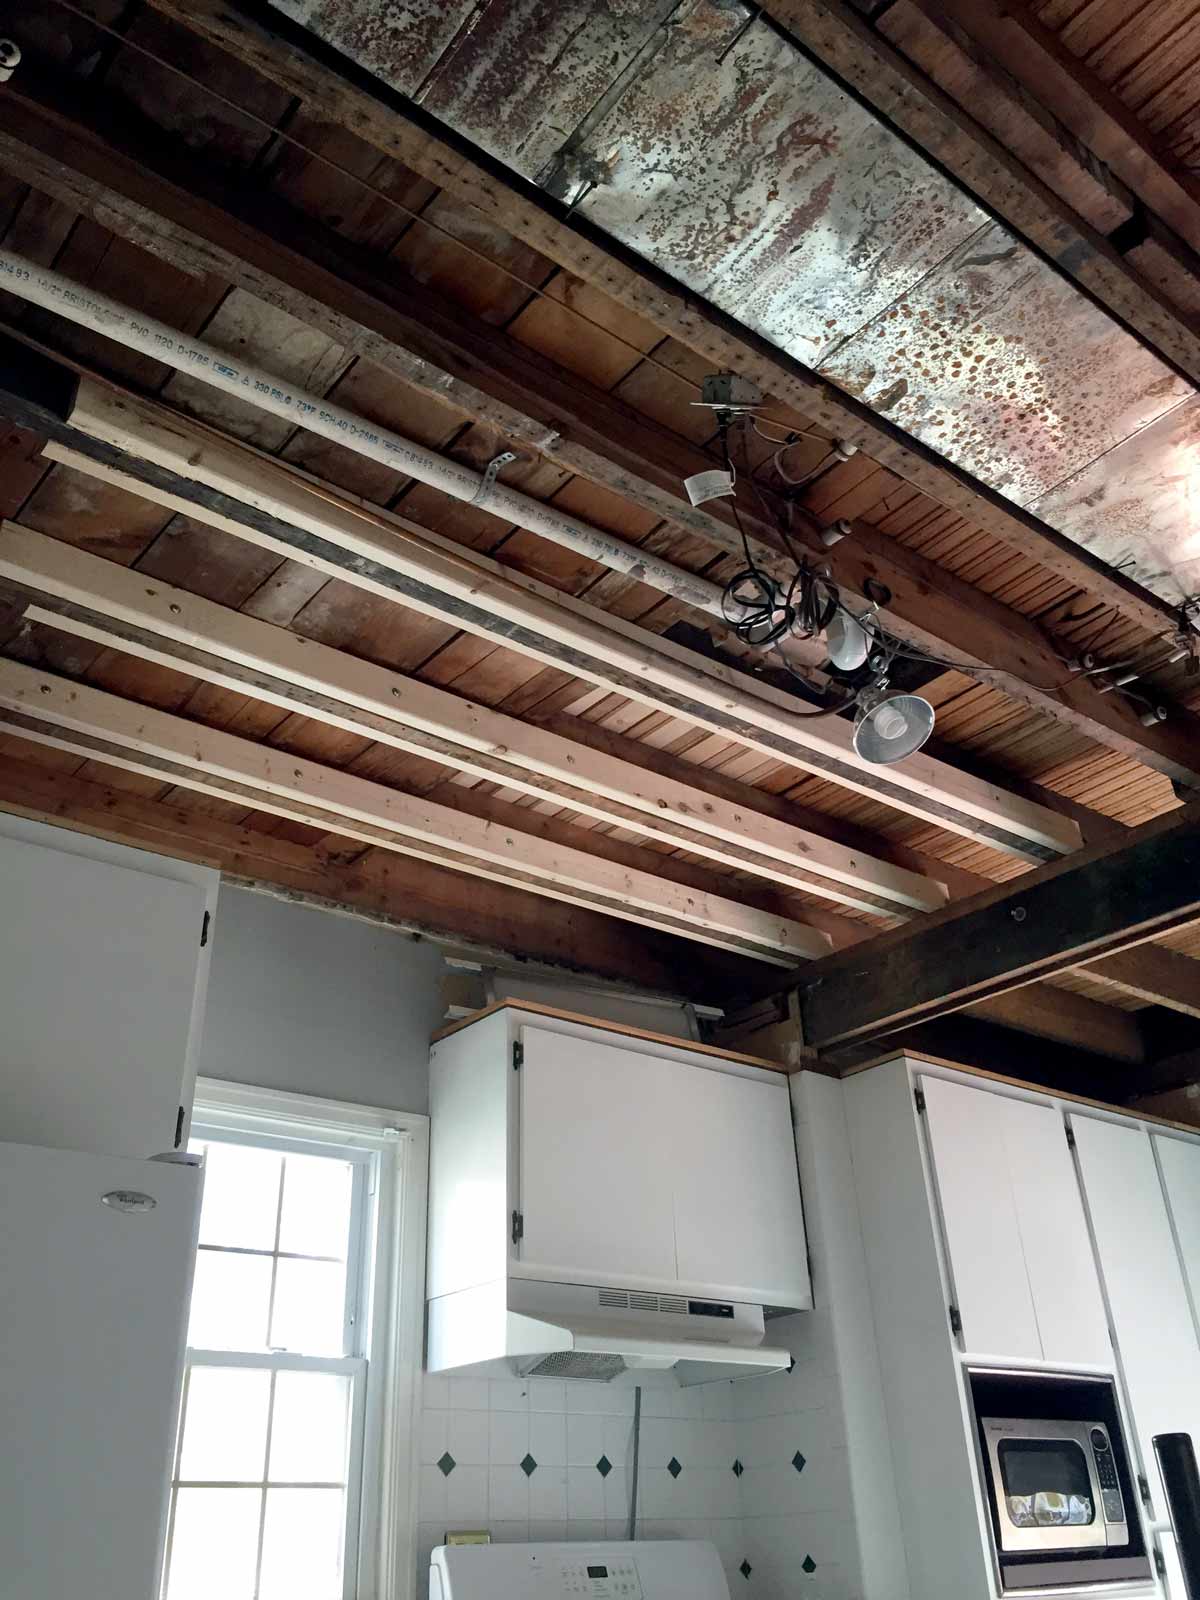
I tried to cut through the two layers of drywall (ceilings #3 and #4), plaster (ceiling #5), and lath (ceiling #6) to make a channel in the ceiling for him to tuck the pipes into, but I couldn’t break through all the layers with my hammer. So he brought out some giant reciprocating saw and sliced through it himself, before rerouting all the plumbing. It really pays to have the right tools.
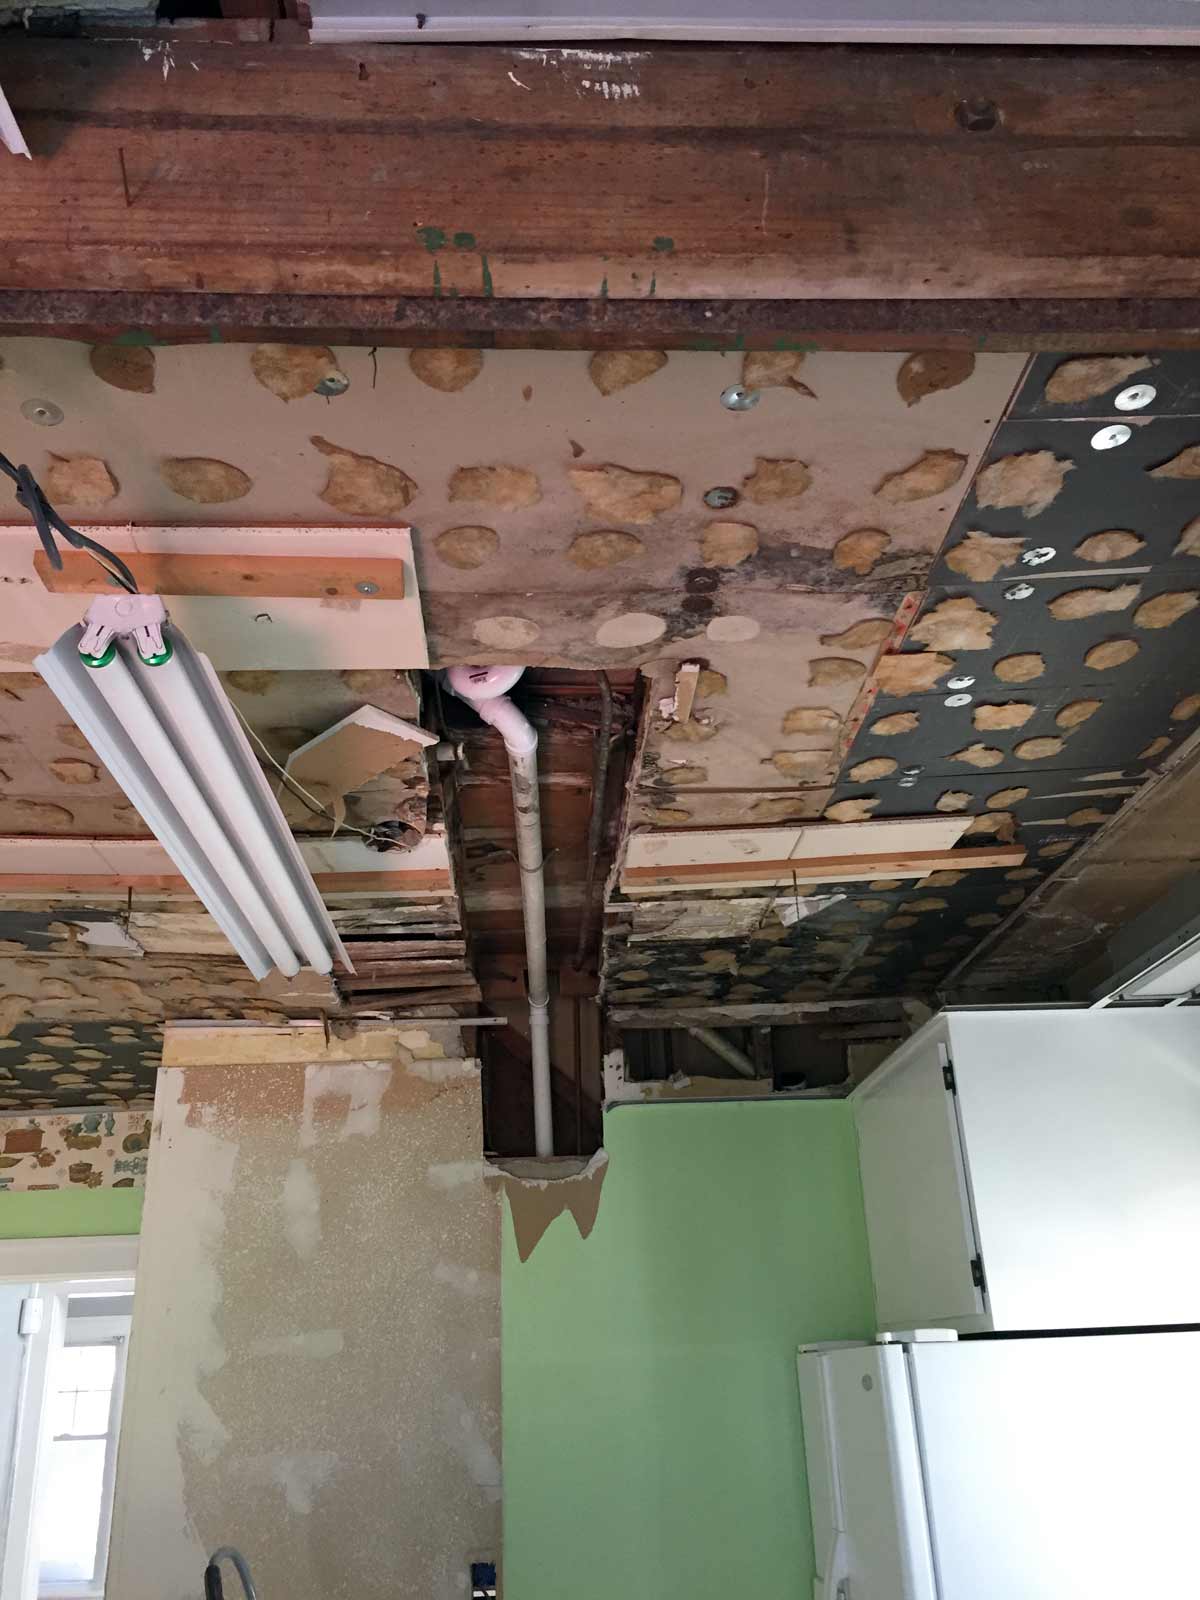
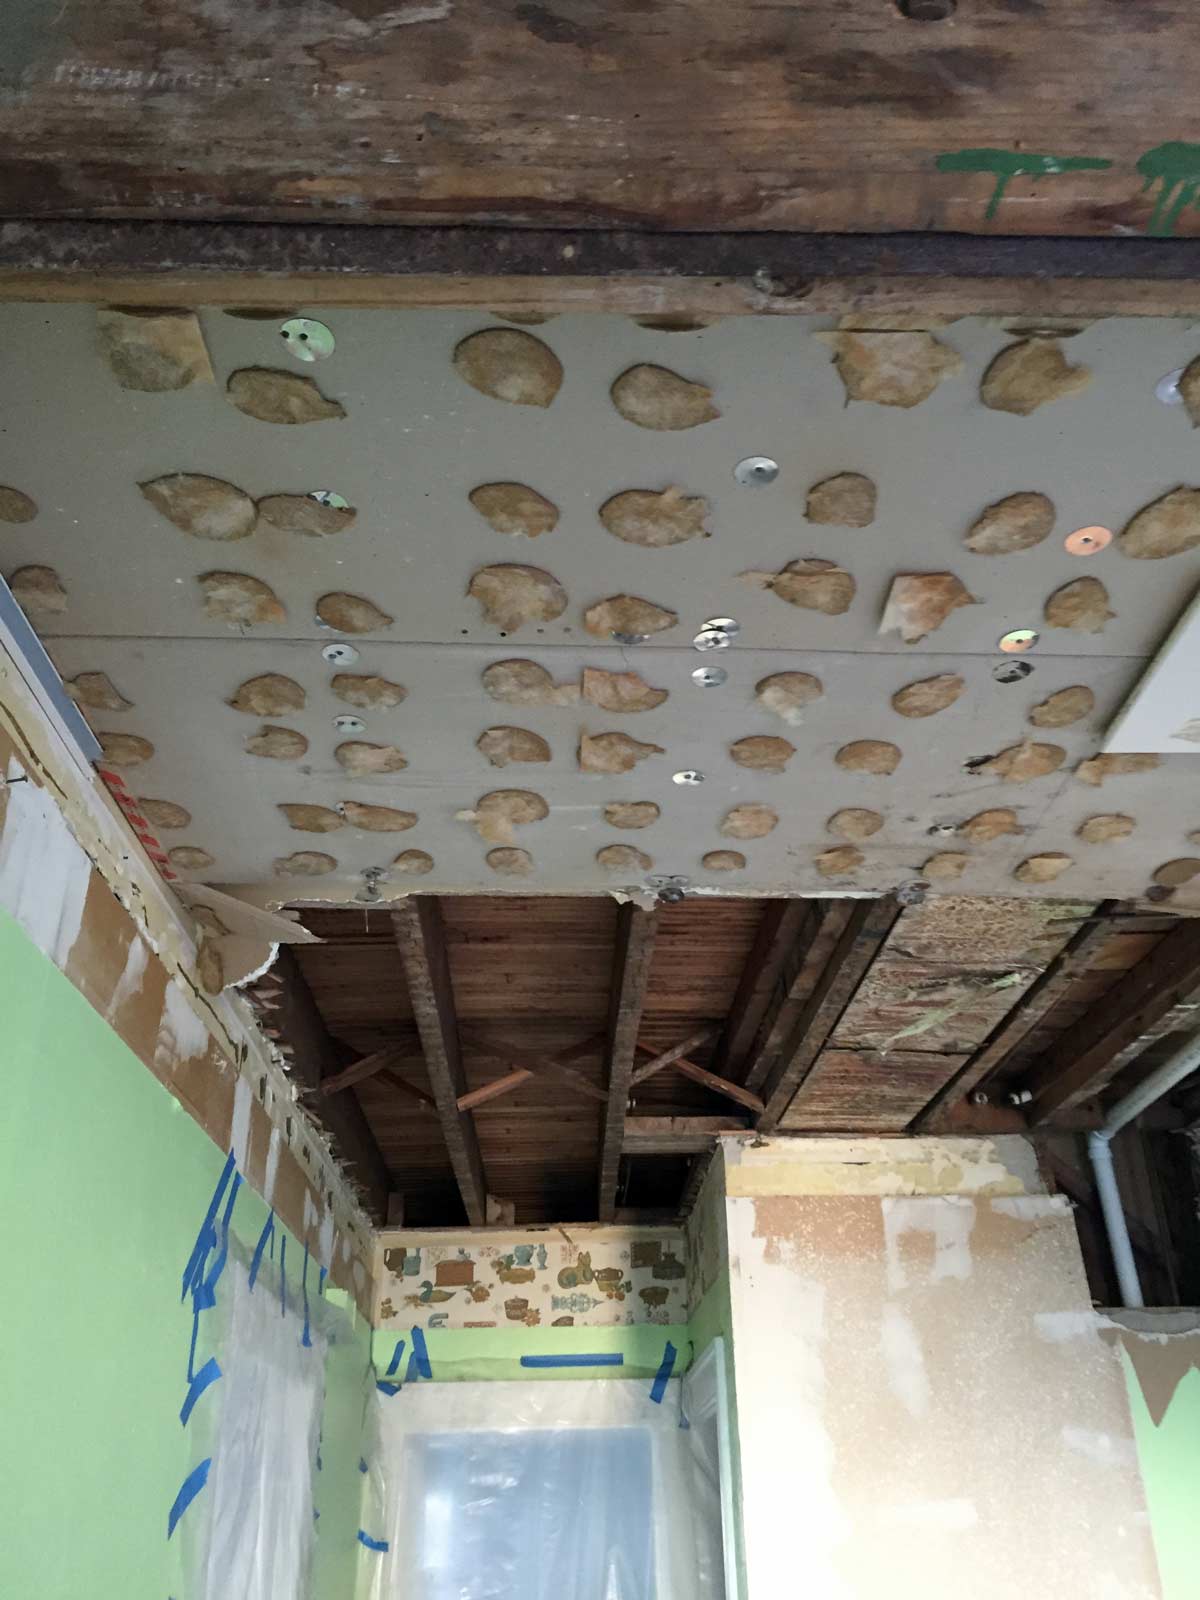
After Joe got the layers of ceiling busted open and rerouted the plumbing, my Dad and I were able to start breaking away the rest of the drywall, plaster, and lath ceilings. We worked in approximately five-foot-square sections and then tried to sweep everything up and haul the trash and debris outside.
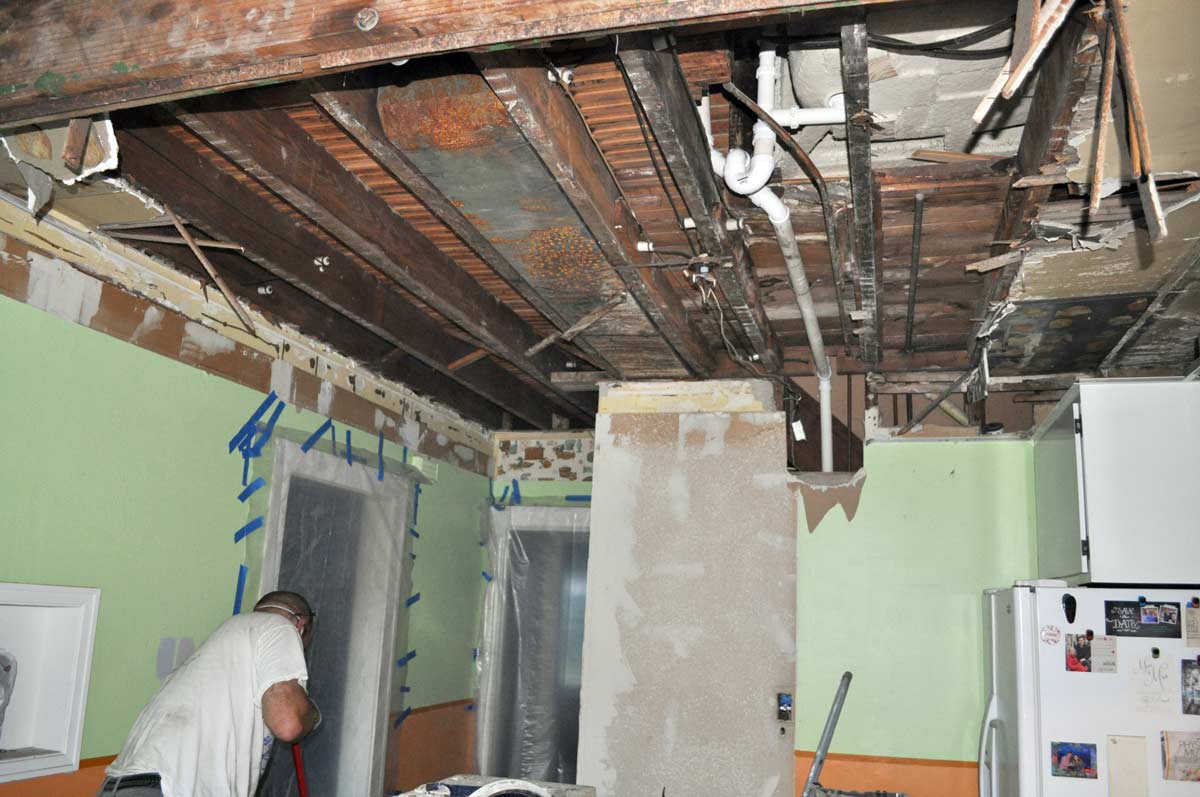
There was so. much. debris.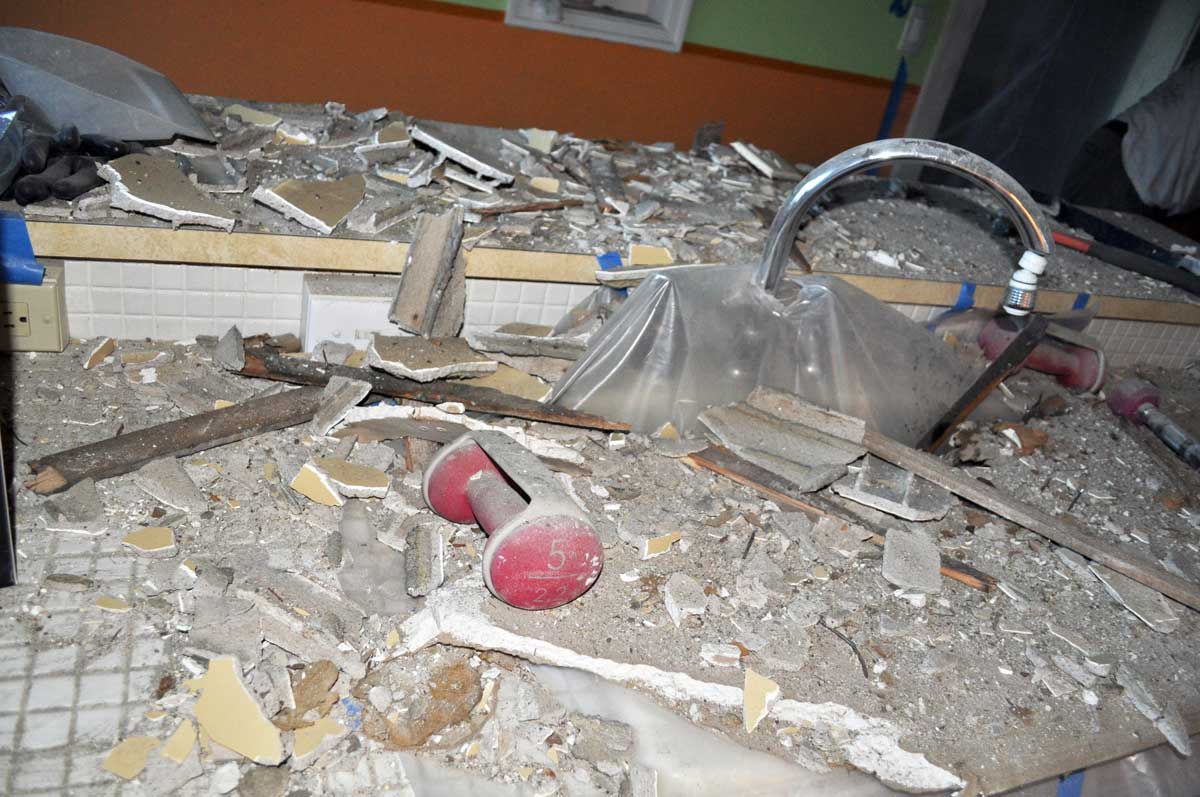
The sound of ceiling hitting the ground haunts me to this day.
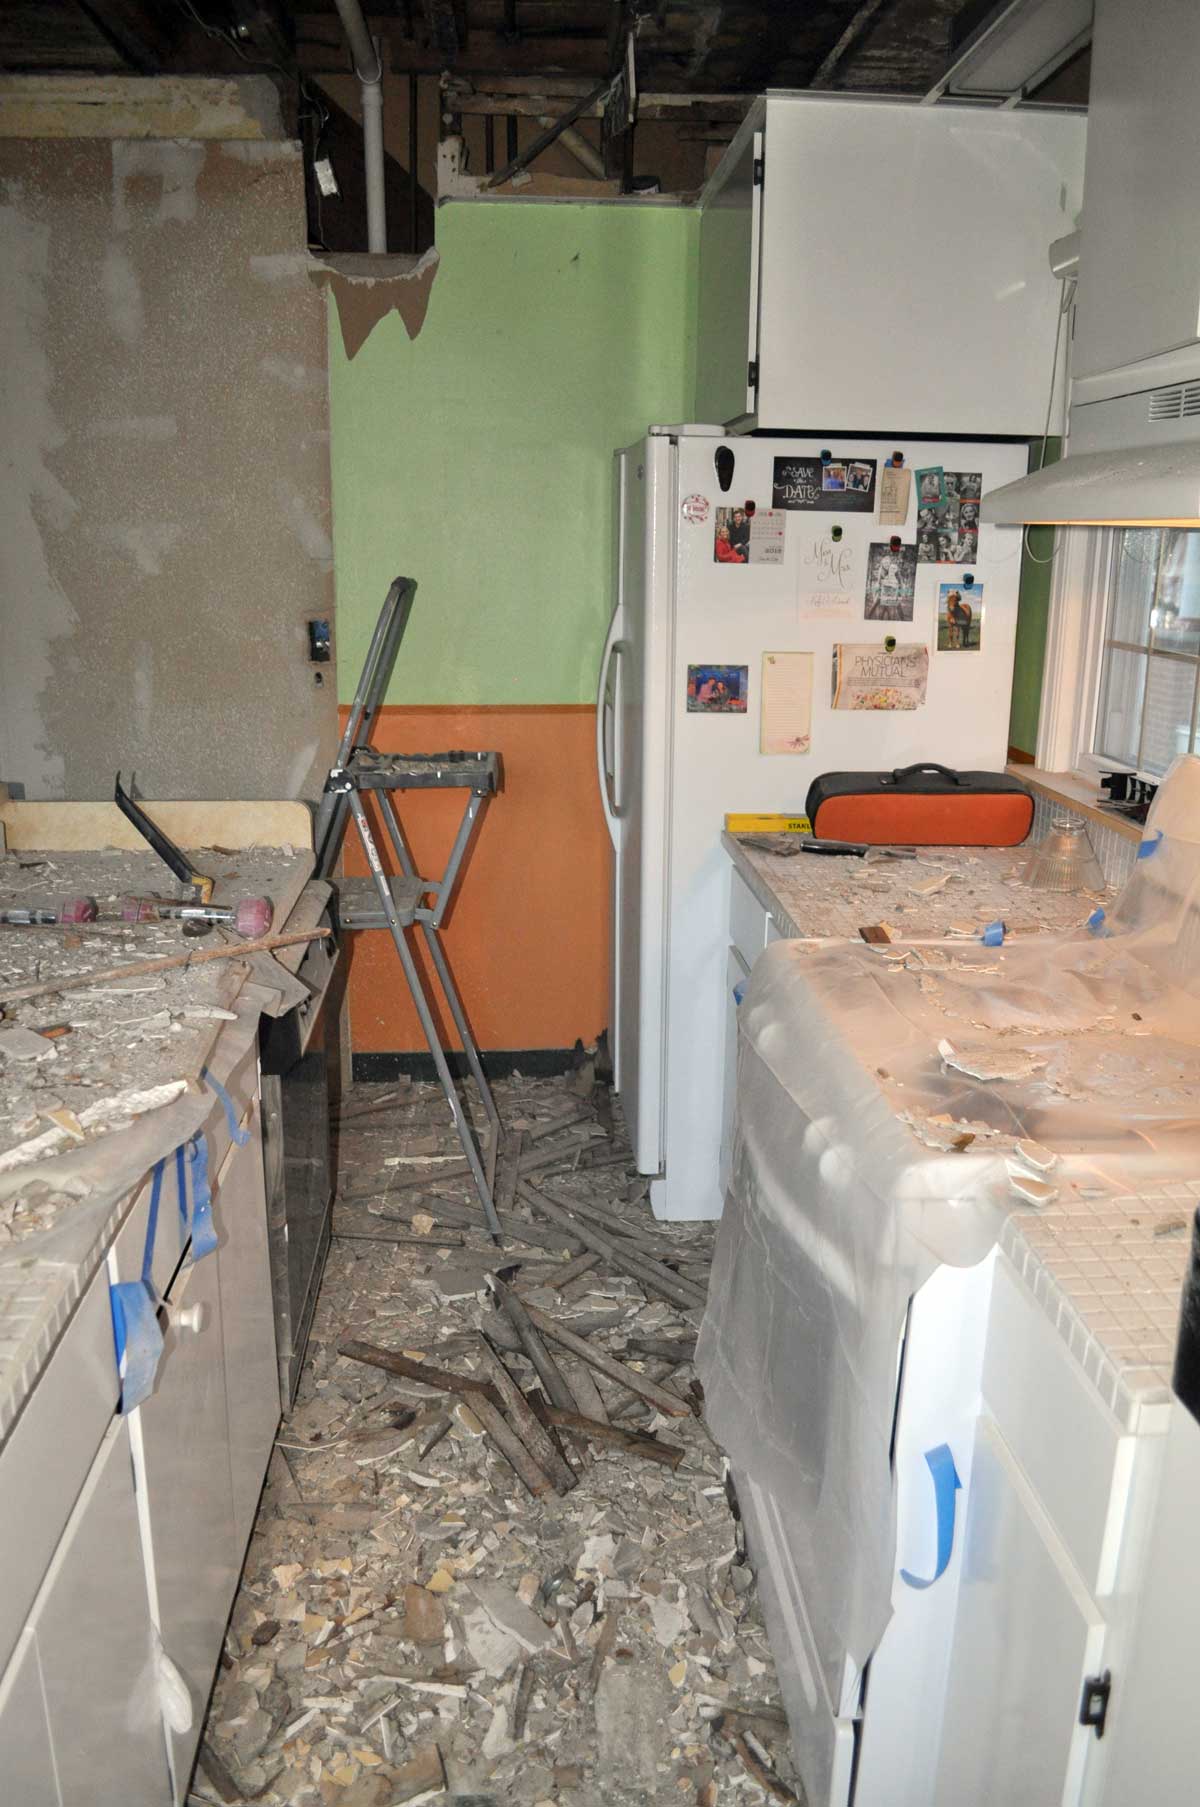
My technique for removing drywall, plaster, and lath ceilings involved aggressively hacking away at it with both hands on the crowbar.
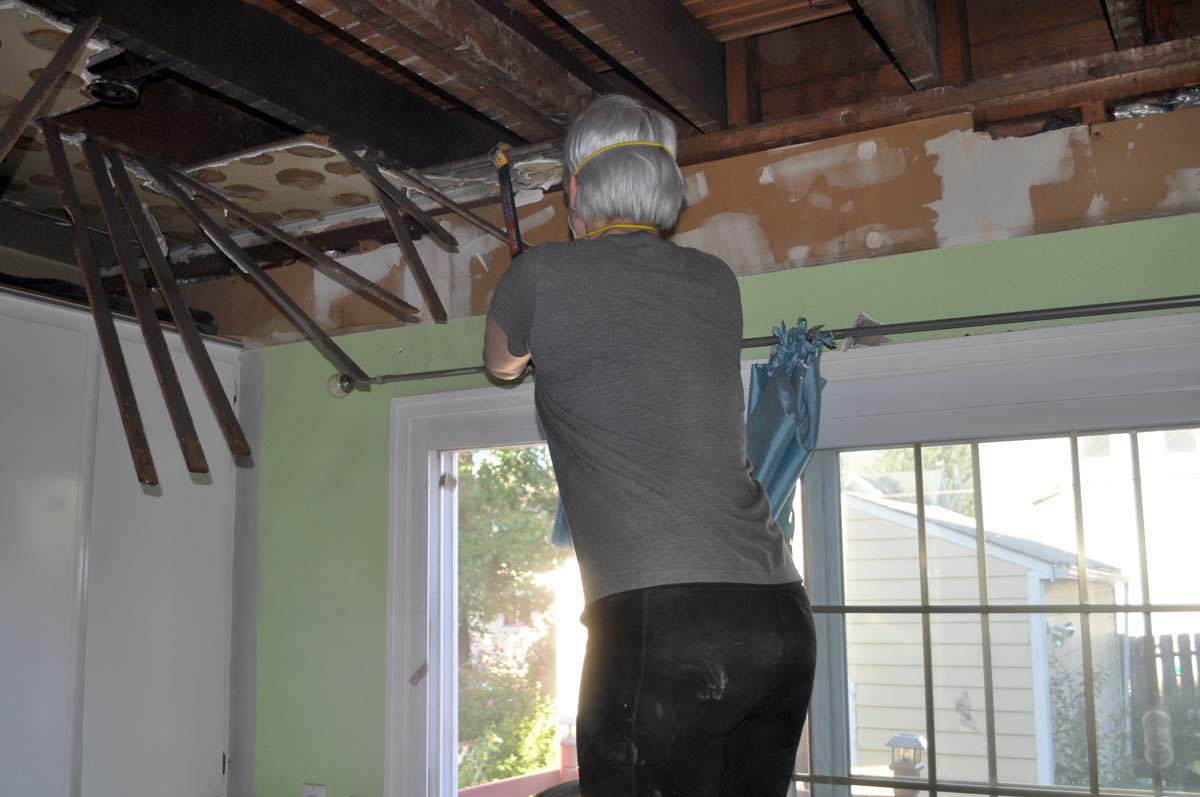
I was wearing glasses and a mask, but I definitely could have had a stronger mask. This shit was nasty.
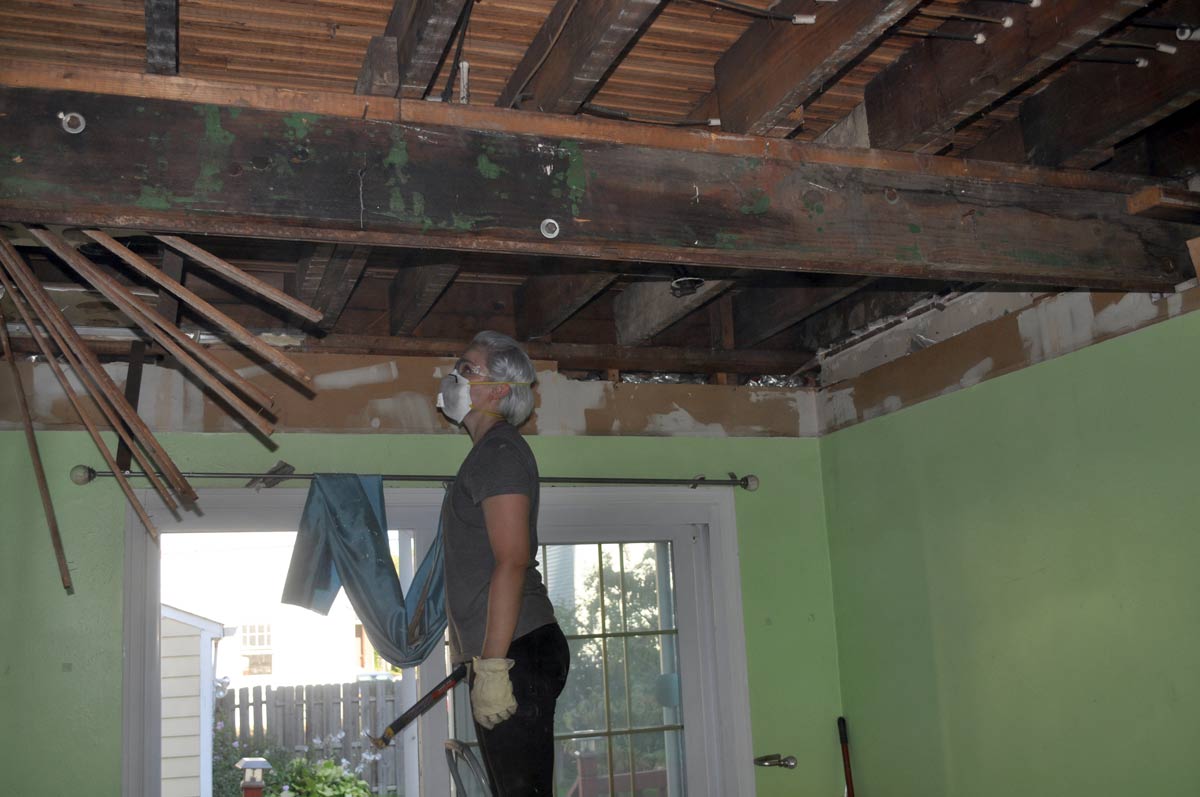
Then I would yank the loose lath boards from the ceiling and throw them on the ground.
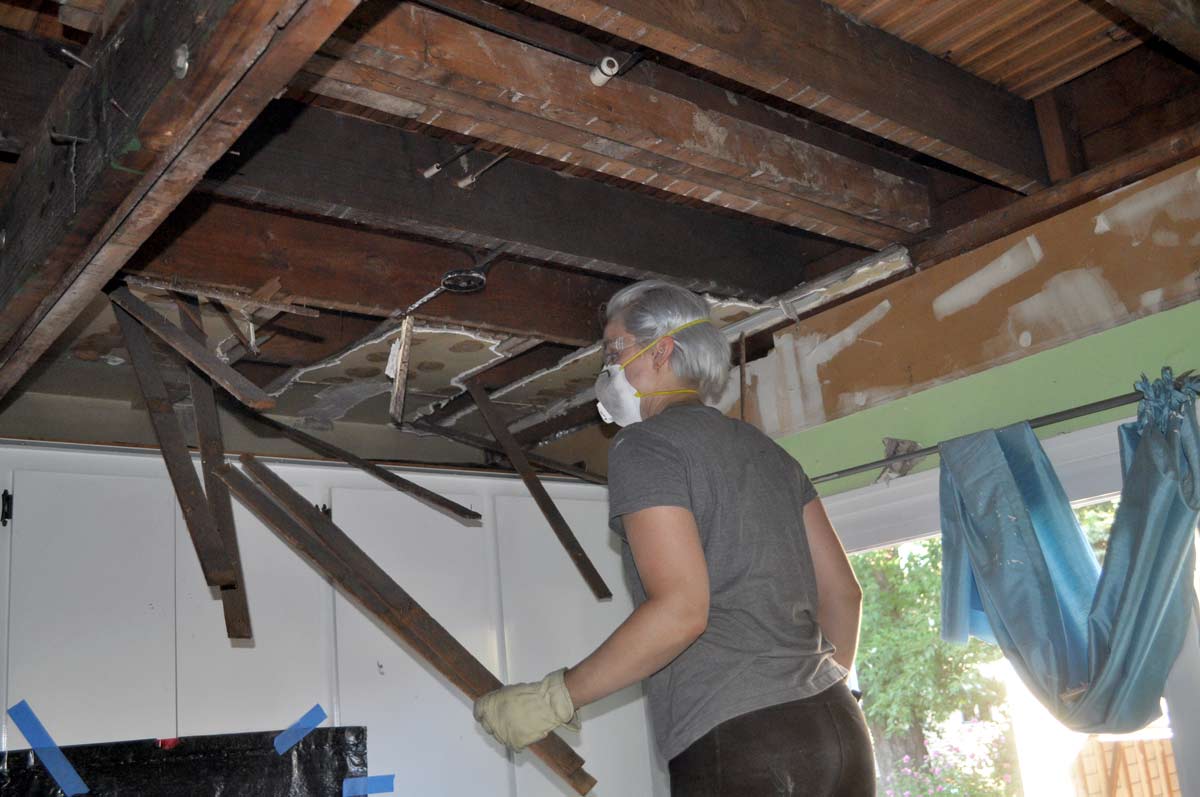
Then I was left with this wide open view of the hardwood floorboards upstairs, and this very rusty and gross ductwork.

The tiny leftover pieces of drywall, plaster, and lath along the edge all had to be removed piece by piece with some pliers. It was too awful to photograph.
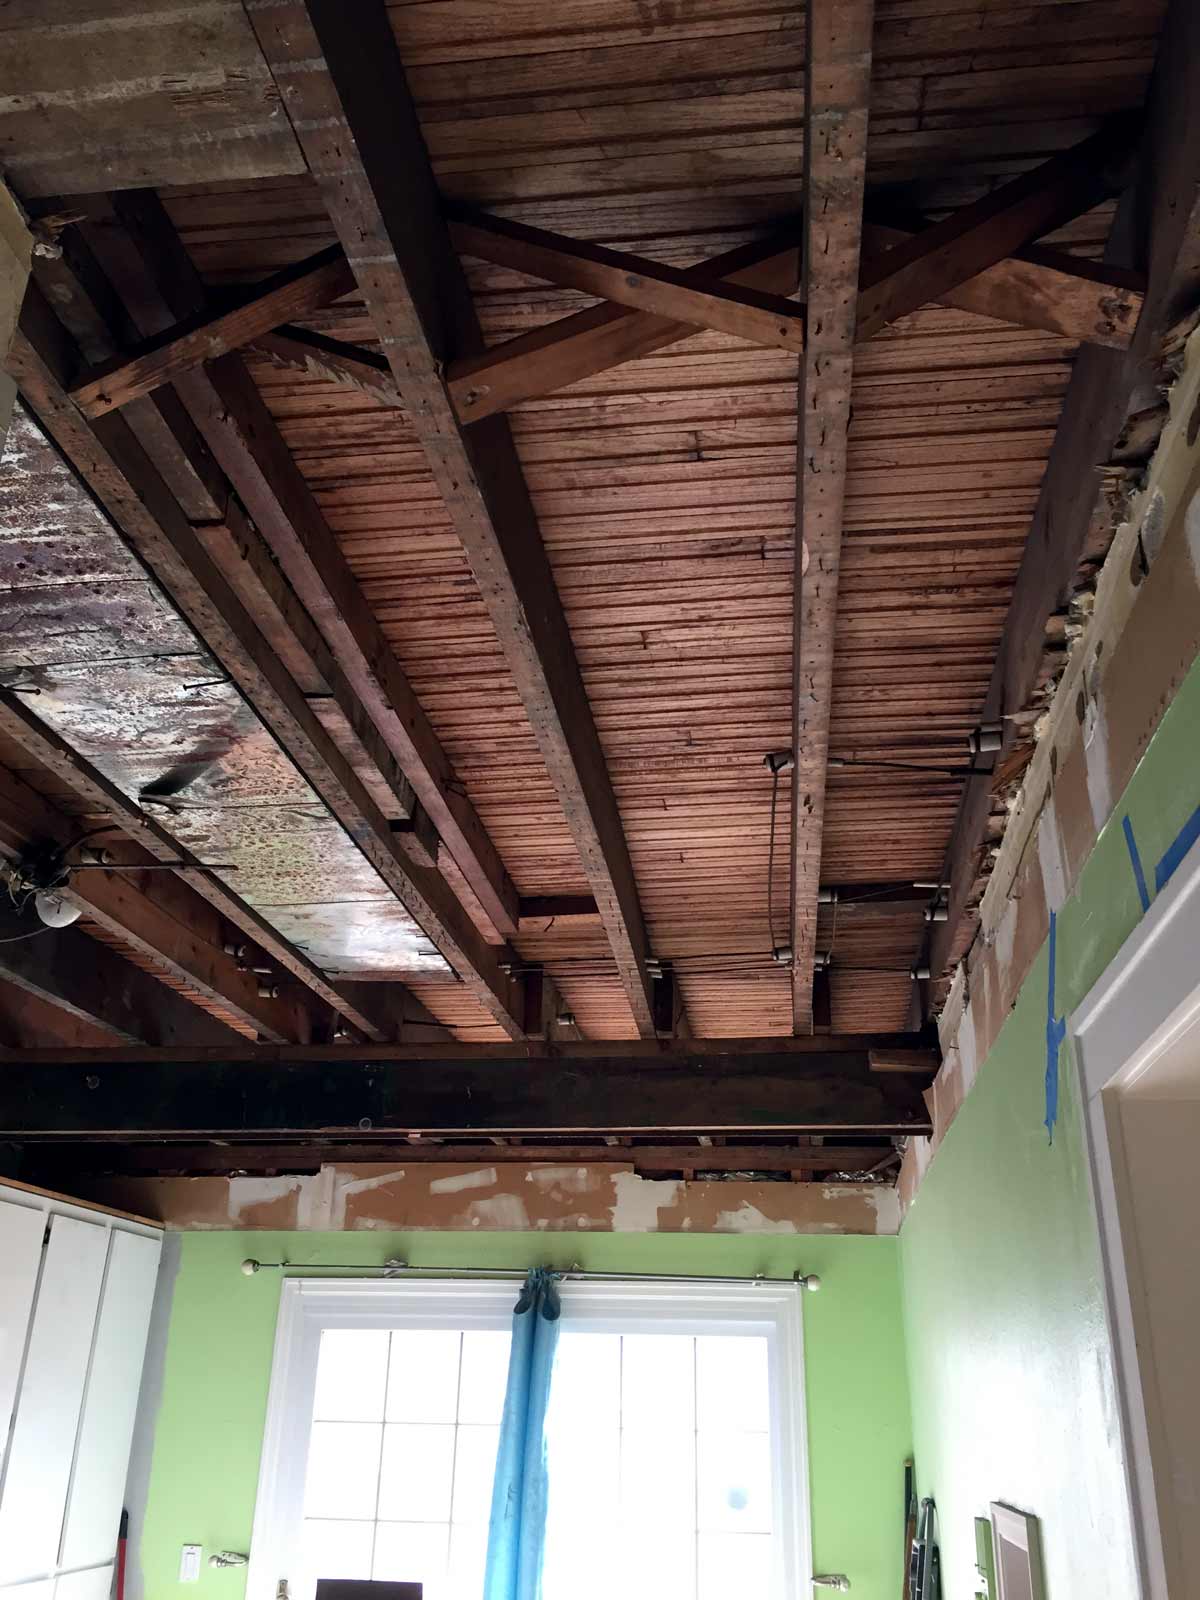
Sometime during this stage, I just couldn’t look at that lime green and orange paint anymore, so I haphazardly slapped up a couple coats of the Benjamin Moore Half Moon Crest paint I was using as my base color for the house. It was the best thing I’ve ever done and it was so nice to finally be able to look into the kitchen and see something promising.
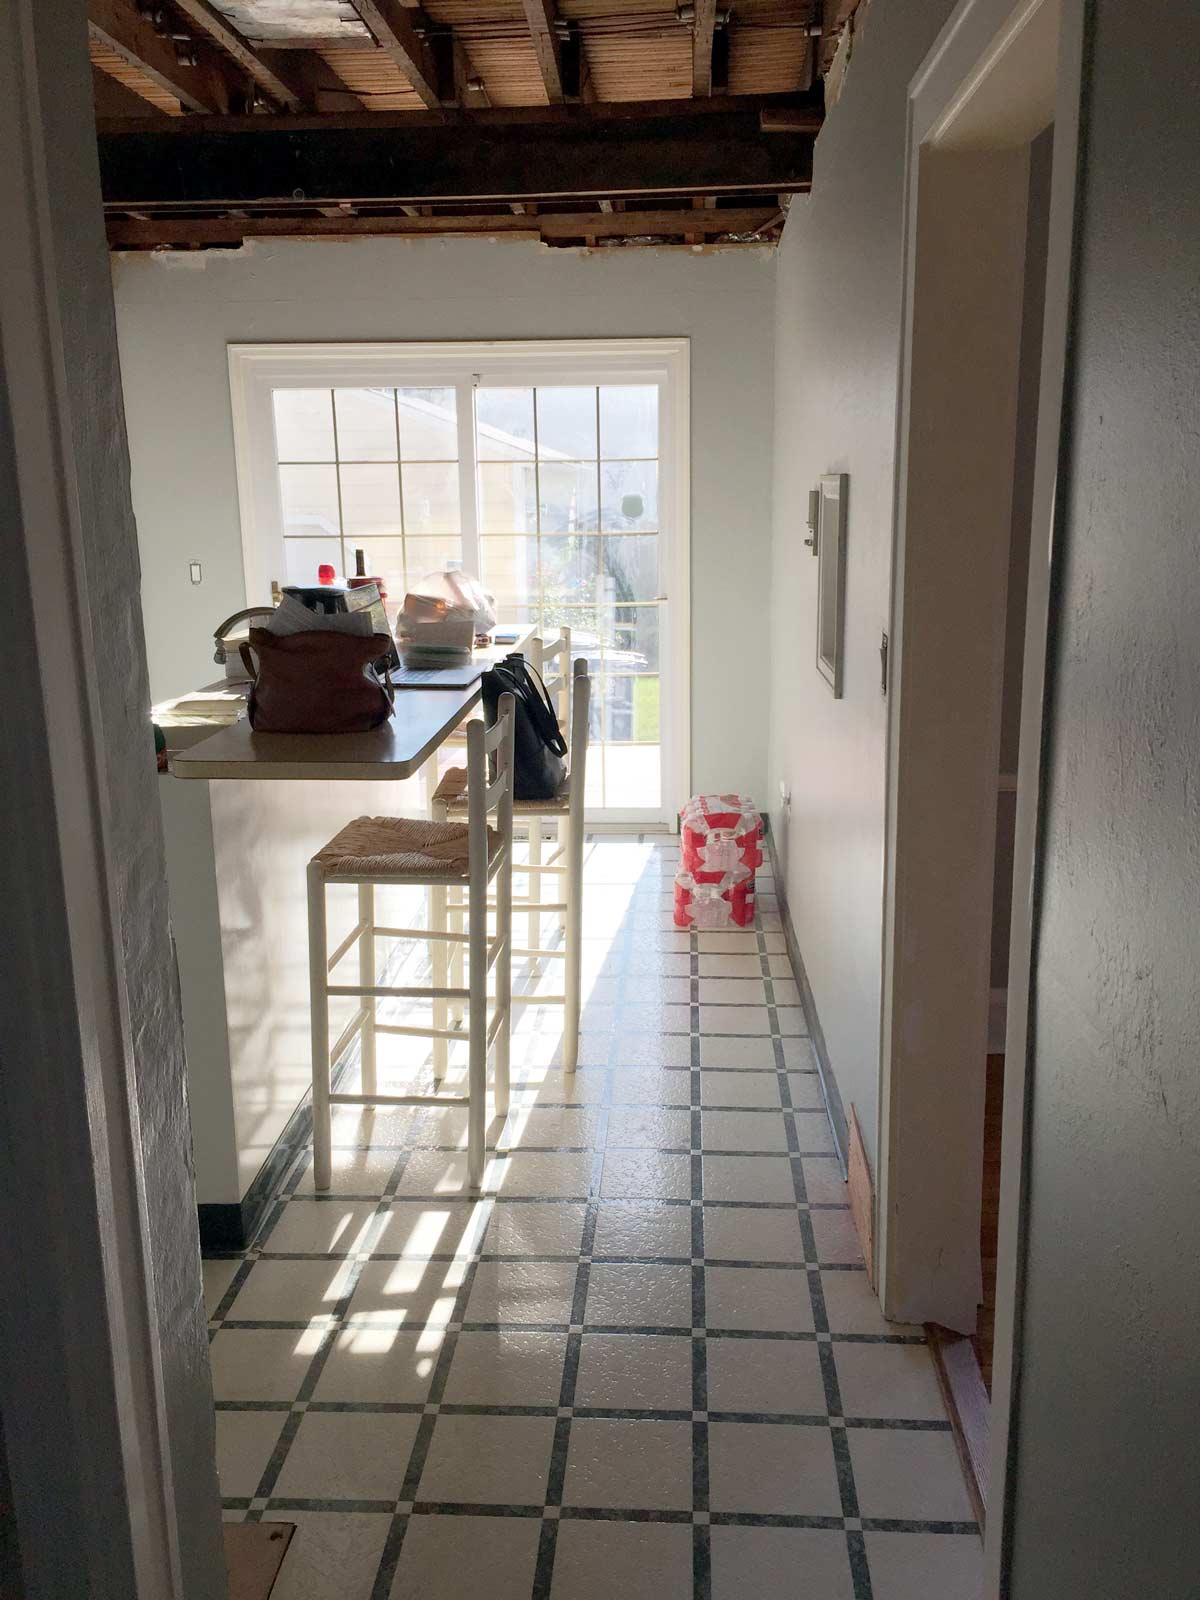
The biggest benefit of tearing apart the walls and ceilings of a super old house is that you can see all the problems very clearly. My biggest problems? The main toilet pipe and stack were totally busted and my bathtub was essentially floating over the kitchen. I don’t have a before picture for the toilet pipe since I made the huge mistake of looking inside it and am scarred for life, so I’ll just describe the situation to you. This critical piece of plumbing was metal and was SO rusted out on the sides that it essentially made an open shit slide that connected to the toilet (are you picturing it?). If I hadn’t torn down all of the ceilings, I never would have found the corrosion to the toilet pipe and my kitchen would have been poo-city. Joe was able to replace the toilet plumbing and the full stack down to the basement with new PVC pipe.
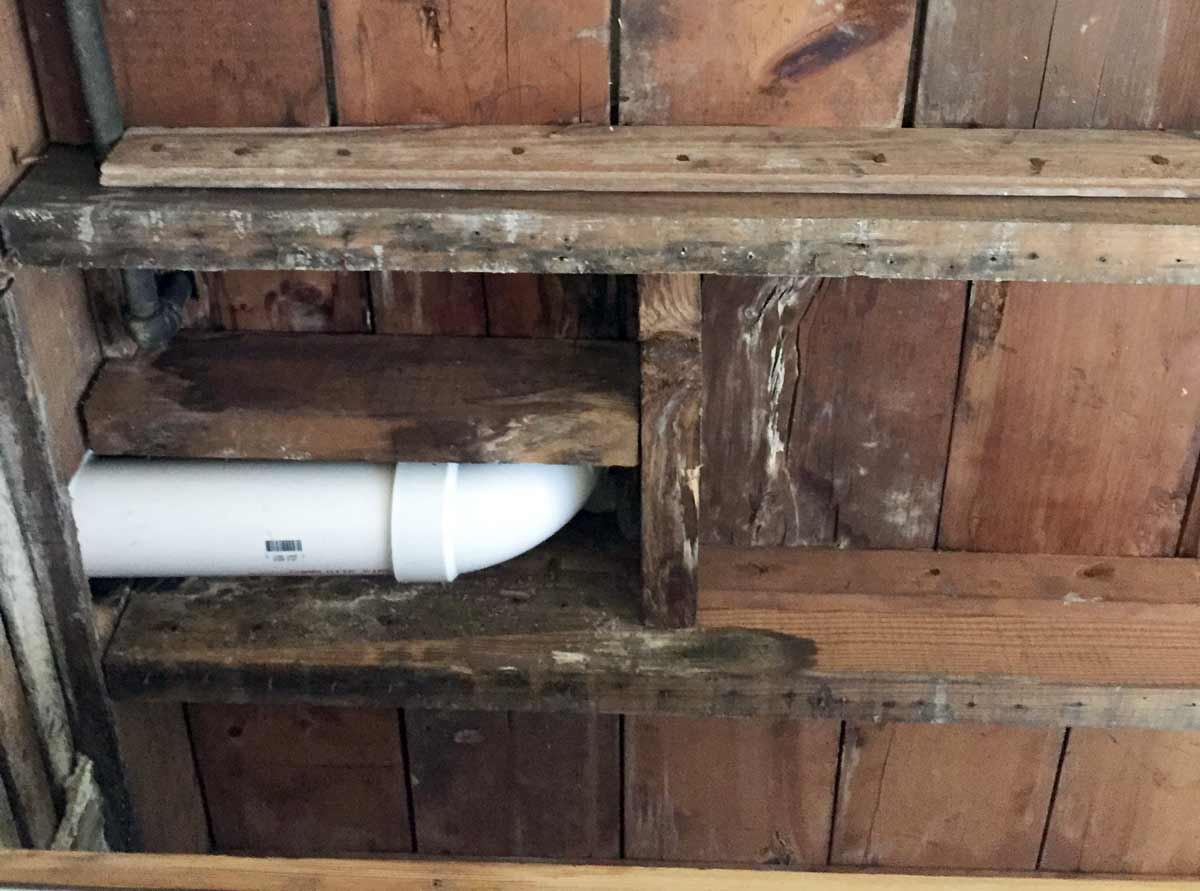
My Dad and I worked on fixing the floating bathtub problem on our own. After ripping out the ceilings, we could see the whole bottom of the bathtub and noticed that none of the little feet seemed to be resting on anything. We found out that the entire weight of the tub was supported by the rim, and this was shoddy and terrifying. (Honestly, I’m still too afraid to fill the tub and take a bath, so it’s been all showers here.)
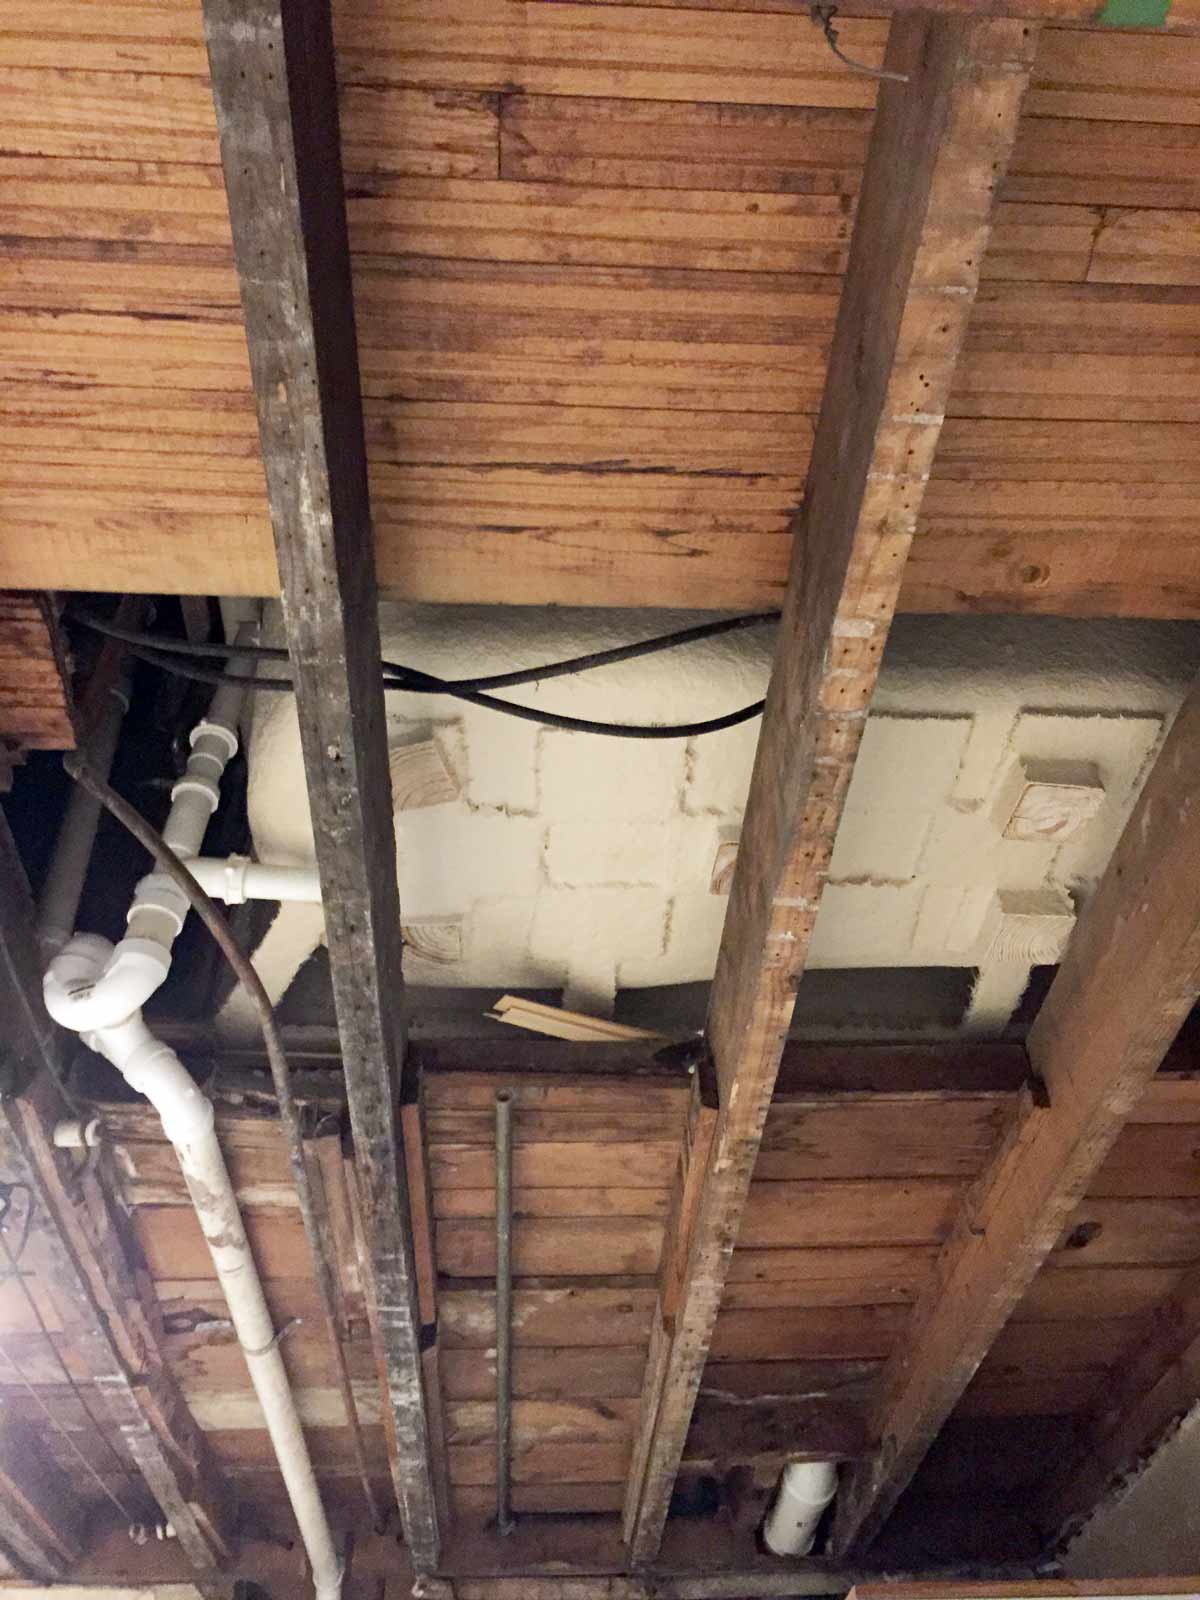
To add support and try to help the tub area blend in more, we used some hardwood flooring my neighbor had leftover from a project and a few 1x3s I had laying around. We made sure a board was wedged under each tub foot and then filled in the space around them with additional boards to completely cover the hole under the tub. These filler boards are all just resting on the joists, so I’ll have access to the tub base if I ever need to get back at it in the future.
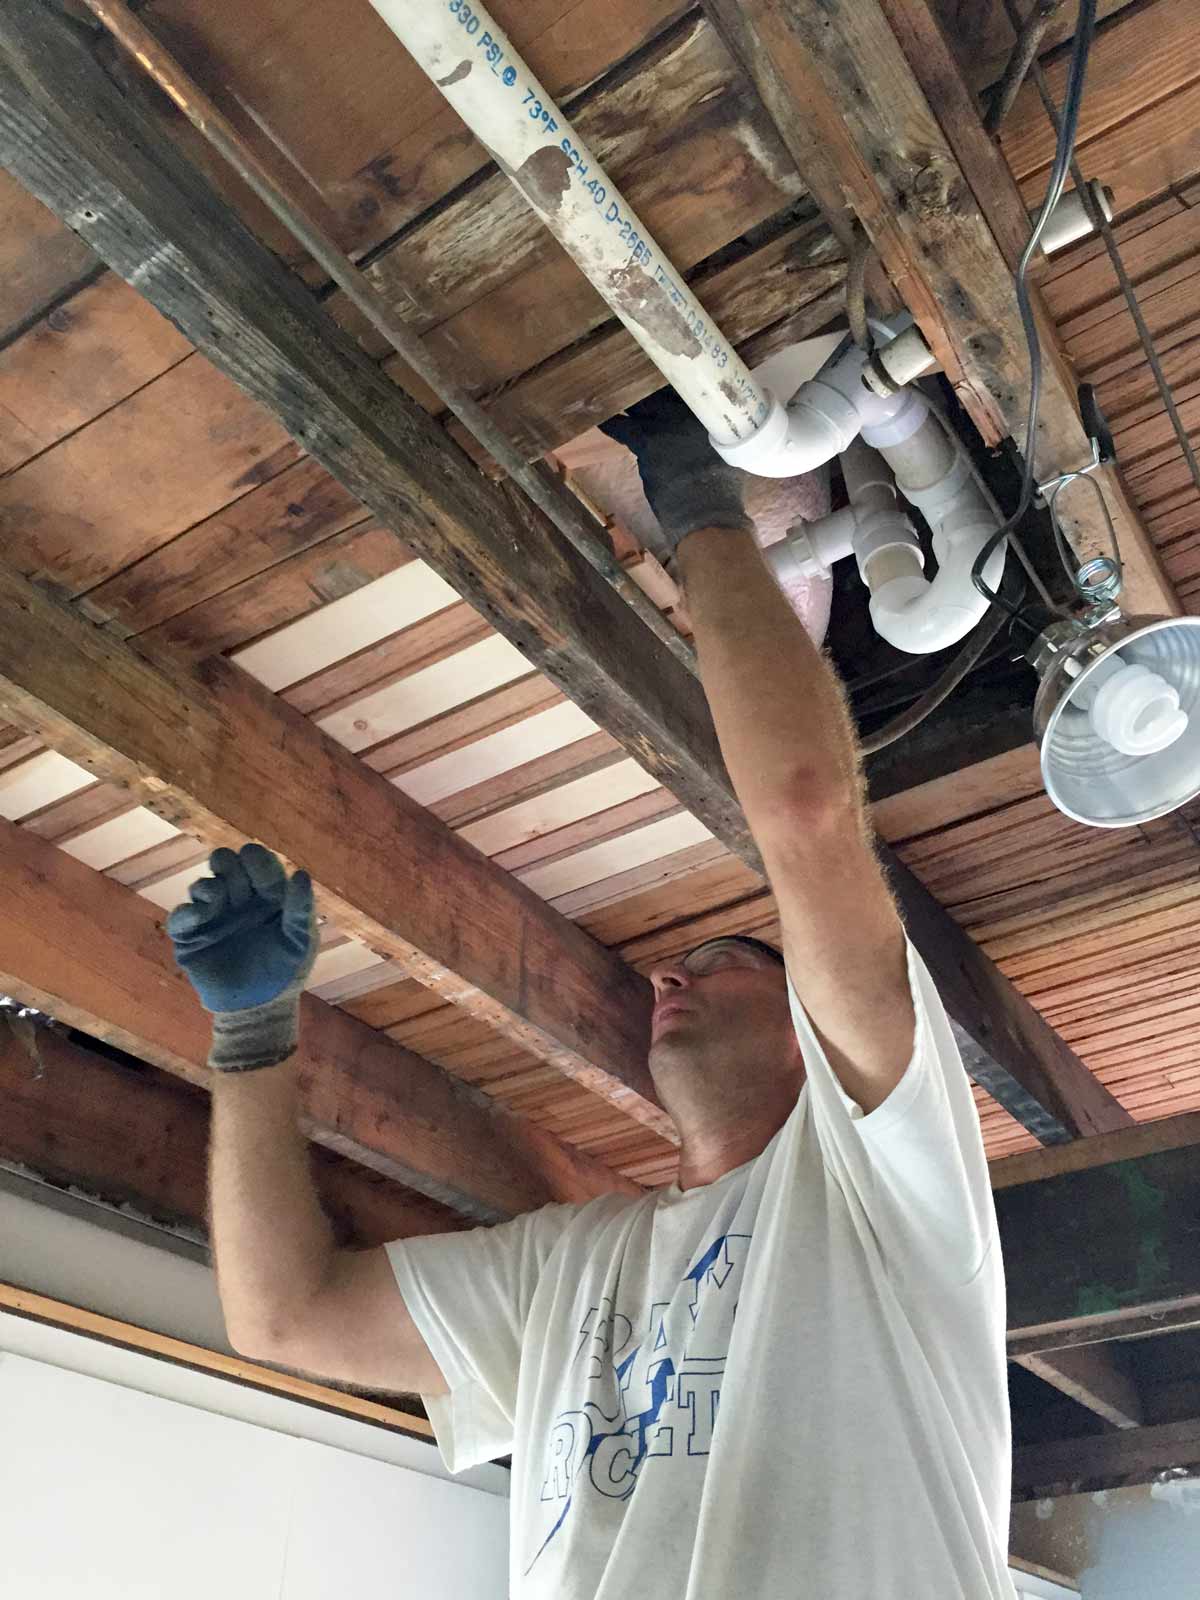
Next, we sistered several 2×4’s to the existing joists to help carry the load of the bathtub (for those baths I’m not taking). To do this, we sledgehammered another 2×4 vertically between the floor and the joists to push them up and help counteract the slight sag/dip we noticed. Once we had the joist lifted, we drilled through the 2×4 sister boards and the joist and secured them with bolts.
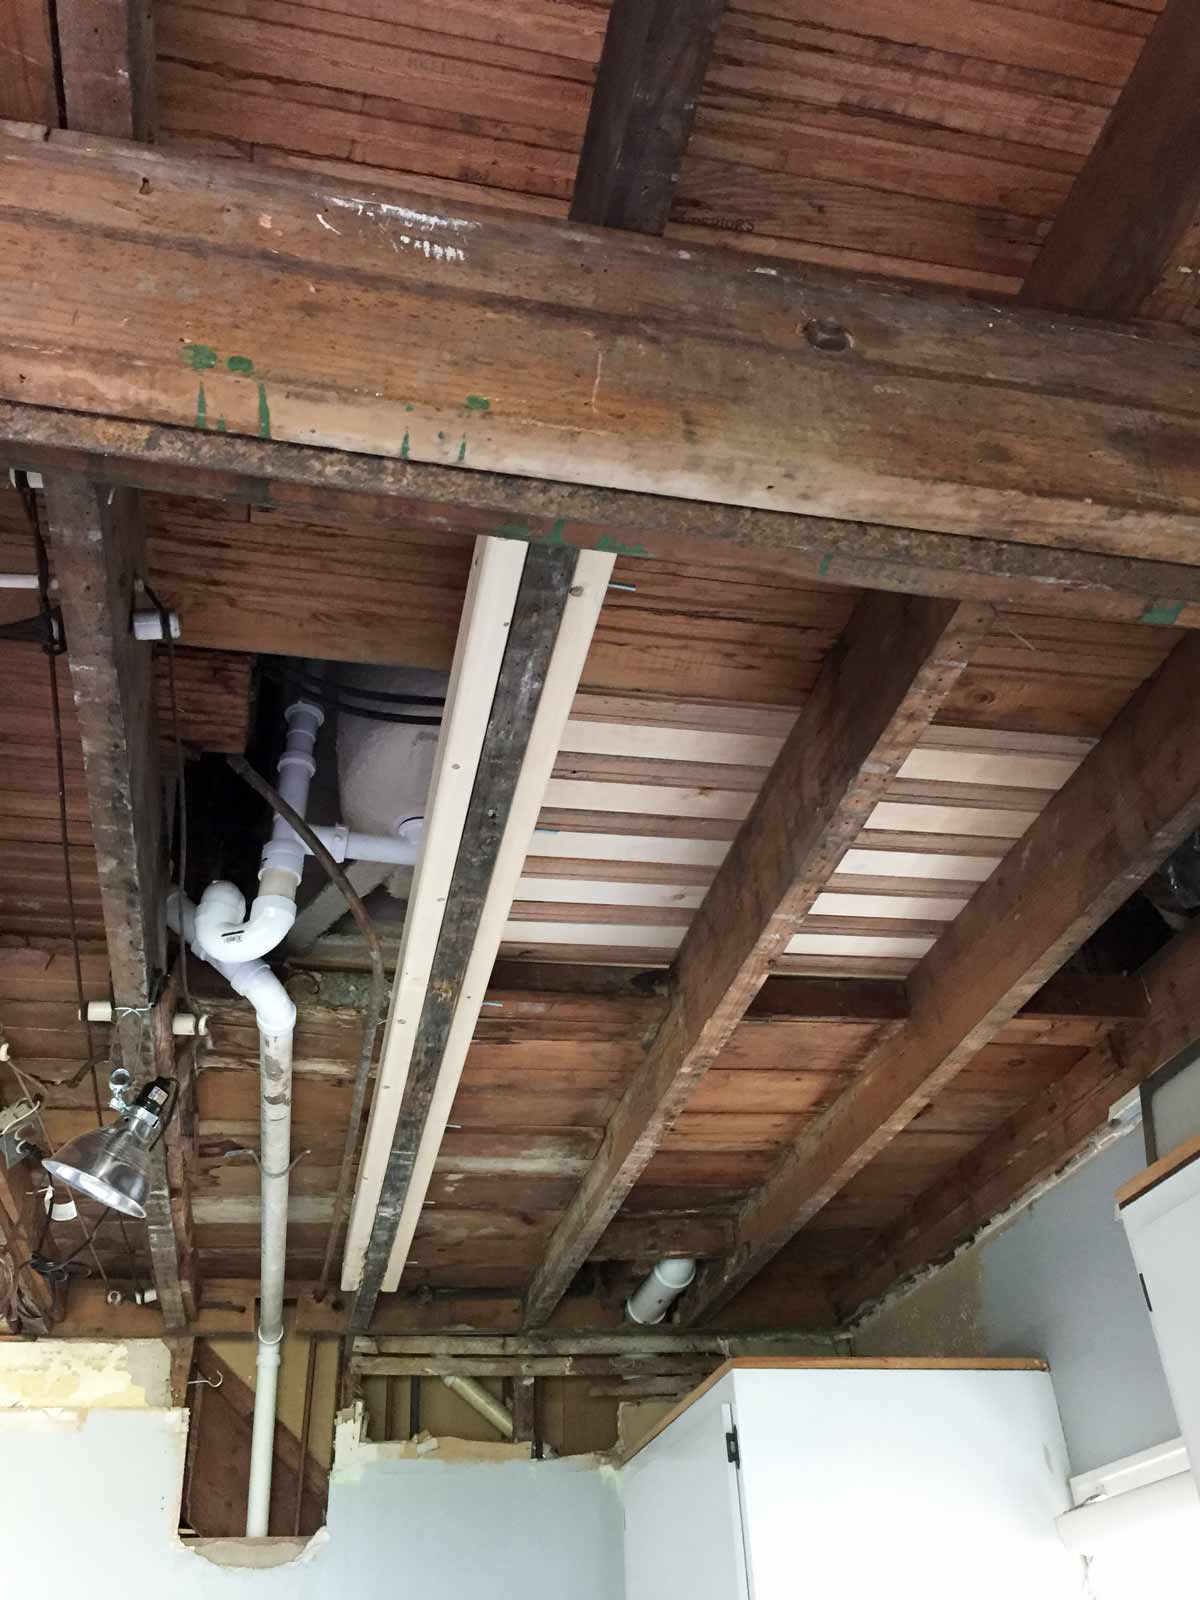
Six boards later, the bathtub was no longer floating!
Follow us on Instagram to see our latest projects
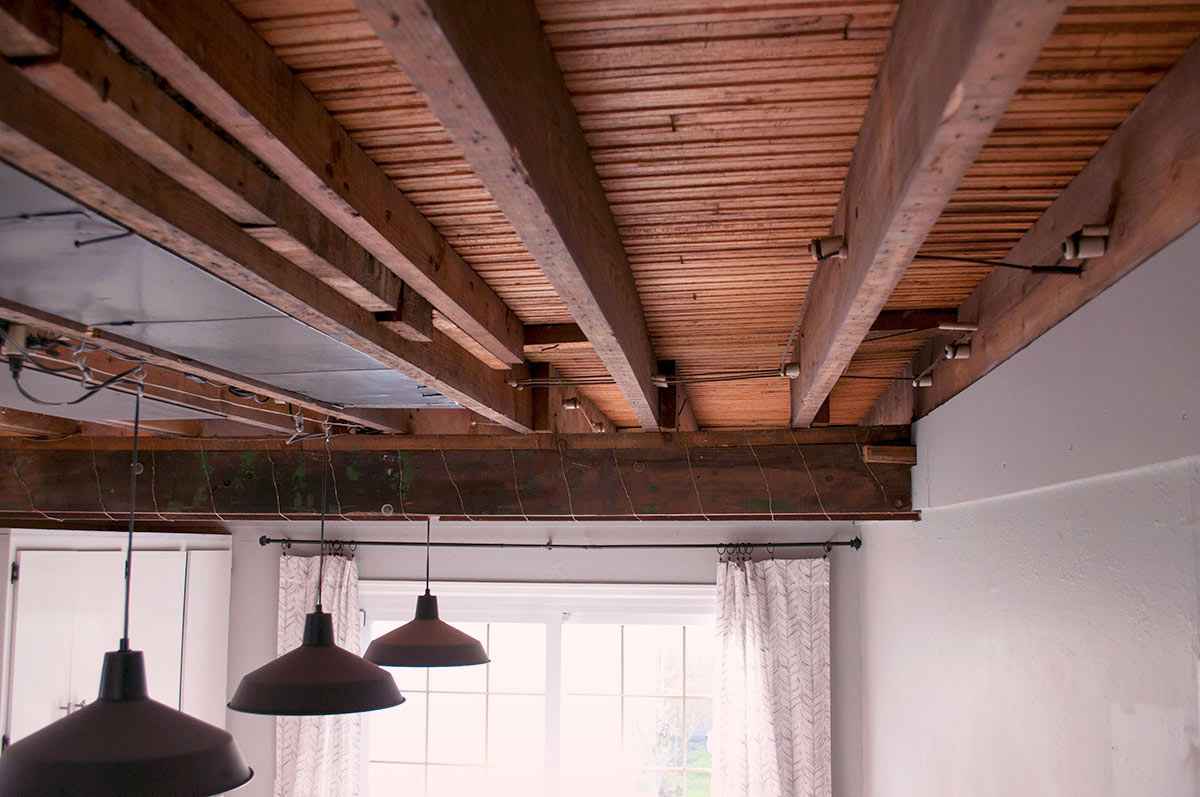
So, not only did removing all six ceilings add 18 inches of height to my kitchen and expose the beams above, it also revealed some critical issues that we were able to fix before they got to be too disastrous. While I never want to do this again, it was the right thing to do.
If you are looking for a reasonably priced plumber/electrician in Cleveland, Ohio, hit me up and I’ll send you Joe’s contact info.
Keep up!
Be sure to read the next post about the kitchen finishing touches that helped make the kitchen look a lot cleaner. Also, you can learn our new kitchen reno drinking game!
Keep up!
Be sure to read the next post about the kitchen finishing touches that helped make the kitchen look a lot cleaner. Also, you can learn our new kitchen reno drinking game!

