Okay, so I’m a little late on this kitchen progress update, like 1.5 years late, oops. Around November 2016, I started removing the gross green and white plaid vinyl flooring and to create DIY hardwood floors on the plywood subfloor that was underneath. To be totally honest, I started ripping the vinyl off a while before that and just lived with weird half floors for a while. Classic move. Keep reading to learn how to make your own DIY hardwood floors on your plywood subfloor.
Supplies I Used:
- putty knife
- utility knife
- gloves (I didn’t wear gloves while hacking away at the floor and gauged out a chunk of my thumb)
- power sander
- dremel sander
- shop vac
- mask
- glasses
- stain
- long ruler
- sharpie
- water based poly
- sponge
- brush
- 1″ x 6″ common boards as baseboard
- 1″x 3″ pre-primed moulding as toe-kick under cabinets
- miter saw
- jig saw
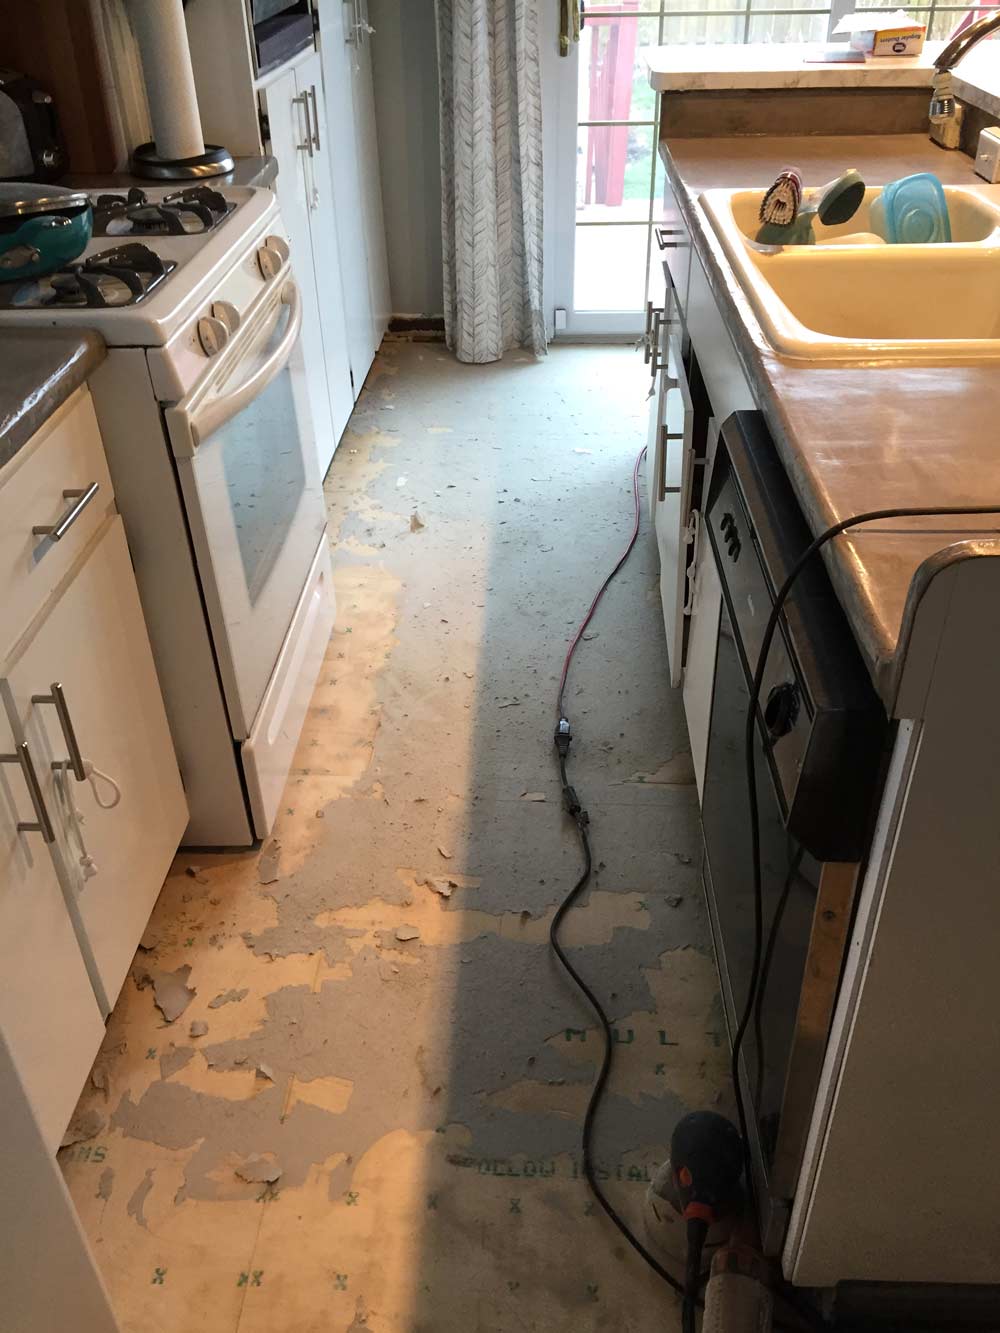
Removing the Sheet Vinyl
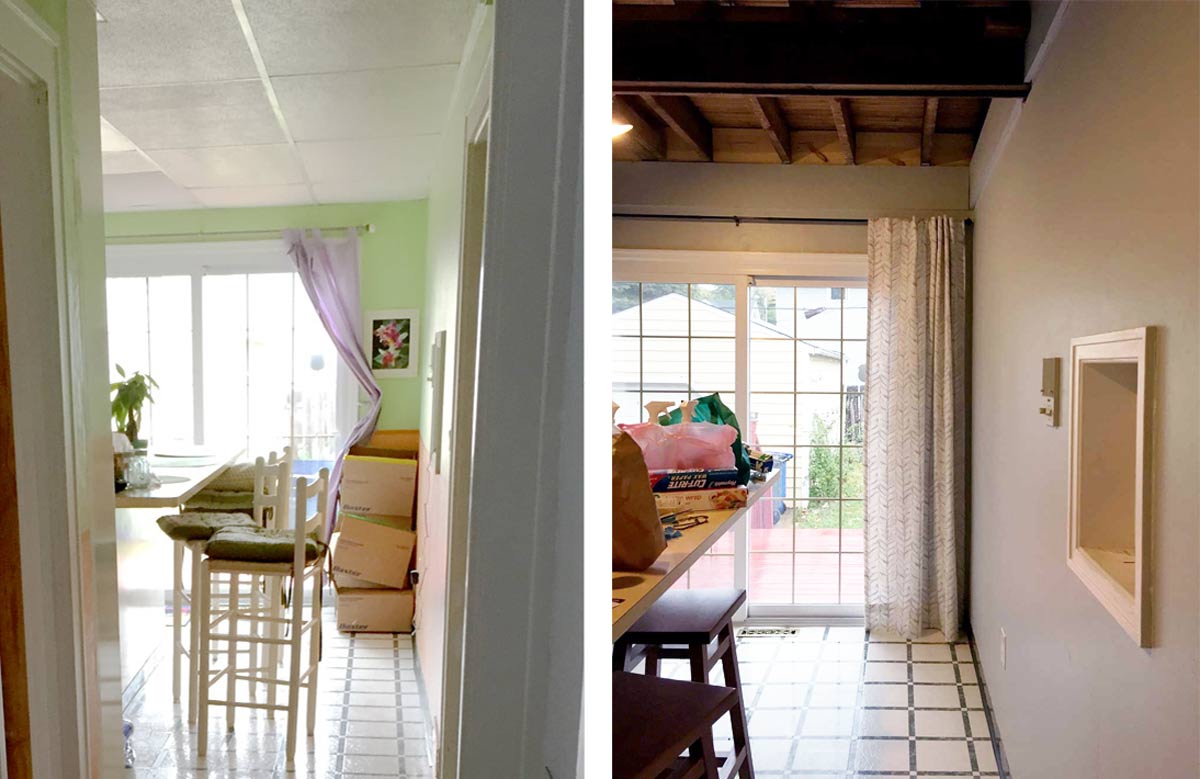
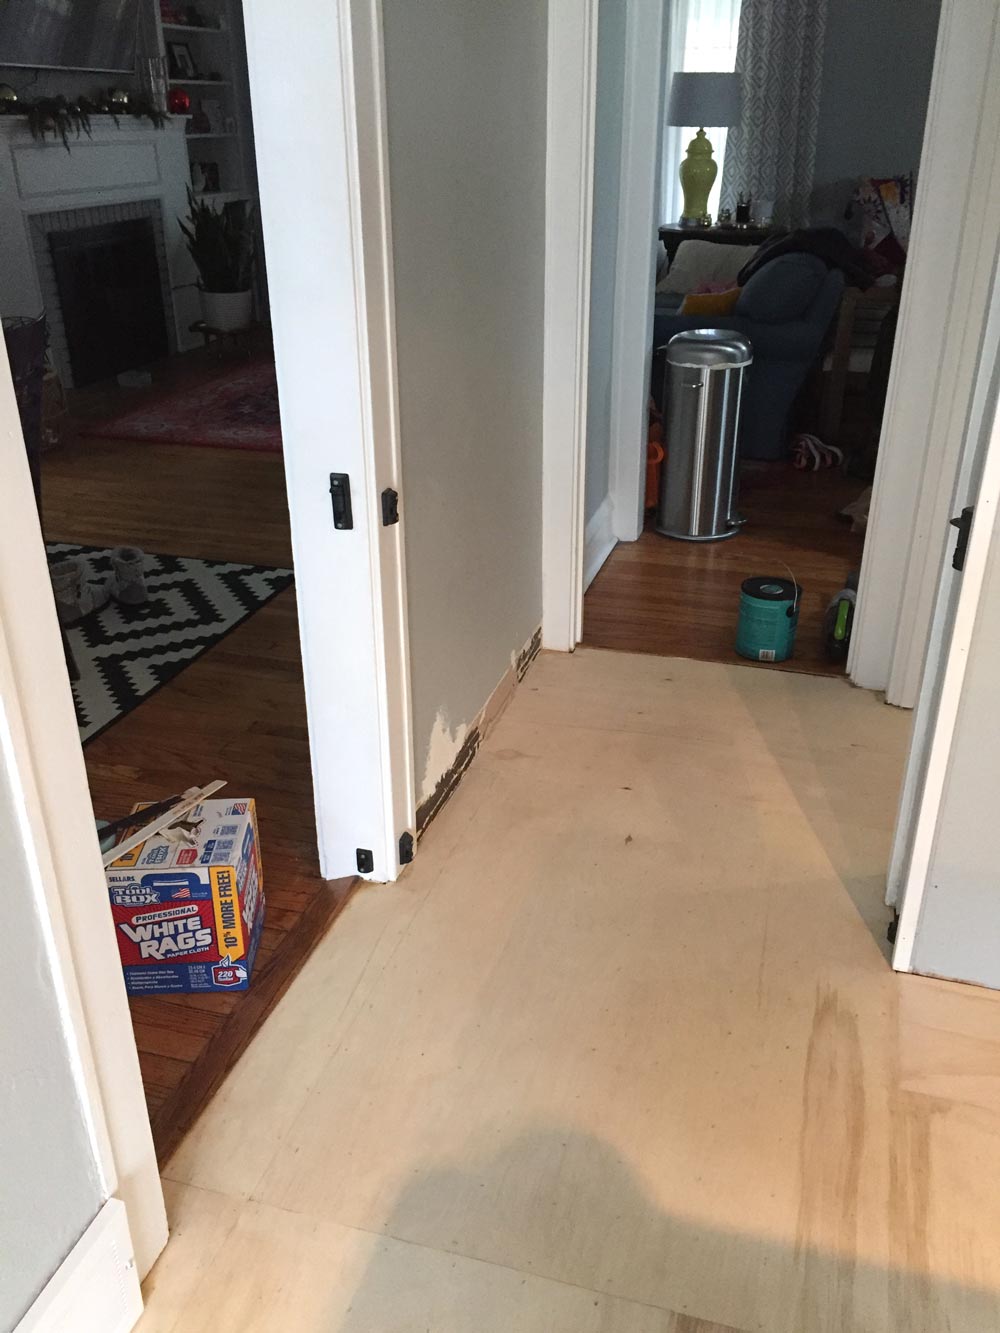
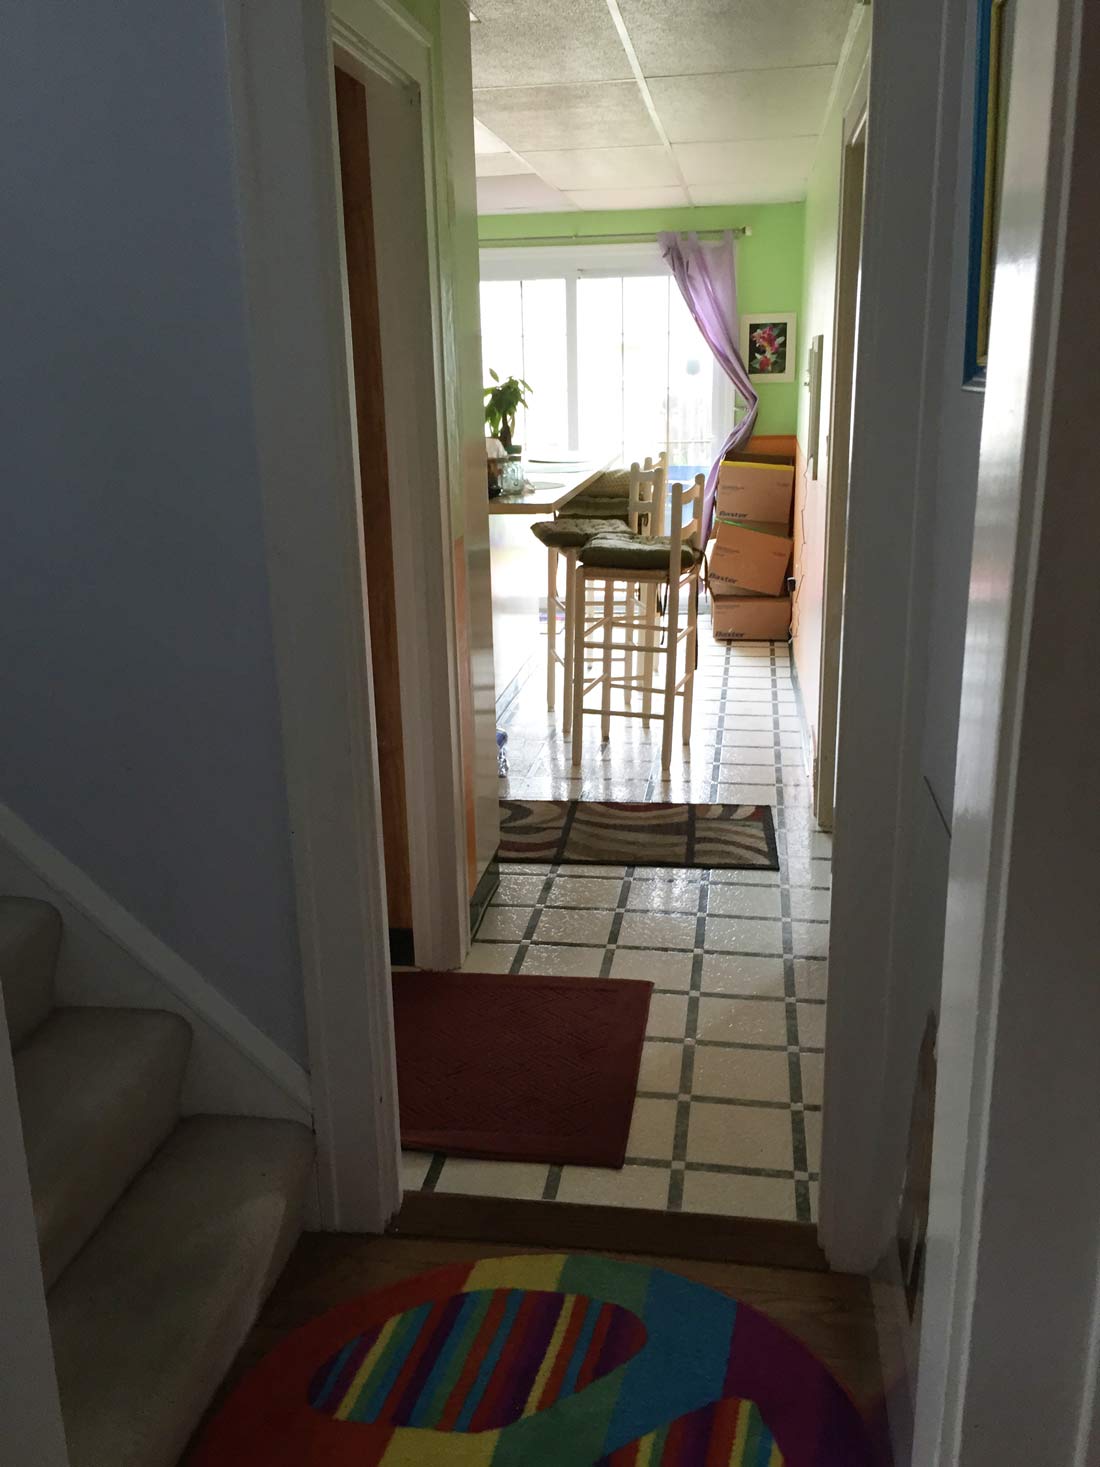
Here’s a reminder of where we left off in the kitchen:
I started ripping up the floor by prying up a corner and yanking. Then I scored the vinyl with a utility knife and wedged a putty knife underneath.
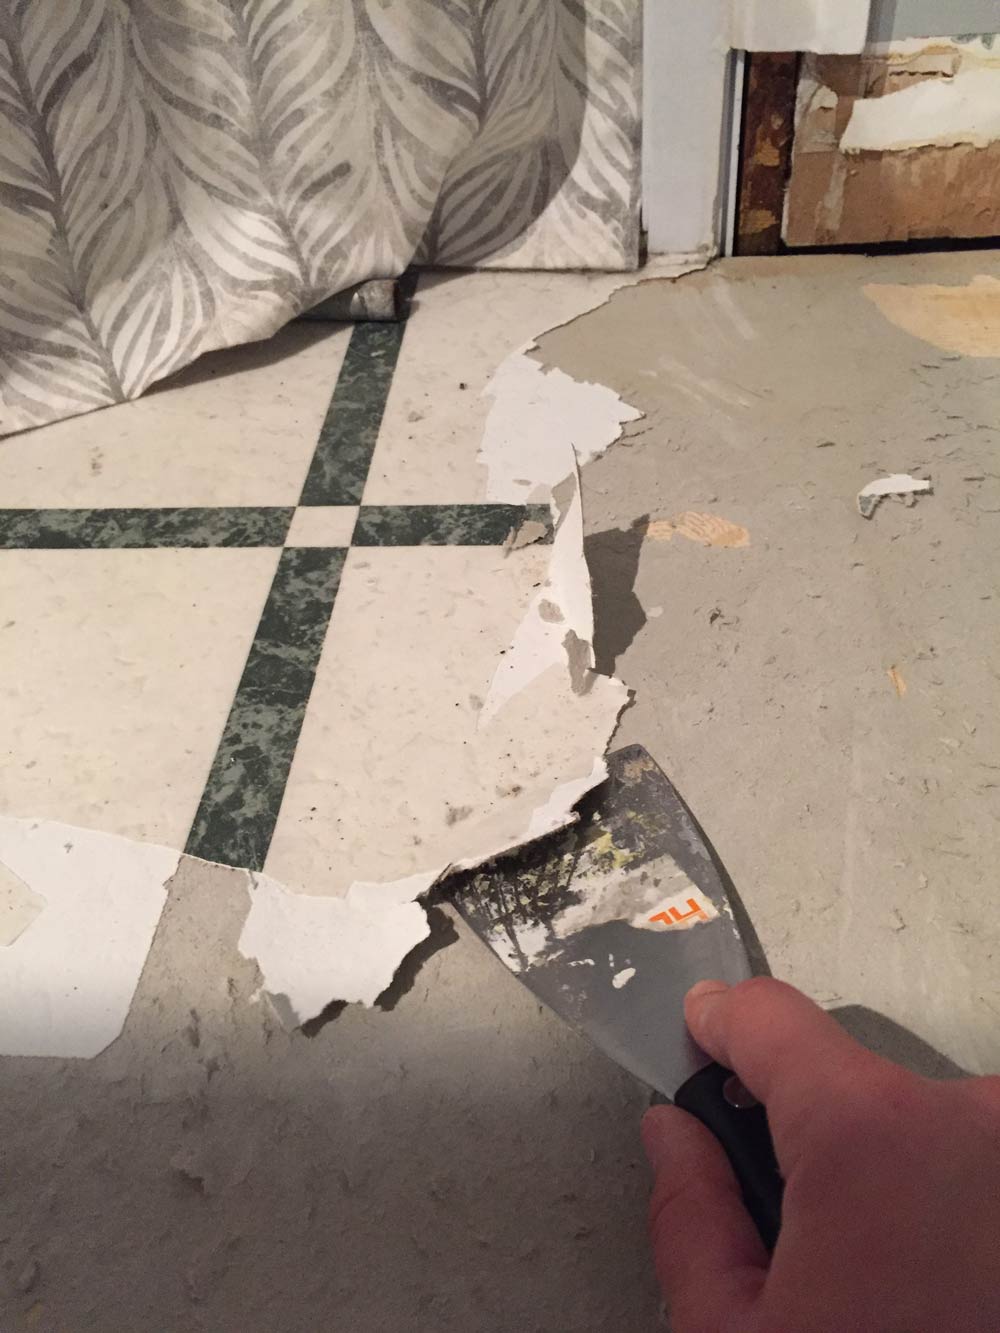
This process was horrible. The vinyl separated from the paper backing, with the paper totally stuck to the plywood subfloor in most areas. Also I got a little too aggressive with the putty knife and gouged a chunk out of my hand, so be careful here!
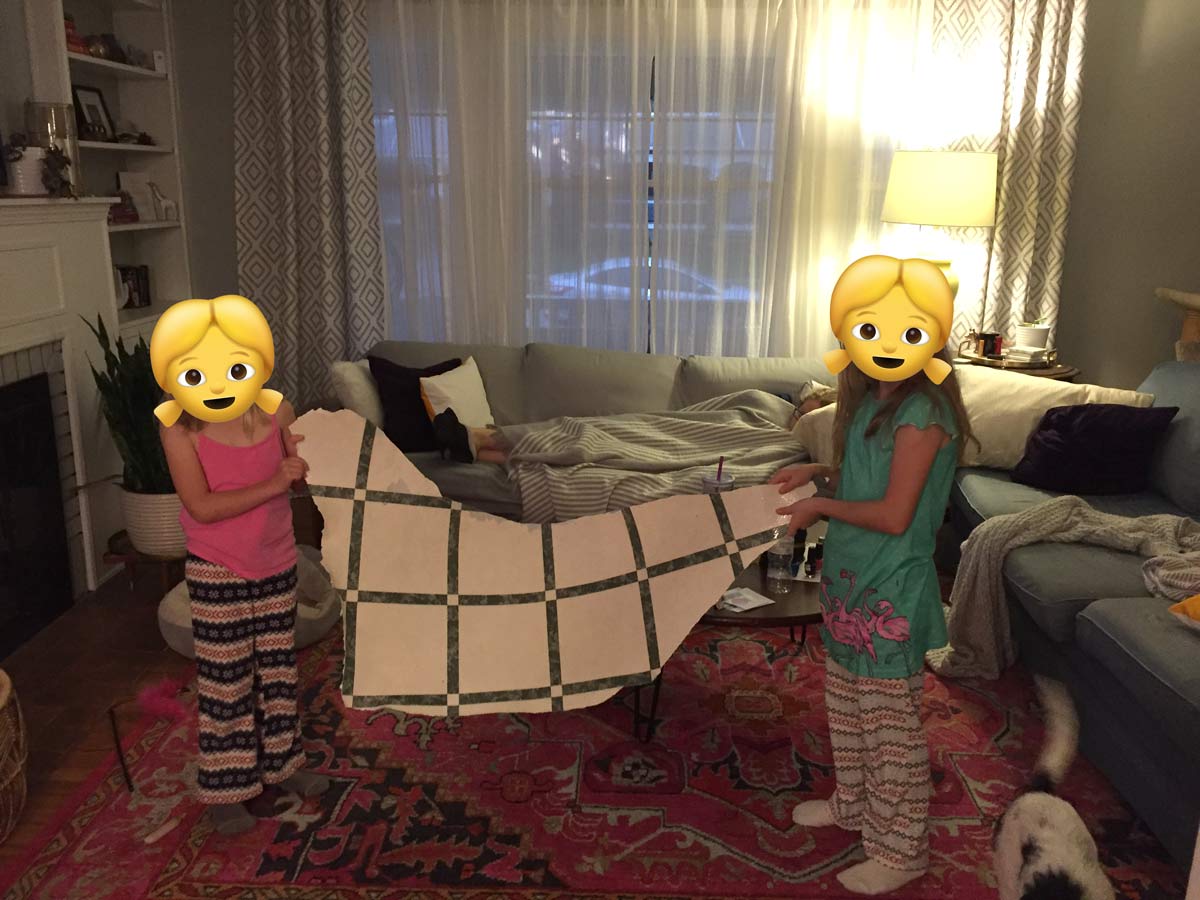
I kept ripping up the floor in little sections and then during a sleepover with my cousins, they were thrilled to jump in and help and pulled off a HUGE section! I guess children really are our future.
Finally, I got all of the vinyl off and moved on to pulling the green plastic-y baseboards off.
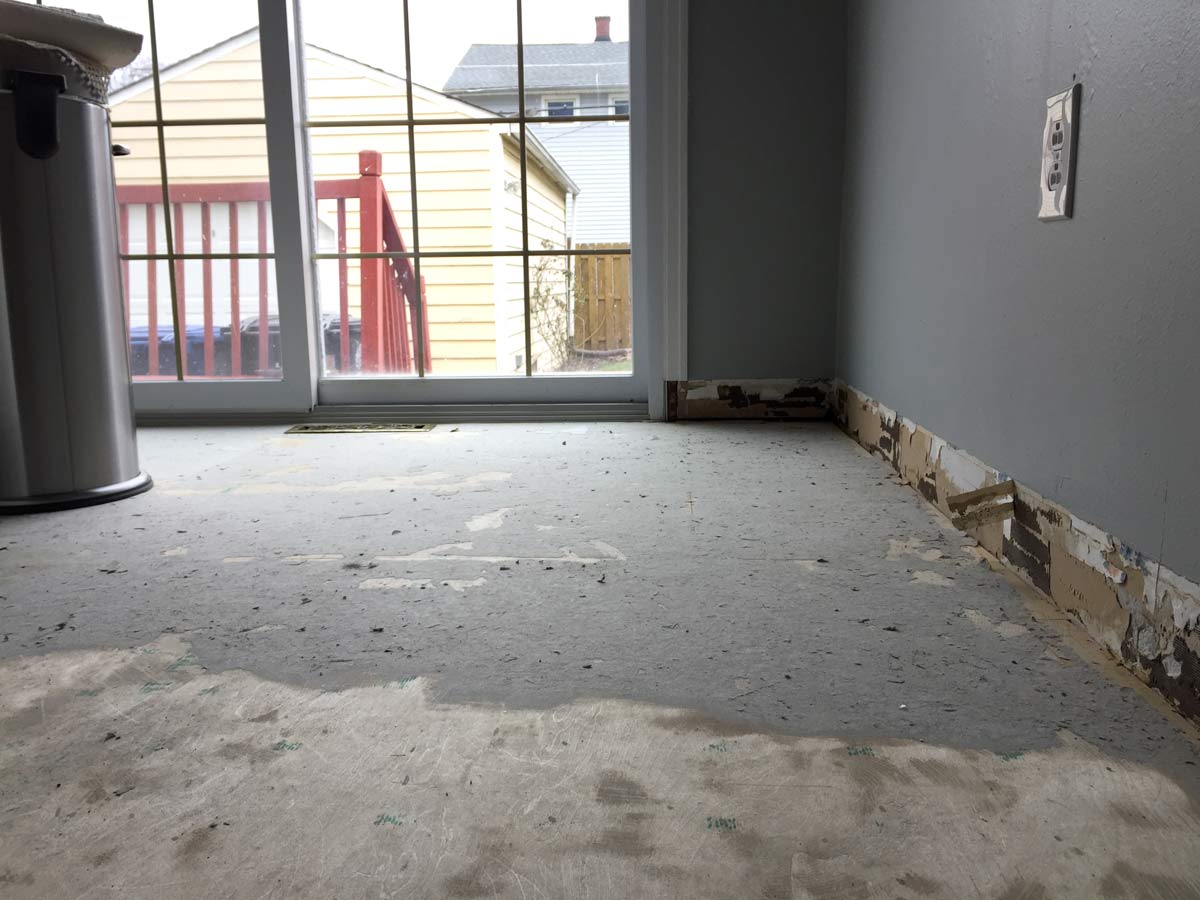
This is the part where I full-on regretted every decision I made and quietly sobbed into my dusty paper floor.
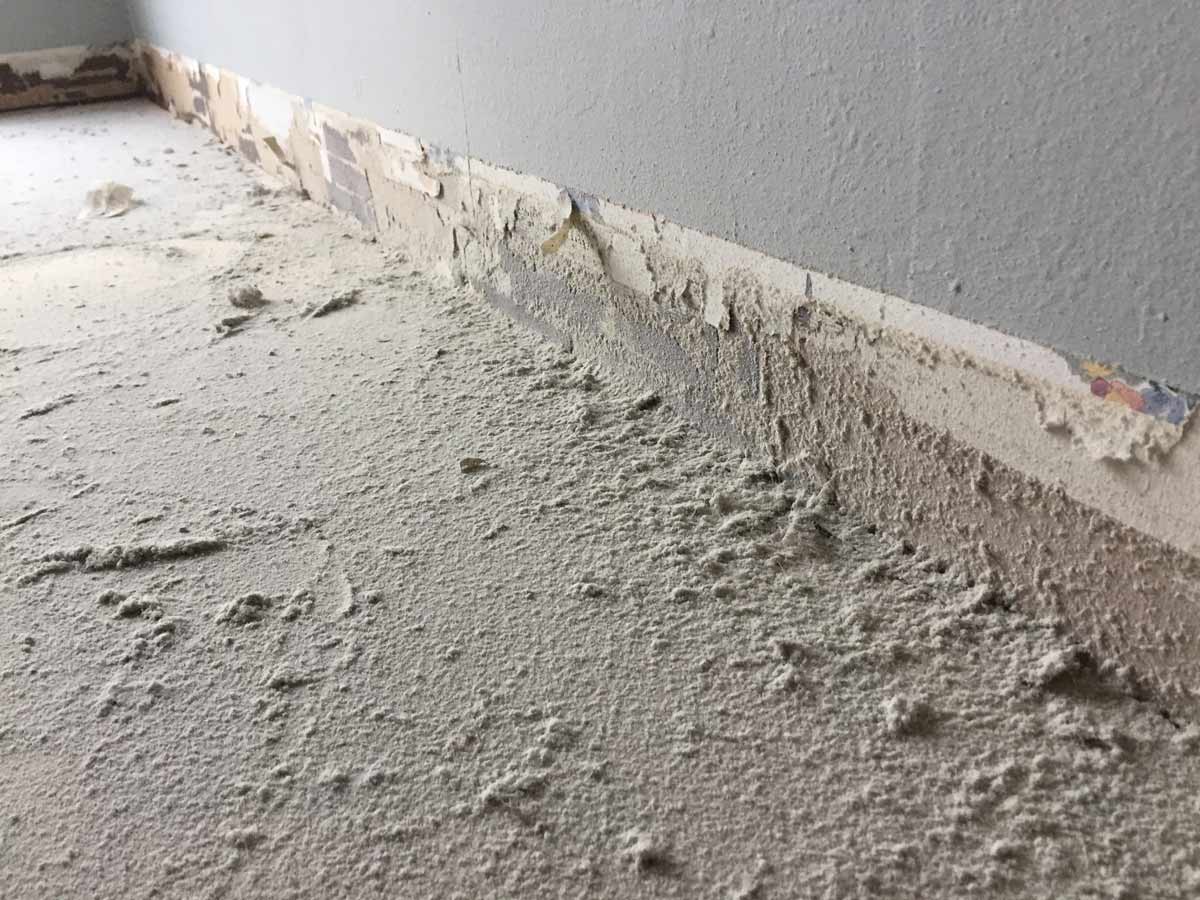
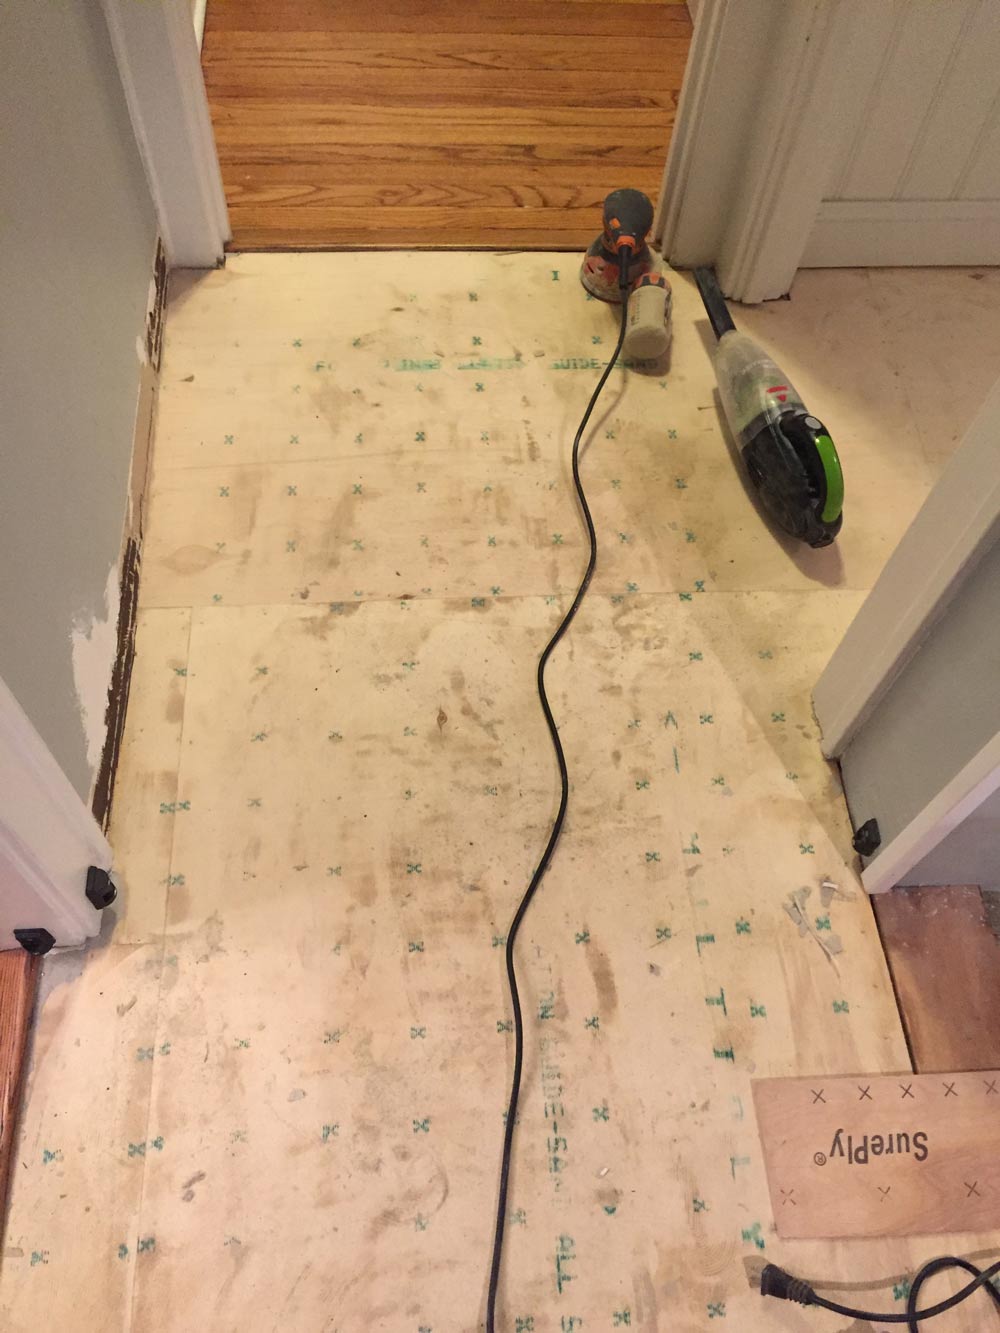
If you are also left with paper backing after pulling up old vinyl flooring, the best method I found was power sanding down through all the layers with an orbital sander. I blew through a zillion sandpaper discs, but eventually was left with a giant pile of dust and a glue covered plywood floor.
Brief New Years 2017 intermission…

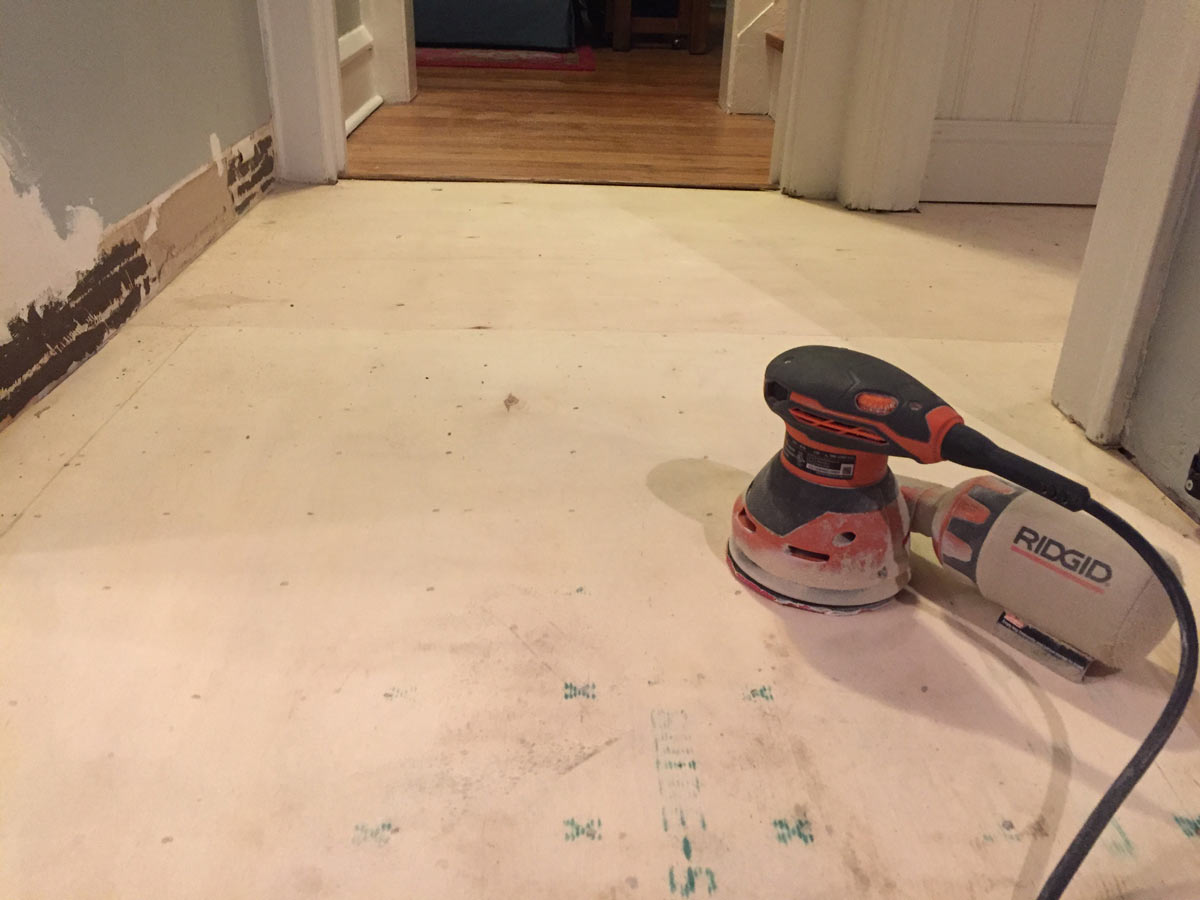
Alright, back to sanding. I sanded through the layer of glue and then went ahead and sanded the floor until it was very smooth. A bonus was that I was able to sand off the green x’s on the plywood, which made a big difference when staining the floor.
Repairing a section of plywood subfloor from under a cabinet
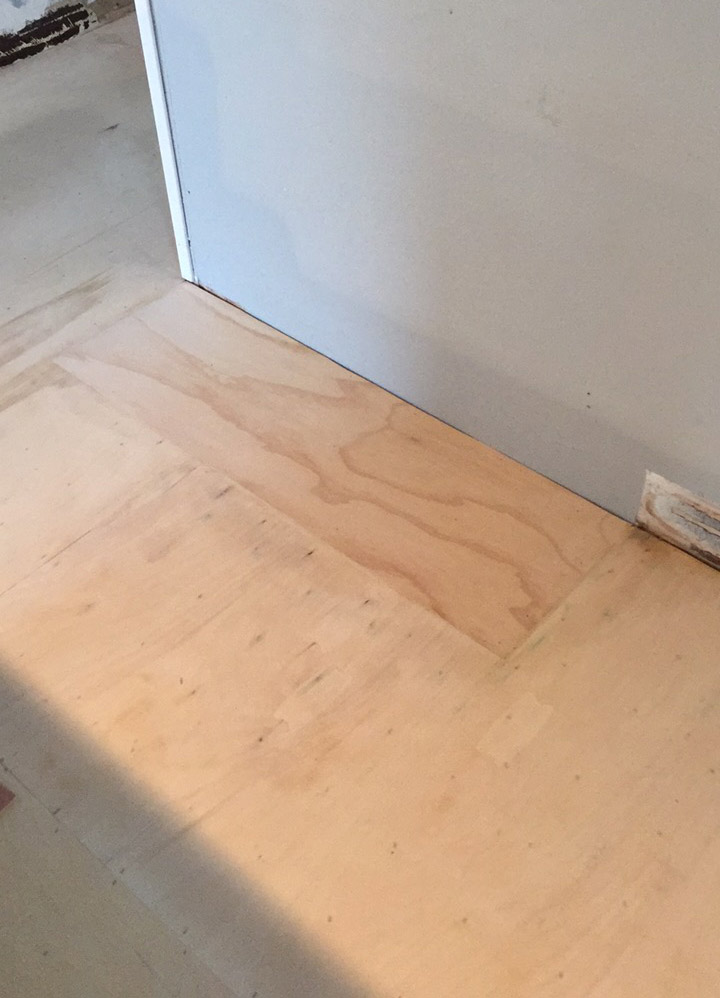
Since I removed a cabinet in the kitchen that was blocking the fridge, there was a hole in the floor that I wanted to fill in to make it level with the rest of the plywood.
I started by cutting a piece of thin plywood to fill the lowest level of the gap. I added some liquid subfloor adhesive and nailed the wood into place.
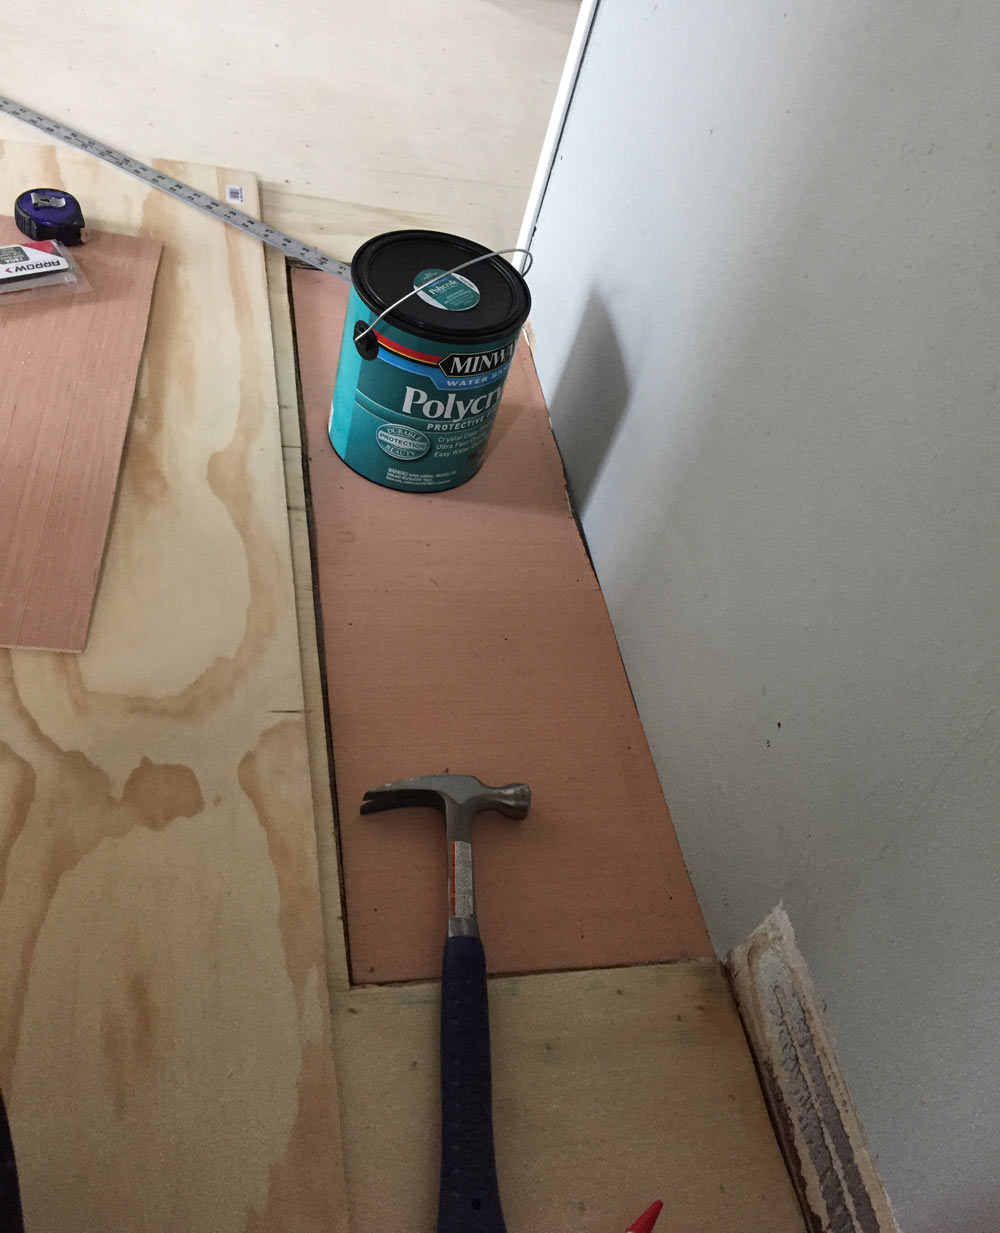
Next, I cut a different piece of slightly thicker plywood to create a second layer, glued it, and nailed it into place.
Then, I added a final layer of plywood and glued and weighted the whole thing down.
Hooray! Now I won’t stub my toes on the hole in the floor. I filled in the cracks around the patch with some wood filler and then gave the whole floor a final, light sand.
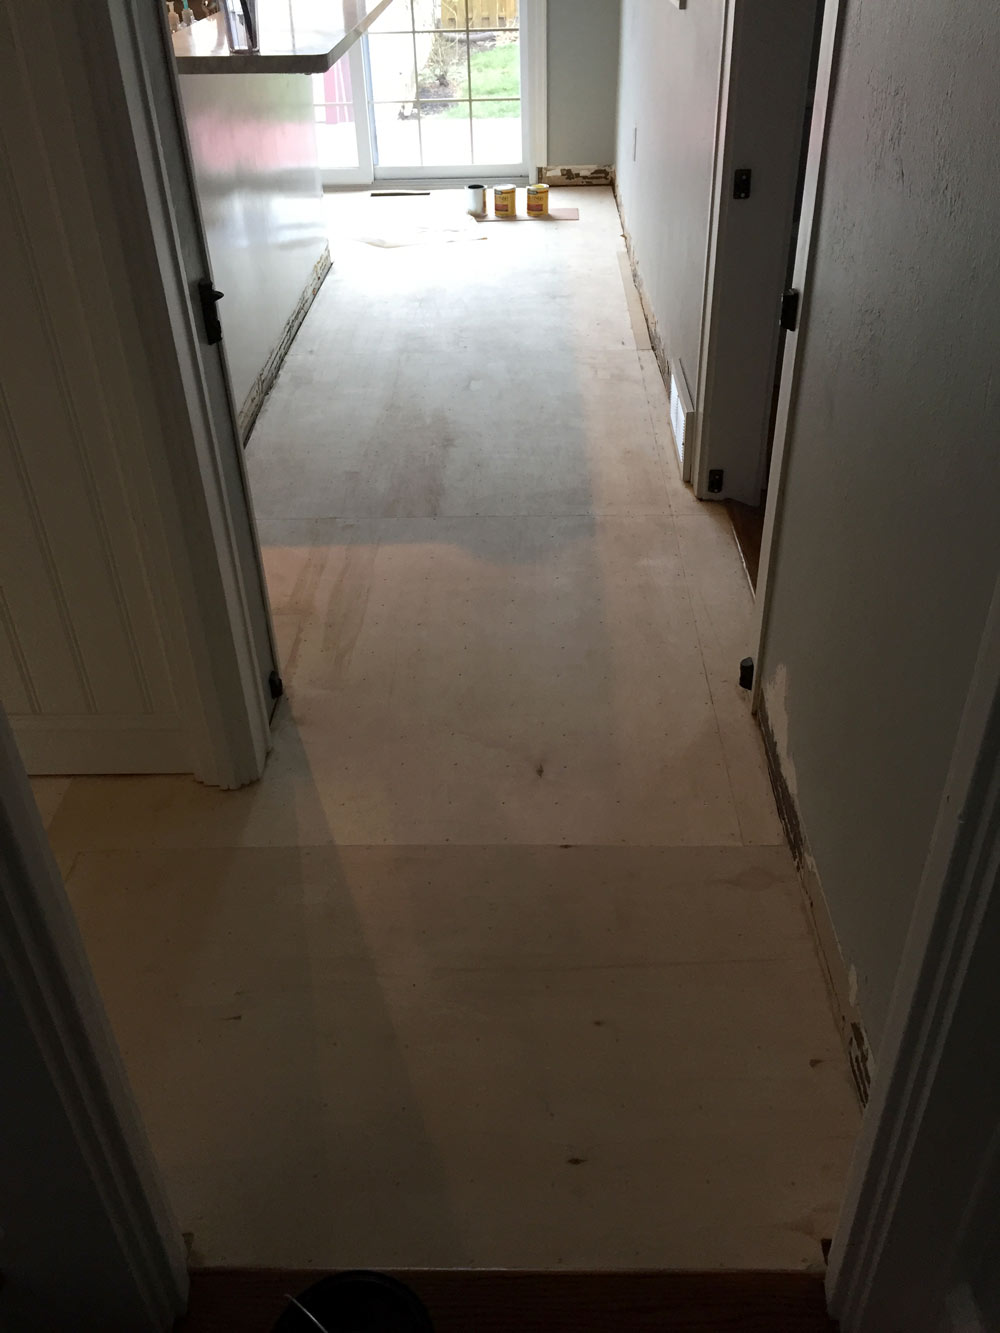
After the plywood is completely sanded, use a shop vac and then wipe with a damp cloth to get all the paper dust off.
Staining
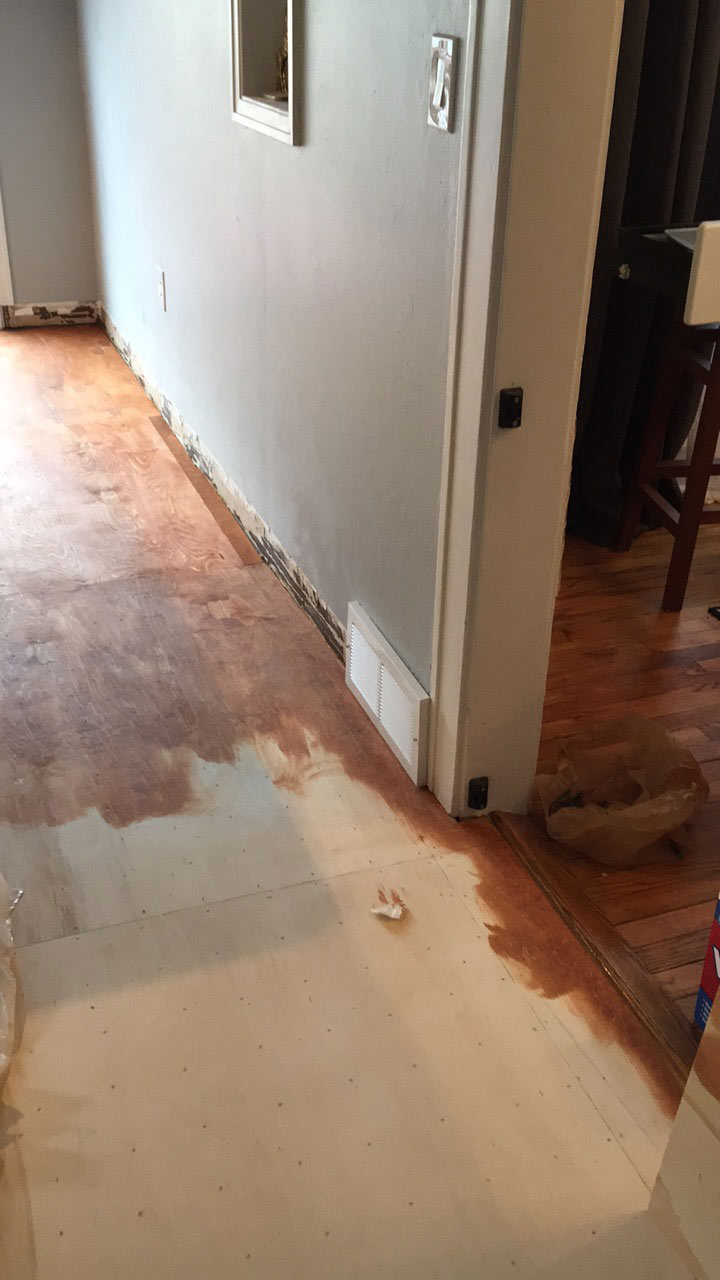
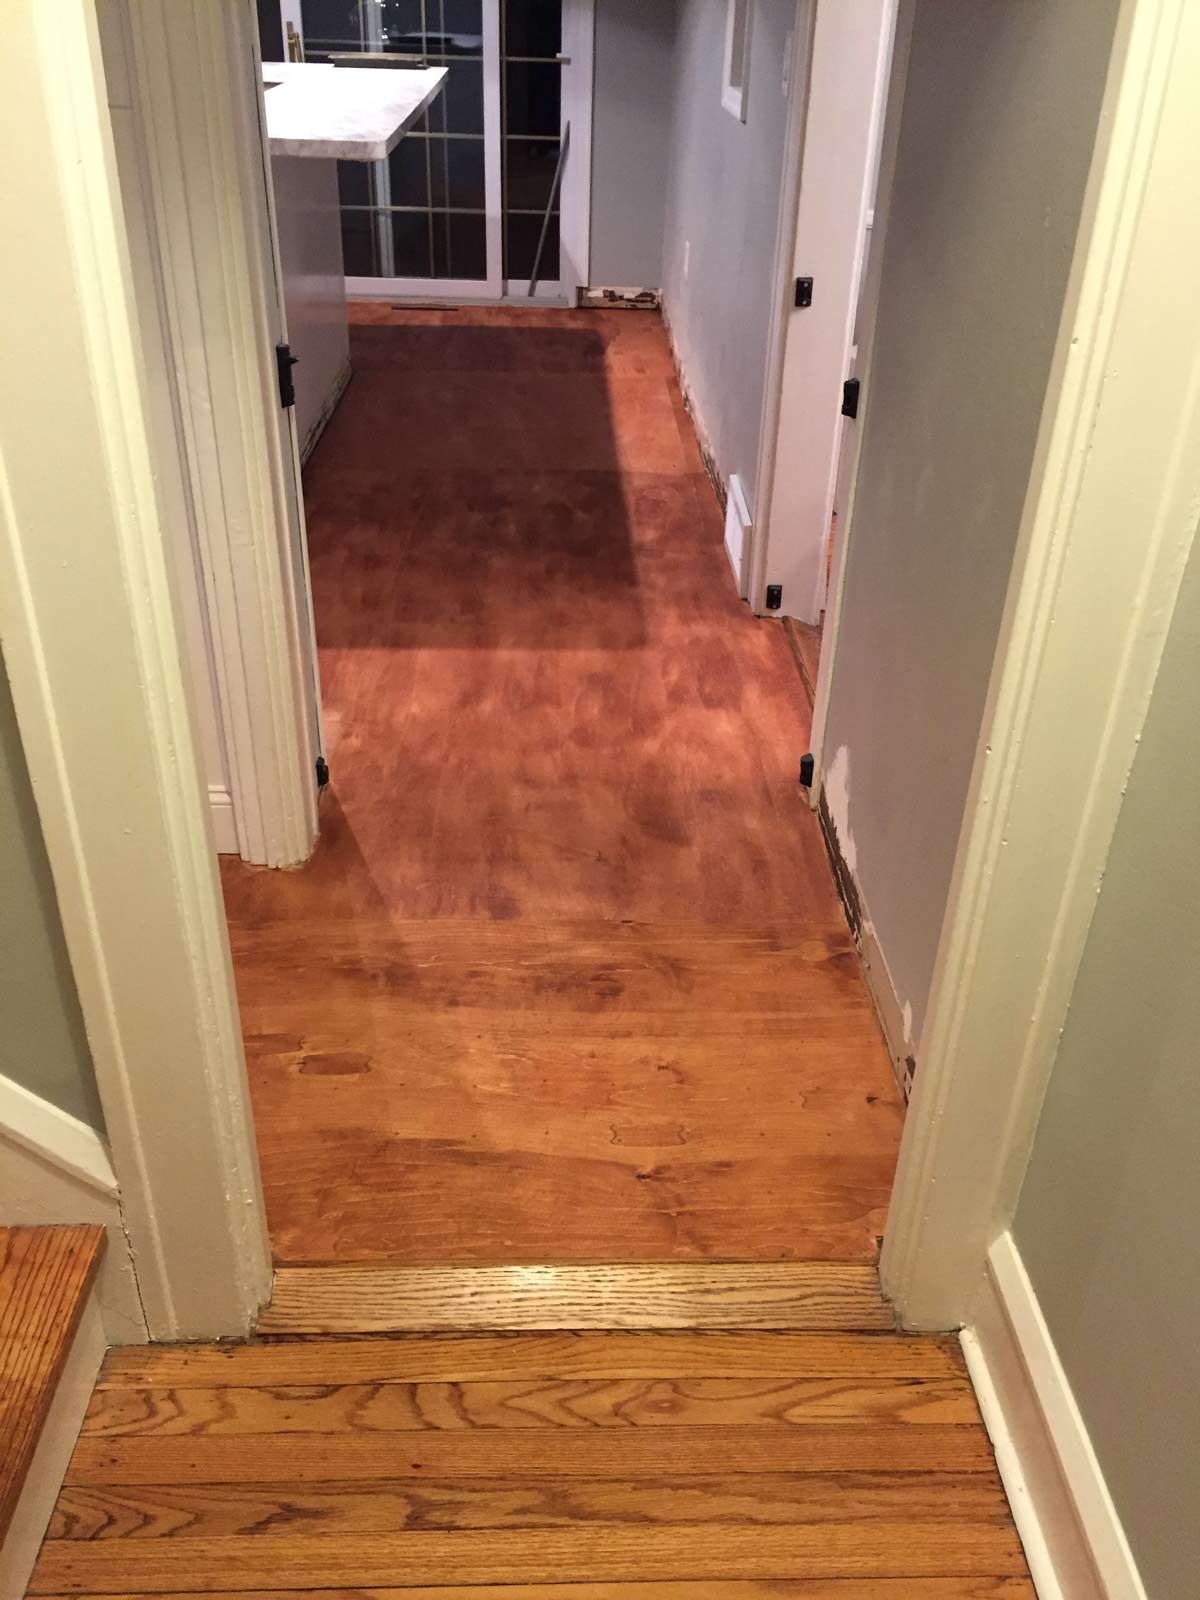
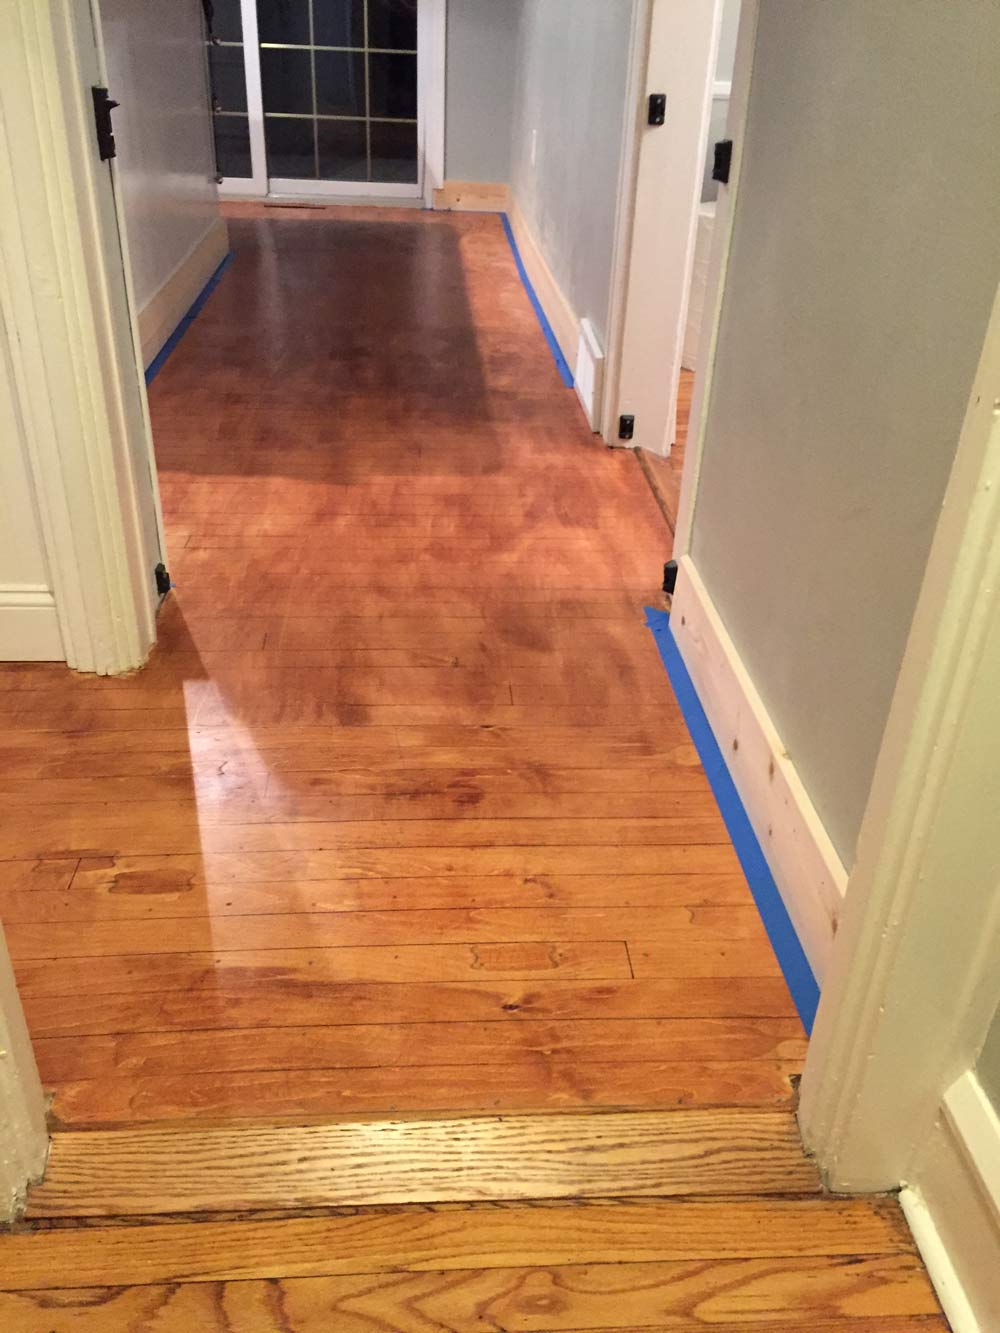
My goal for this DIY faux hardwood plywood subfloor was to have it look as close as possible to the existing oak hardwoods I have throughout the rest of the house. I combined several cans of stain to create a custom color that was very close to the oak.
The plywood took the stain differently in spots, so some areas are a bit too red, but it blends pretty well.
I used a brush to apply stain around the edge and then smeared stain across the whole floor using an old t-shirt.
Be sure not to stain yourself into a corner!
I loved seeing a continuous color on the whole first floor. It was WAY better than the vinyl. But, it could be better.
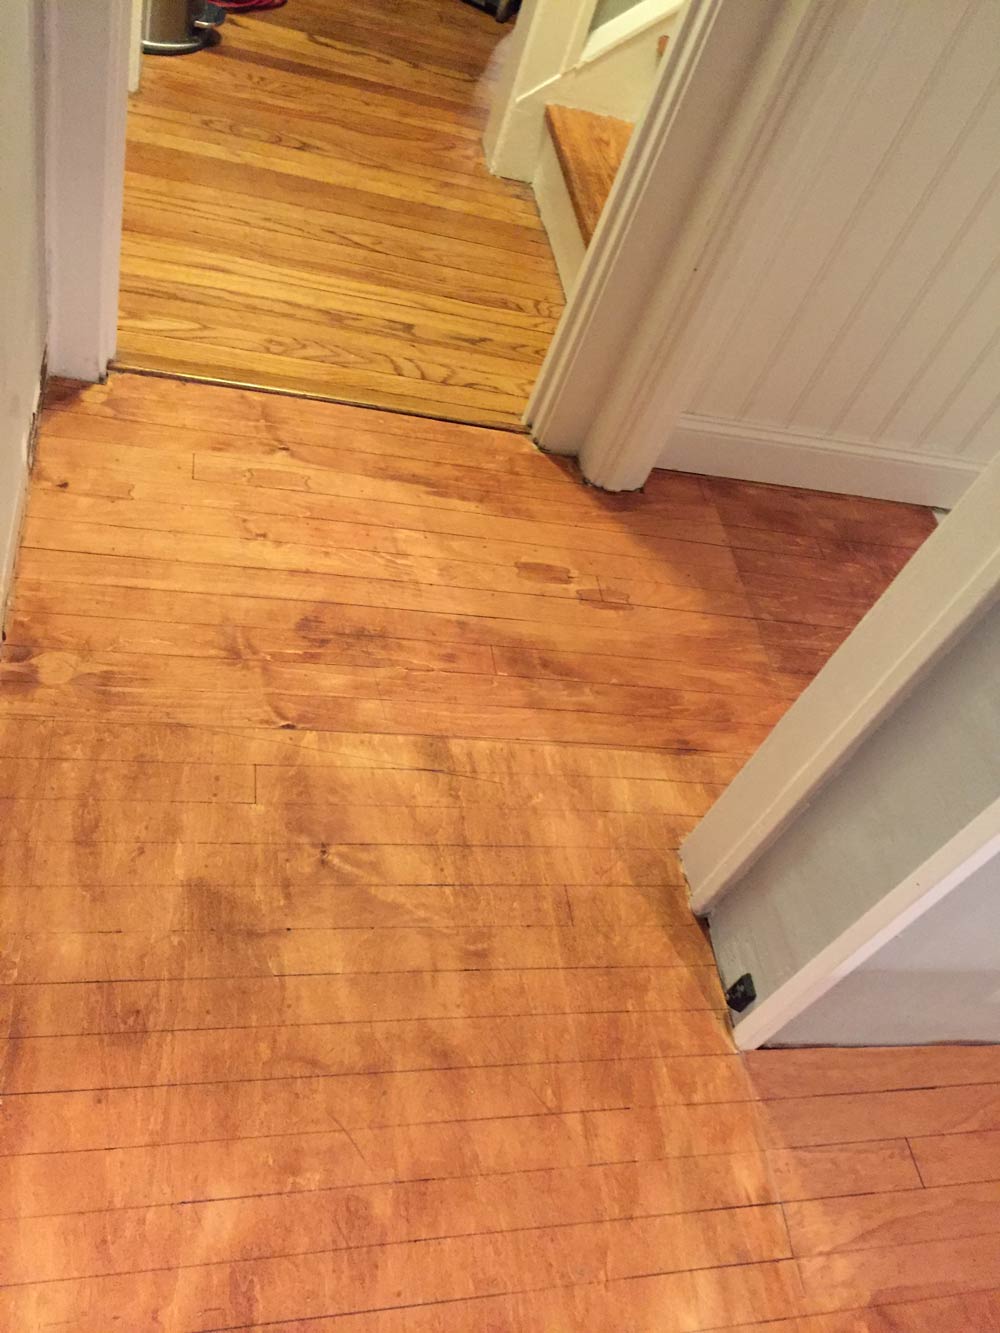
Since the plywood subfloors were never meant to be the seen, the plywood was laid with the grain going in different directions and the stain was a little uneven from board to board.
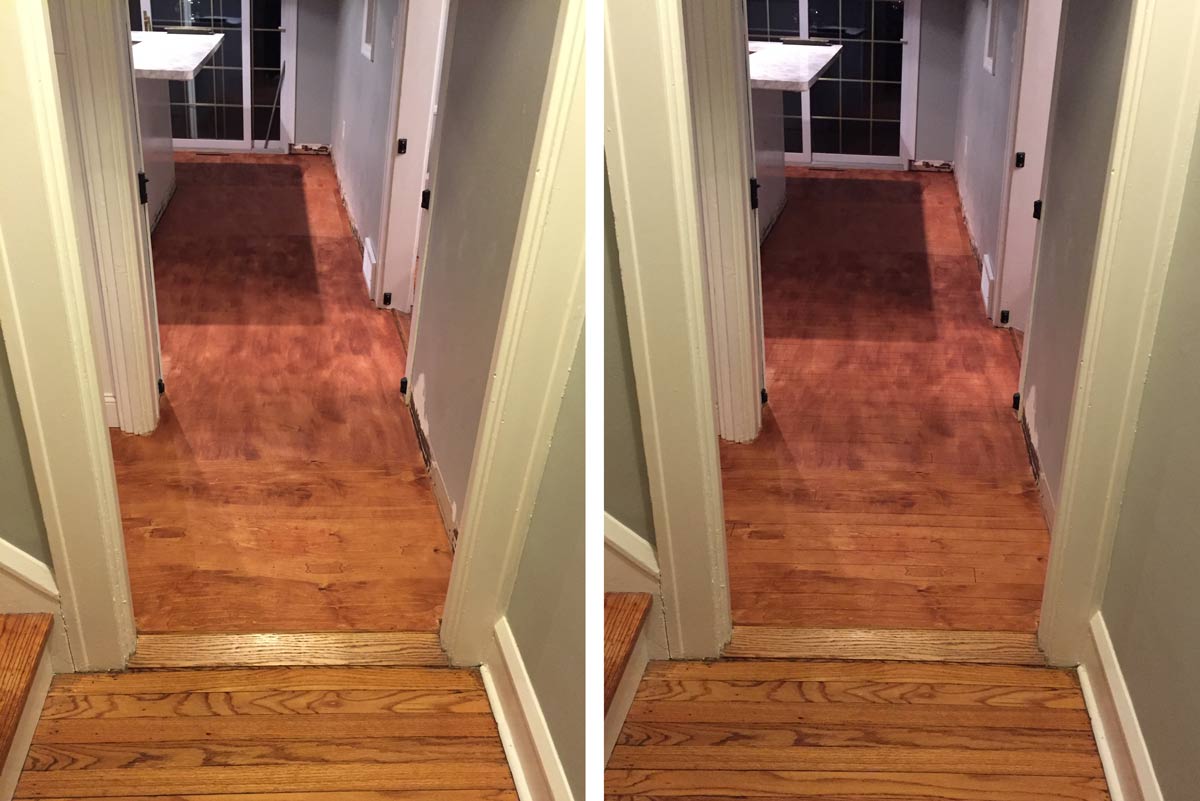
I photoshopped a quick side-by-side with some lines added to mimic hardwood floors and loved the extra layer, so I ran to 7-11 and bought a million sharpies and got to work drawing individual planks.
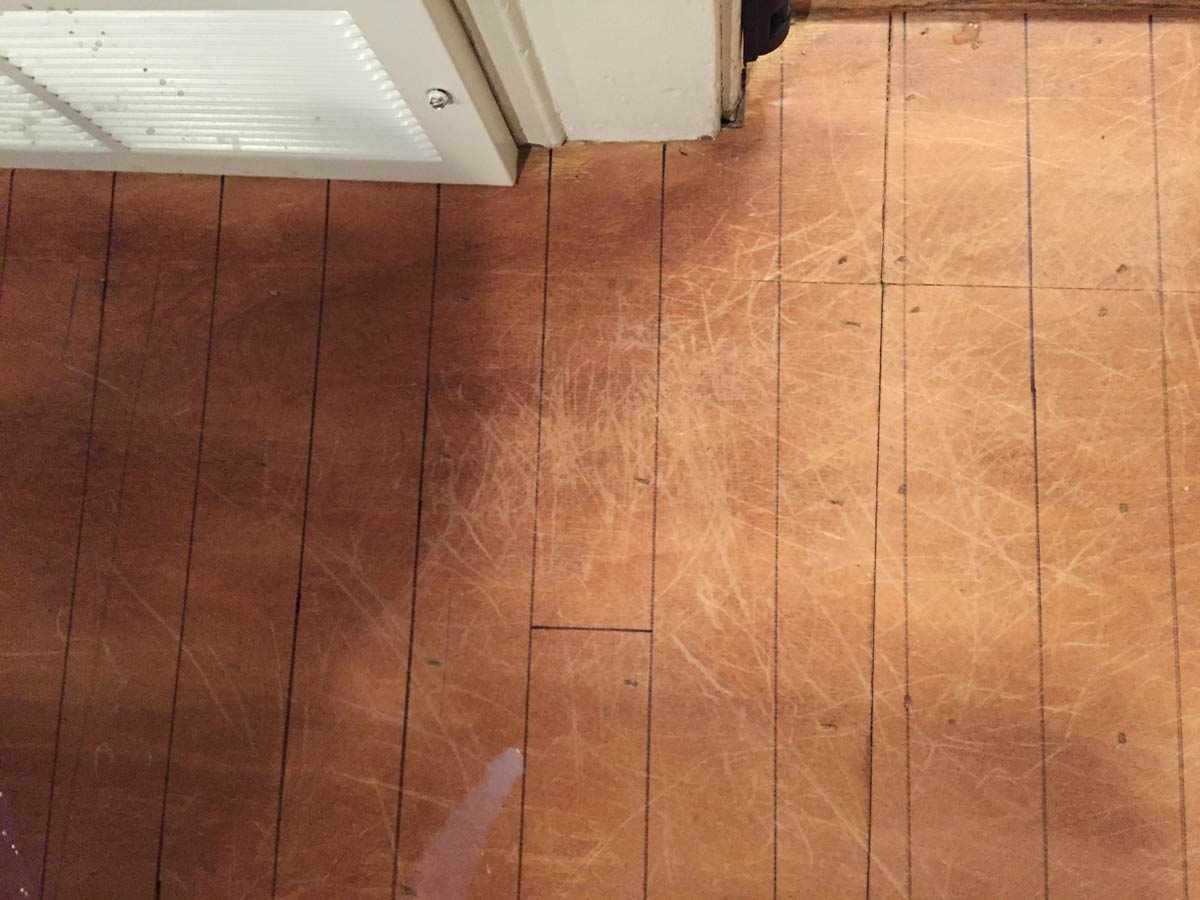
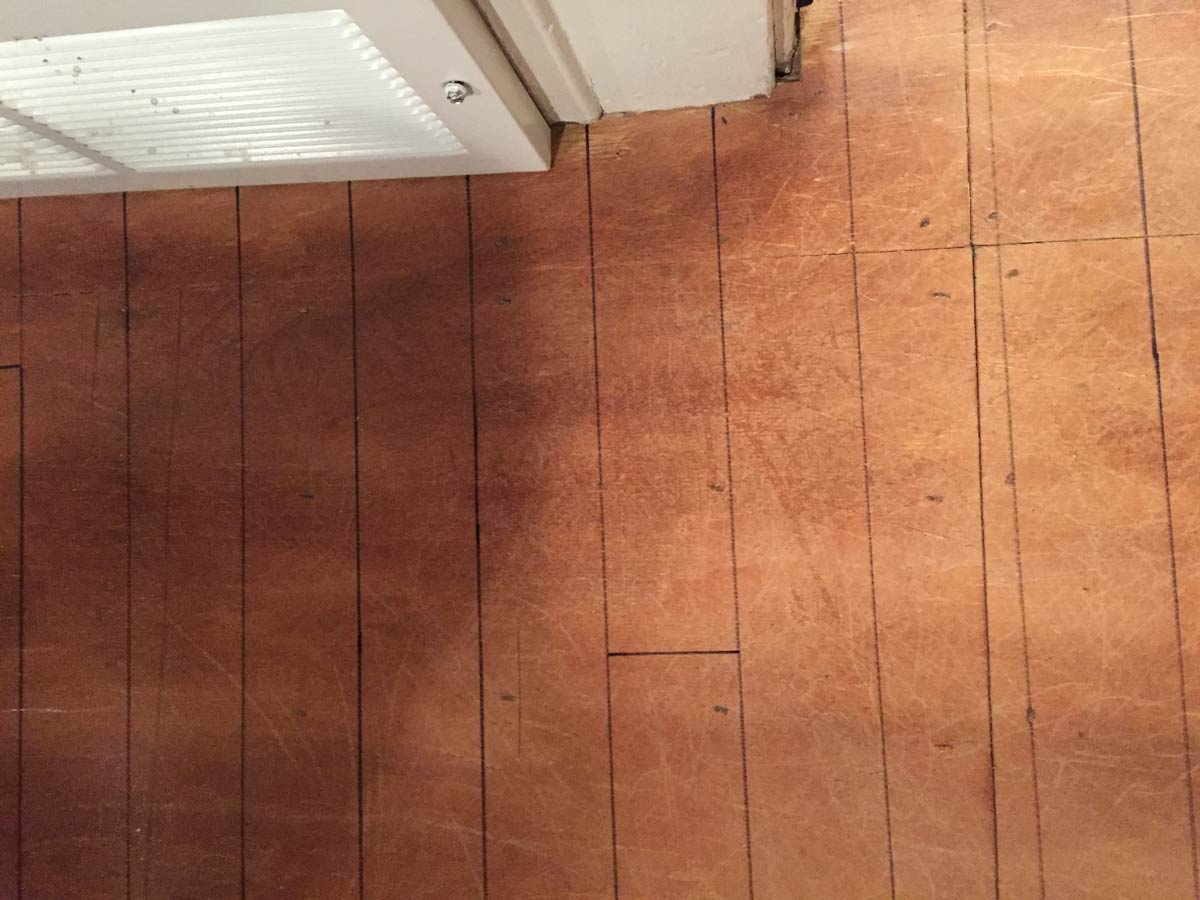
I used a scrap piece of 1×3 wood as a guide which perfectly matched the width of my existing hardwoods. I started at the “front” of the kitchen near the stairs and drew Sharpie lines across the entire kitchen floor.
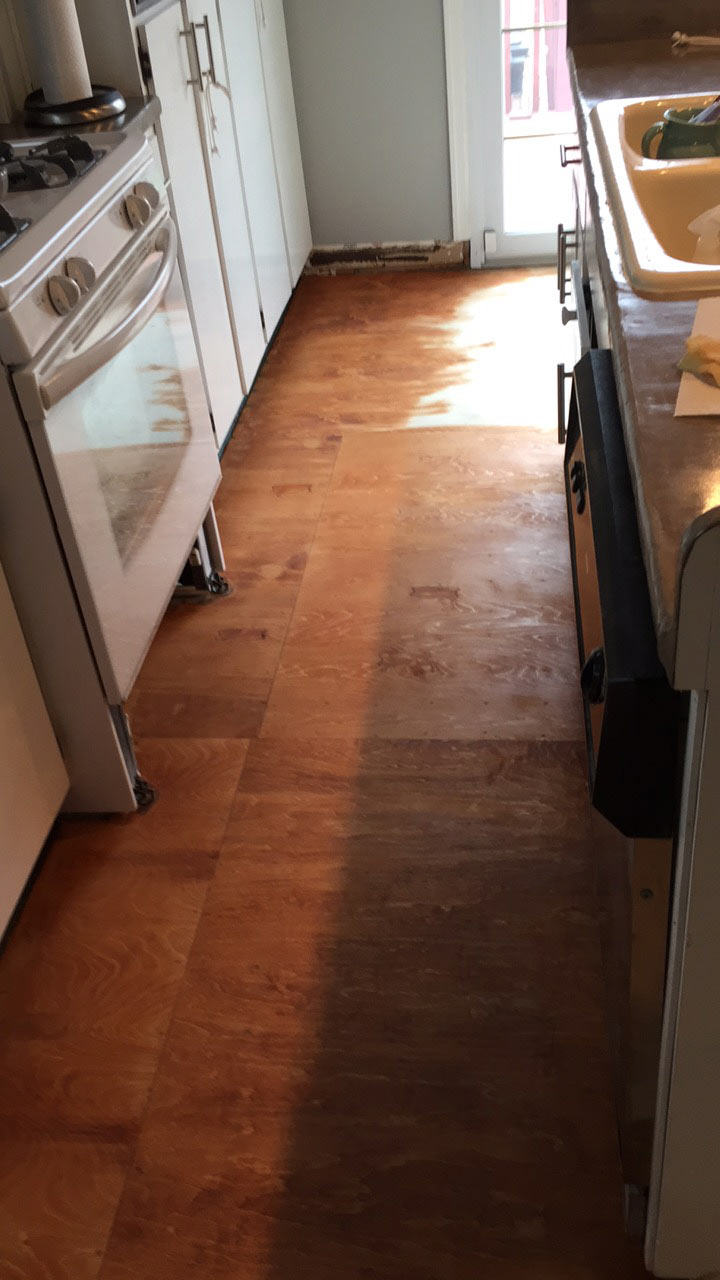
Then I went back and added in some perpendicular lines to act as staggered floorboards.
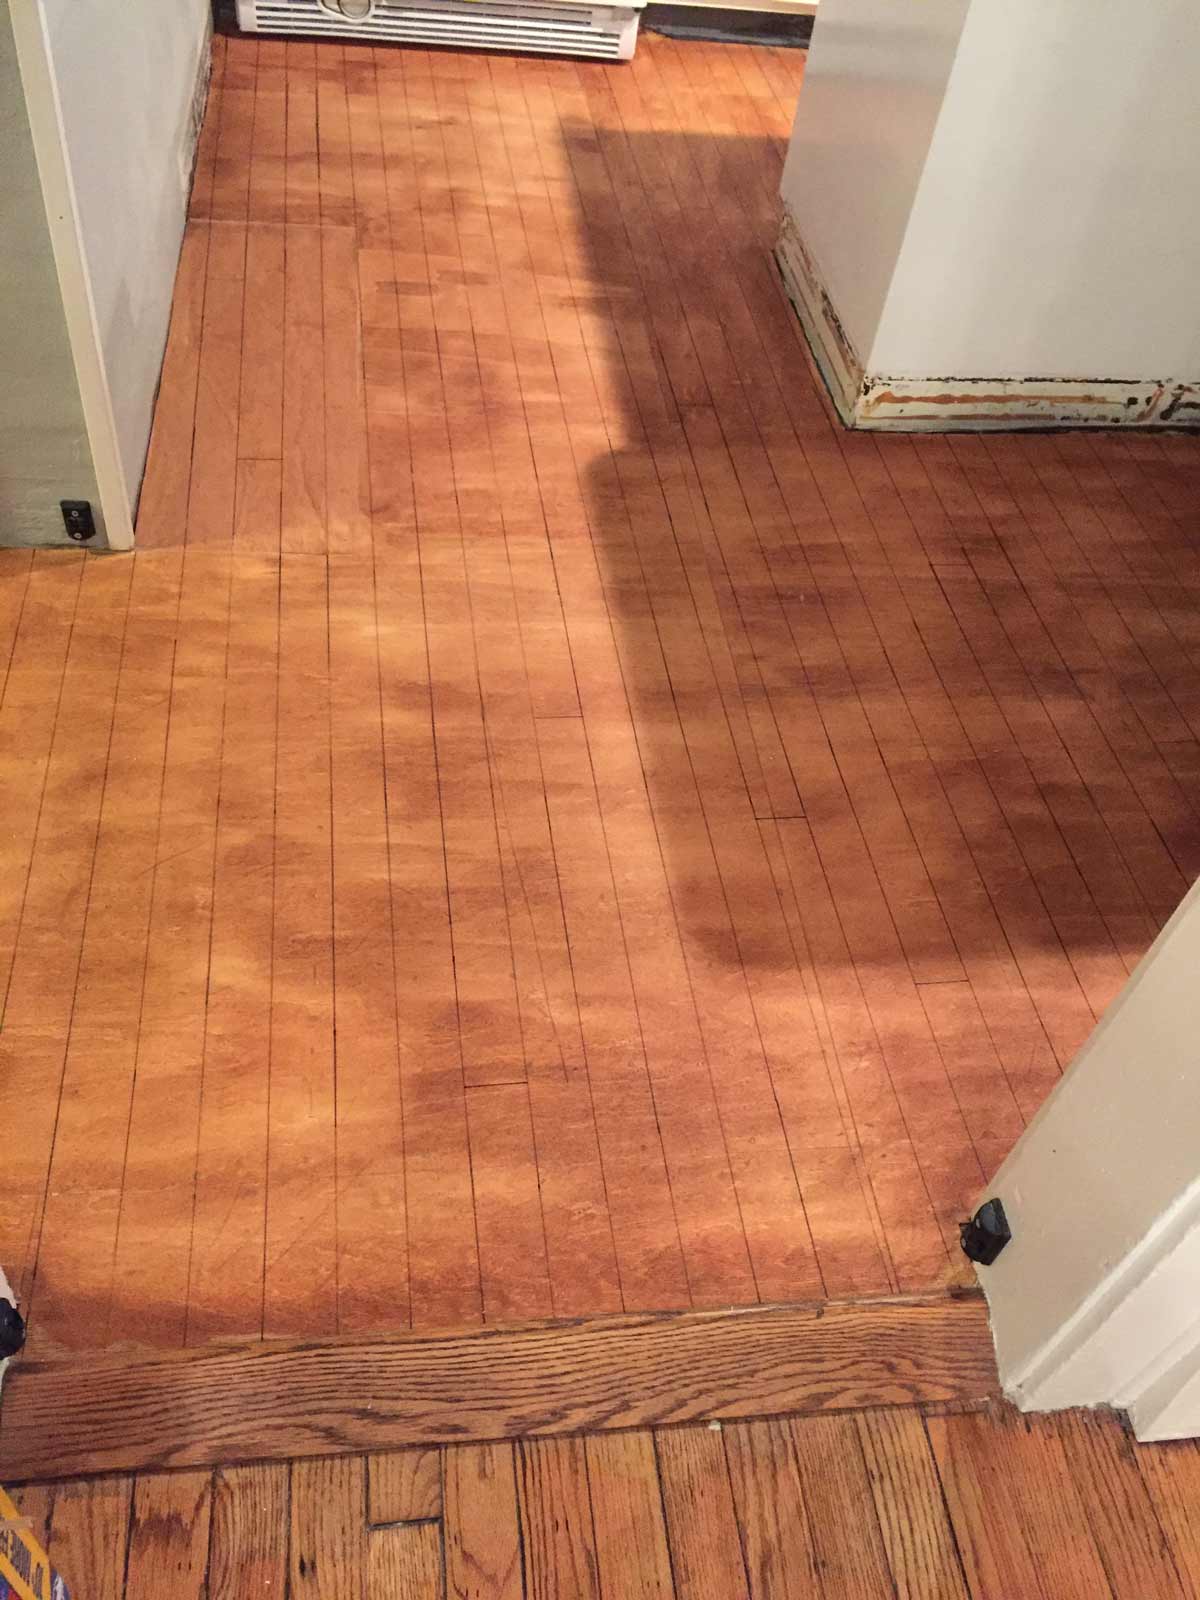
These lines made a huge difference in distracting from the patched area and the numerous sections of plywood.
You can tell in the side-by-side that the Sharpie layer just adds a nice level of depth and helps trick people into thinking you’re a baller with real hardwoods everywhere.
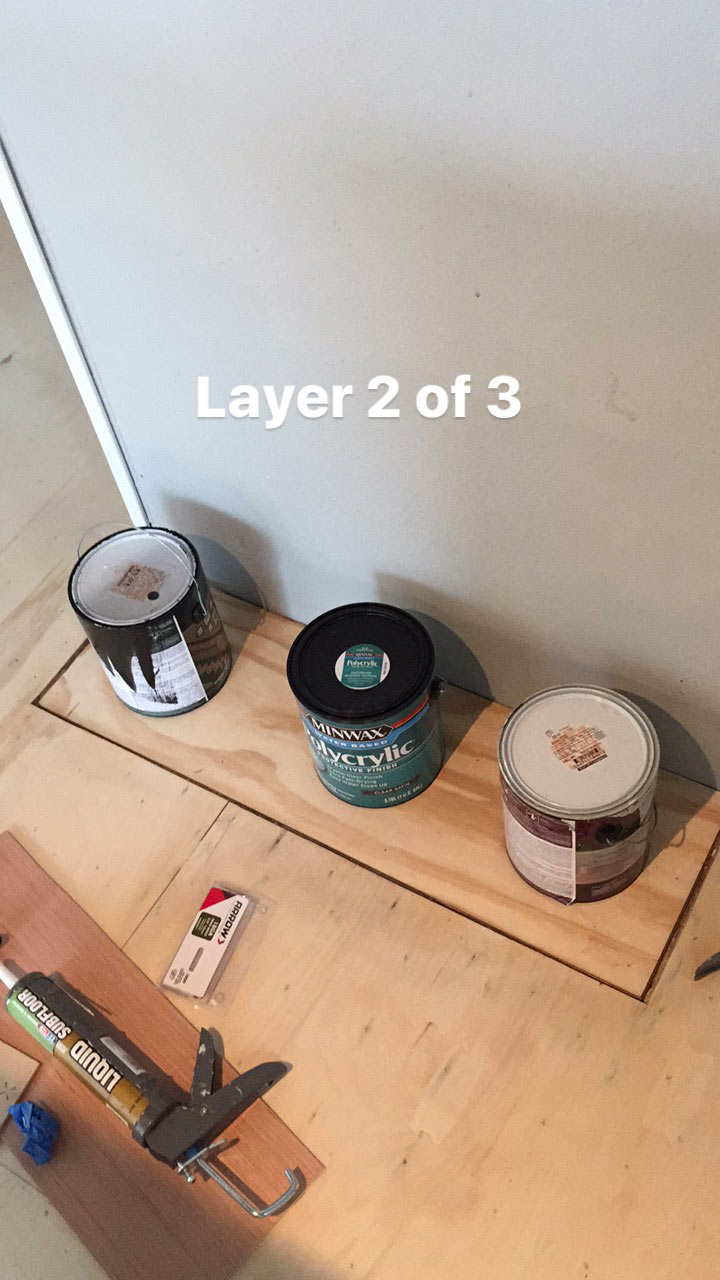
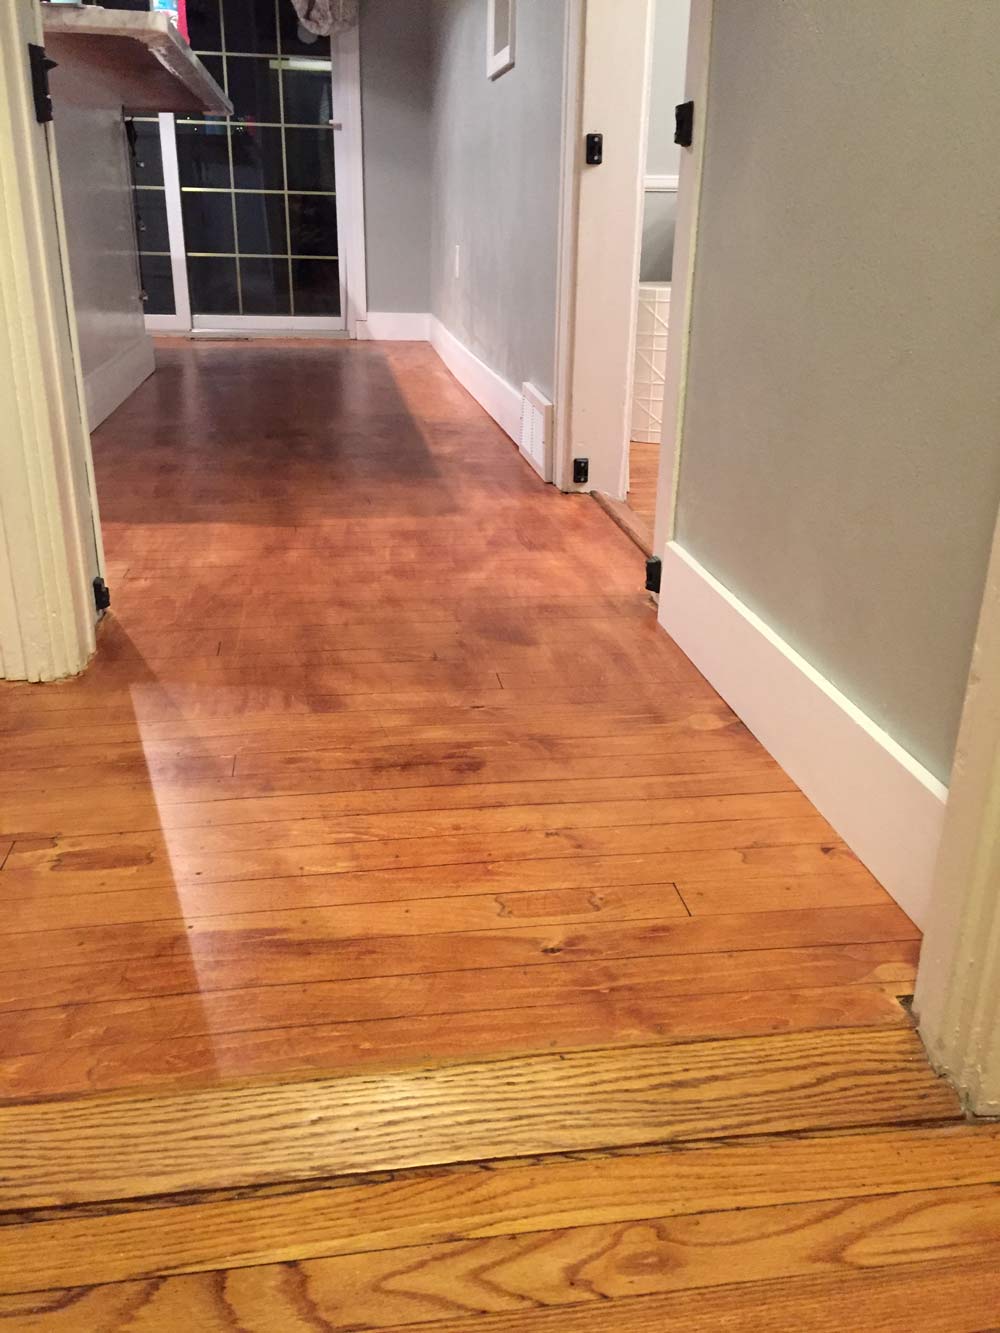
After the Sharpie was done and dry, I started layering on my water-based poly. For actual oak hardwoods, I prefer an oil-based poly because it is a little thicker and the amber color felt right for my old house. But, since this was just going on my kitchen subfloor, it didn’t seem worth the time, expense, or fumes to do several coats of oil-based poly.
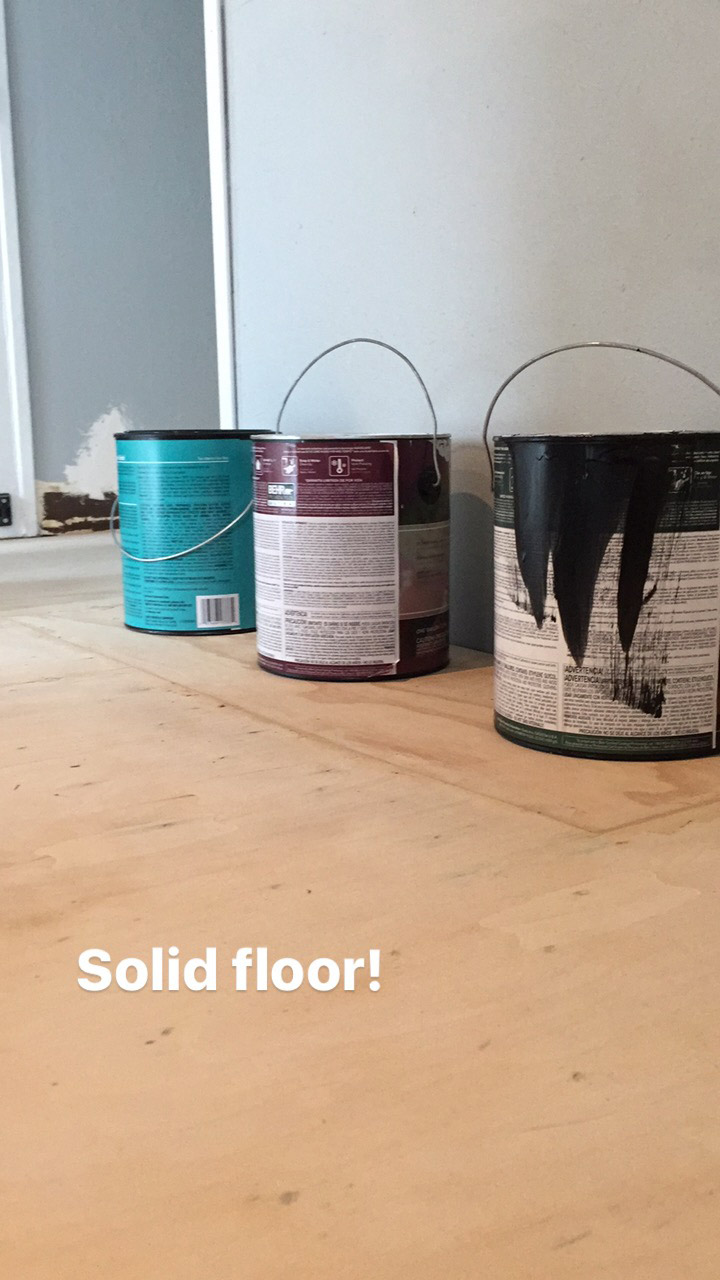
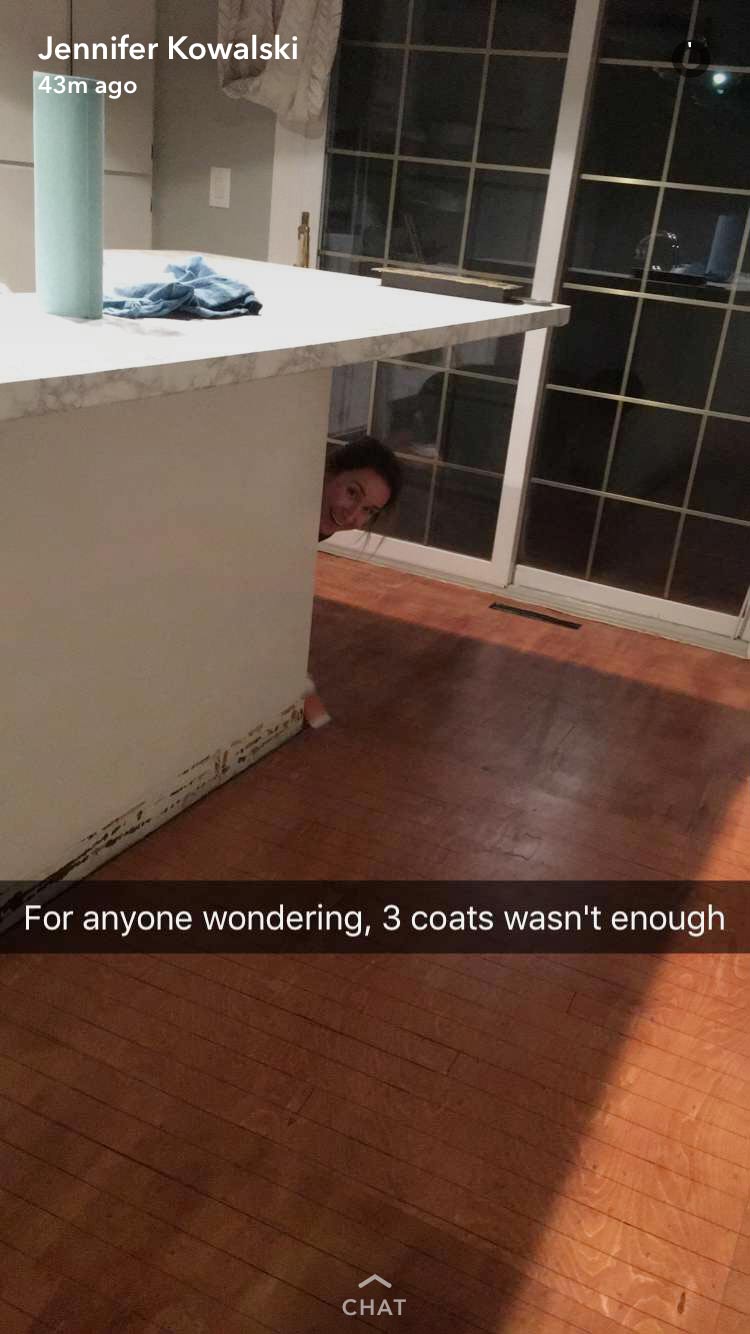
I started with the plan of doing three coats and was updating everyone in my Snapchat stories. Apparently, so was Jennifer, because I got this snap after I decided that it needed another coat.
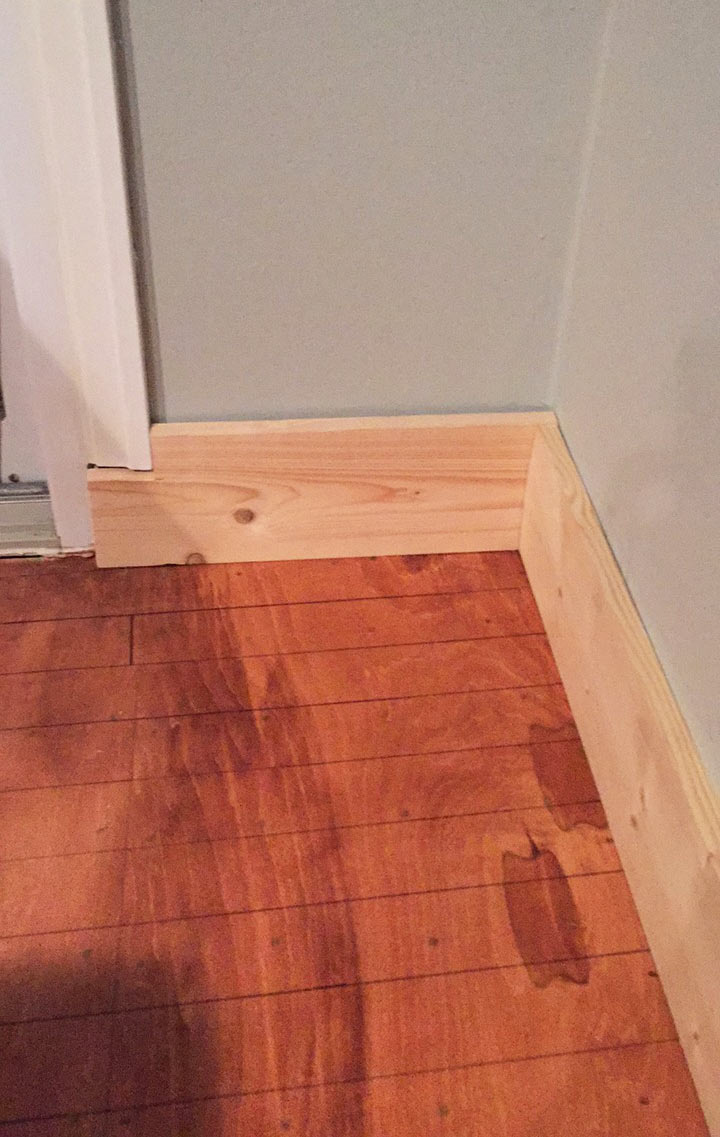
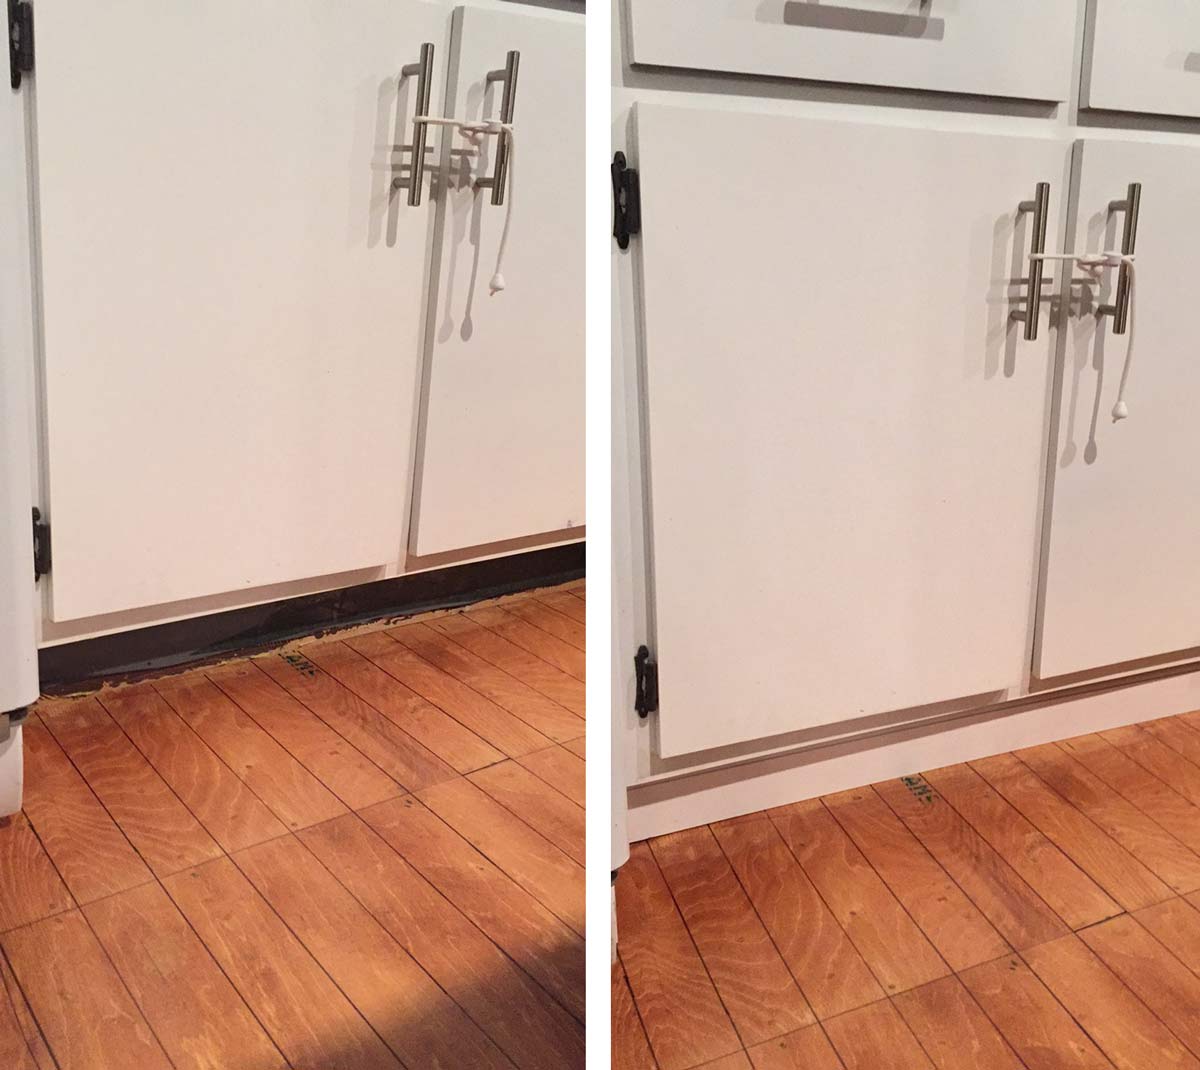
The finishing touch came through new baseboards. I bought basic 1×6 common boards and cut them to size. I had to notch a couple sections to work with the existing molding around the doors, so I used a jig saw and a miter saw.
Then I painted them with some leftover white paint, and YUM SIZZLE it was looking so good.
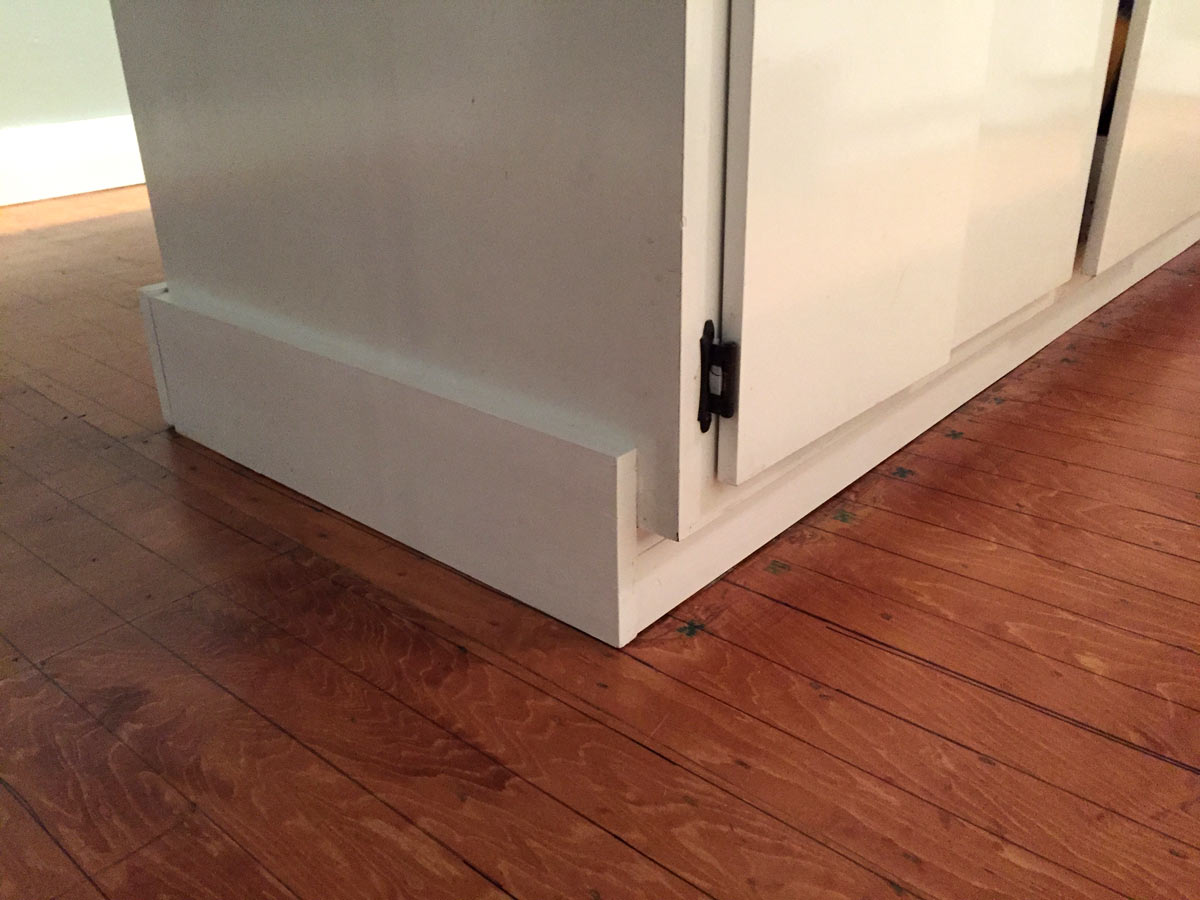
I added the 1×6 around the island and tucked some smaller pre-primed molding in the exposed toe-kicks.
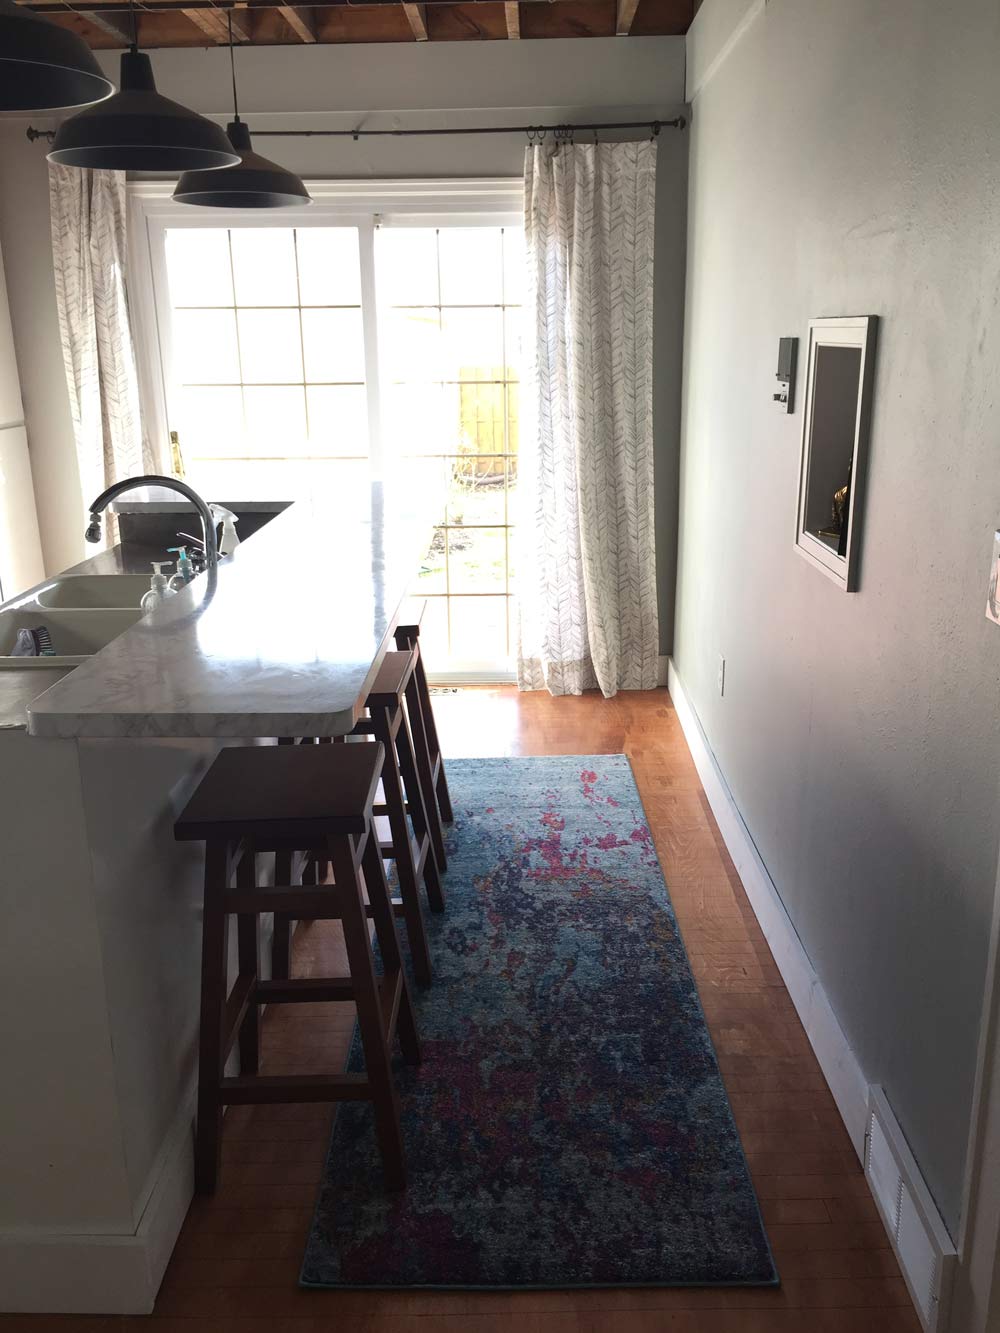
UPDATE: 1.5 years later
The floor has held up really well considering it’s trash plywood that was trapped under decades-old vinyl. Freddie and George (dog + cat) have wrestled on this a lot and you can definitely see their claw/nail marks more on this floor than the oak hardwoods. After a year and a half, I recently polished up the floor with Bona High Gloss Floor Polish. I used the High Gloss version because that’s what they had a Target, and thankfully it was more of a satin finish. This filled in the scratches and helped them blend in with the floor.
It worked well to help keep these temporary floors going for another couple years. I’ll probably touch up the sealer this winter with something heavier duty. My temporary kitchen will probably have to last me 7–12 years, but I’m excited to keep making low-cost improvements!
For fun, remember where we started?
And now… so much better!
Let me know if you have any questions about making your own DIY faux hardwood plywood subfloors, or if you want any help working with what you’ve got while you save up for something major.


