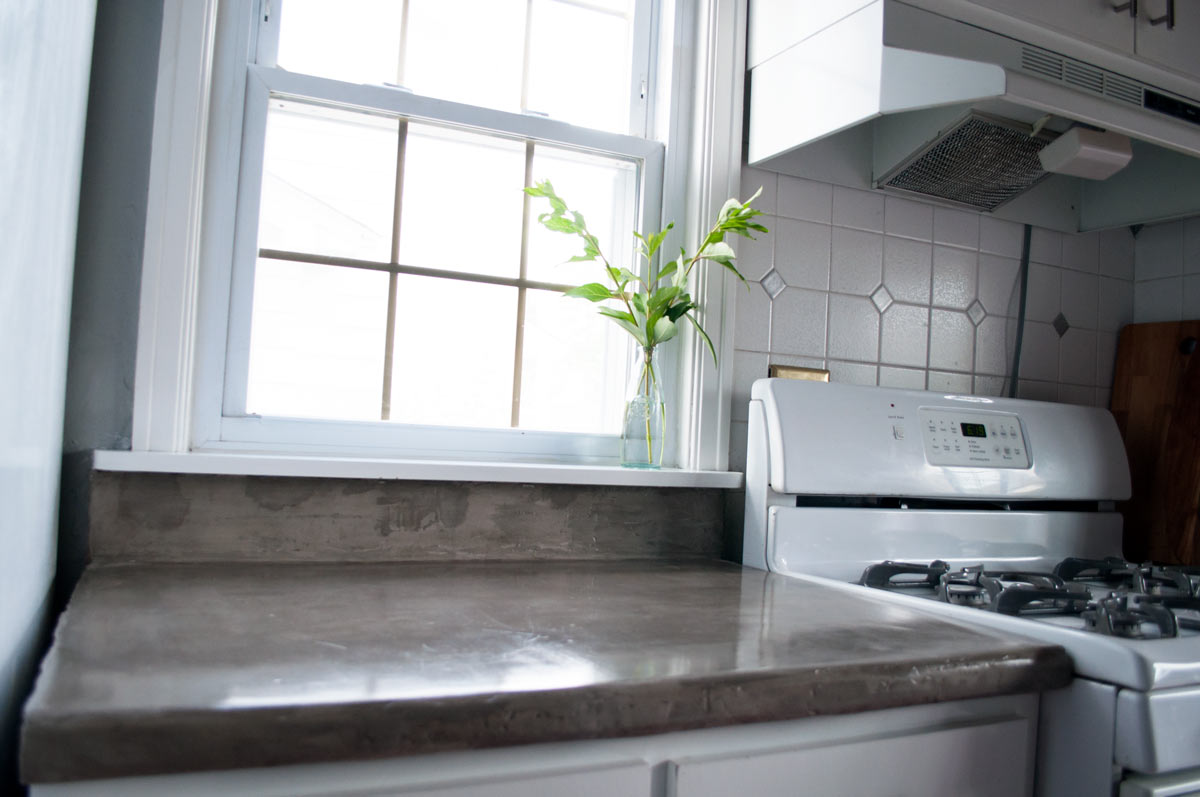
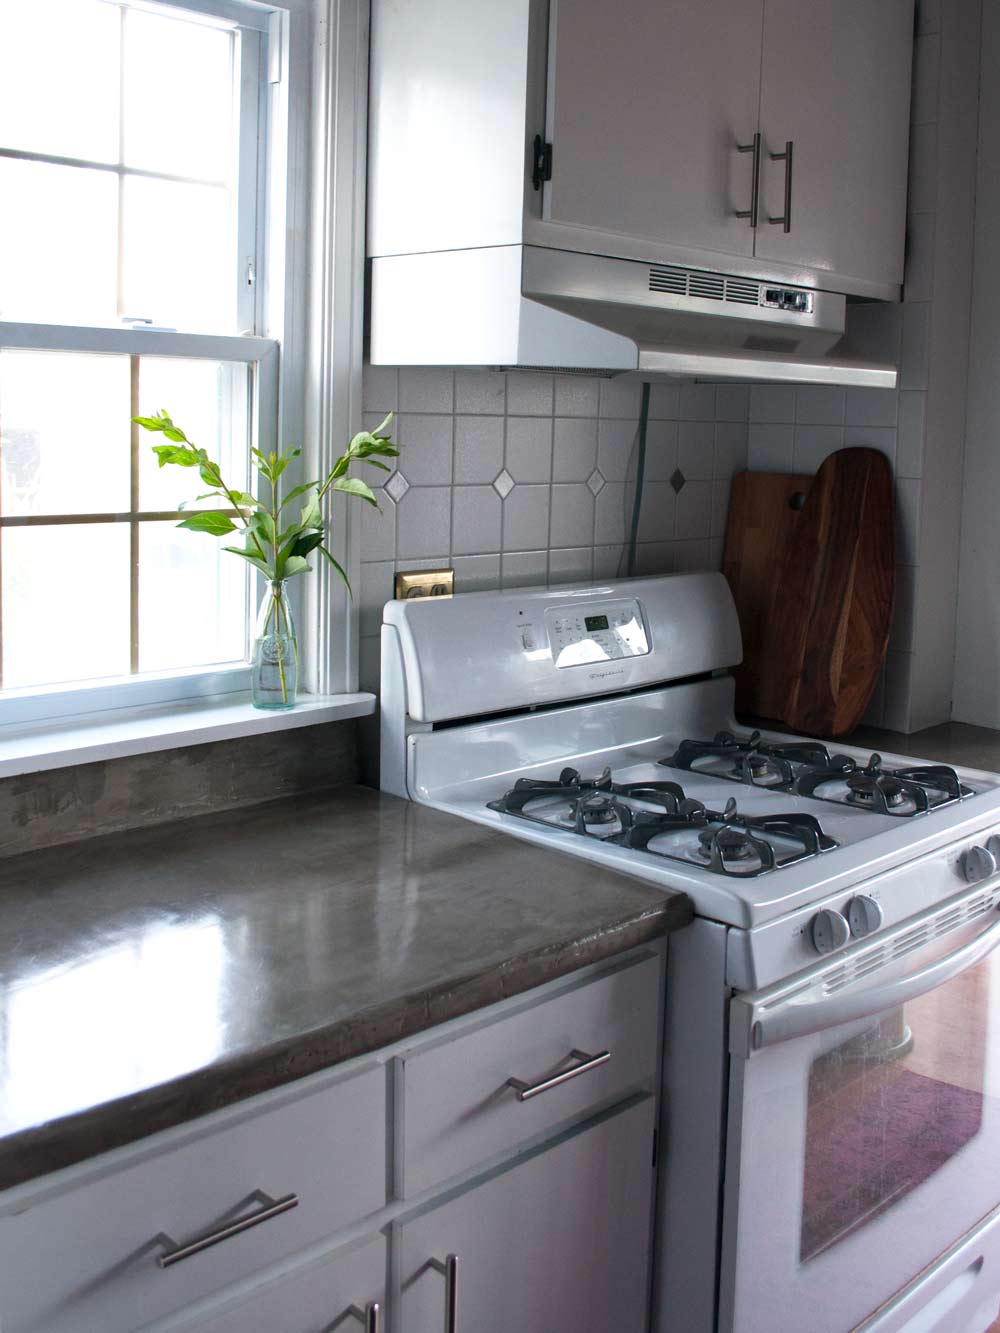
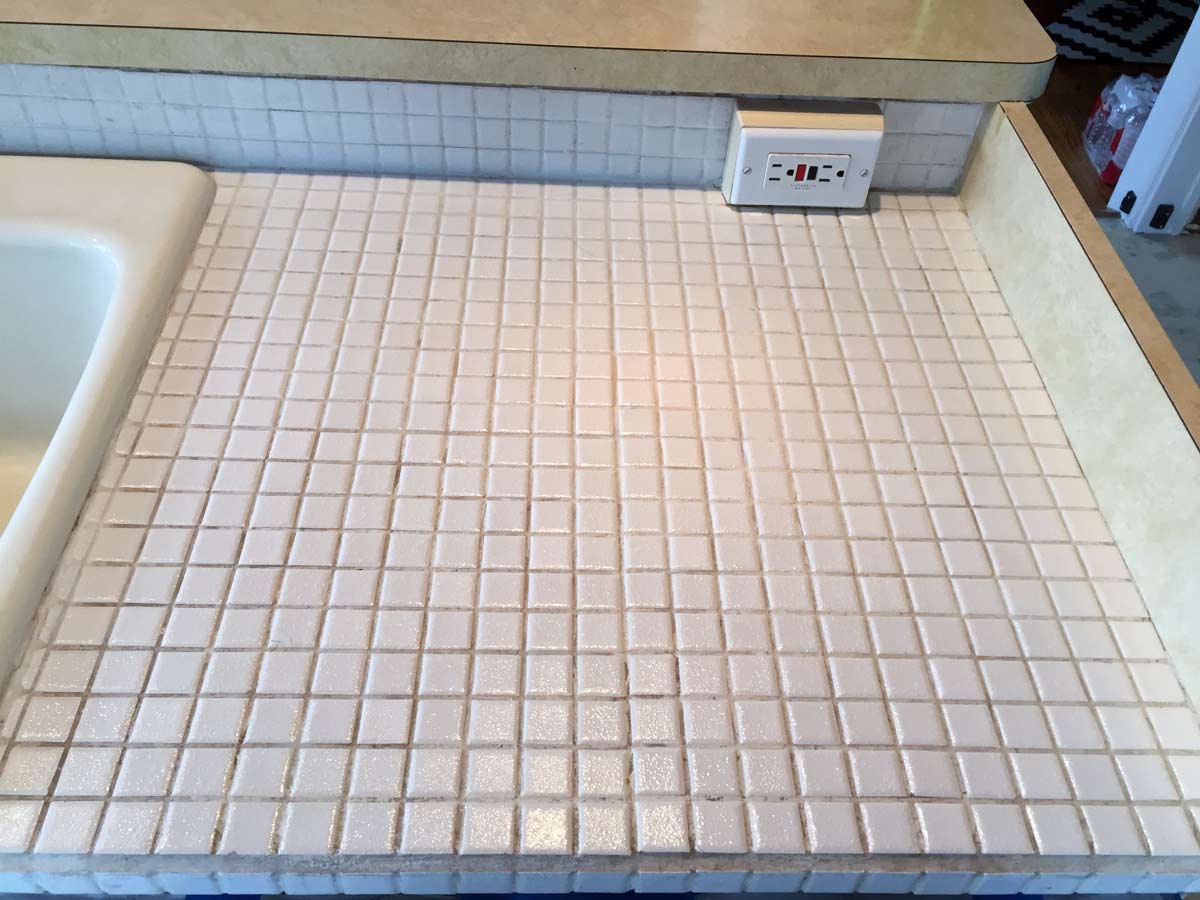
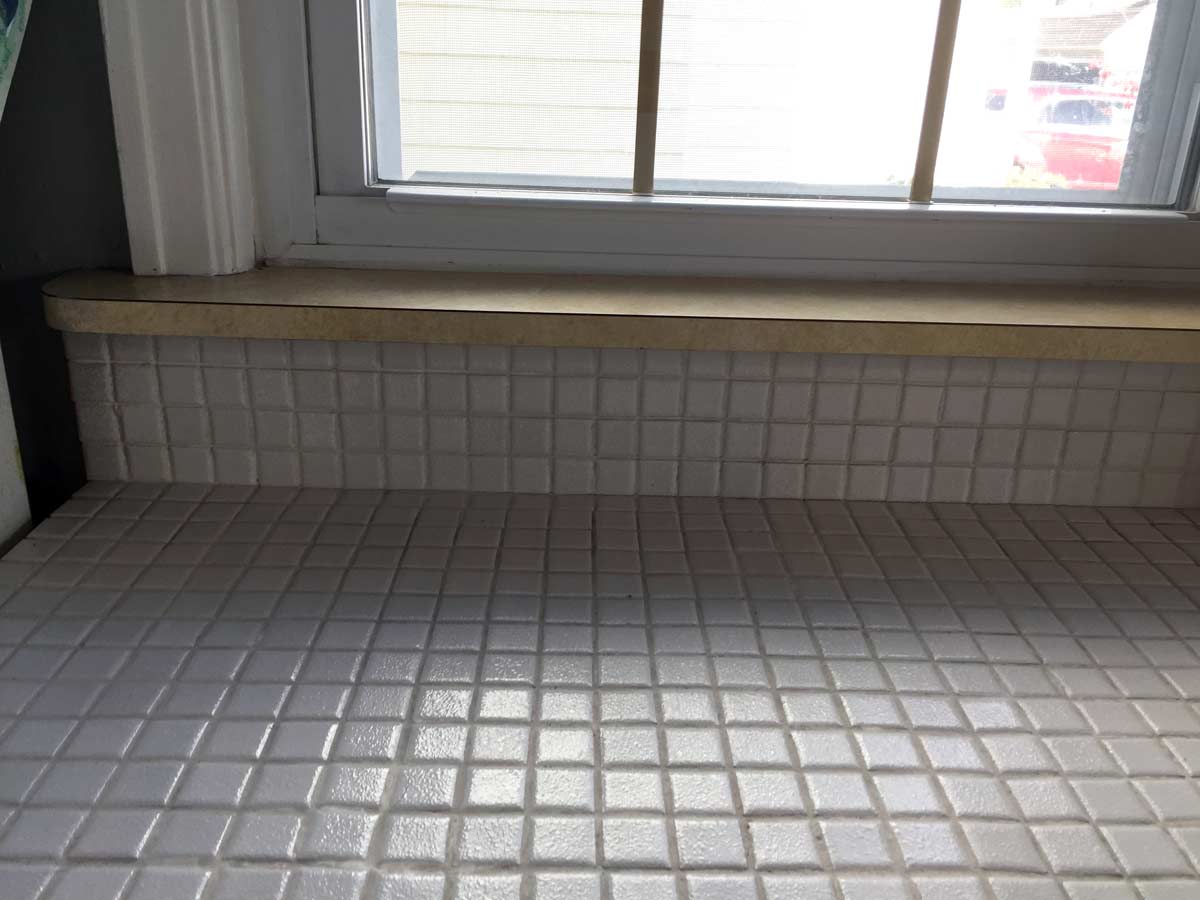
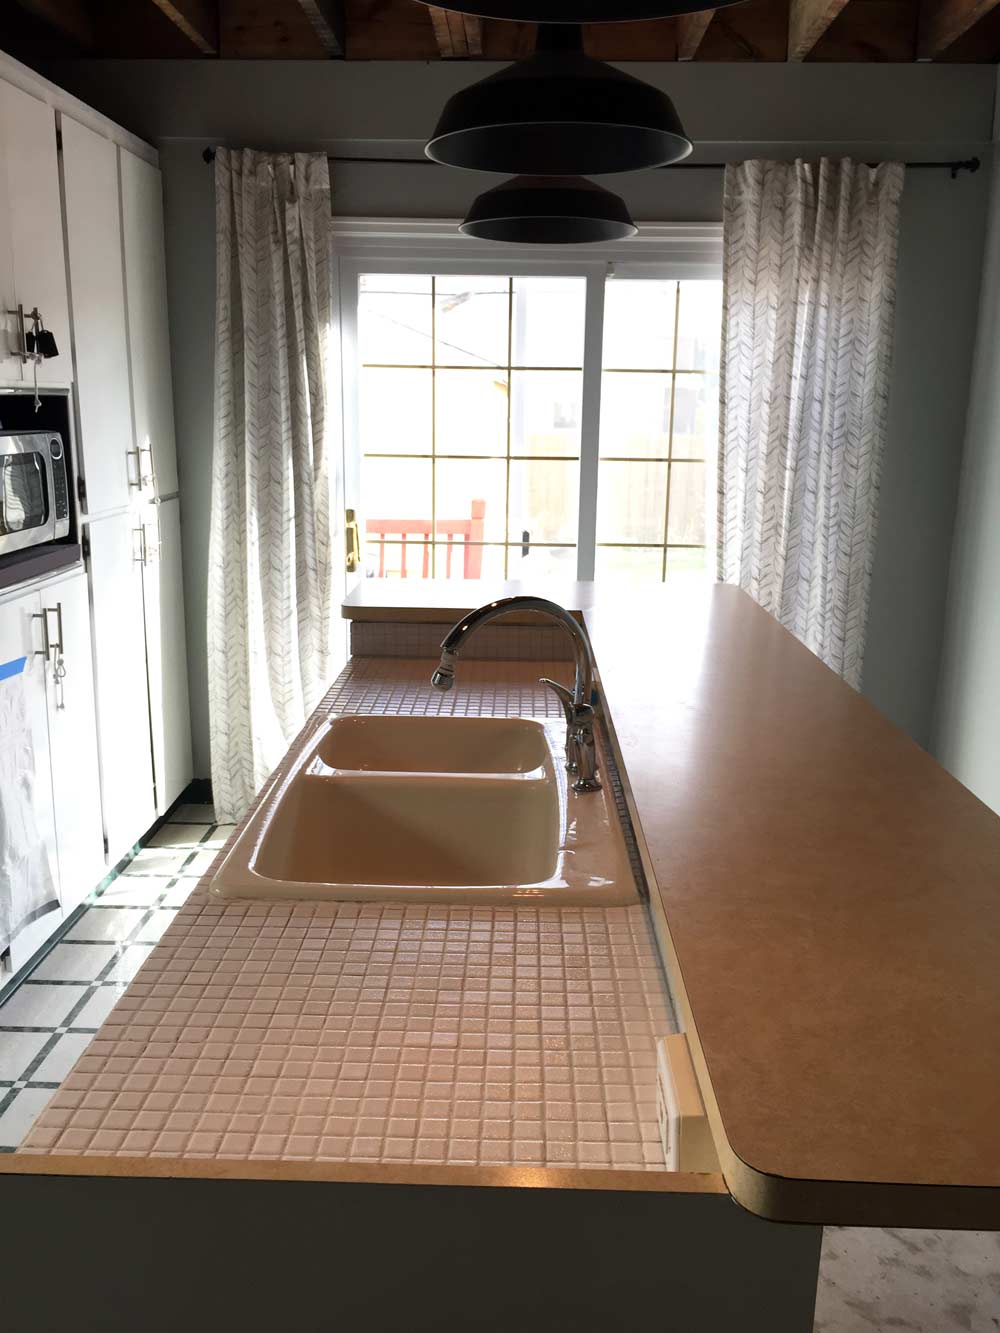
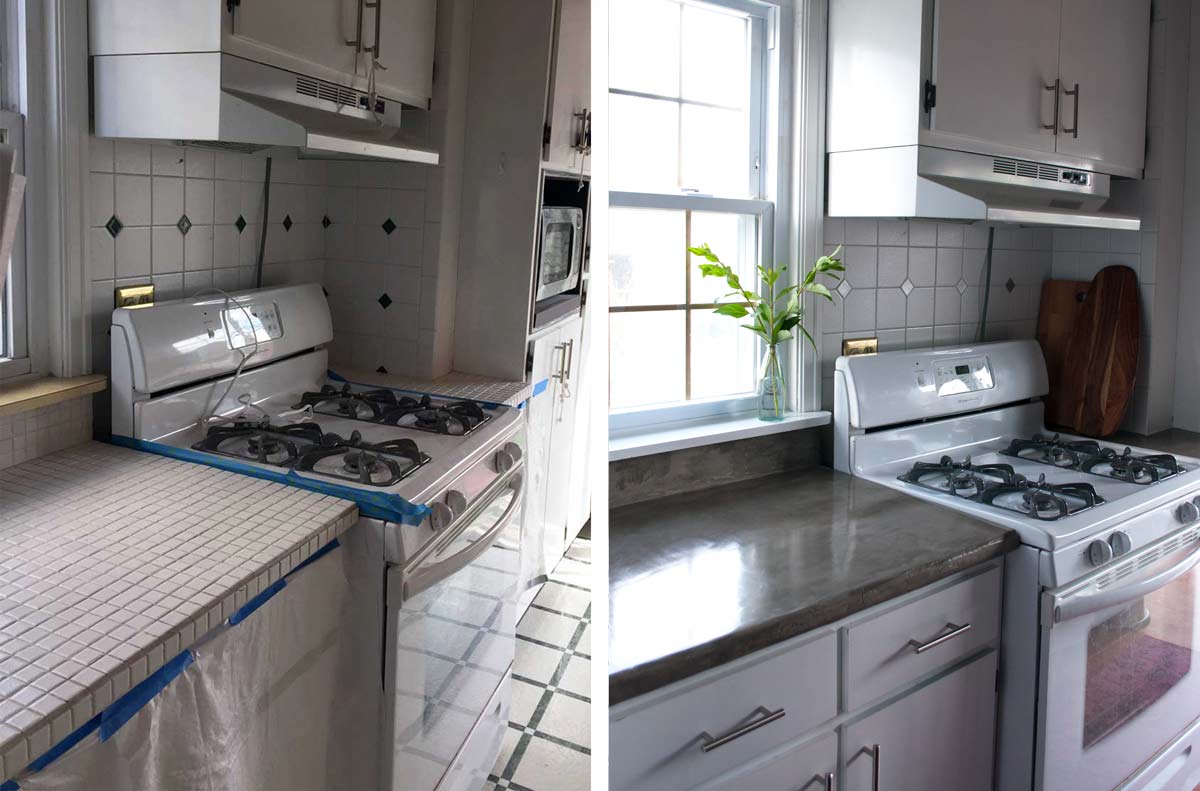
This is one of those projects that had such a HUGE impact that I wish I had done it right when I moved in. I lived with these gross, one-inch white tile countertops for over a year before I got around to attempting a DIY feather finish concrete counter. I truly don’t know why anyone would choose to have mosaic tile countertops; the grout is impossible to keep clean and whoever installed mine didn’t do a good job with the transition from the flat surface of the counters to the front edge. Since I was already working with industrial exposed rafters, going with an industrial look concrete counter felt like a good option here, and I love any reason to DIY something. Read more for the full rundown of how to apply feather finish concrete over tile counters.
I loved the look of the feather finish countertops that John and Sherry did in their temporary kitchen over on YHL, and after reading that I fell into a research spiral soaking up every bit of feather finish concrete knowledge I could find. (You know how easily I get obsessed with stuff, right?)
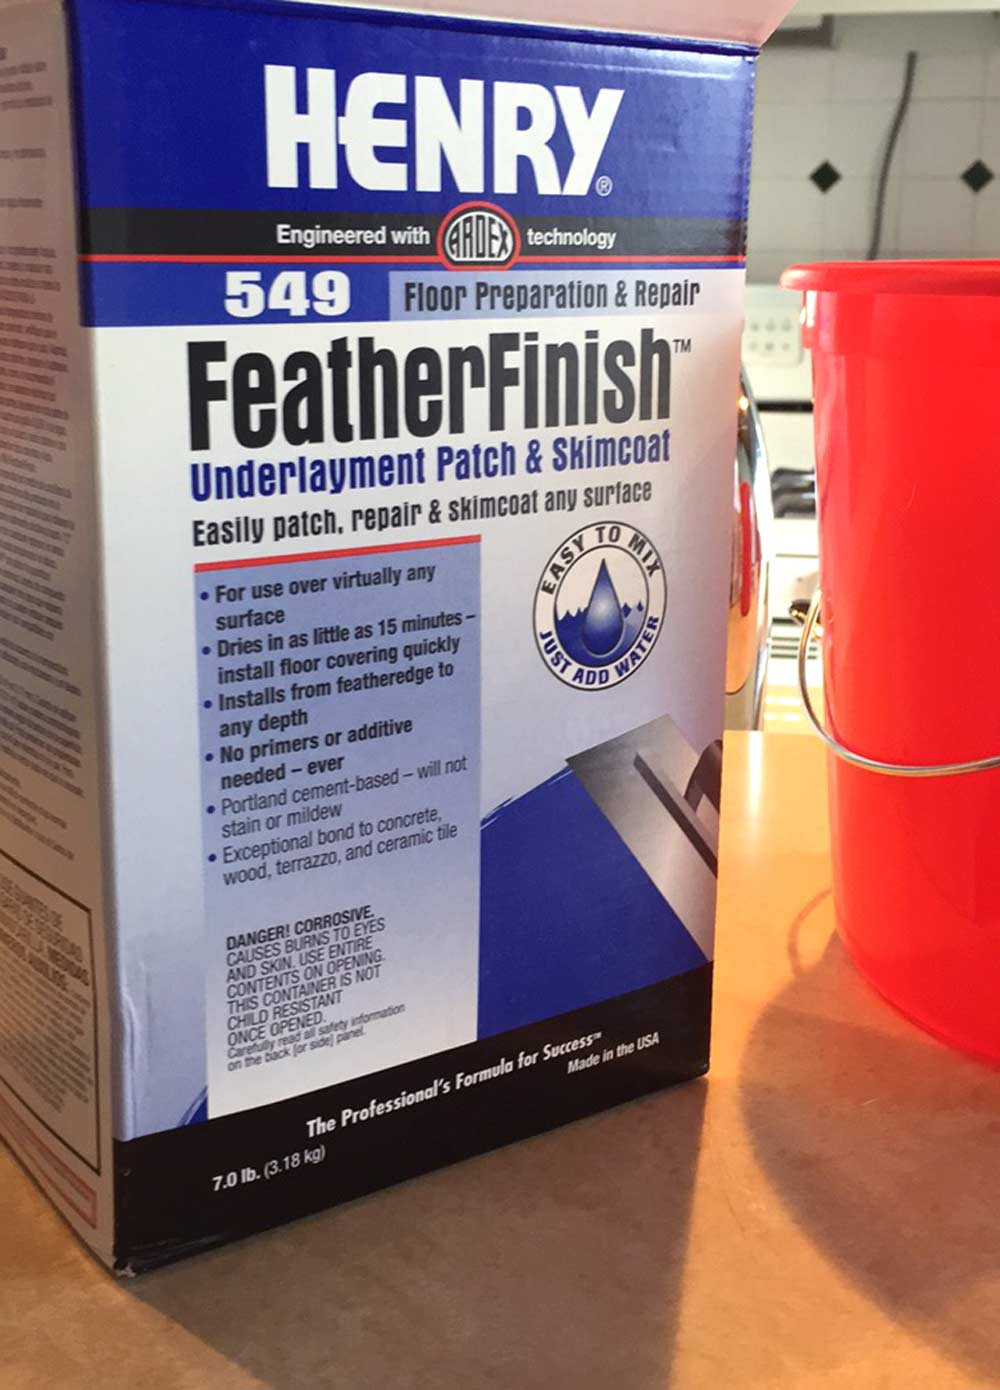
I couldn’t find anything about applying feather finish concrete over tile counters anywhere, so I improvised! A lot of the tutorials online call for Ardex Feather Finish, but I went with Henry’s from Home Depot since they had it in stock (I’m pretty sure it is the same product with a different name) and I was too excited to wait for something to ship.
Supplies
- Henry Feather Finish
- Water
- Buckets
- Taping knife
- Painter’s tape
- Paint stir stick
- Rags/paper towels
- Gloves
- Sanding sponge
- Dremel Sander
- Power orbital sander
- Face mask
- Tile Lab Gloss Sealer
- Sponges
The Tile Counters
Prep Work
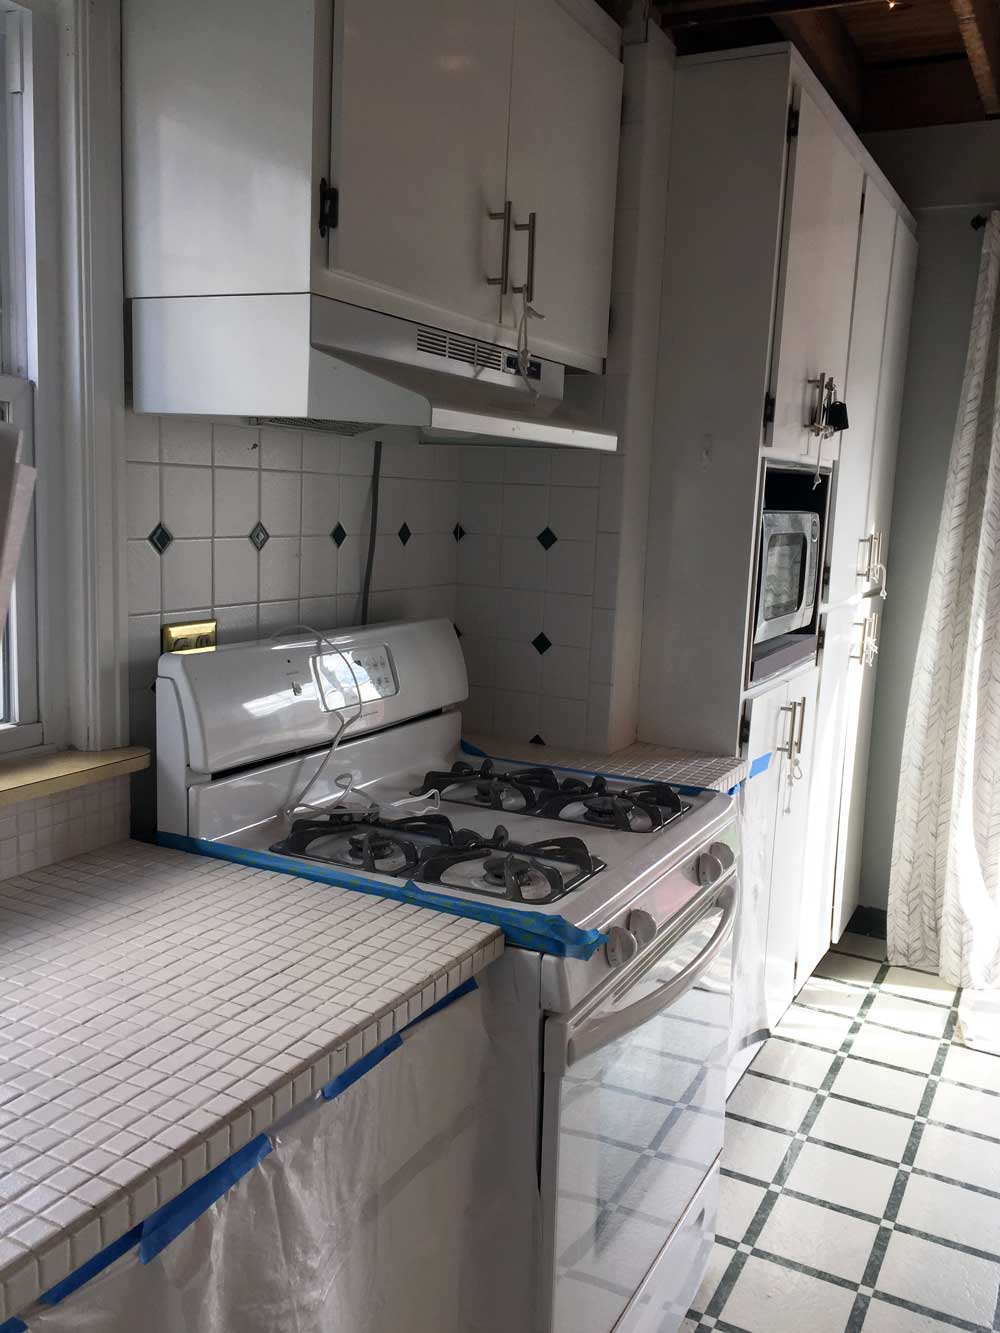
I tried to wash all the counters to remove all the decades of grime, but this was impossible because the white tile and grout were DISGUSTING. Of course, I had washed them since I moved in, but they never looked truly clean. Then I taped trash bags over the cabinet doors to protect them from any drips. I was in the process of ripping out all of that green and white plaid flooring, so I wasn’t worried about dripping on that. But if you care about your floors, you should put down a tarp or some plastic to protect them.
Feather Finish Concrete Consistency
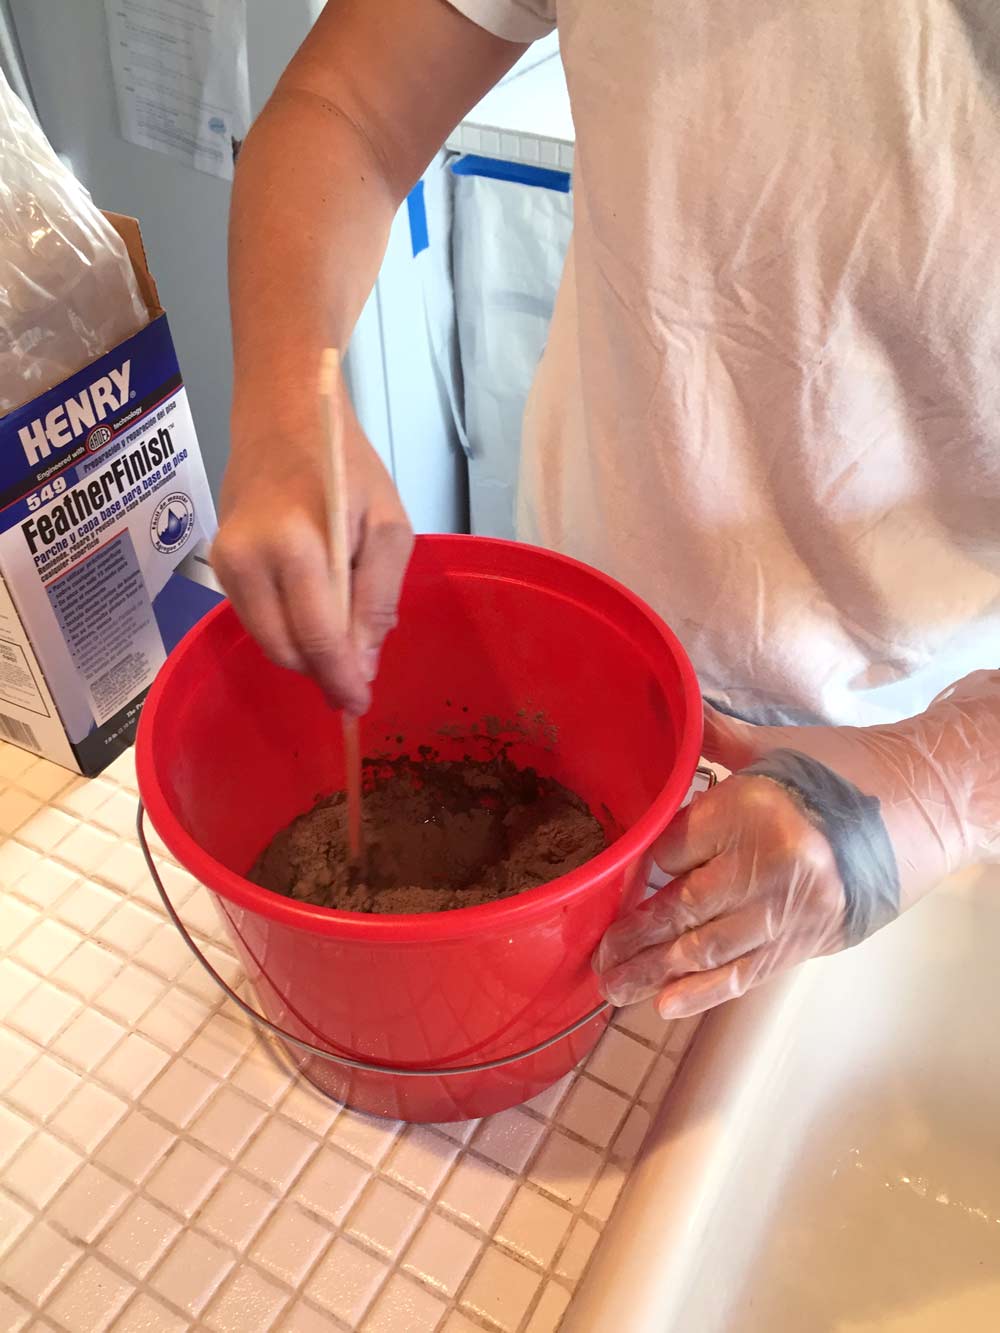
Following the advice of everyone on the internet, I mixed up my concrete to a pancake batter consistency using wood paint stirrers and cheap buckets from Home Depot. Then I slopped a bunch of it onto the counters and got to work spreading it out with a ten-inch flat taping knife.
One Million Layers
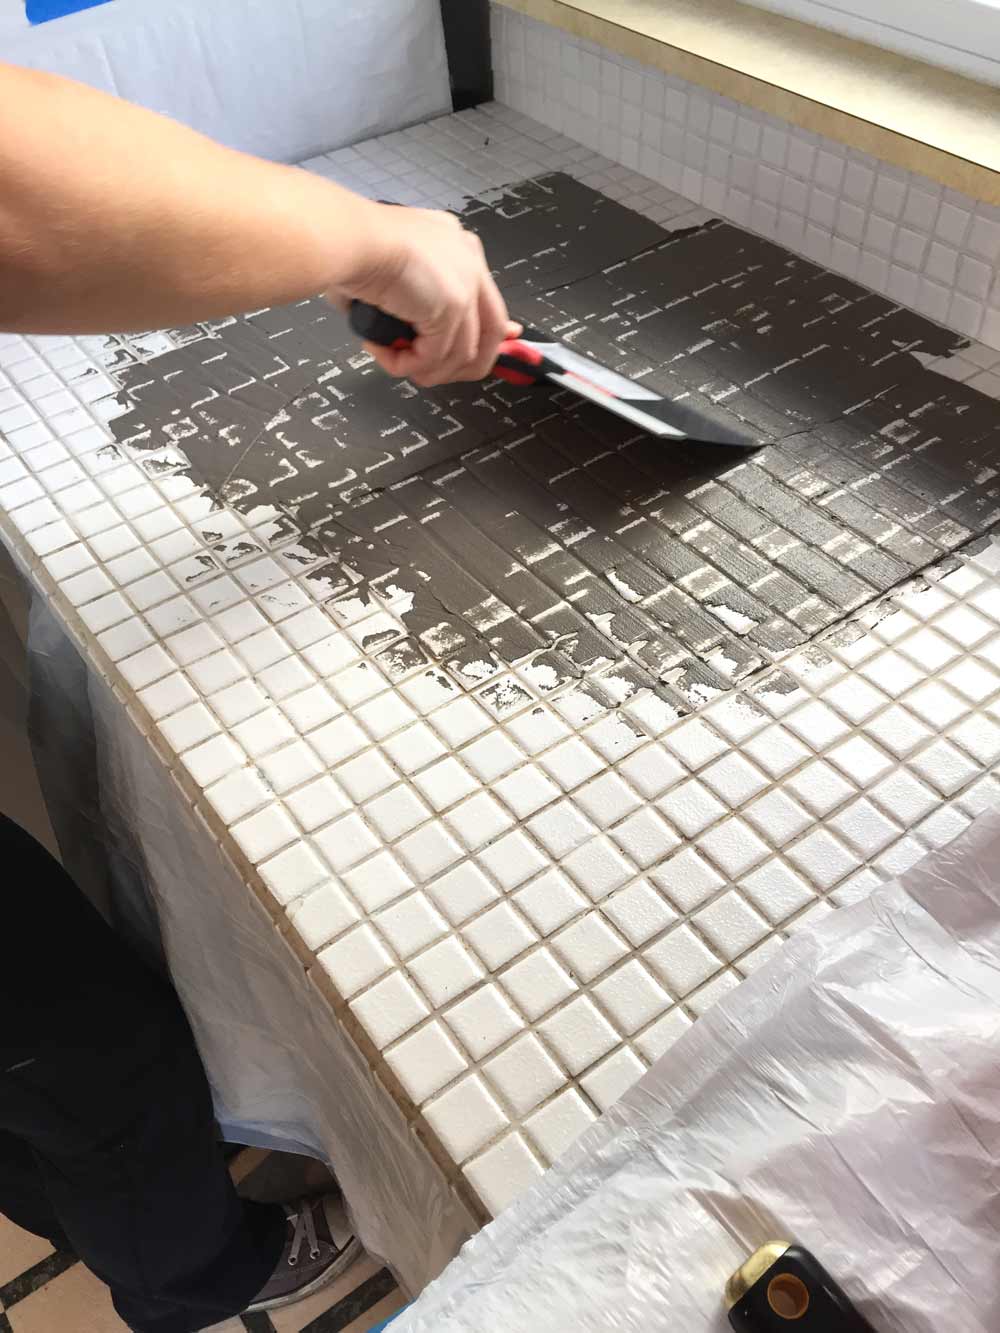
This is where using feather finish concrete over tile counters differs from applying it over a smooth surface. The first million layers are just filling in all the grout lines and trying to build up the counter surface to be smooth. In addition to the grout indents, some of the tiles were set up a little higher than the surrounding ones, so there was a lot of space to fill in.
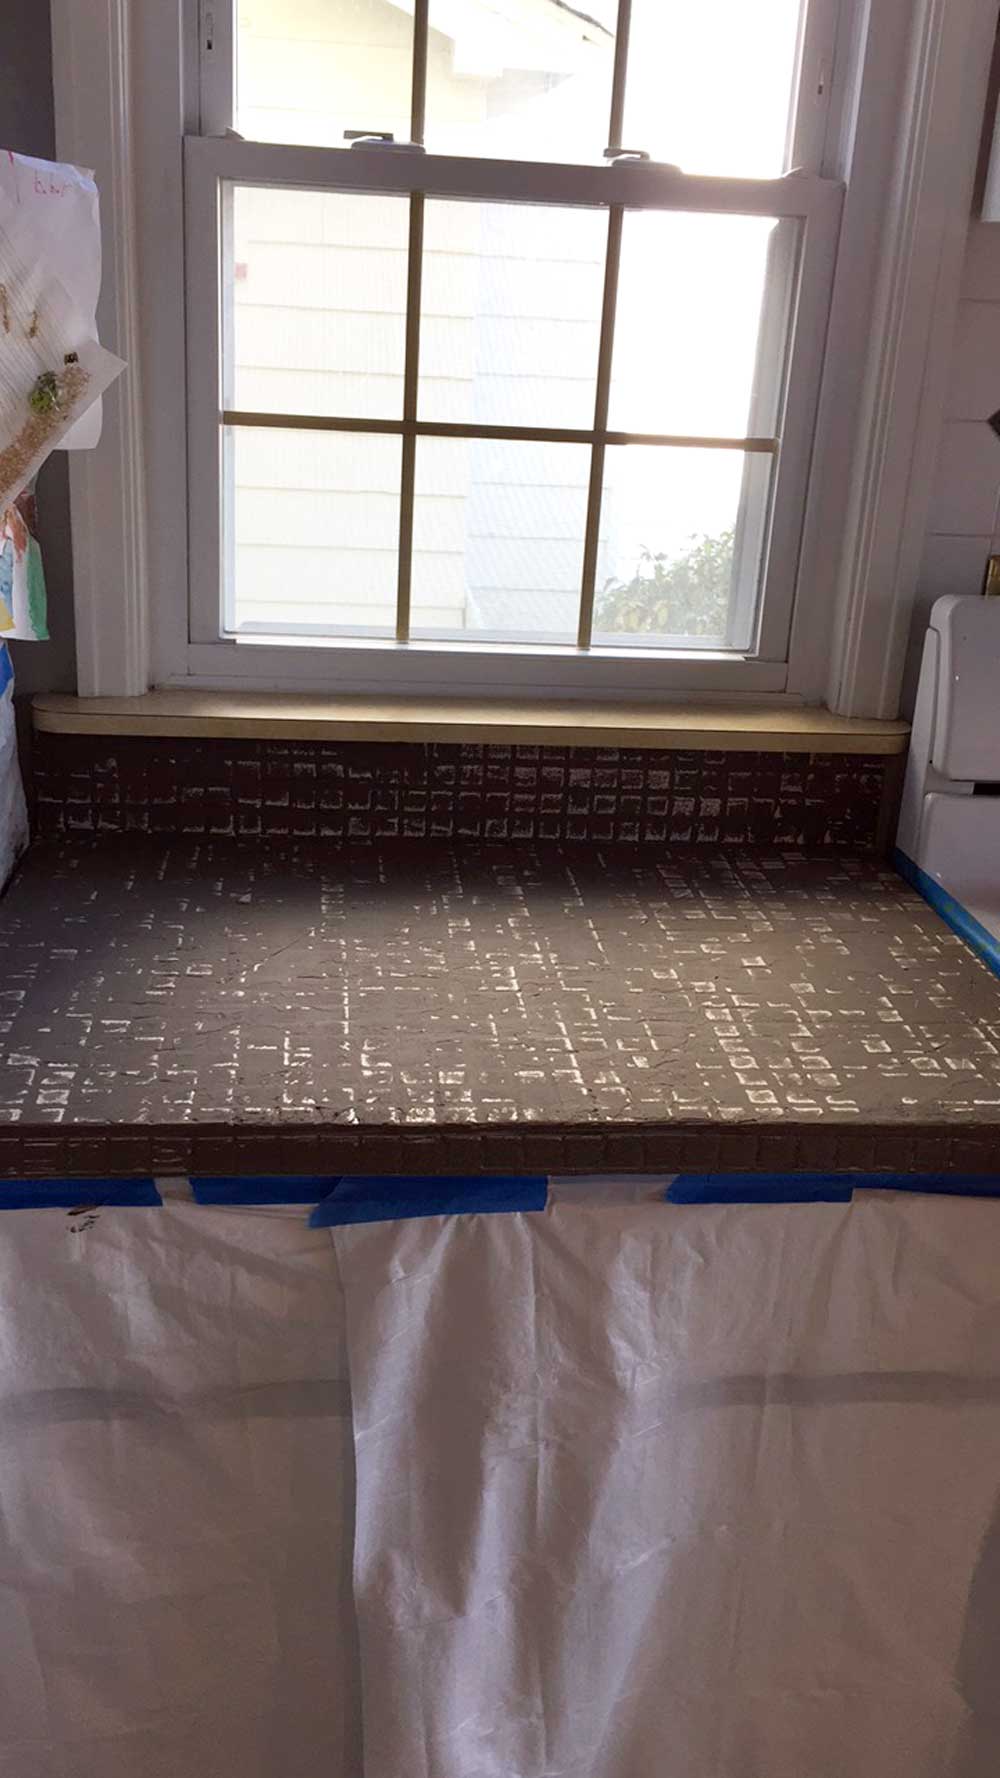
The first layer will have some bare tile spots showing, so don’t try to put this layer on too thick. You want to gradually build up a solid surface, so the first couple of layers were lightly skimmed to fill in all the low spots.
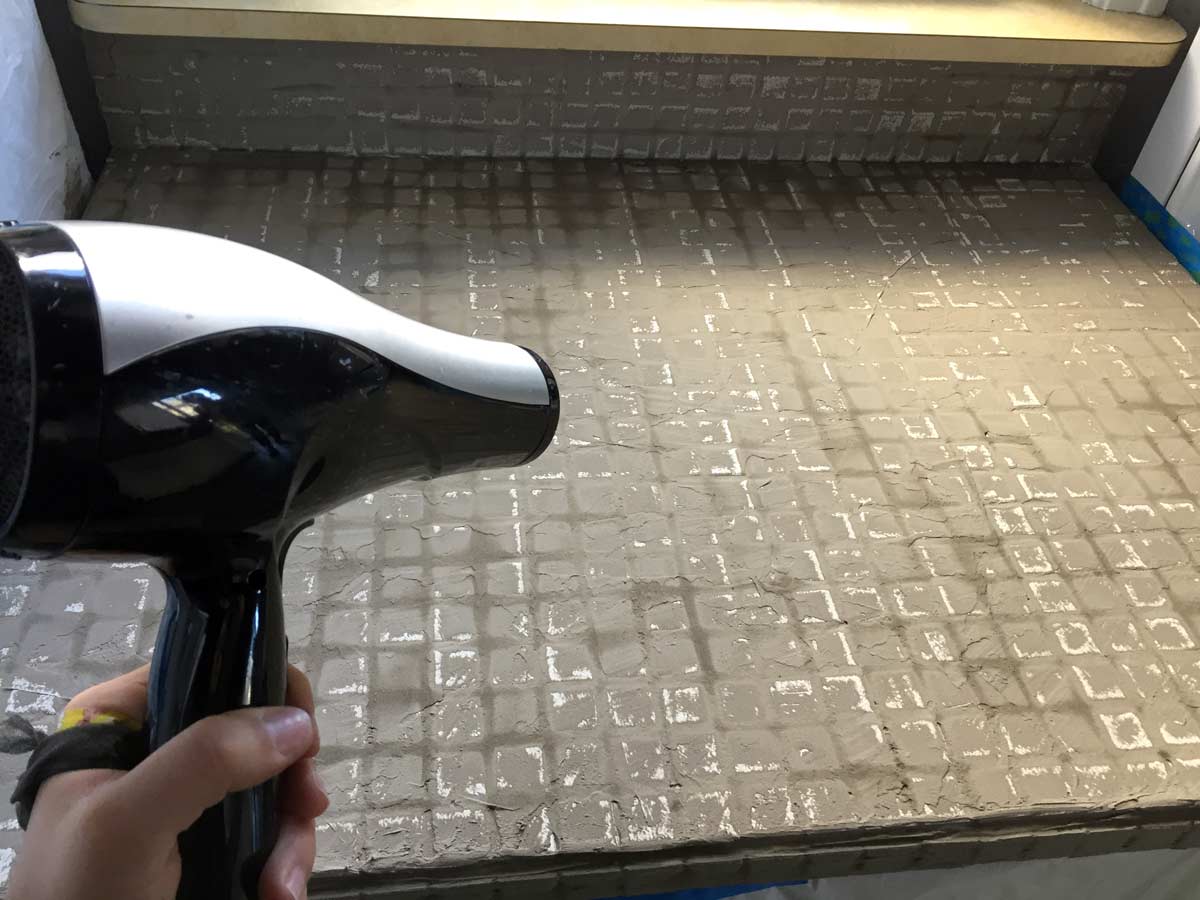
I used a hair dryer on the first couple of coats to help dry some stubborn grout lines that were drying slowly. Each layer took between 45 minutes and two hours to dry. If you are attempting this, err on the side of caution to start and give yourself a little extra time between coats. You want to make sure everything is very dry so it adheres well to the counter and doesn’t crack.
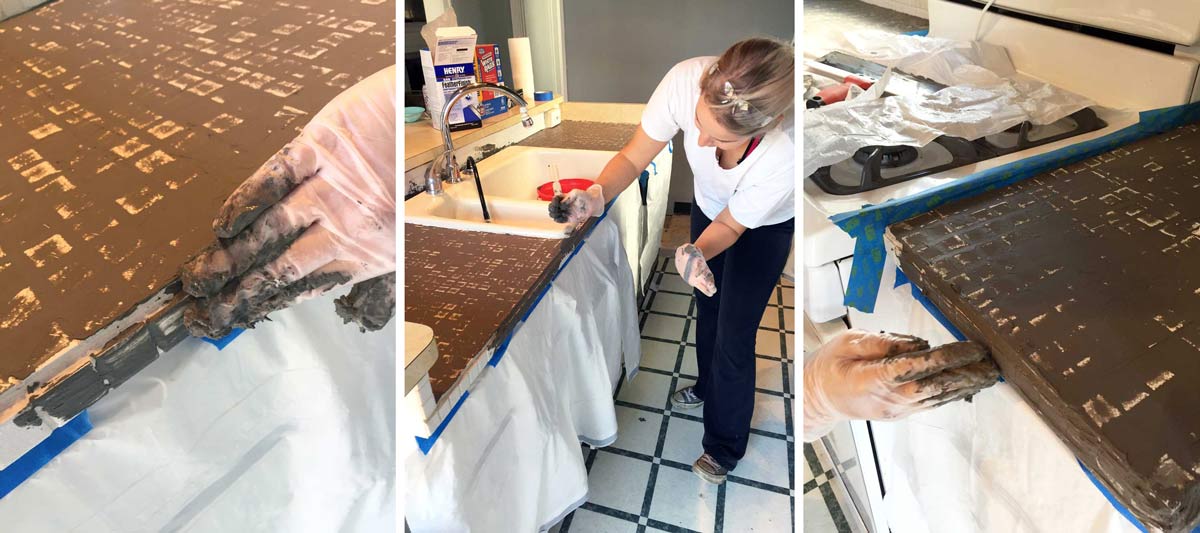
After spreading each layer on the top surface of the counters with the taping knife, I pressed the leftover concrete onto the front edge of the counters. This worked best because the concrete had set up a little bit, so it was easier to mold and cling to the vertical surface. I also used this slightly thicker concrete on the tile backsplash and applied it with a thin putty knife. For any tiny areas, like behind the sink, I just smeared the concrete on with my finger.
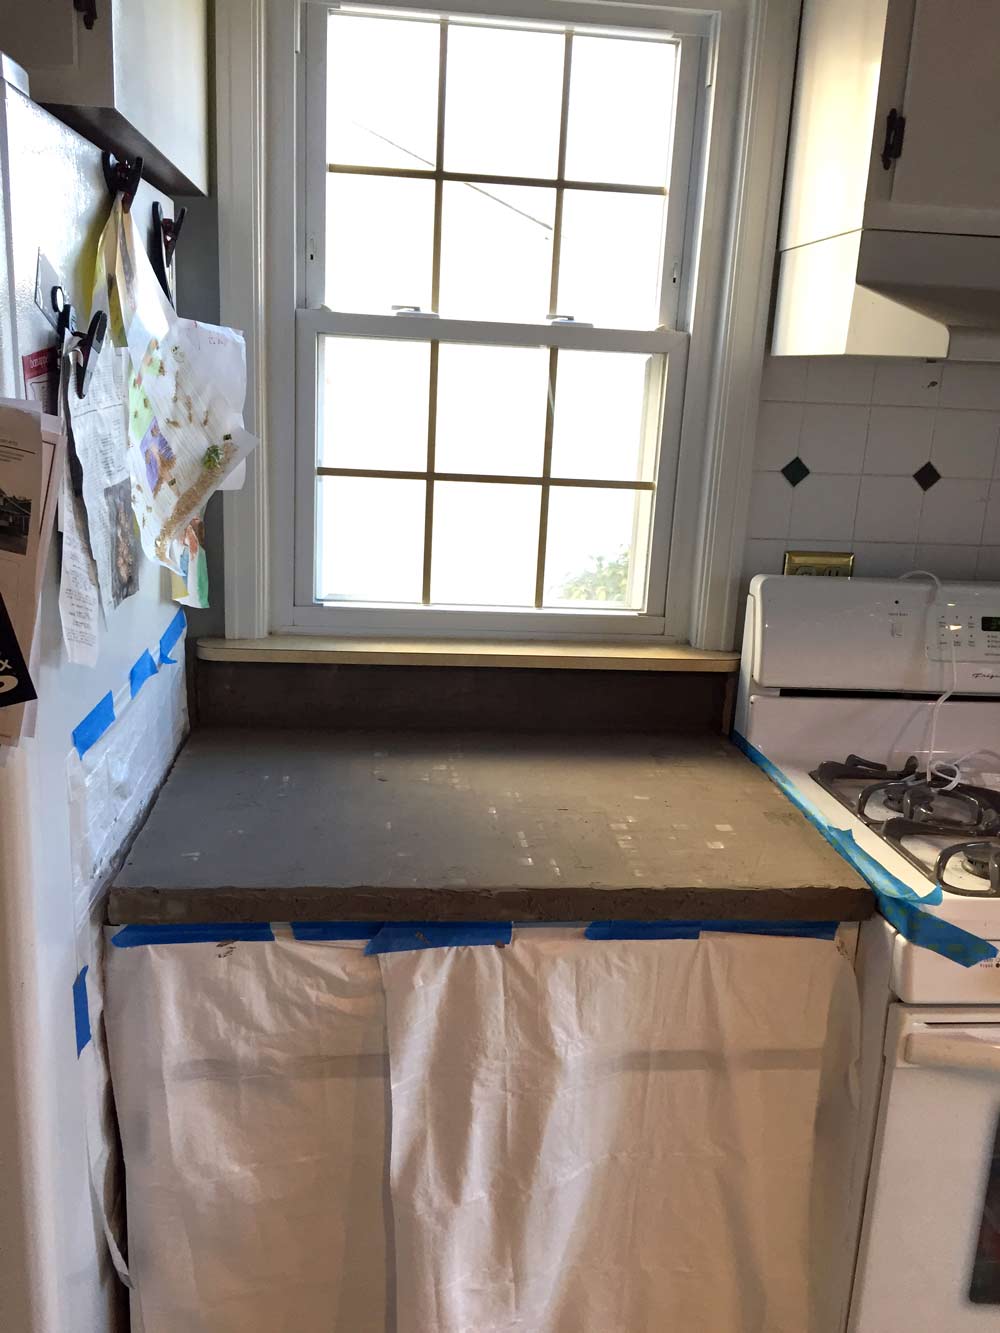
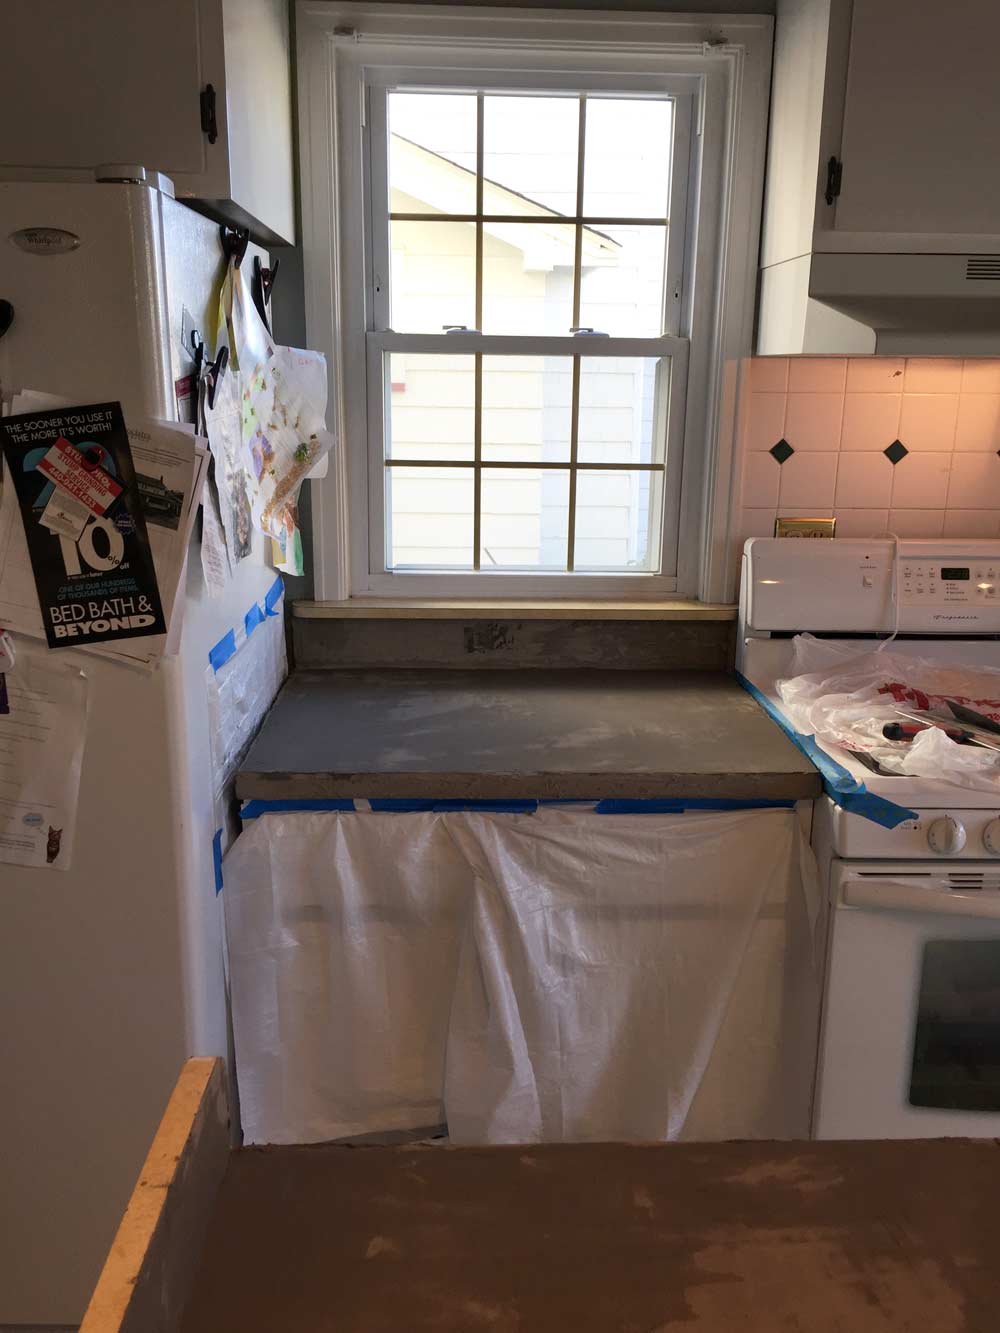
I didn’t sand between all of these initial “building” layers. It took about three or four layers until all of the tiles were covered. I was pretty nervous while applying these layers because you could still see the grid pattern from the tiles after it was dry.
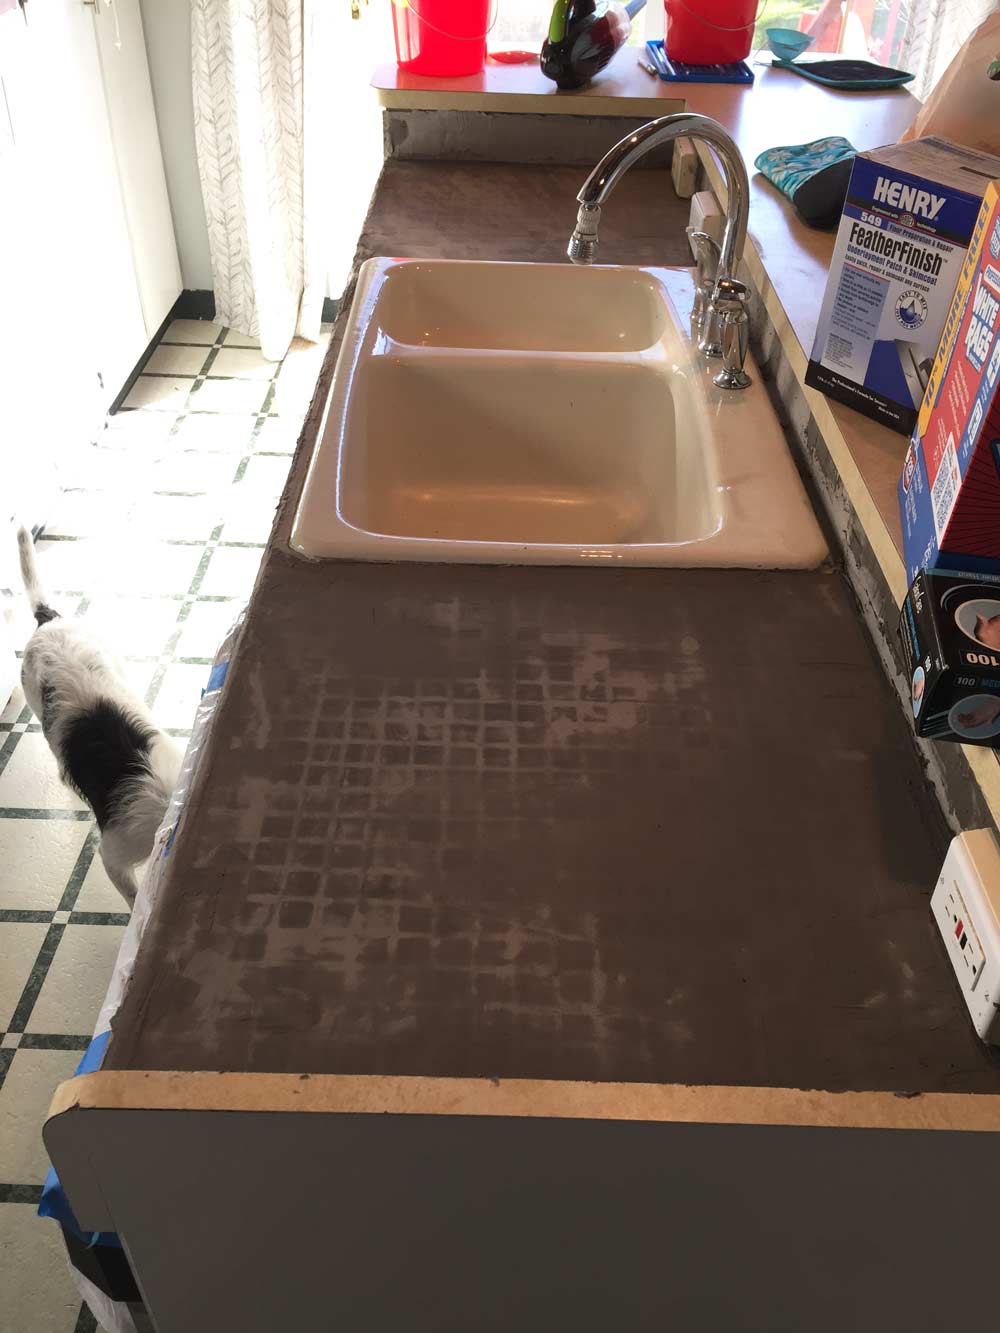
Thankfully, another couple of skim coats solved that. That’s the great thing about feather finish concrete, all of the layers and trowel marks work to disguise any mistakes or unevenness.
Sanding (AKA Making a Huge Mess)
Once I could no longer see any of the white tiles, I added another layer of concrete, waited for it to dry, and then used my orbital sander to sand the top surface smooth.
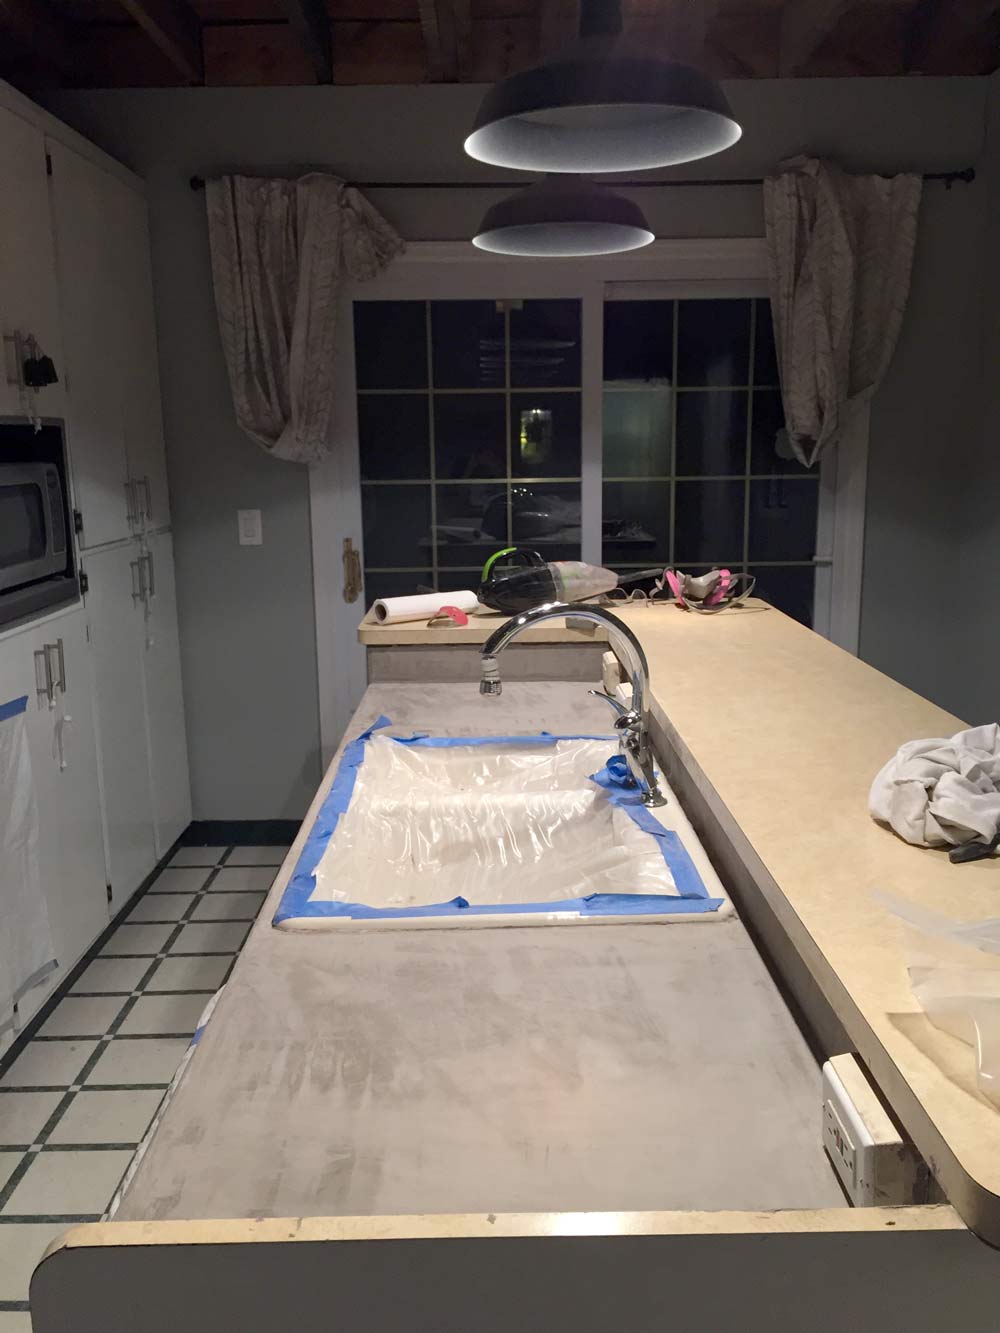
I blocked off the doors to the kitchen with plastic drop cloths and covered the sink, stove, and any vents too. This sanding step was MESSY.
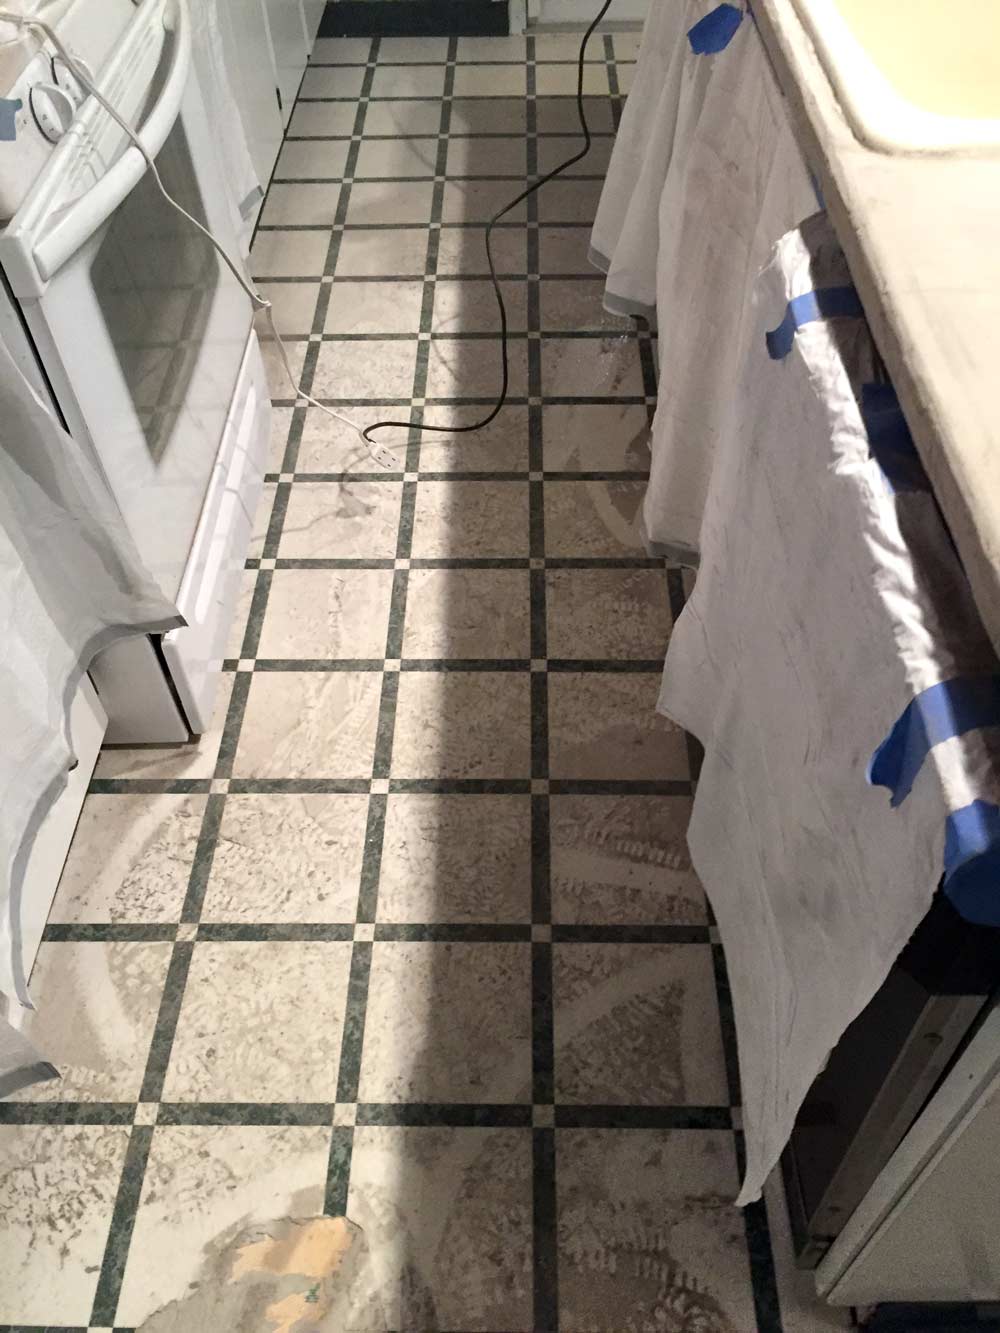
I would recommend safety goggles and a pretty serious mask for this. Once again, since I was planning on replacing the floors, I didn’t cover them, but you should consider covering yours if you like them. I started with 80 grit sand paper and worked my way up to 220 later on.
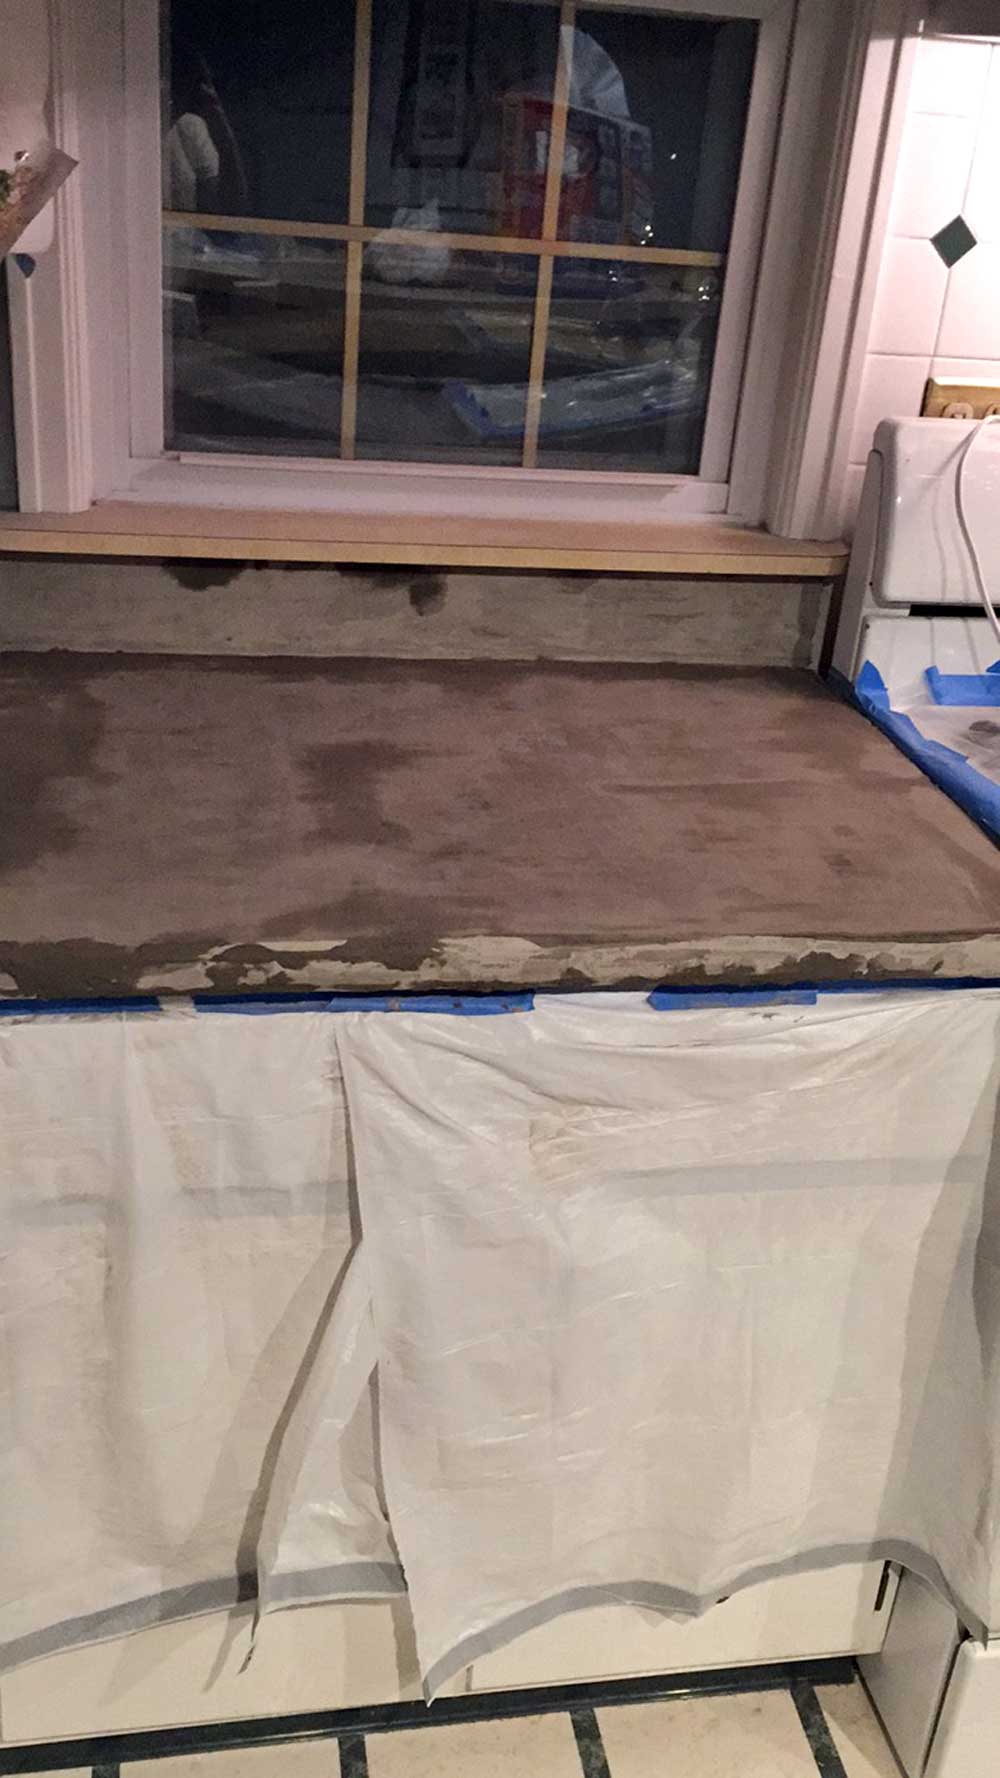
The first sanding went through all the concrete in a few areas and I could see parts of the white tile again, so I had to keep adding layers of concrete. After sanding, I wiped down the dust with a damp paper towel, added another layer of concrete, sanded that layer, and repeated those steps until I couldn’t see the white tiles anymore. Then I added a final layer of concrete, just to make sure it was really all covered and sanded the surface with 80, 120, and 220 grit sand papers.
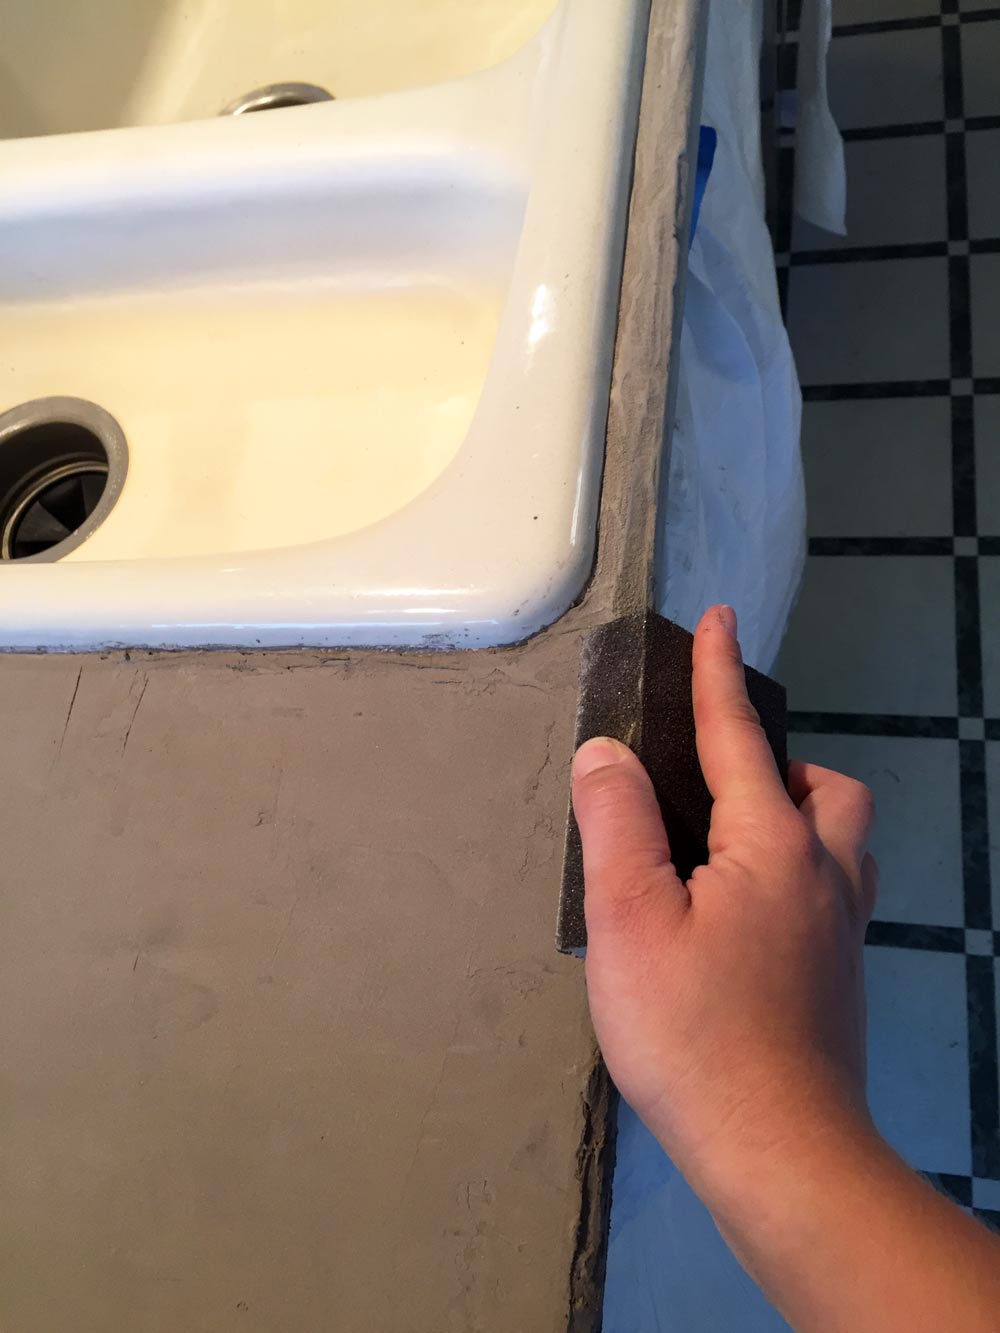
For the front edge, I used a sanding sponge because the power sander was too hard to control and I kept accidentally sanding off all the concrete.
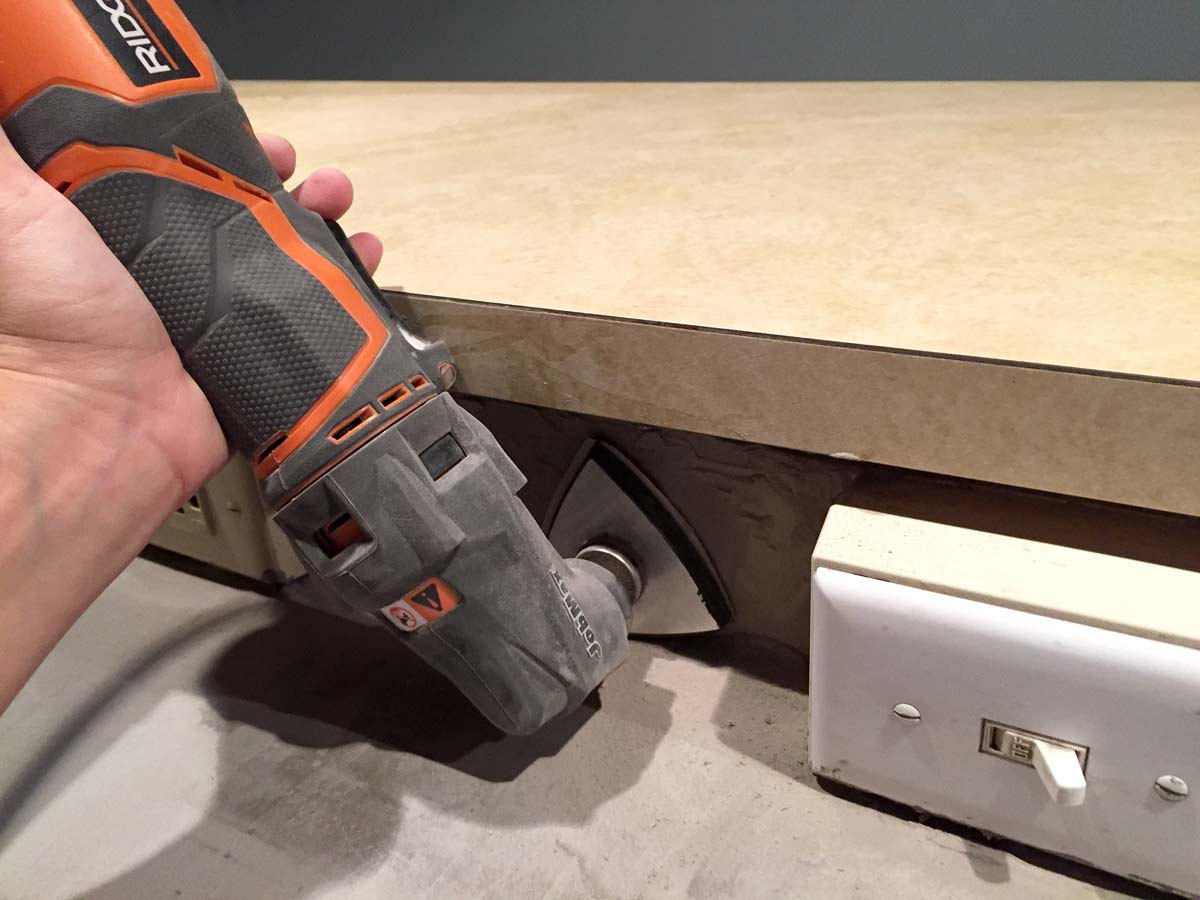
I used a Dremel/multi-tool on the backsplash since that had a small enough sanding surface to fit in that space. I struggled with sanding behind the sink and just did the best I could in that area.
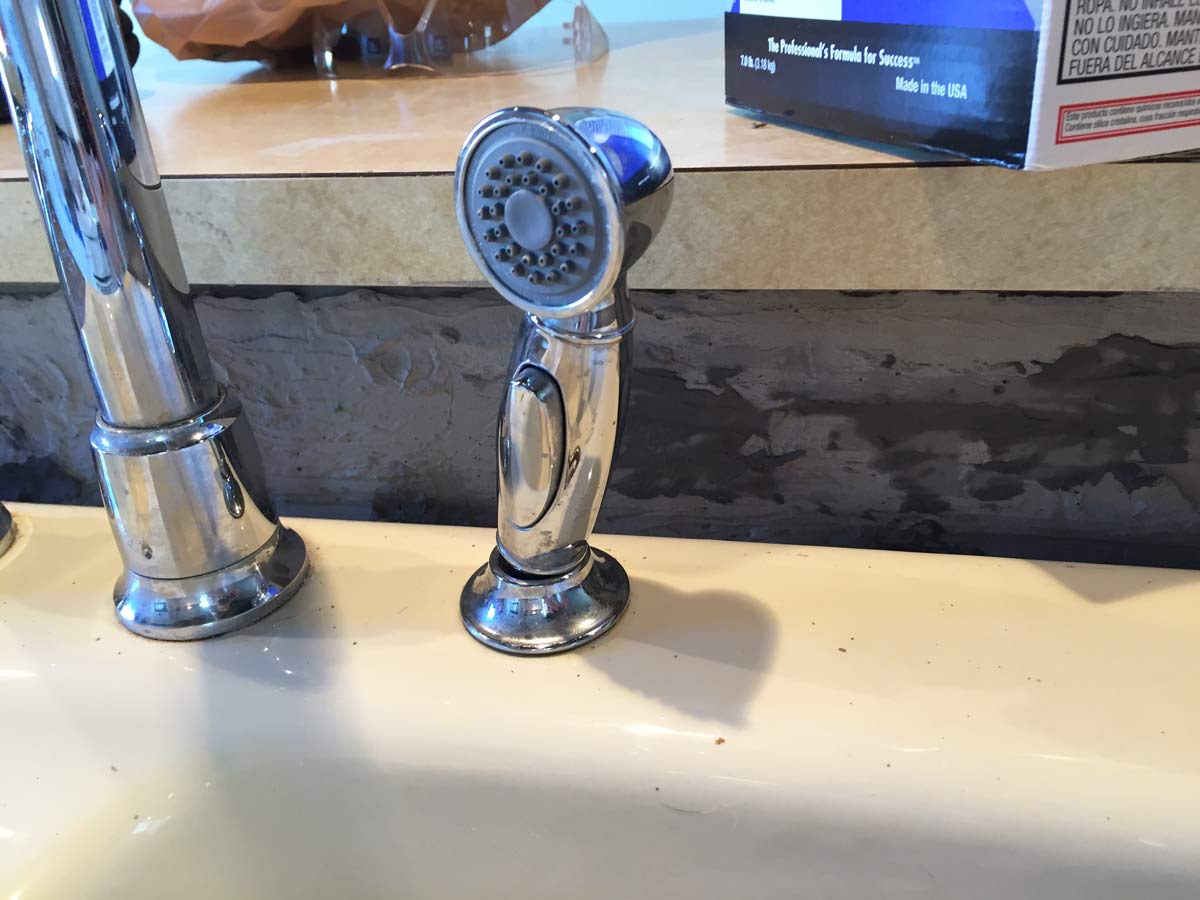
The faucet made it impossible to get the Dremel in there, so I just wedged a sanding sponge behind it and then used regular sand paper to knock down any crazy rough spots.
Sealing That Surface
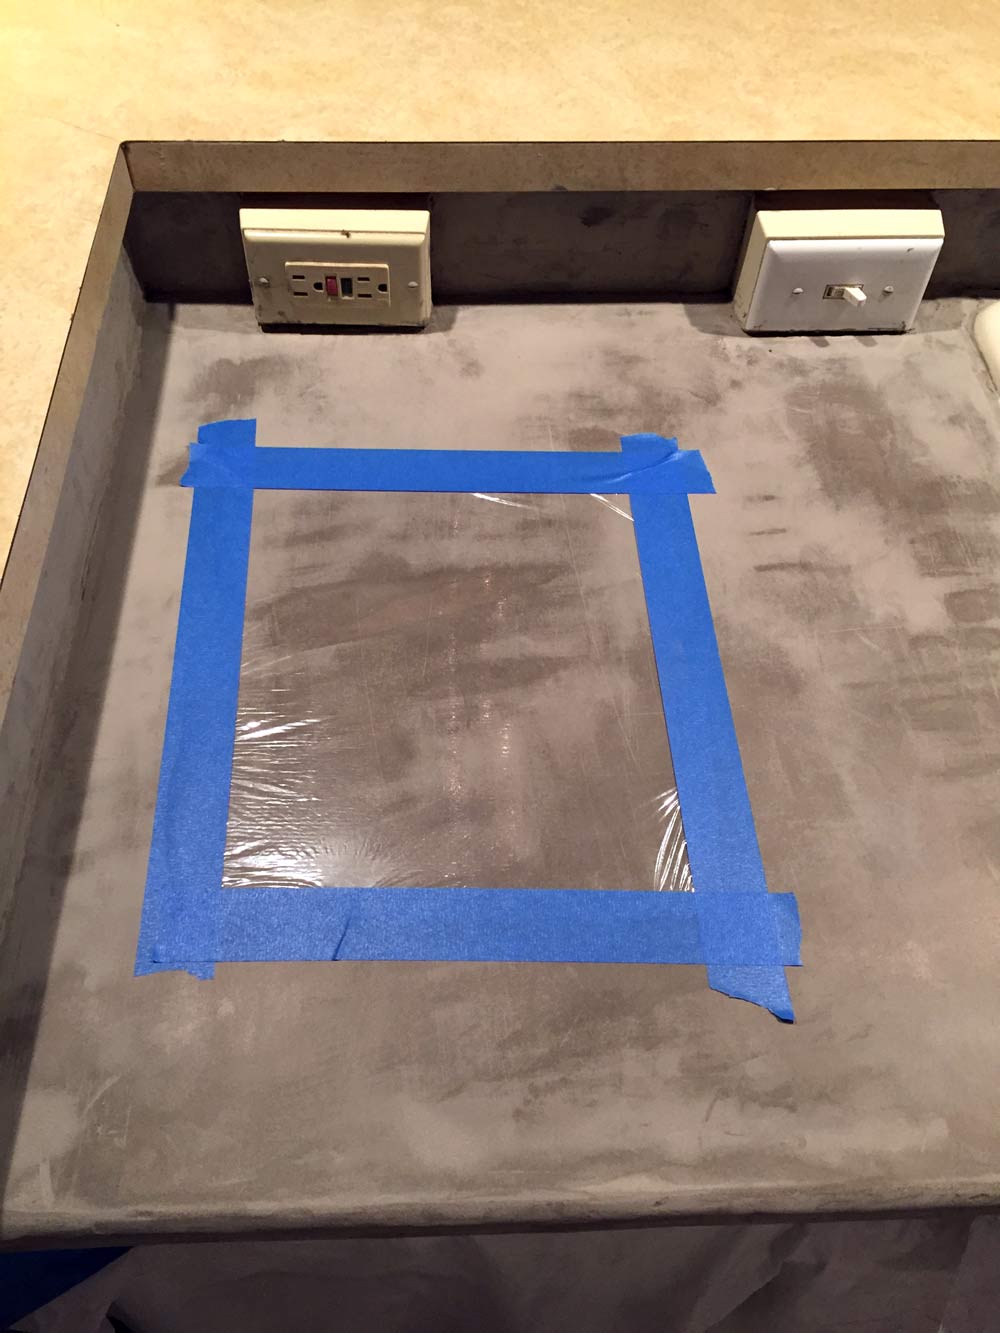
After everything was perfectly smooth and I wiped up all the dust, I taped a piece of plastic to the counter as a moisture test. You want the concrete to be totally dry before you move on to the sealing step, so if you see any condensation under the plastic, you have to wait longer for it all to dry. I waited a couple days before doing this test, and thankfully my counters were dry!
Other DIY feather finish counter top tutorials suggested Cheng’s Concrete Counter sealer followed by their concrete wax, but that stuff is $$$$, so I started looking for alternatives. I wasn’t planning on preparing food directly on this surface, so being food safe wasn’t the most important for me. I initially bought this impregnating sealer, but then read that you shouldn’t apply any top coat sealers on top of impregnating sealers because they won’t adhere properly and then I spiraled into the whole world of impregnating vs. topcoat sealers and it was terrible and I ended up buying this Tile Lab gloss sealer from Home Depot (also on Amazon here). It was cheap and I figured if it turned out terrible, I’d sand it off, maybe add more concrete and pick a different sealer.
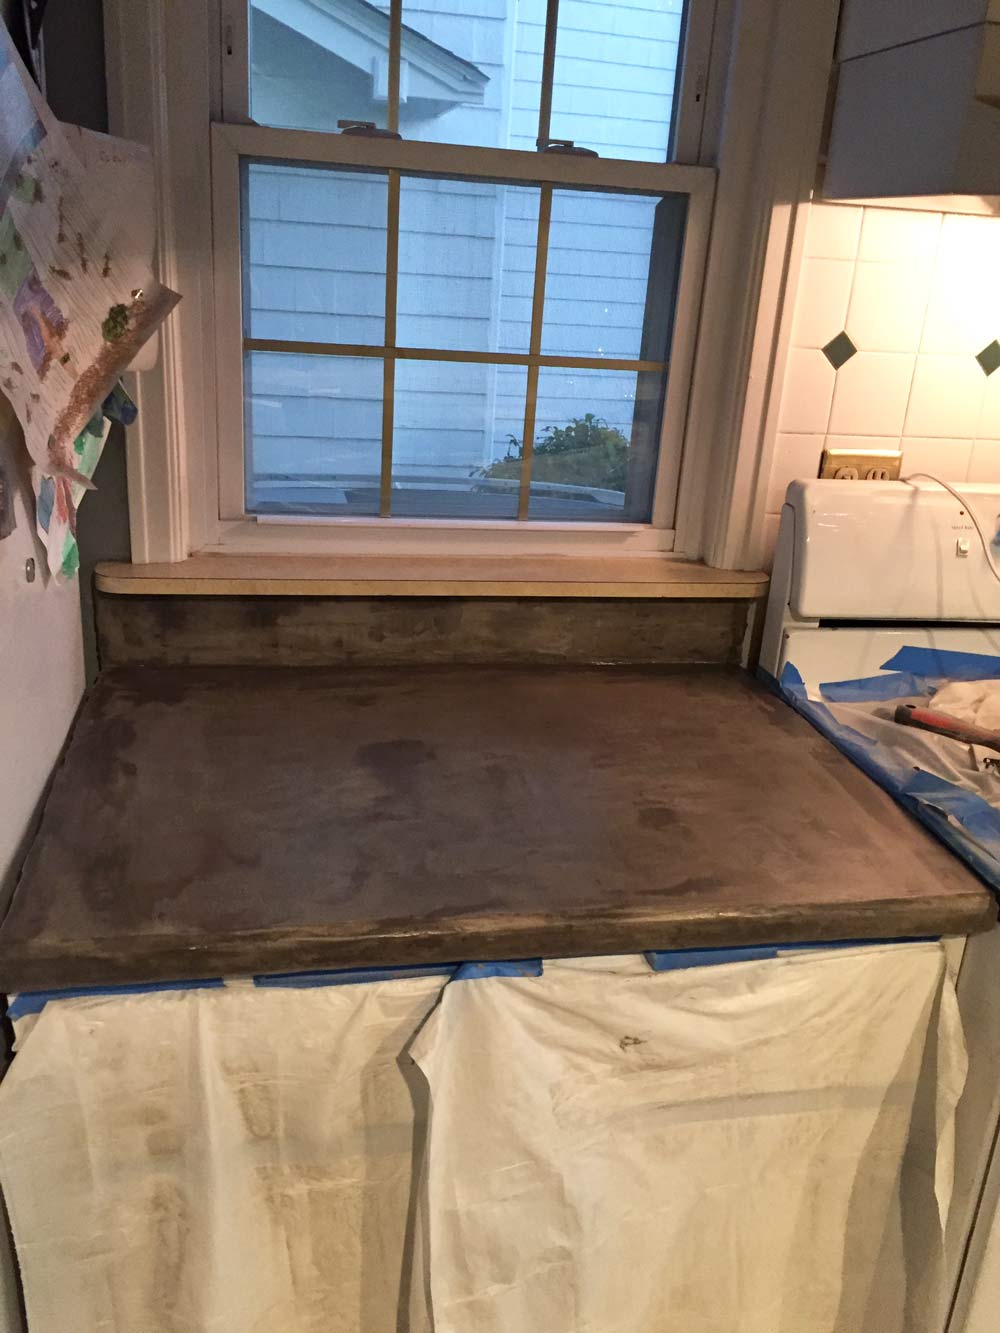
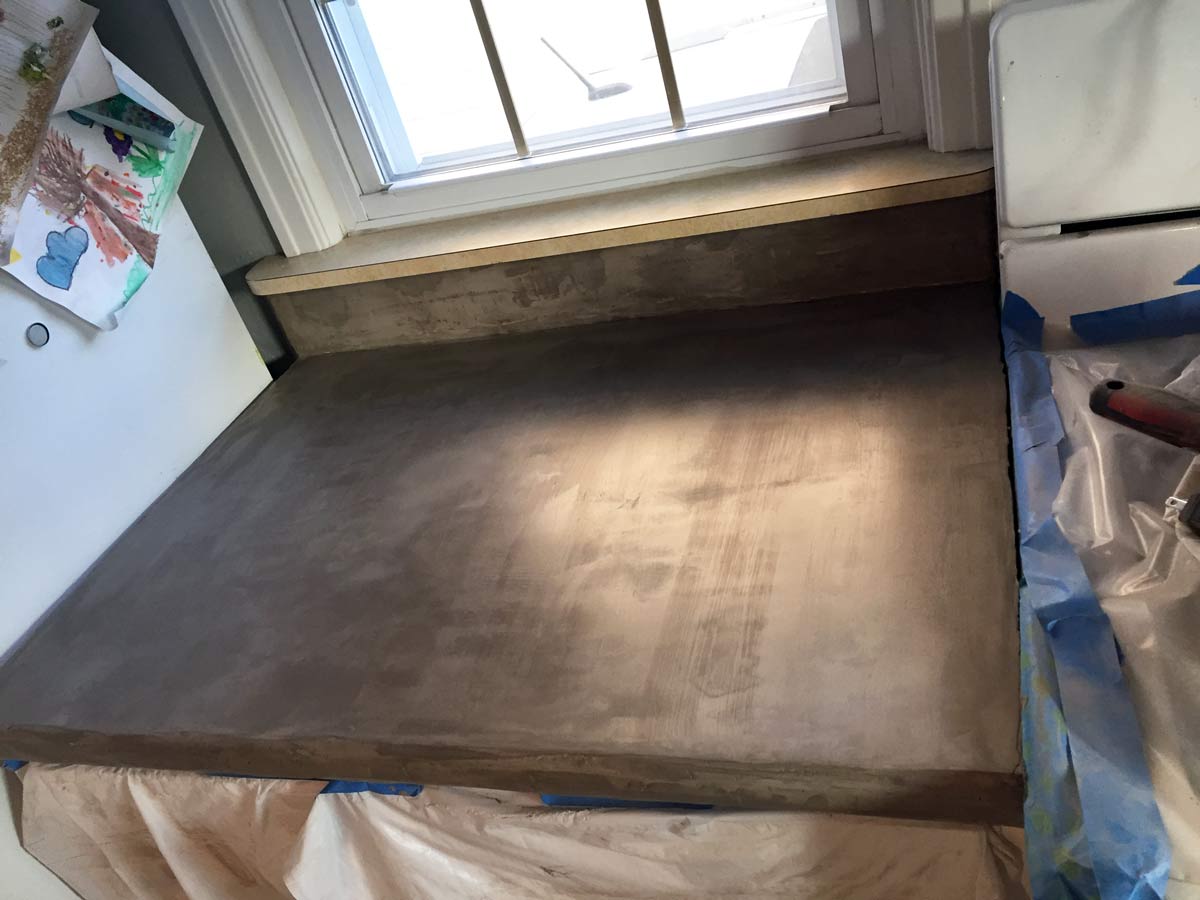
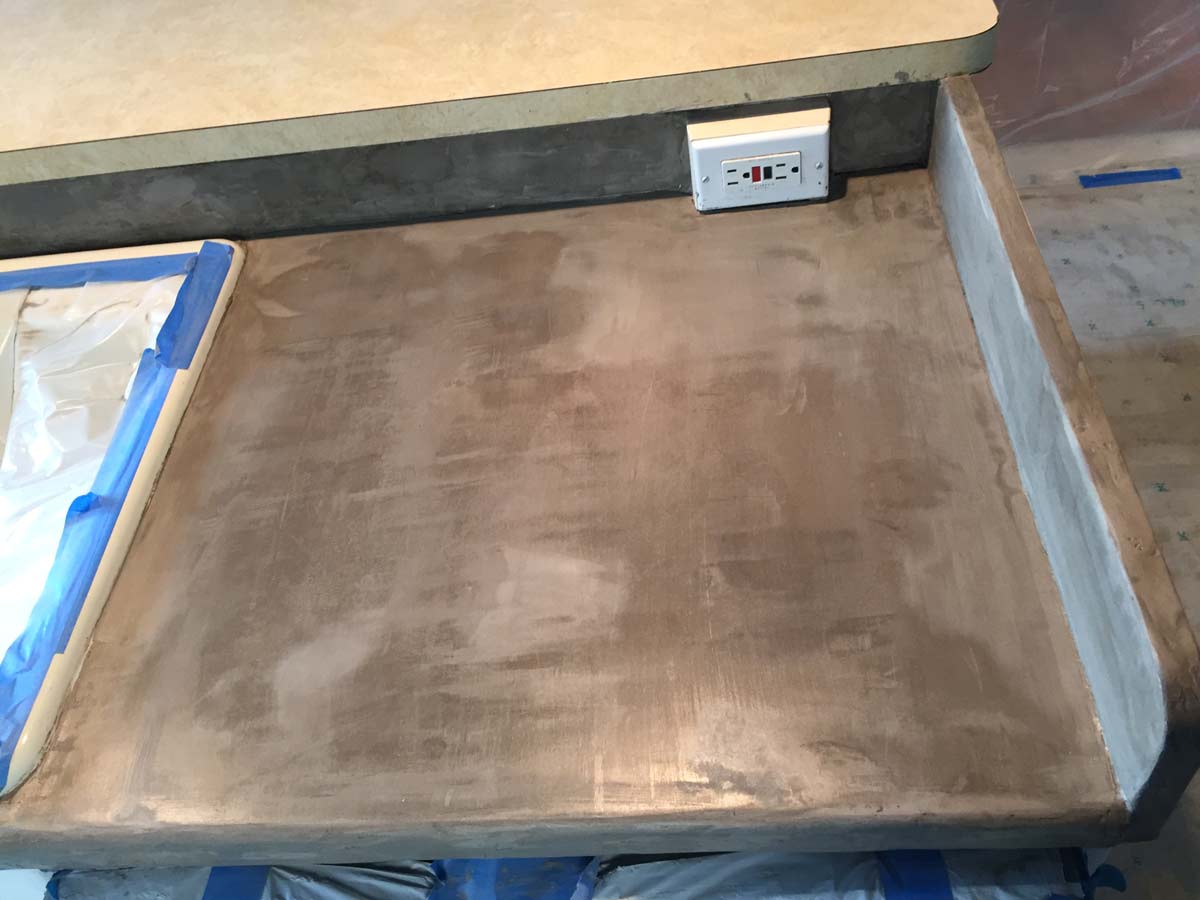
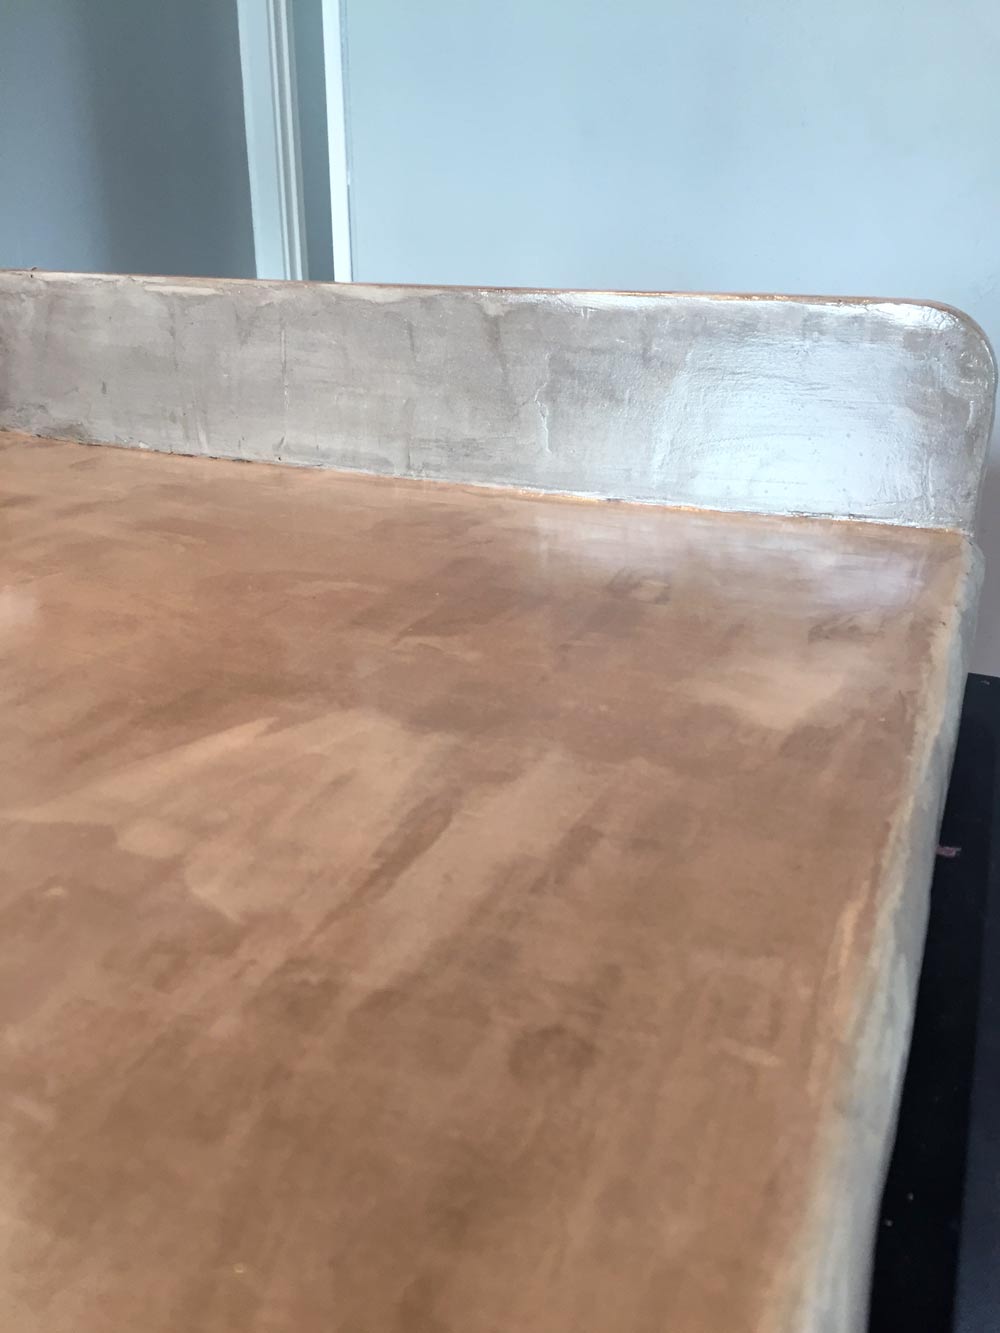
I made sure the counters were all very clean and then poured a little of the sealer onto a paper plate and sopped it up with a large sponge. Then I used the sponge to wipe the sealer over the counters going for a light–medium coat of sealer. I picked a glossy finish because I figured I could easily see when I had enough product on the counters, and quickly spot areas I missed since they would not be glossy. I waited a few hours between each coat and did not sand at all during the sealing step. It probably took about four or five coats of sealer to get a solid glossy look when it was dry.
Finishing with caulk
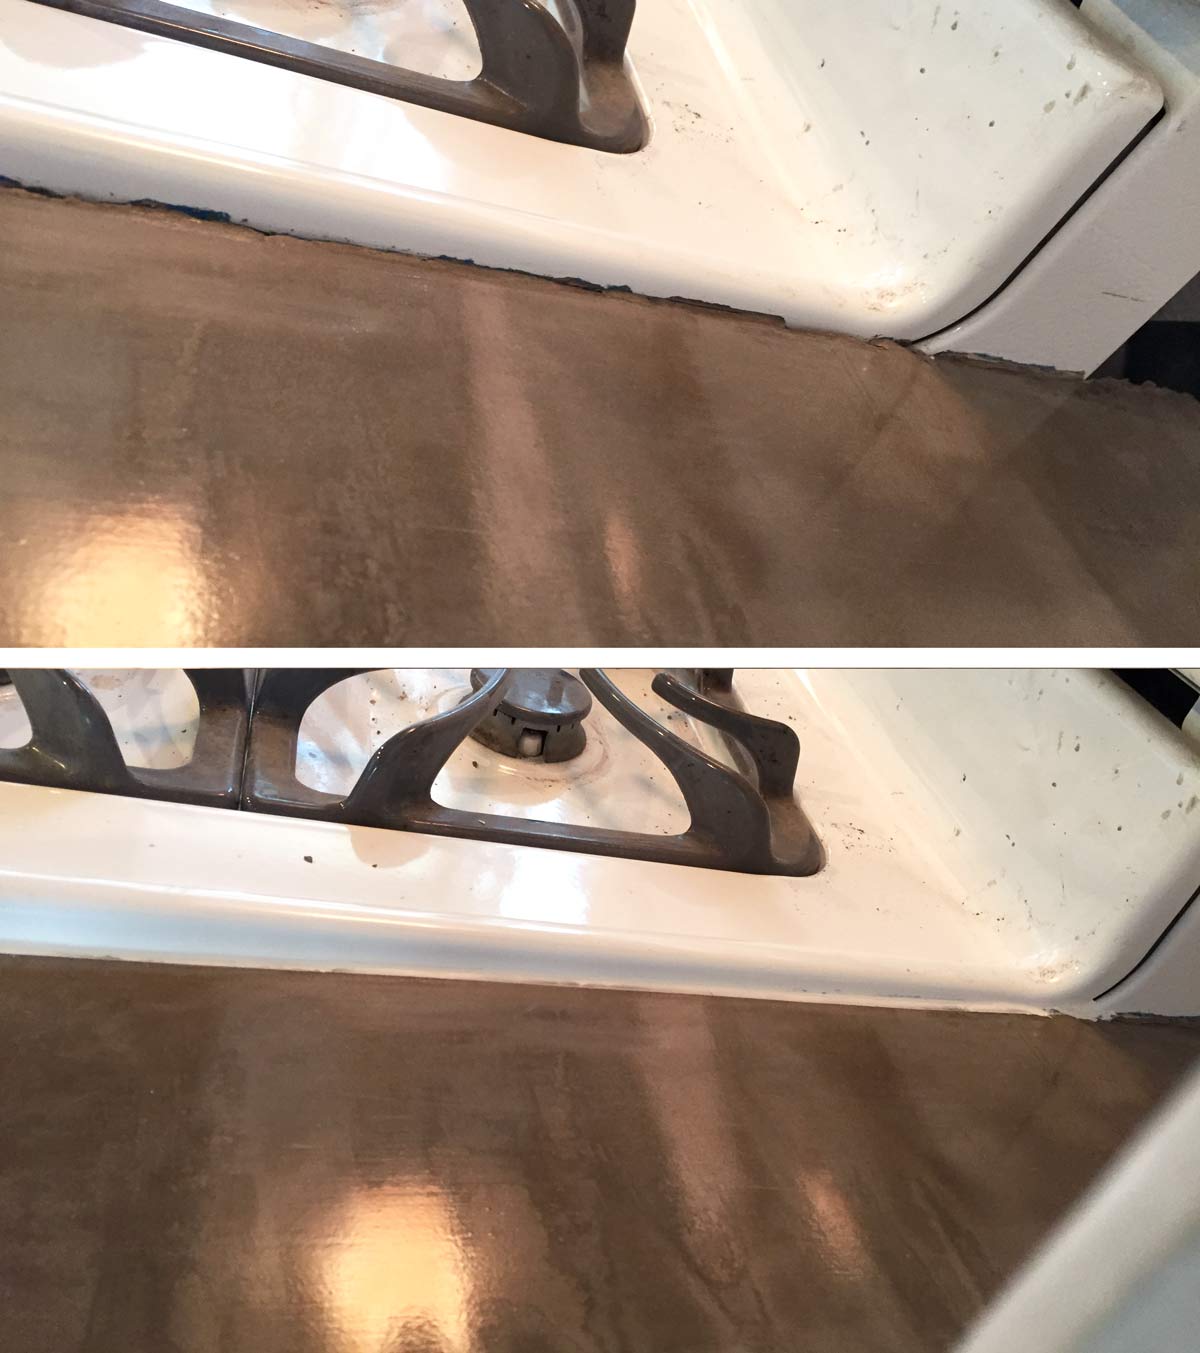
I had taped off around the stove and after I removed the tape the edge was not very pretty. Caulk to the rescue! I got white caulk for the edge of the stove and biscuit caulk for the sink, since its an off white color. I usually just wing it with caulk and use the damp rag/wet finger method for cleaning up the bead of caulk, but since I just spent forever making perfect DIY feather finish concrete counters, I taped off my caulk line to keep things really crisp. This step made such a difference around the stove, it definitely looks professional now. Right after I finished these counters, I got to work recovering the Formica bar top with marble contact paper and that also made a huge difference in the kitchen, so stay tuned for a full how-to on that soon!
A Few Months Later
Still loving these counters! Like I do with anything new, I really babied the counters for the first month or so, but now I am a little more relaxed about them. Since they have a lot of variation in them, little scratches are less noticeable and they are WAY easier to keep clean than the tile counters.
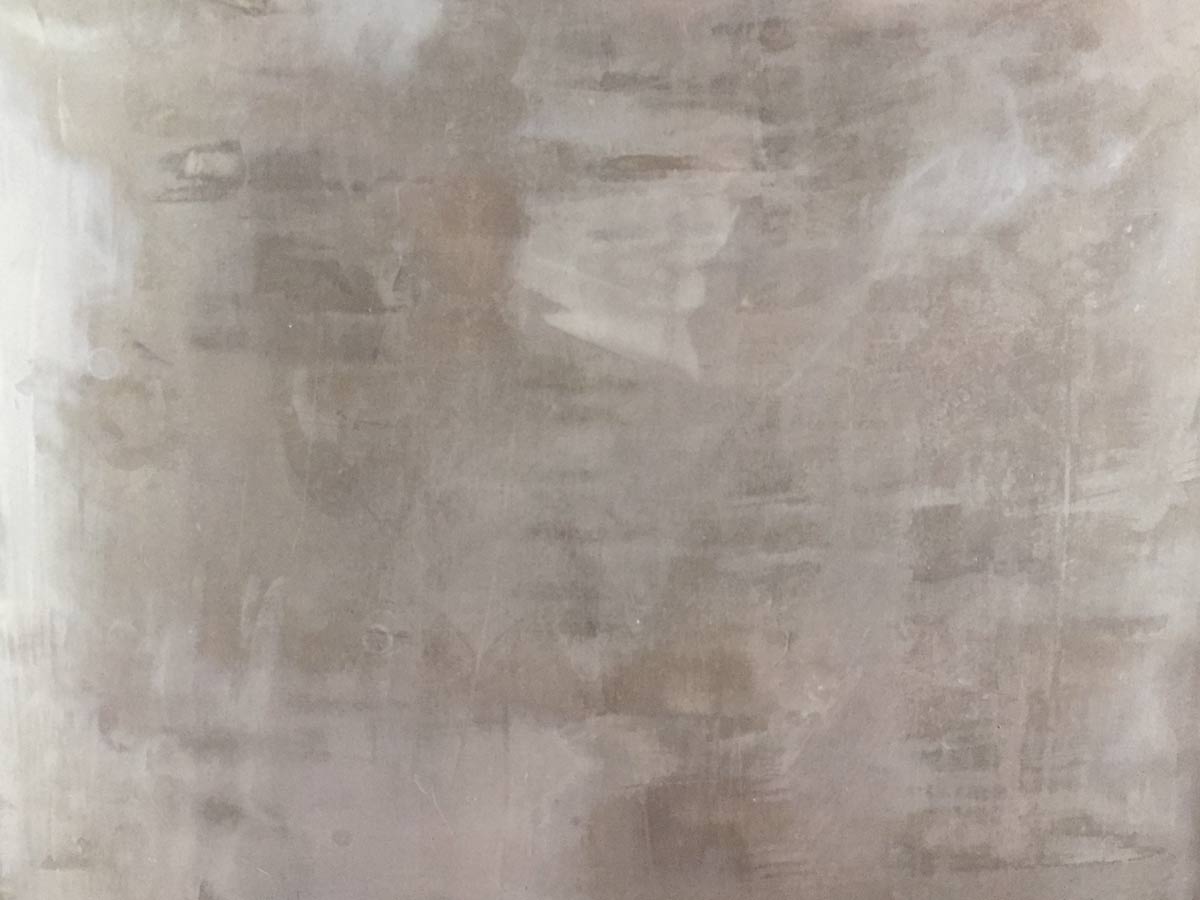
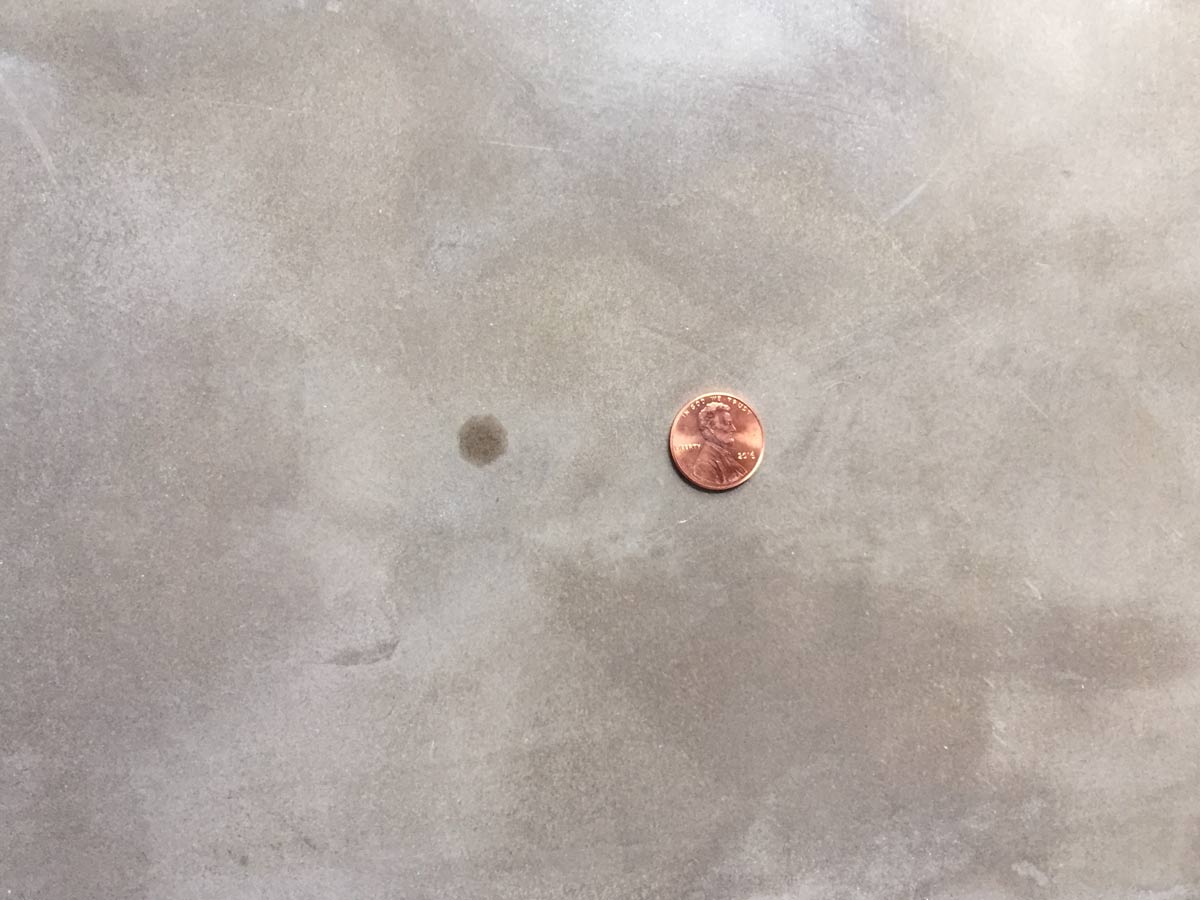
There is one spot where some oil or something got through the sealer and stained the concrete a little, but I’m trying very hard to not care about it so I don’t bust out the sander and re-do everything.
We make sure to quickly wipe off any water or food scraps that land on the counter to help prevent any future staining, and honestly, this felt like a lot of work at first, but it’s probably just a good habit that adult people have; you know, keeping surfaces clean.
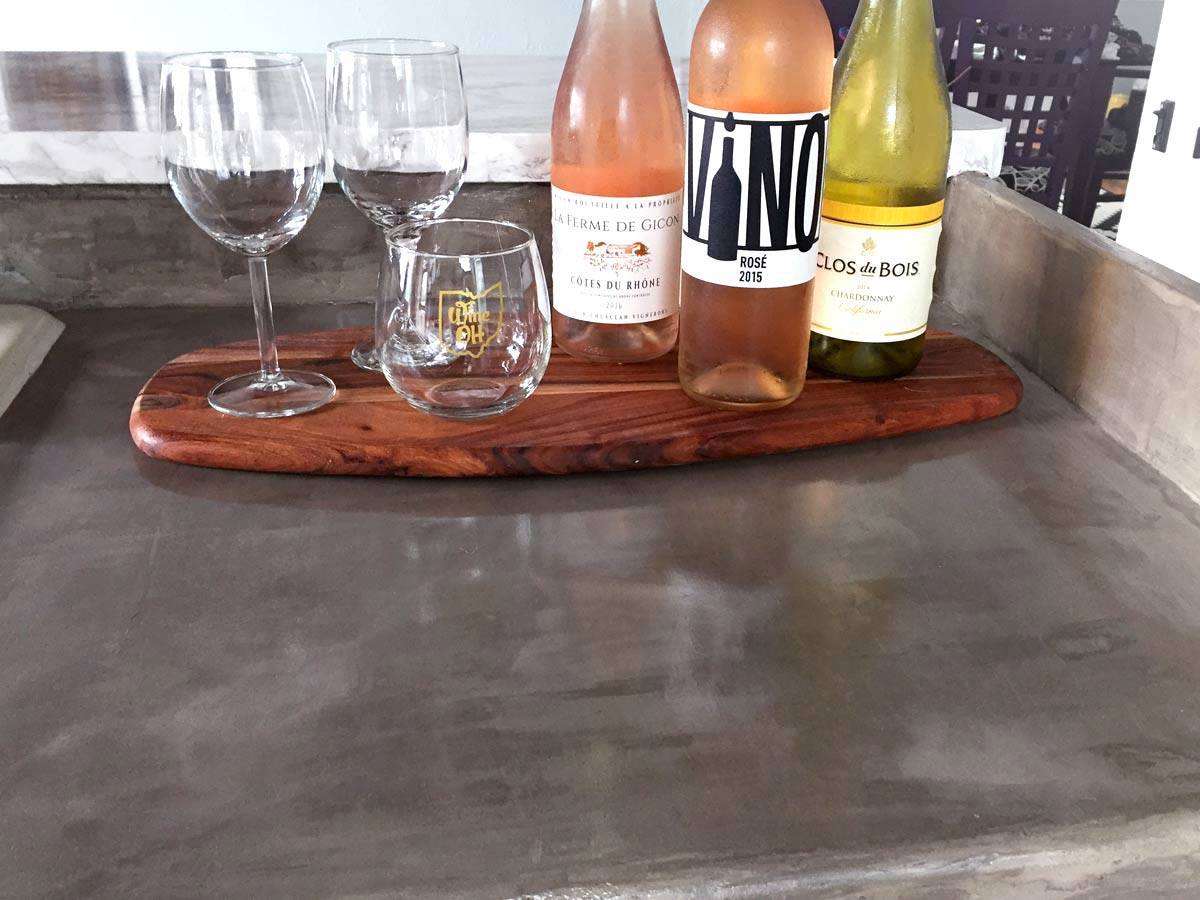
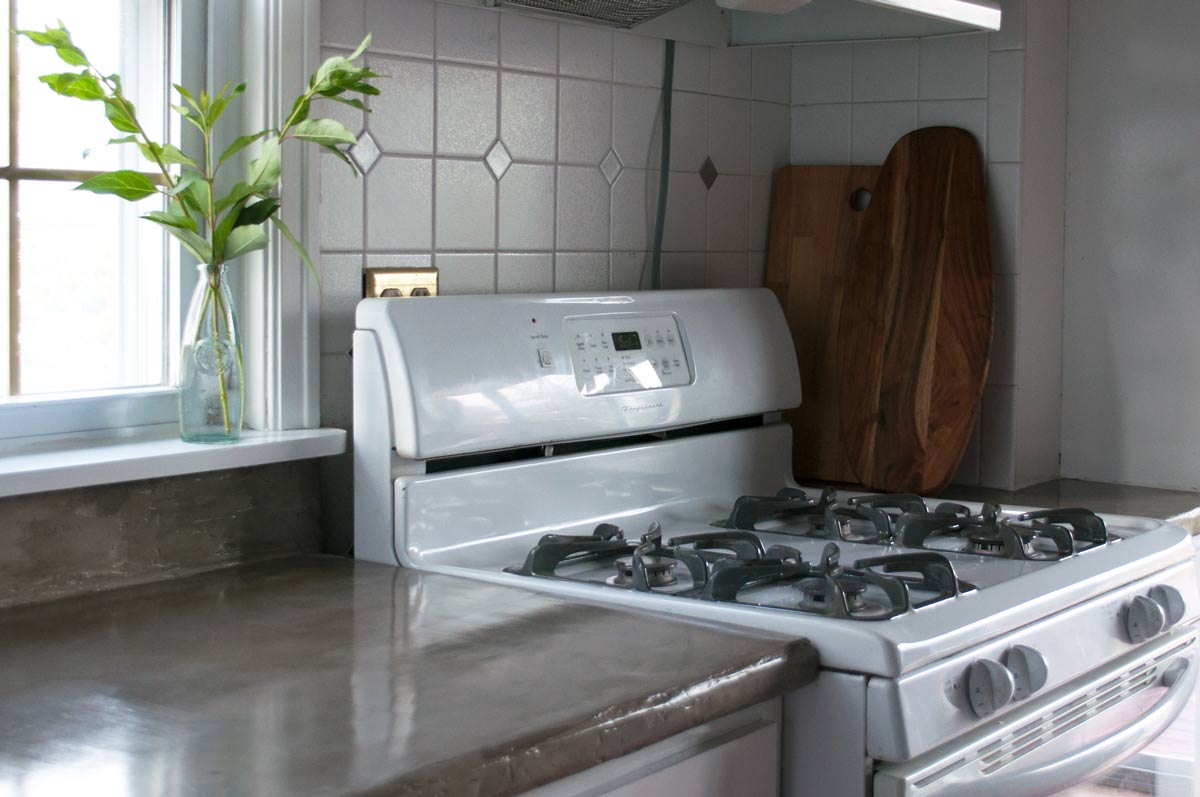
One final before and after so we can all remember what we started with:
So, what do you guys think? Would you go with feather finish concrete over tile counters as a temporary fix in your kitchen? Would you ever even install tile counters in the first place? Let me know in the comments!
