Today I want to walk you through the most time-consuming part of this kitchen refresh: painting the cabinets. In fact, I’m not even done with it, that’s how much time it takes! I mean, potentially, I could have been done by now if I hadn’t decided to rewatch all of season one of Westworld, but who can really say? Anyways, here’s a step-by-step look at how to paint cabinets featuring some subpar iPhone photos.
(Check out my updates from Week One, Week Two, and Week Three)
It should be noted that I followed the instruction of our DIY deities John and Sherry Petersik. You can read their tutorial on how to paint cabinets here. In order to get a solid finish, a loooot of prep work has to happen. Now, I hate prepping for painting, but it’s such a crucial part that it’s worth taking the time to do it right.
FYI: We bought the majority of our painting supplies from Sherwin Williams thanks to the hella good discount of a family member who works for them. Where possible, I’ll be linking to the same product that I used but at a better price than what you would pay at Sherwin Williams without the discount.
Step One: Remove Doors and Hardware
The first step is an easy one: take your doors off the boxes and then remove all hardware, including the hinges. I put the hinges and their screws into sandwich baggies in order to keep everything together. Despite knowing that I was going to replace the hardware, I did the same for those too.
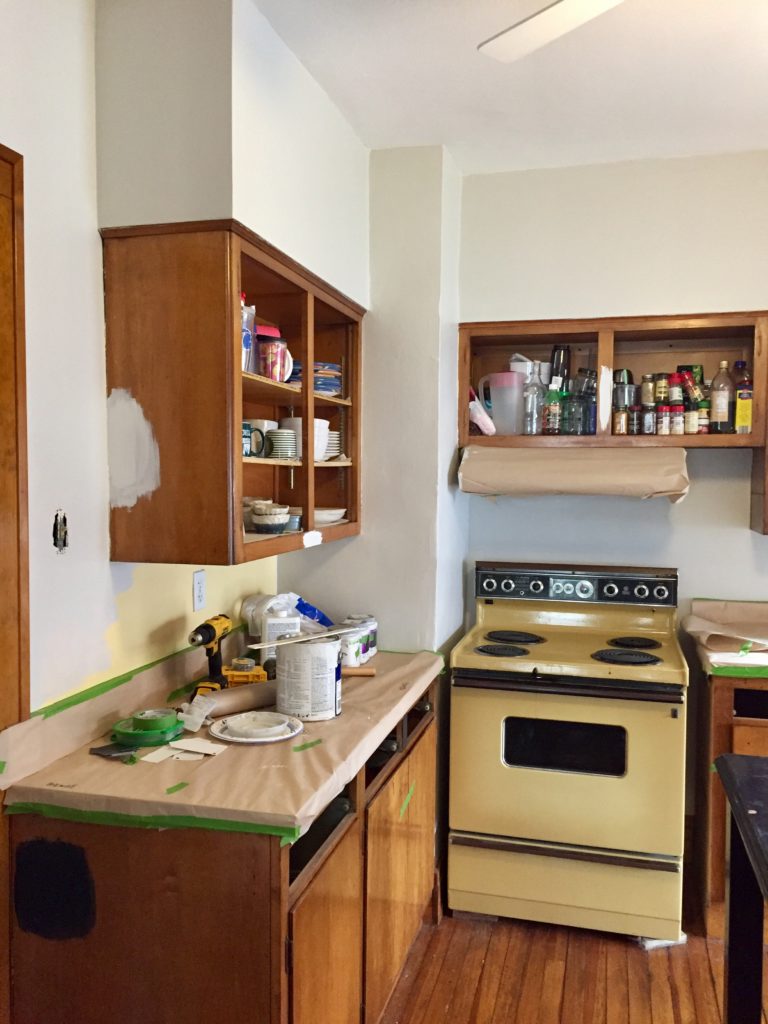
This is a good time to label everything. Using painter tape, I labeled each of the doors and the box where they belonged. Going left to right around the kitchen, the upper doors were labeled U1, U2, U3, etc. with the matching label on the shelf where the door was removed. I did the same for the lower doors: L1, L2, L3, etc.
Step Two: Fill Holes
Using wood filler, I filled in the holes from the previous hardware on the doors. I kept one hole on each of the upper doors for the knobs, but all holes on the lower doors and all drawers were filled.
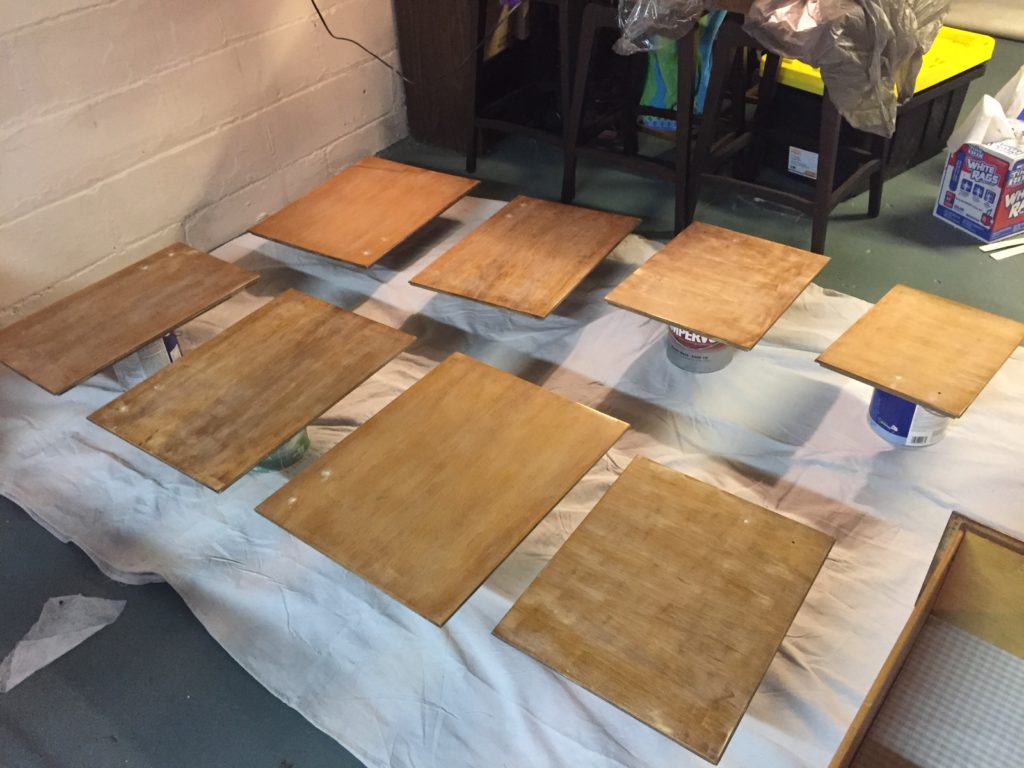
Step Three: Sand Doors and Boxes
I took the doors out to the garage to sand in order to mitigate the mess. Both front and back were sanded twice: once with a low grit sandpaper (80) and once with a higher grit (220). I probably could have done a mid-range in there as well but decided to just sand twice. I used my power sander for the doors but did the same process to the boxes inside by hand with sanding blocks.
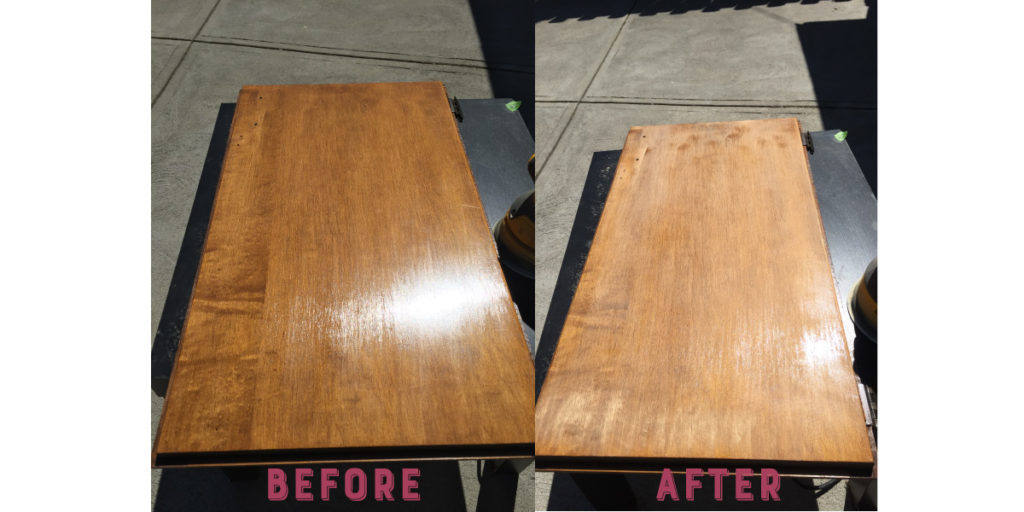
Step Four: Wipe Down and Degloss
With everything properly and thoroughly sanded, all surfaces got wiped down with a tack cloth to clean things up. Then everything was wiped down with liquid deglosser, which is a good step to take before priming. This helps break down any of the old finish that remains after sanding. I used this deglosser and a box of rags from the hardware store. Make sure to wear gloves when deglossing!
Step Five: Prime
We’re getting closer to the fun part! Be sure to pick a primer that will work well with your paint. We used a multi-purpose primer because the staff at Sherwin Williams recommended using Emerald enamel trim paint for the most durable finish.
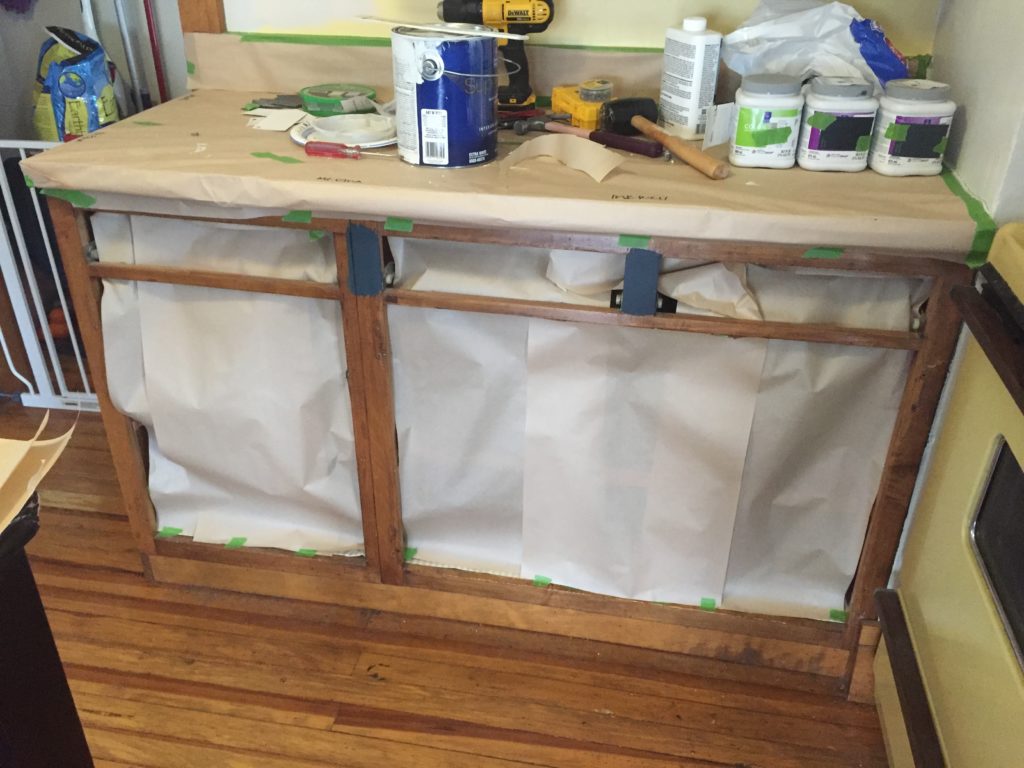
I also brought everything in from the garage at this point and set up shop in the basement. Cleveland weather is notoriously finicky in the spring and I didn’t want temperature fluctuations to mess with the dry time or finish of the primer and paint.
Your tools are super important at this stage because that’s what’s going to ensure you get a smooth finish. For applying both the primer and paint, use a small foam roller to apply two THIN (like, the most thin, then even thinner) coats.
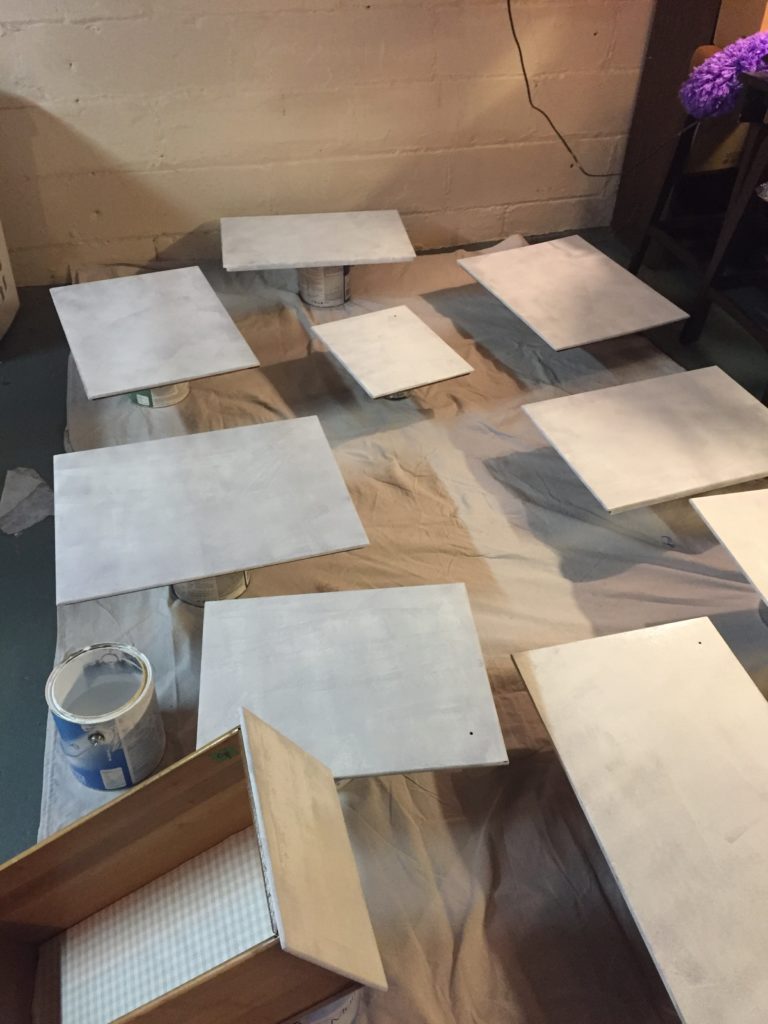
I also used a small foam brush to get into smaller areas on the backs of the doors and inside the cabinet boxes. With a foam roller, you want to put a minimal amount of primer or paint on your roller and then lightly apply it to the door or box. DO NOT PUSH DOWN. I promise everything will get covered, but your first coat should look patchy. Make sure to follow recommended dry times before adding the next coat.
Step Six: Paint
After letting the primer cure for at least a day, I moved onto painting. Again, like the primer, you want to apply super thin coats with your foam roller and a light hand. Depending on the coverage, you may need to go up to three coats of paint. Just make sure to keep those coats nice and thin.
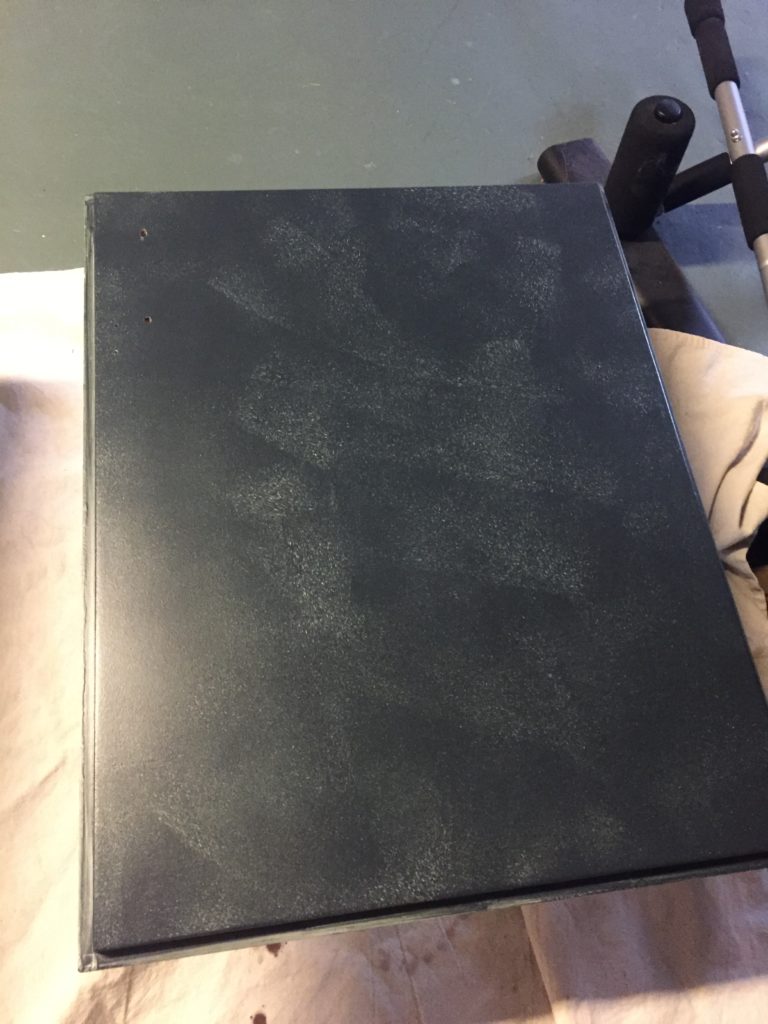
For the doors, be sure to paint the backs first. That way, when you flip them over to paint the fronts, any dings or scratches to the finished surface happen on the backs of the doors instead of the front.
Asking the expert at your paint or hardware store will help you figure out which paint you should use for your cabinets, but in general, you want to look for something that is oil- or enamel-based and self-leveling. This type of paint is EXPENSIVE, but it’s significantly less expensive than having someone else paint your cabinets for you.
Step Seven: Reassemble
After letting everything cure for as long as possible (at the very least 24 hours but even more, if you can swing it) you can install your hardware and rehang your doors. But, that’s a whole other process worthy of its own post for another day, mainly because I haven’t done this part yet!
If you can paint a wall, you can figure out how to paint cabinets. It’s time-consuming and tedious to be sure, but getting the prep work right and using the best tools will pay off in the end.
We’re getting close to wrapping this project up! With only two more weeks left in the challenge, we have a lot that needs to get done. You know, just some minor things like tiling the backsplash, assembling the island, replacing a light fixture, and installing the door hardware. Just details, right? Lolololol. Fingers crossed we make it to the finish line!
We joined the One Room Challenge as a Guest Participant this year. Hop over to the ORC site to see all of the great rooms and come back to us every Wednesday for the next two weeks to see our progress!