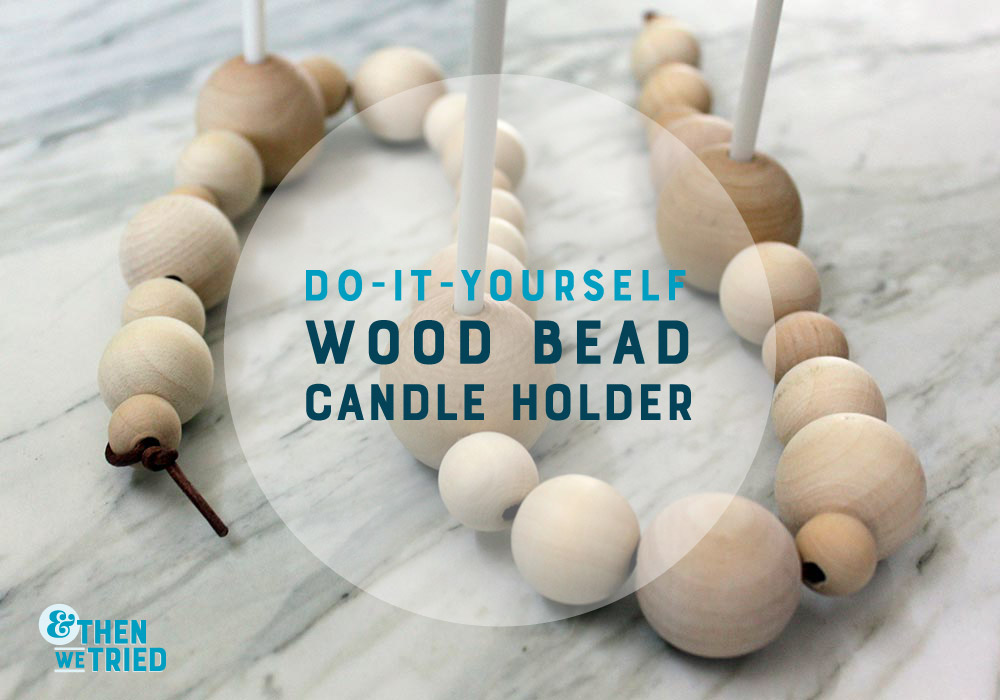
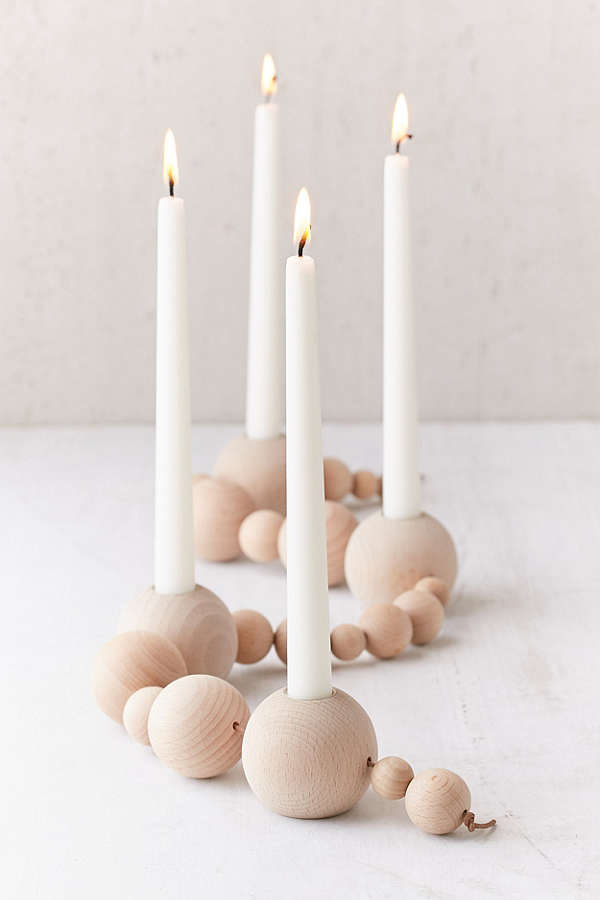
If you’ve seen this beautiful candle stick holder floating around the internet lately—hello, it just made Emily Henderson’s round up of California casual accessories—but wondered how on earth it costs $129, then you’re not alone. I was just wondering THE EXACT SAME THING. So being the DIY doers that we are here, I was convinced I could make this for less. Remember Michelle’s reclaimed wood cow DIY and my leather headboard? We love making expensive things for less. Enter our DIY Wood Bead Candle Holder.
Supplies:
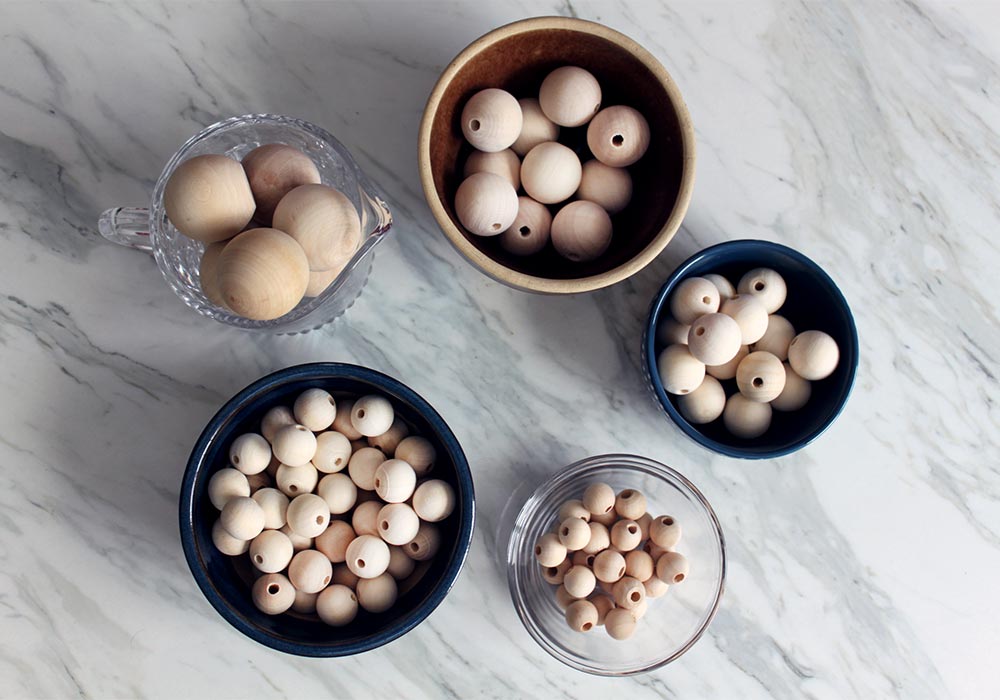
- Wood beads of various sizes
- Large wood beads
- I liked these doll heads from Michaels because they had a flat bottom. That way you know you’re candles won’t be rolling around when they are lit
- Leather cord
- Drill with 1/8″ and 7/32″ drill bits
- Tall tapered birthday candles
- I went with skinny tall birthday candles since the scale with the beads looked better.
Total cost: Approx. $25 with candles
Step 1
Decide how many candles you’ll want to have and allow for that many of the largest size bead. Those will be the ones we drill holes into for the candles. The example photo has 4 candles but I like to stay with odd numbers so I opted for 3. You do you.
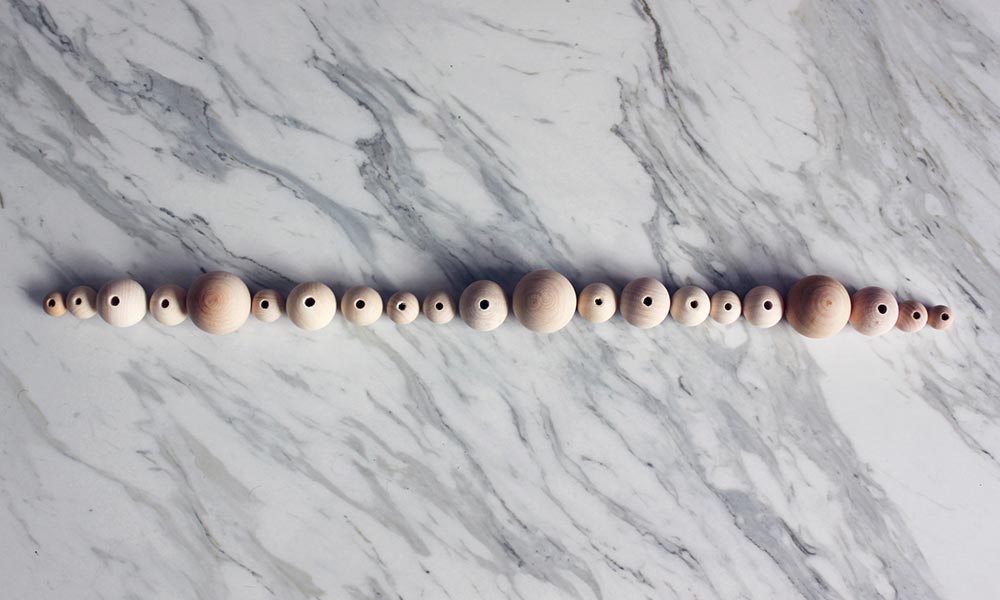
Start laying out the rest of your beads in a semi random order. Make sure you’re mixing and matching bead sizes and try not to make it too symmetrical. The inspiration image has different beads in different orders to add to the casual look.
Step 2
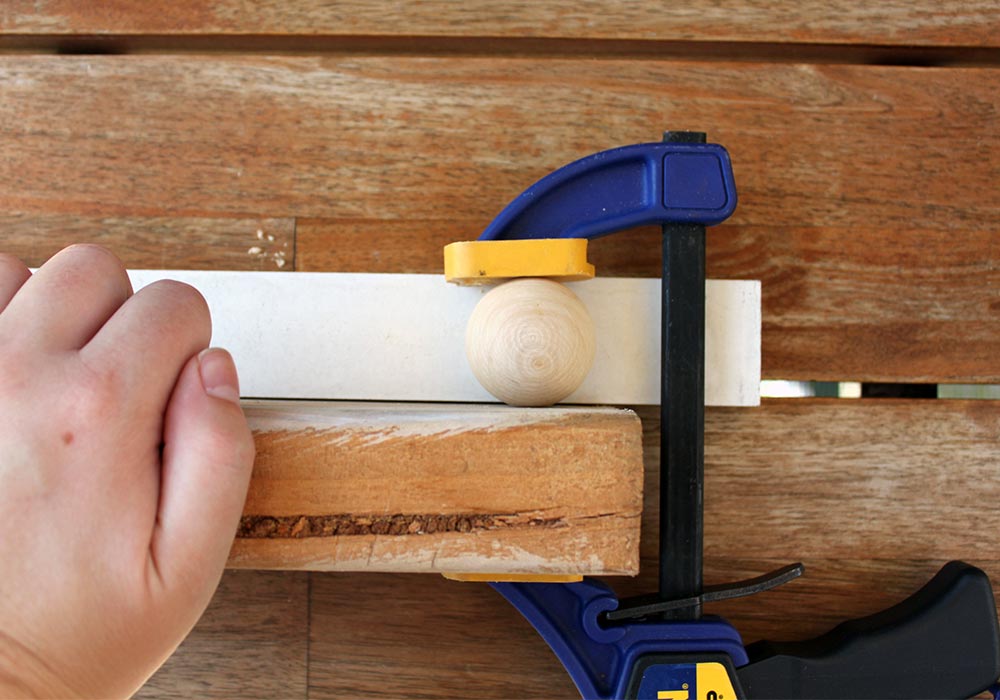
Take your largest beads and using your 1/8″ drill bit, drill a hole all the way through the bead to string your leather cord through.
I used two pieces of scrap wood with a clamp to keep the bead square while I drilled.
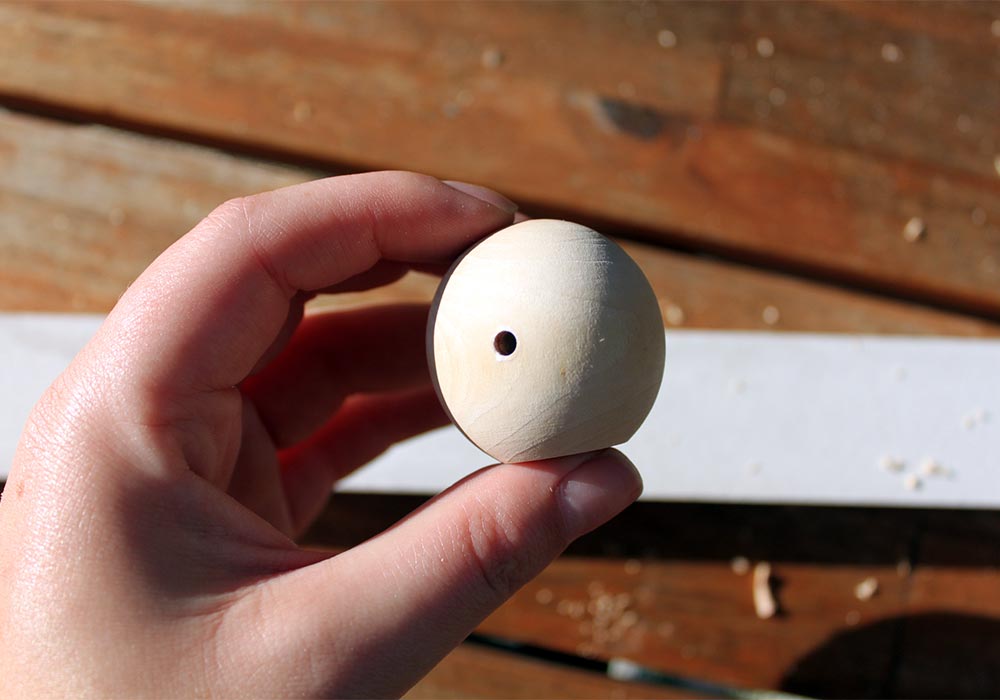
Now turn the bead 90 degrees and drill a hole approximately 1/4″—or just until the candle fits well—into the bead using the 7/32″ drill bit. I started small and kept checking with the candles until they felt secure.
Step 3
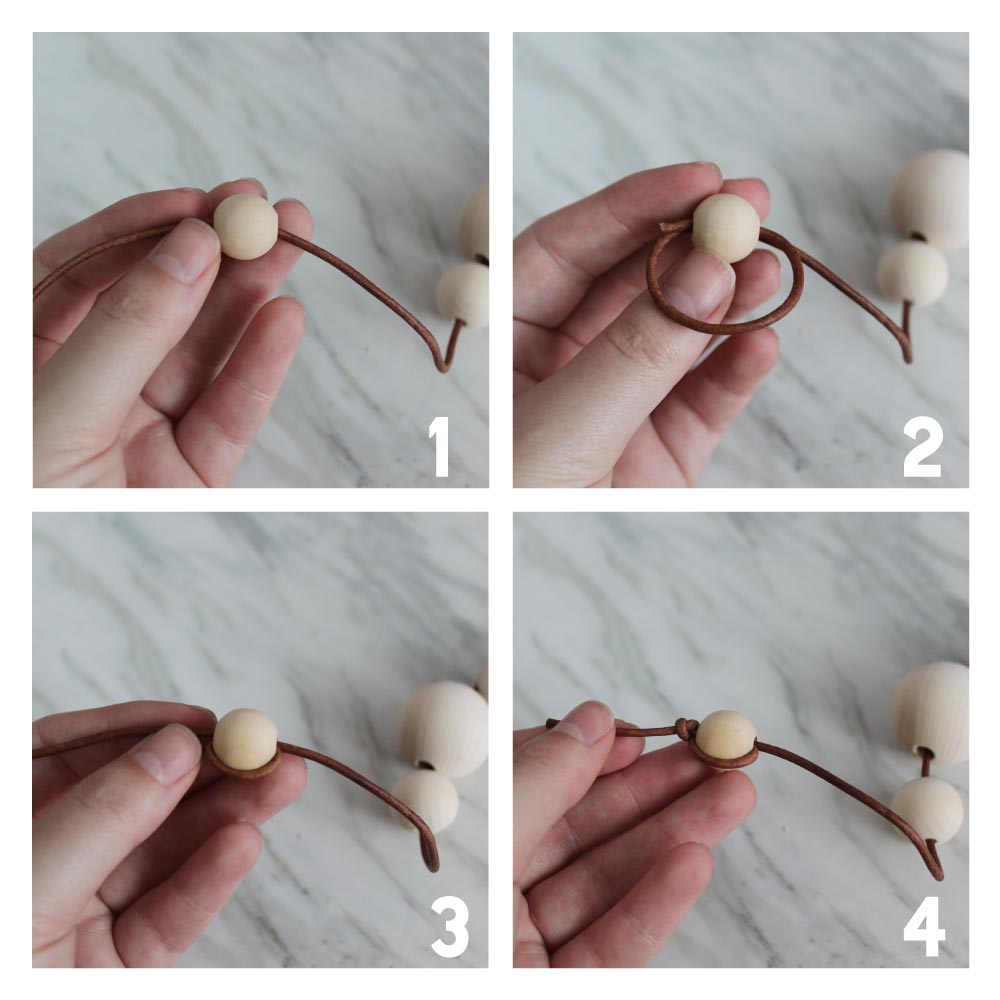
String all your beads onto your leather cord. Once you get to the last bead string the leather cord back through the bead to lock it in place. Tie with a knot and repeat on the other side.
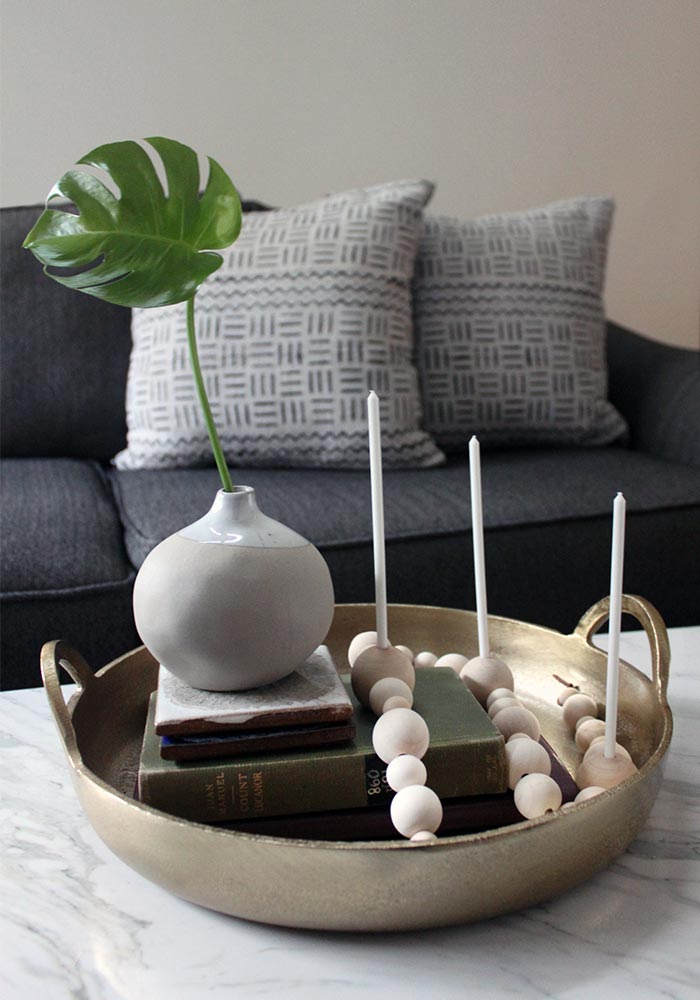
Easy! What do you guys think? I think this is such a sweet and simple center piece for a casual table set up.