As I mentioned in the house paint reveal post, I refinished my deck with Olympic Maximum Stain after the crew wrapped up painting and I’m here to share the process and the before and after! We made some safety improvements and some huge visual improvements and now the back deck is the perfect place to relax.
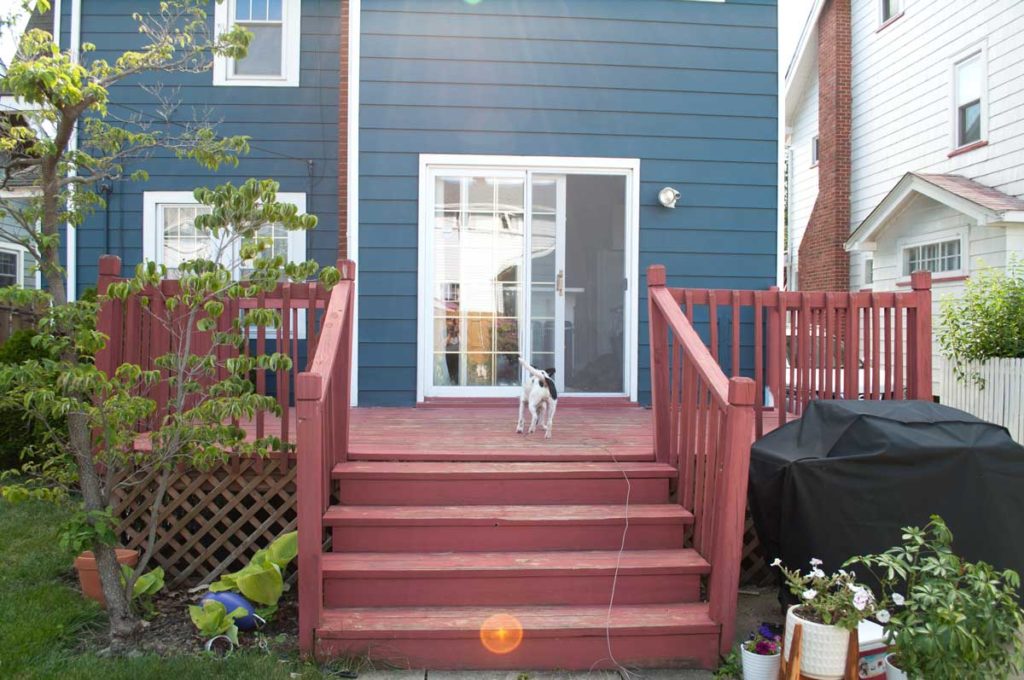
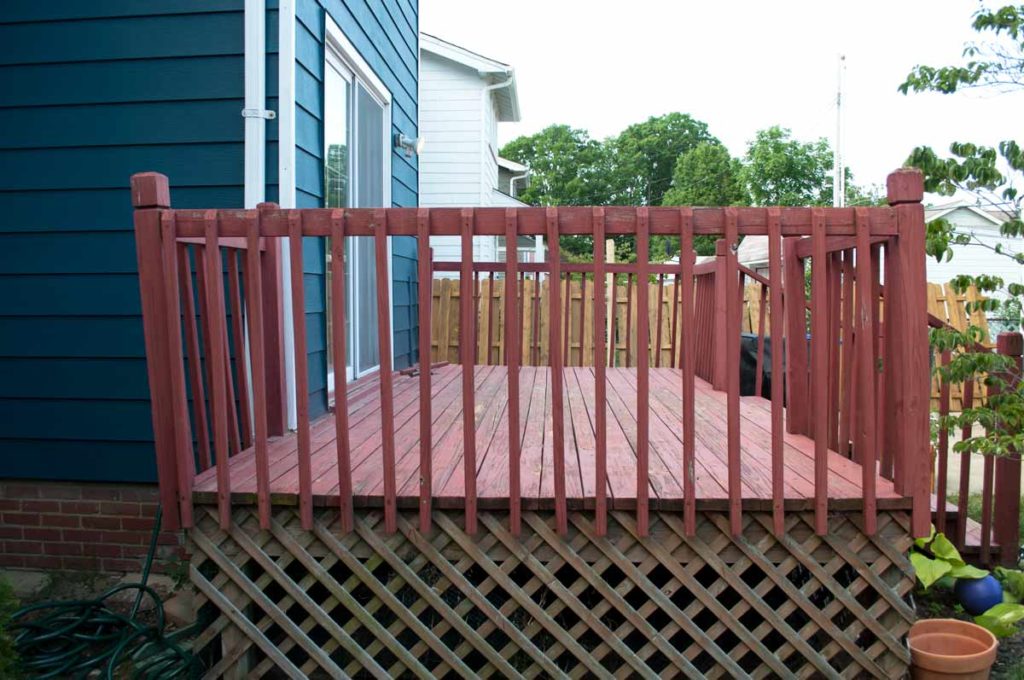
Let’s start with a before and after. Before, I was working with a red deck with a very well worn floor. The railings were crazy loose, not level and very not safe.
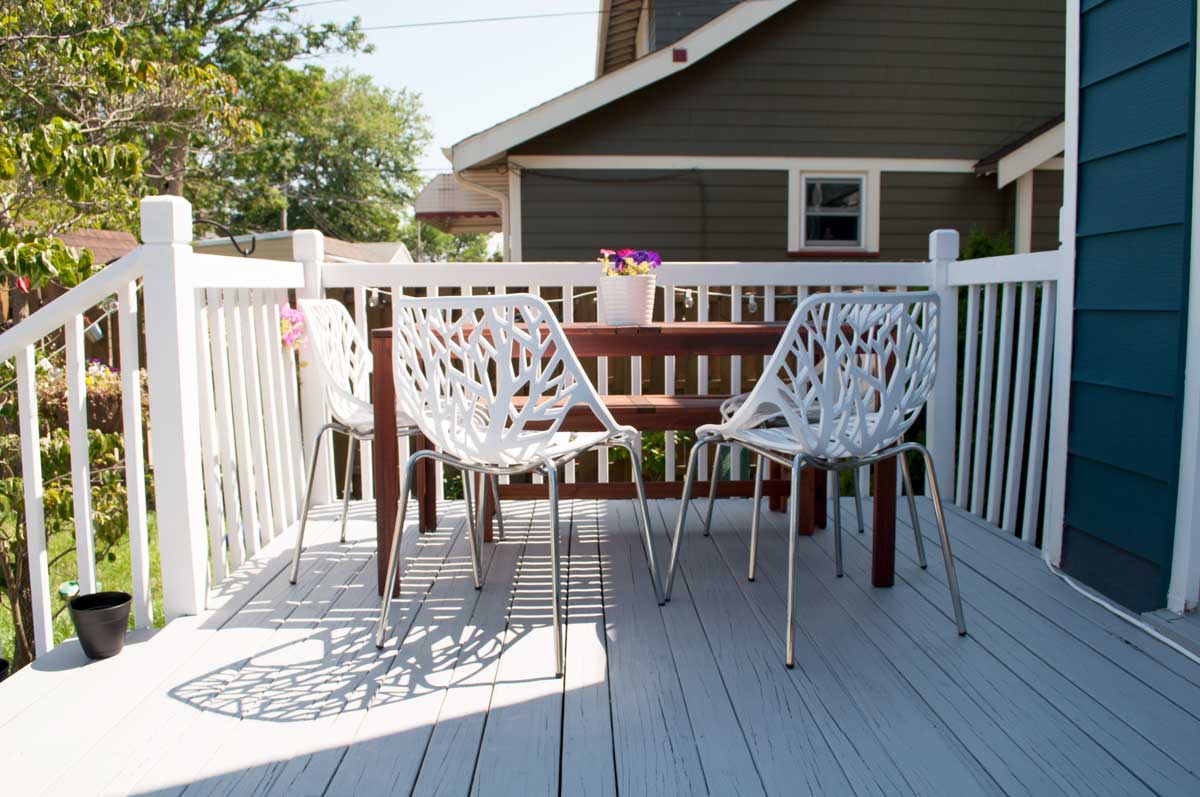
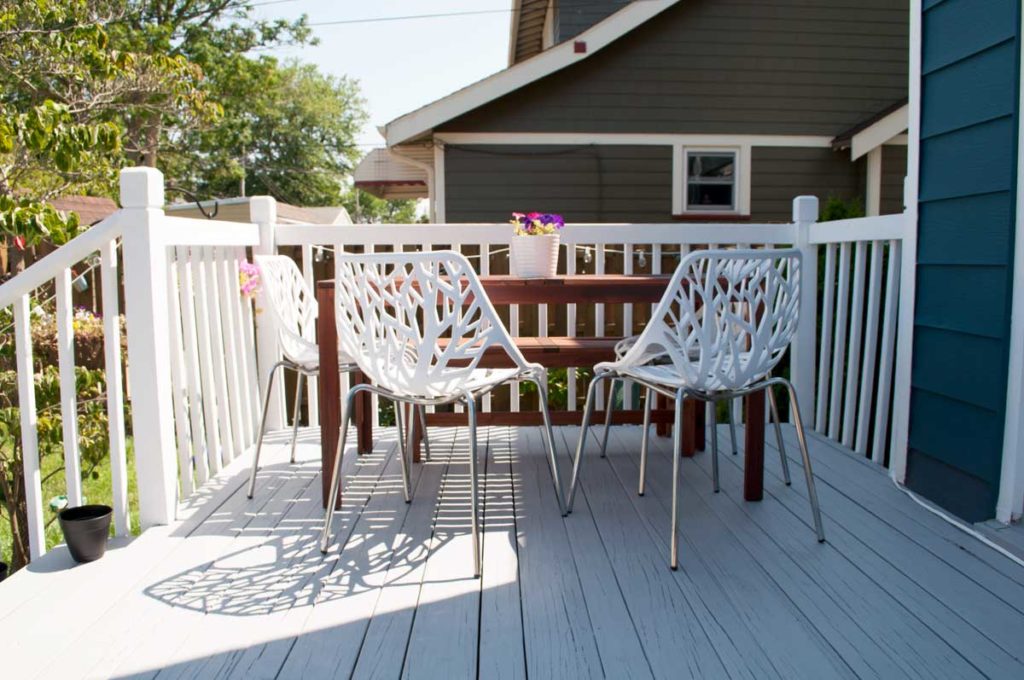
After! The back deck looks so fresh and clean now.
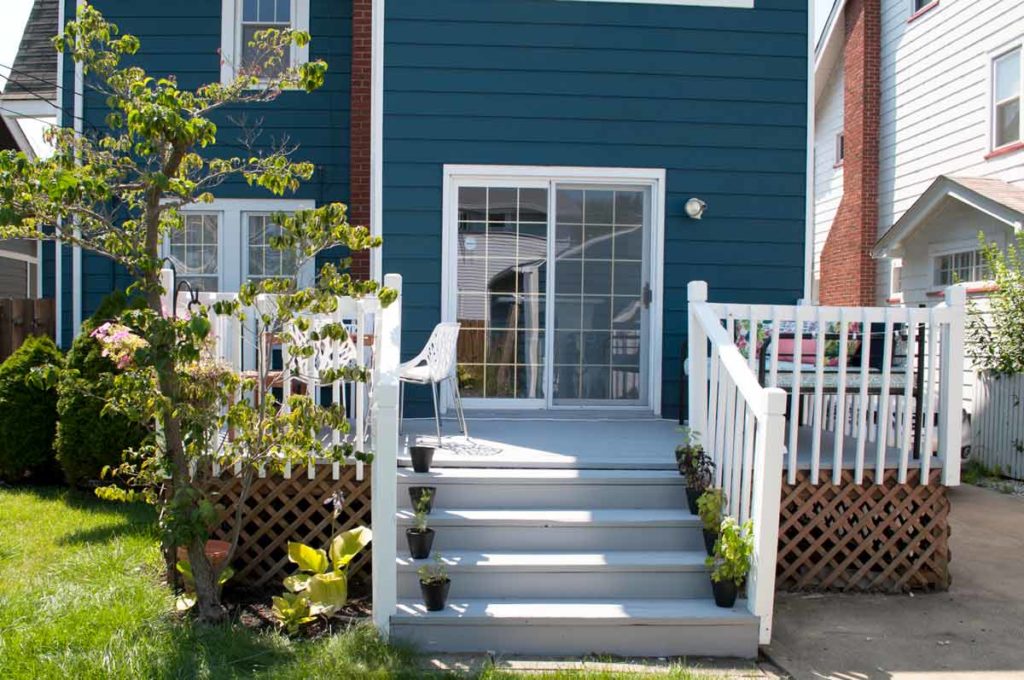
I don’t know how long ago this deck was painted red, but the paint was flaking off everywhere and a few boards had splintered enough that there were some holes.
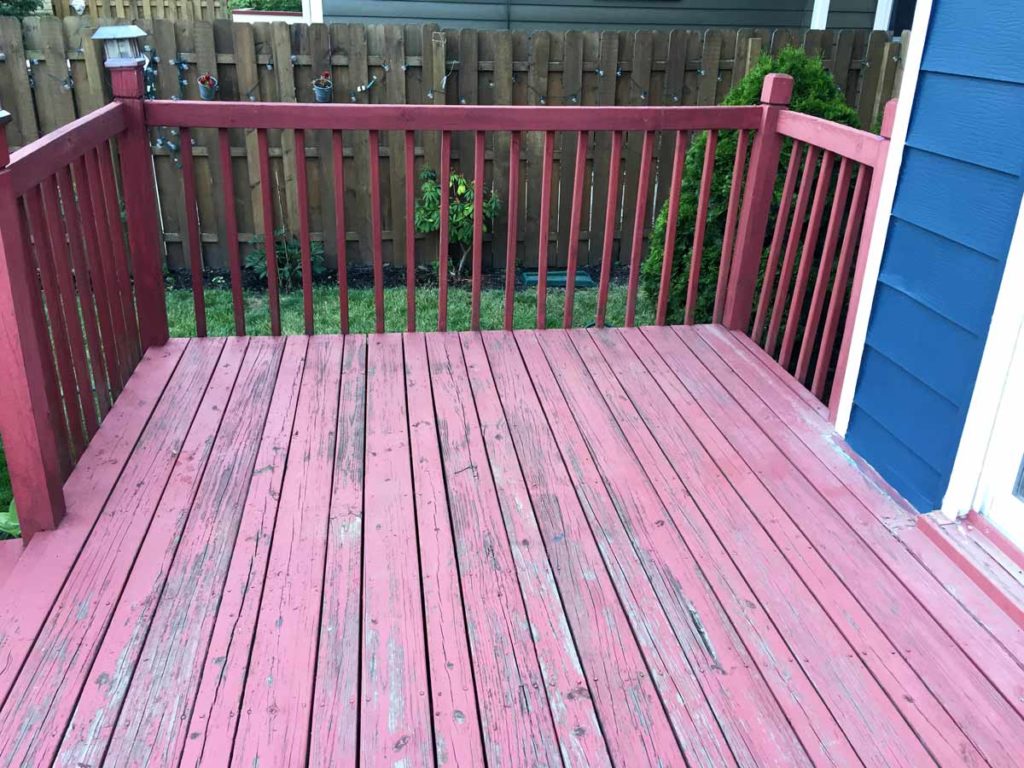
First, I sanded the whole deck with my orbital sander, concentrating on any high spots or splintered boards. Then, I filled the holes with DAP plastic wood and let it dry over night then sanded those areas the next day.
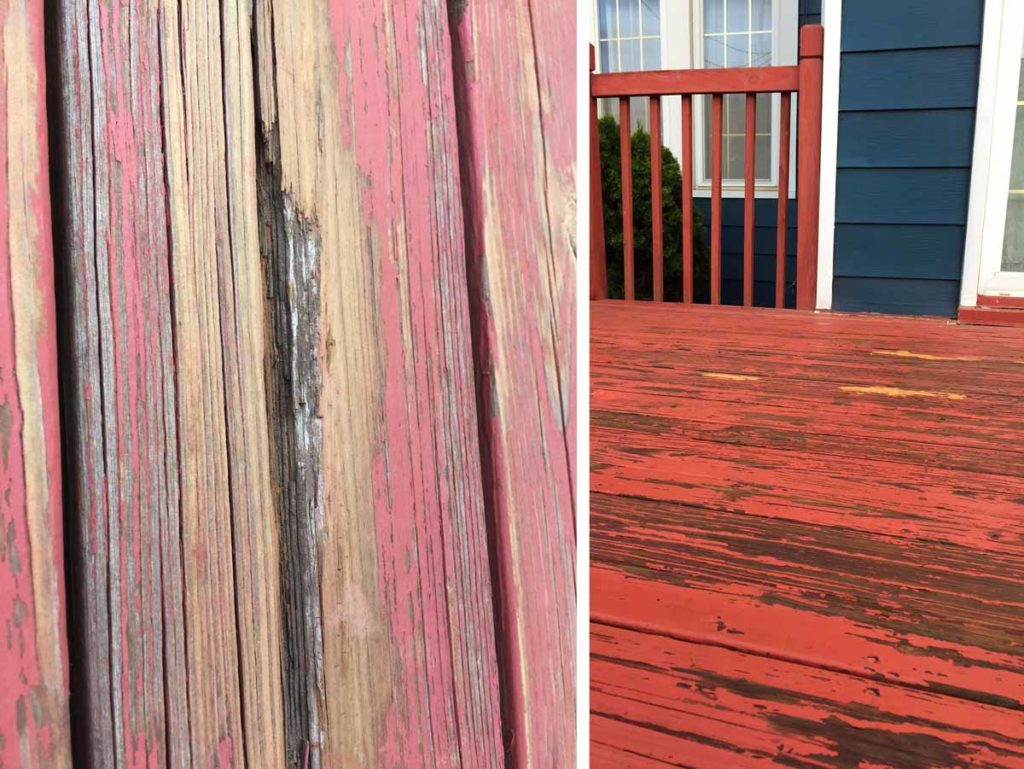
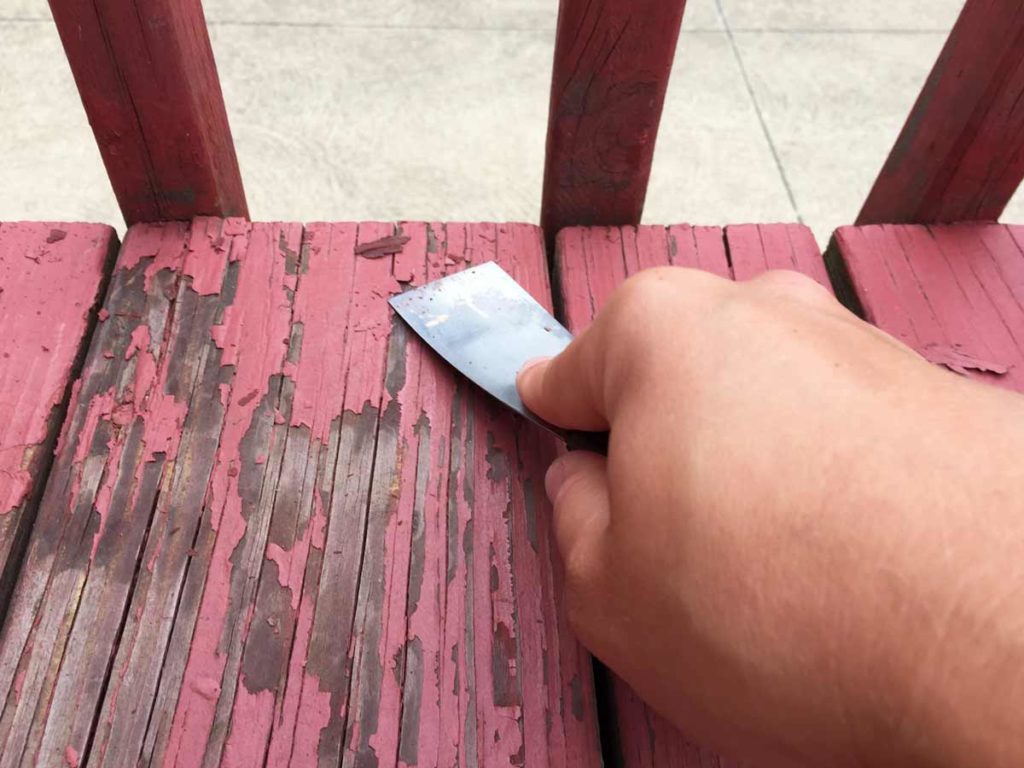
Next, I spent a million hours scraping all of the loose paint off the boards with a putty knife and a 5-in-1 painters tool. I wanted to get as much of the old paint off as possible to give the new Olympic Maximum Stain a chance to adhere to the wood evenly. After it rained, more of the paint started peeling, so I spent several days scraping paint off the deck.
After I finished the paint scraping, my dad and I moved on to fixing the railings. The railings were one bump away from completely falling apart and I think they were attached with drywall screws. Even the posts were only attached with a few tiny screws and you could easily shake the railing.
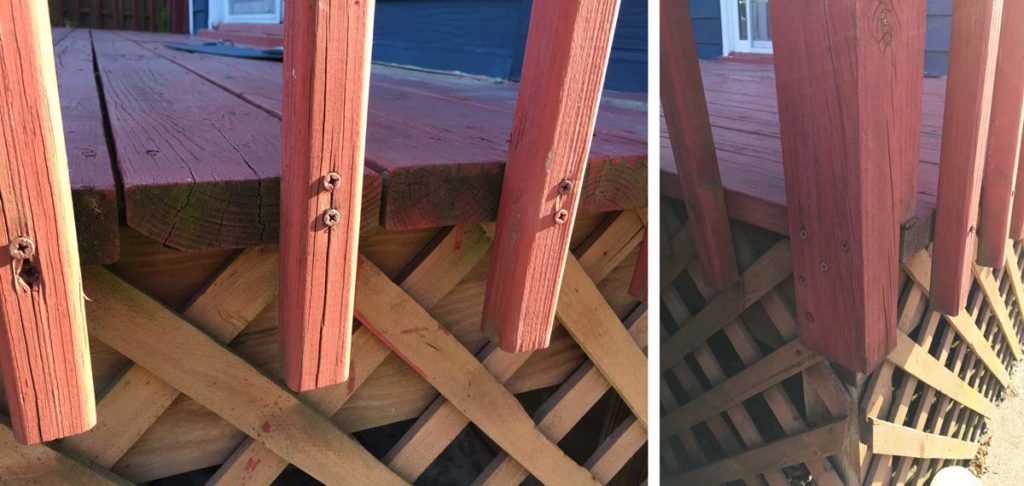
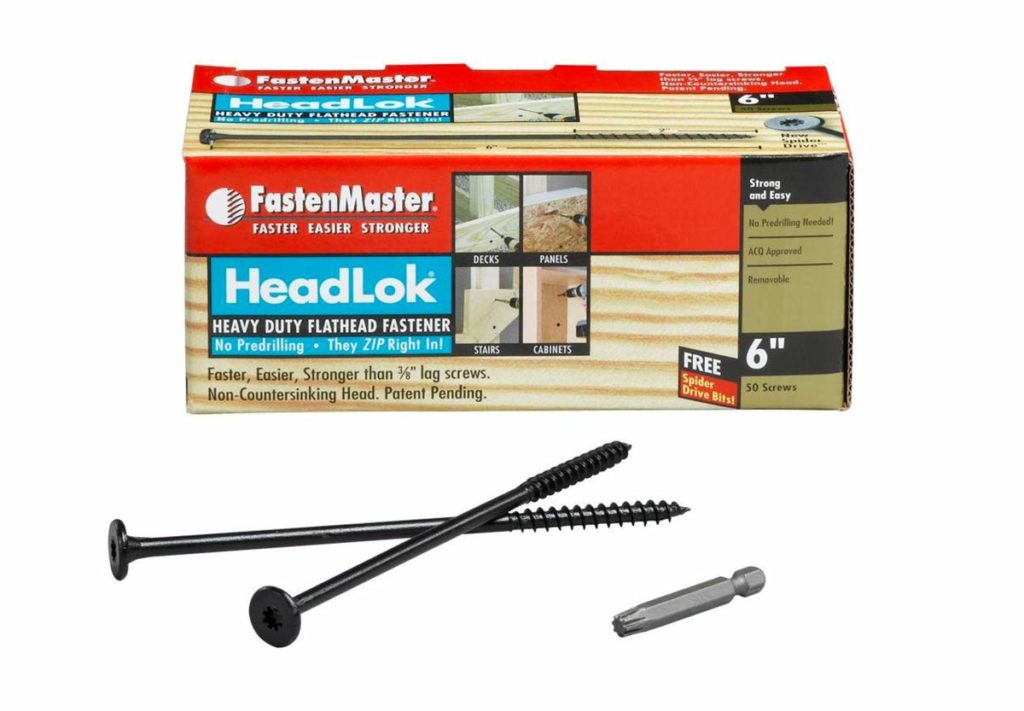
We shoved the main posts until they were as close to level/plumb as possible and then screwed them in with these HeadLok screws. We used 6″ screws and 2 7/8″ screws depending on what the post was connecting to. One note on these screws, the 6″ screws were only threaded for a small amount at the bottom and I wish they were threaded further up the screw.
Then I took all of the pickets off and used a wood block and a level to reattach them with deck screws, keeping things evenly spaced between the posts.
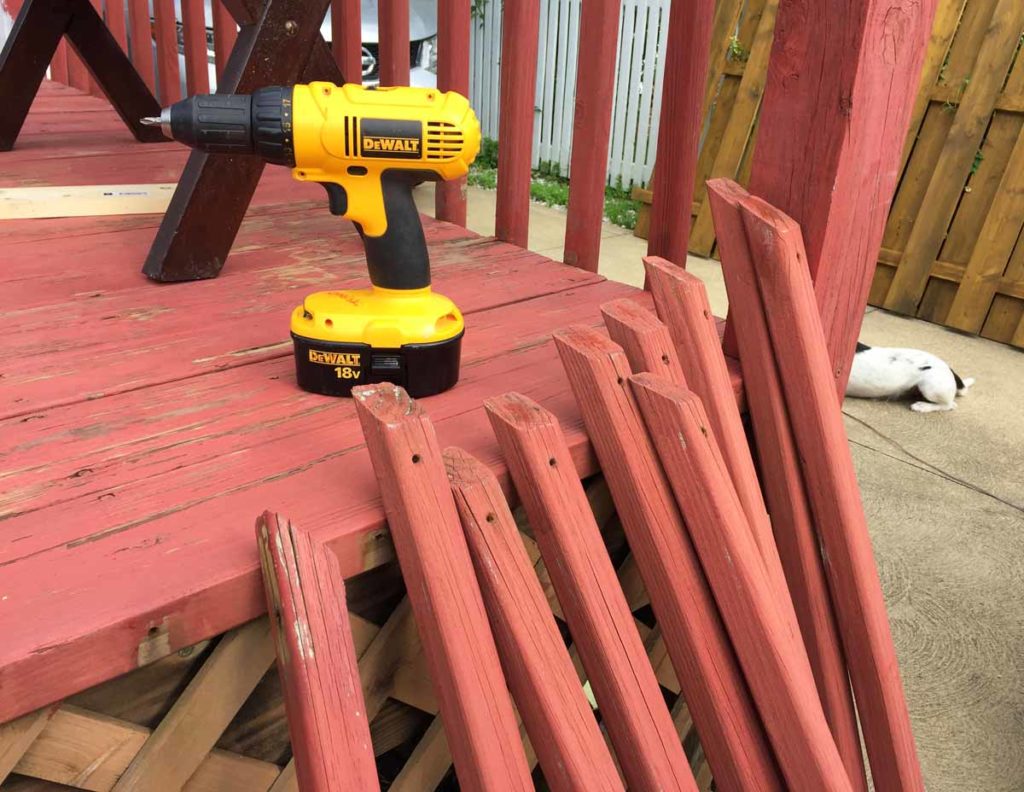
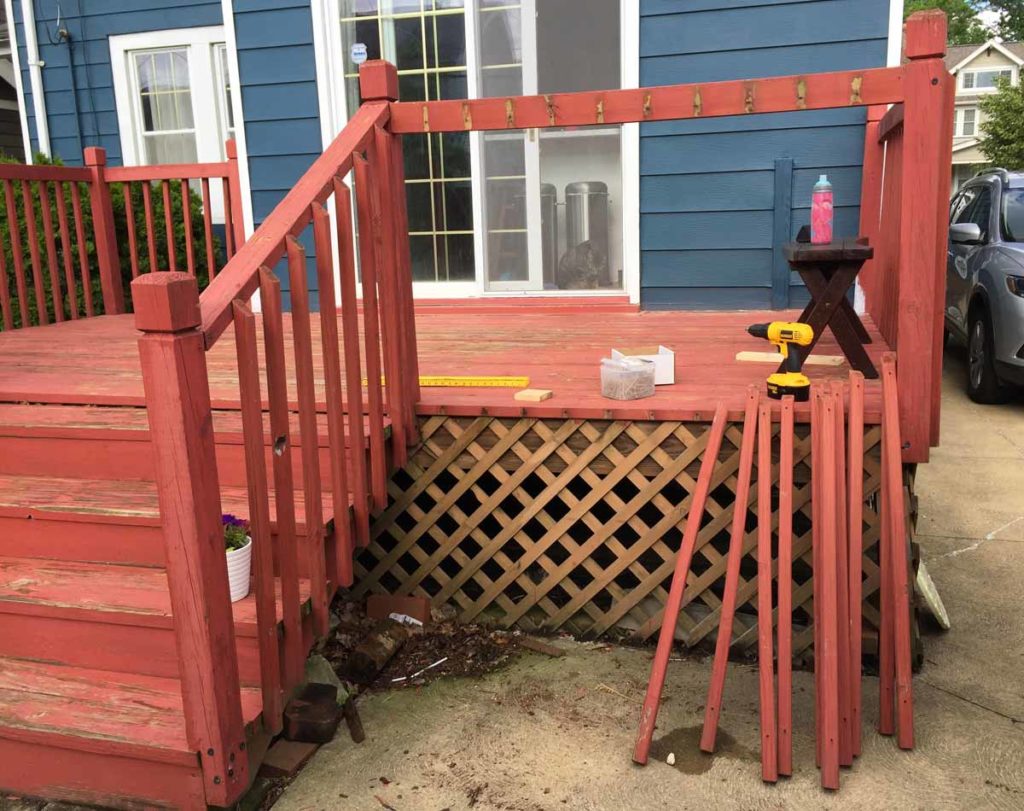
You can see how the pickets shifted position here:
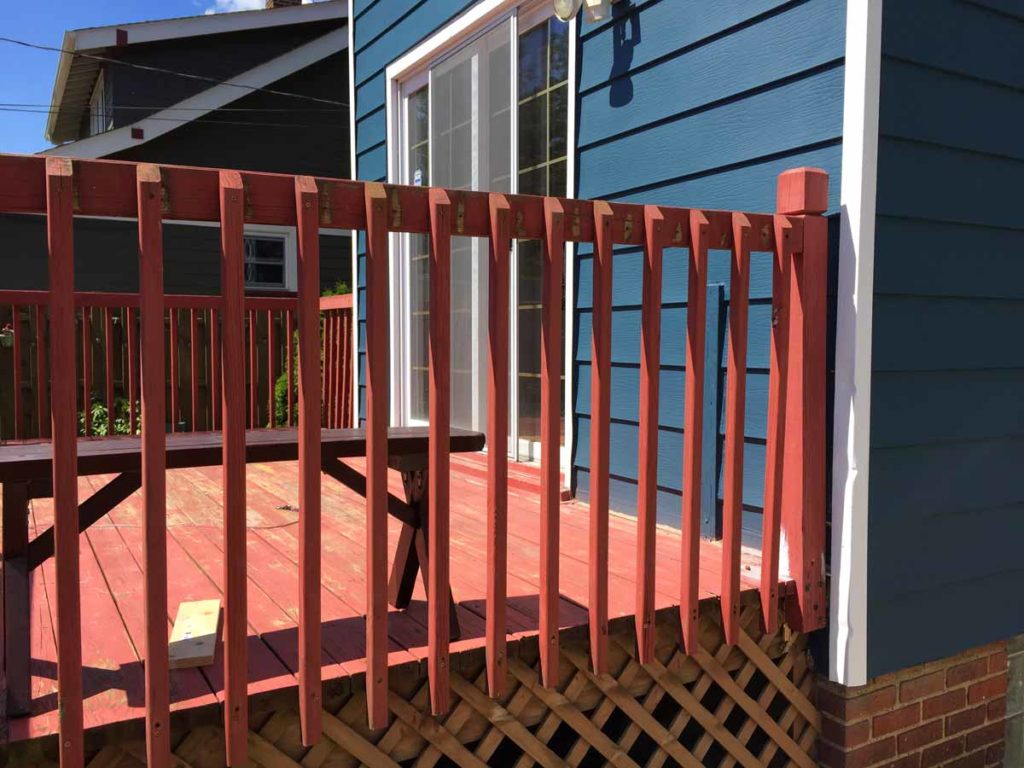
Fixing the posts and pickets on the railing made a huge difference on this side. Here’s the before with the railing on a super slant.
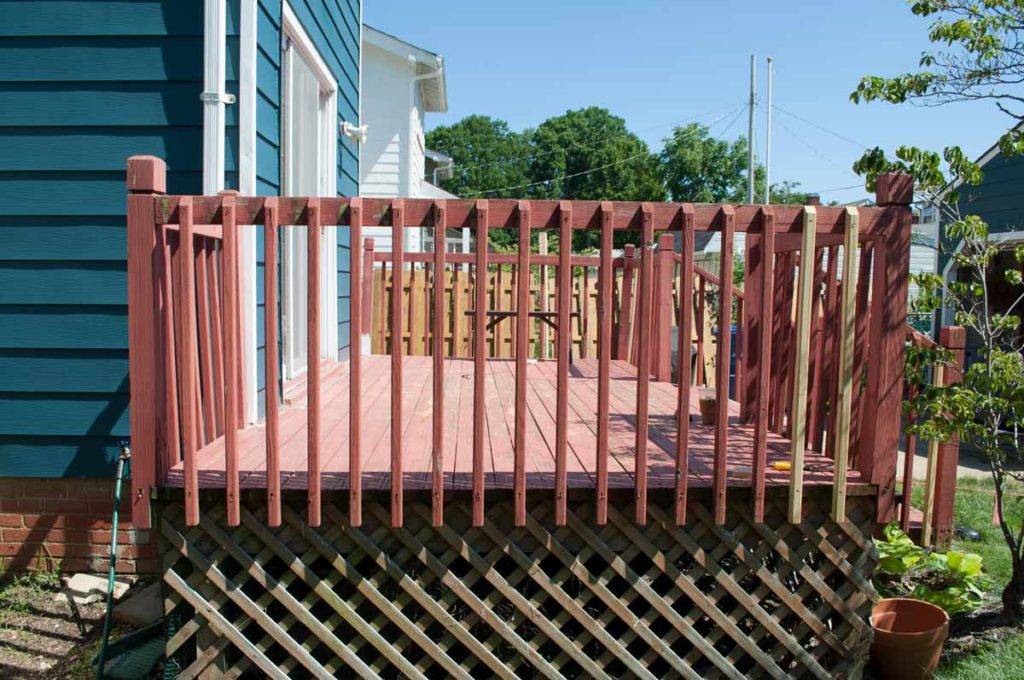
And the after. It took a lot of shoving, but the railing looks way better and is strong enough to not fall down! I bought a few new pickets from Lowes since several of the old ones broke or were too warped.
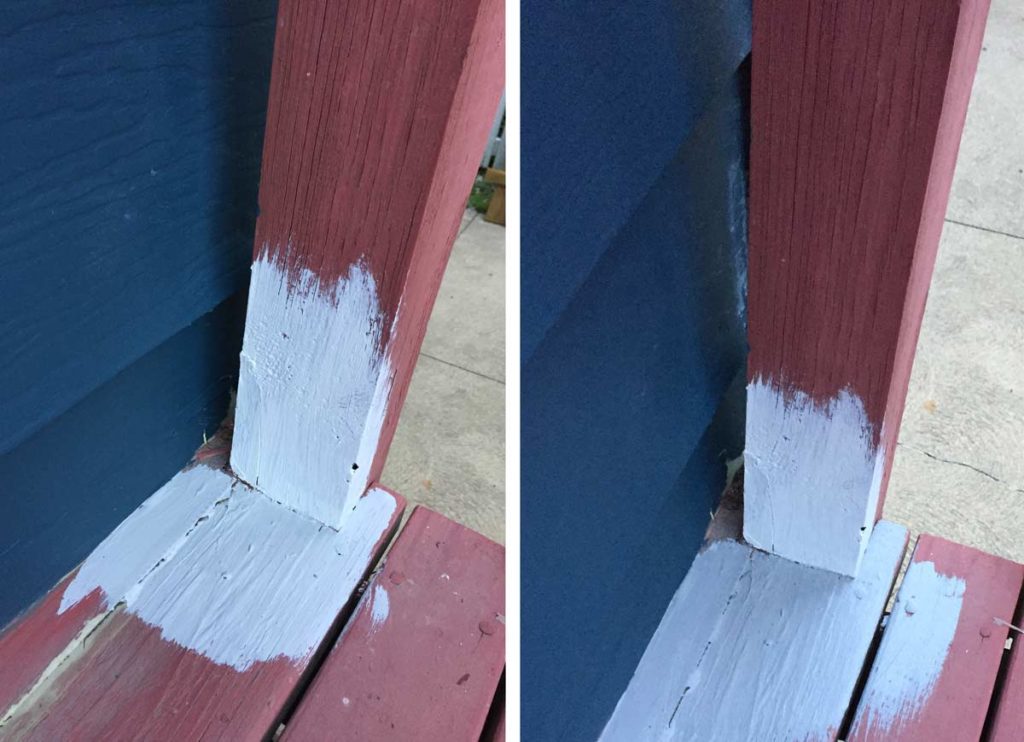
Finally, it was time to pick a color! I started with Olympic Maximum Cape Code Gray on the left, but it was too light so I had the paint counter at Lowes add more tint to the can and now it is close to the Olympic Maximum Stonehenge color, shown on the right. The railings are Olympic Maximum base white.
I started by staining the railings and then moved on to the deck floor. I worked in towards the middle from both sides and used a 2-inch angle brush.
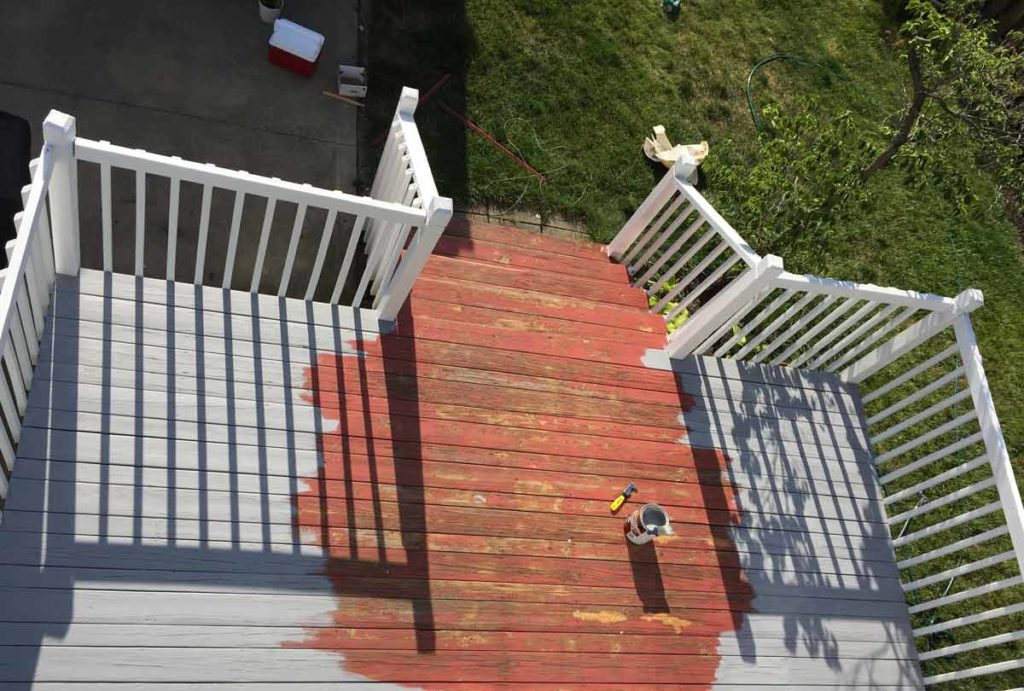
The Olympic Maximum is an opaque stain, so it went on like paint. The red was too aggressive to be covered up in one coat, so it needed three coats. I used a gallon of each of the gray color and the white and have a tiny bit left over for touch ups.
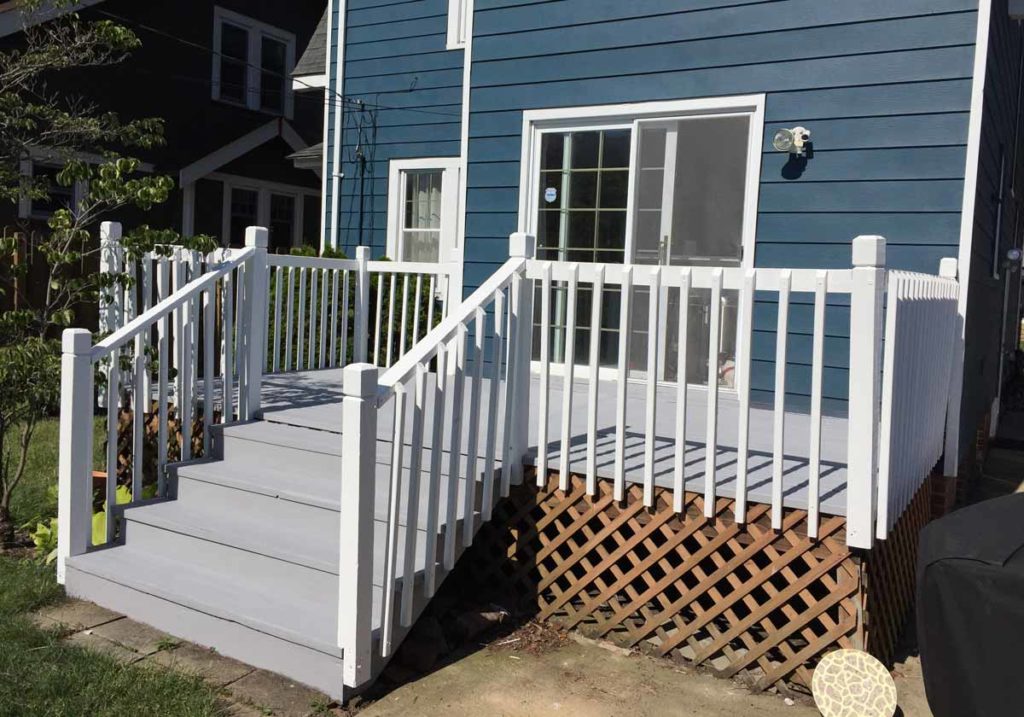
Here are a few before and afters. From the driveway side:
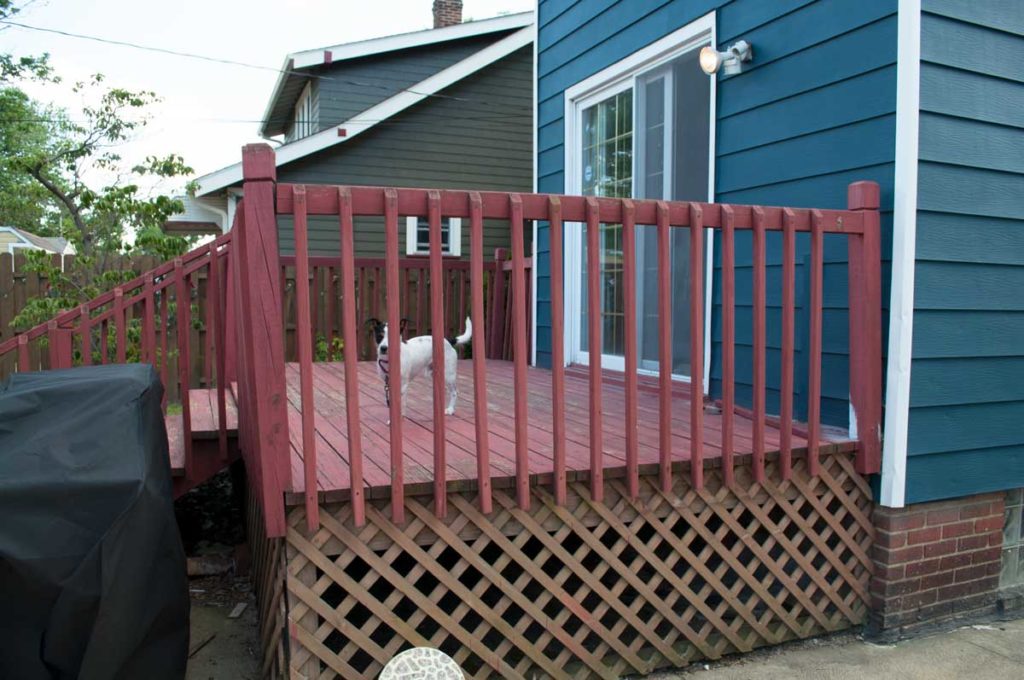
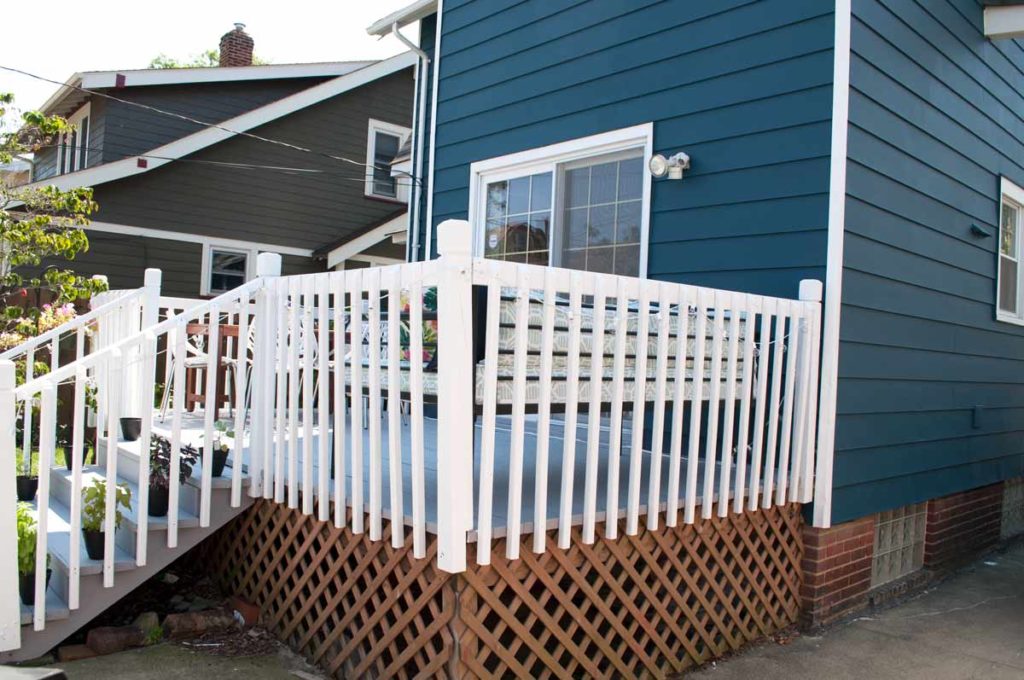
A little swipe action:
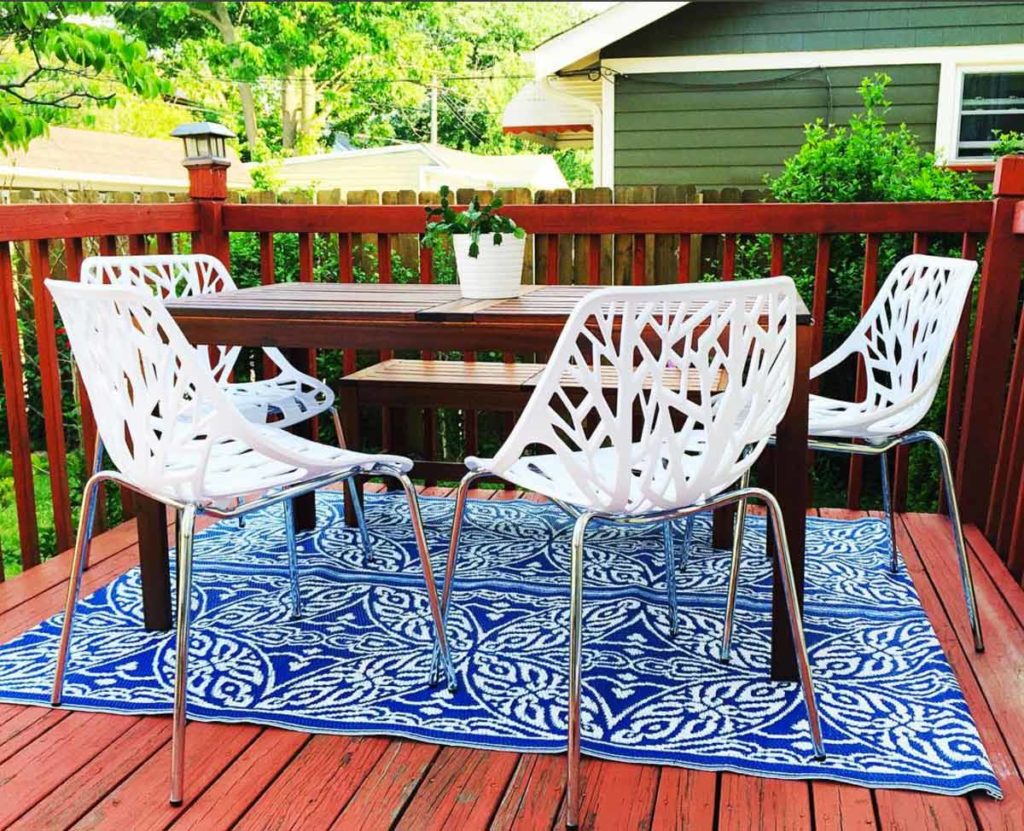
I had this IKEA Äppläro dining table and bench and these birds nest chairs from Amazon out here last year and they look so much better after refinishing the deck. It doesn’t even need the rug anymore since I’m not trying to hide the red floor.
Here was the deck last summer.
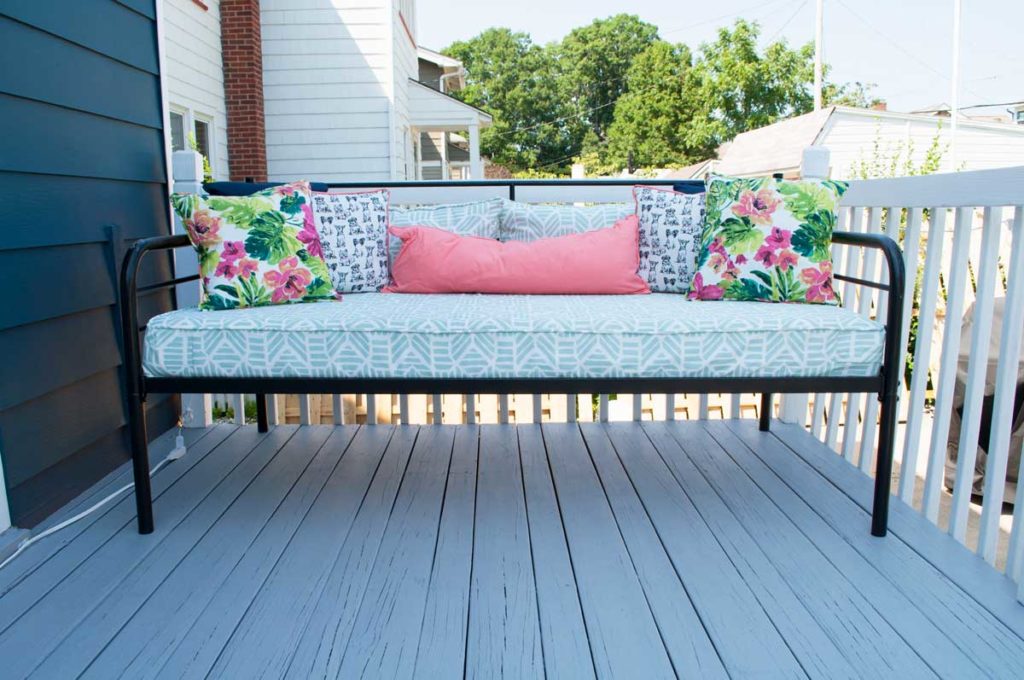
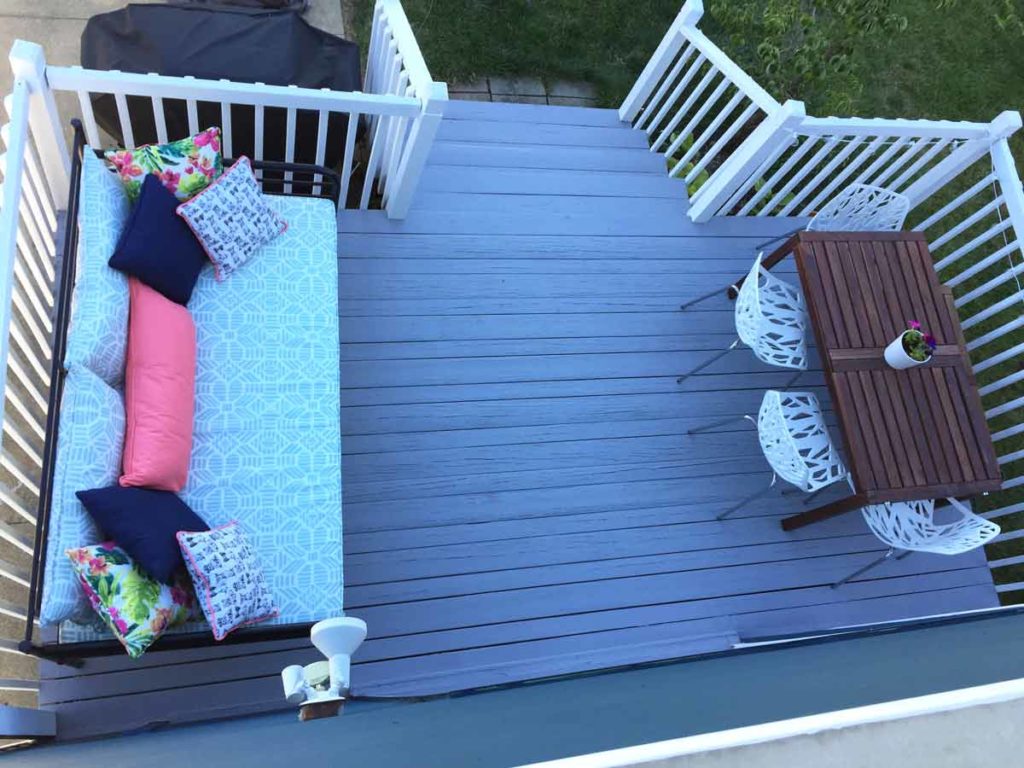
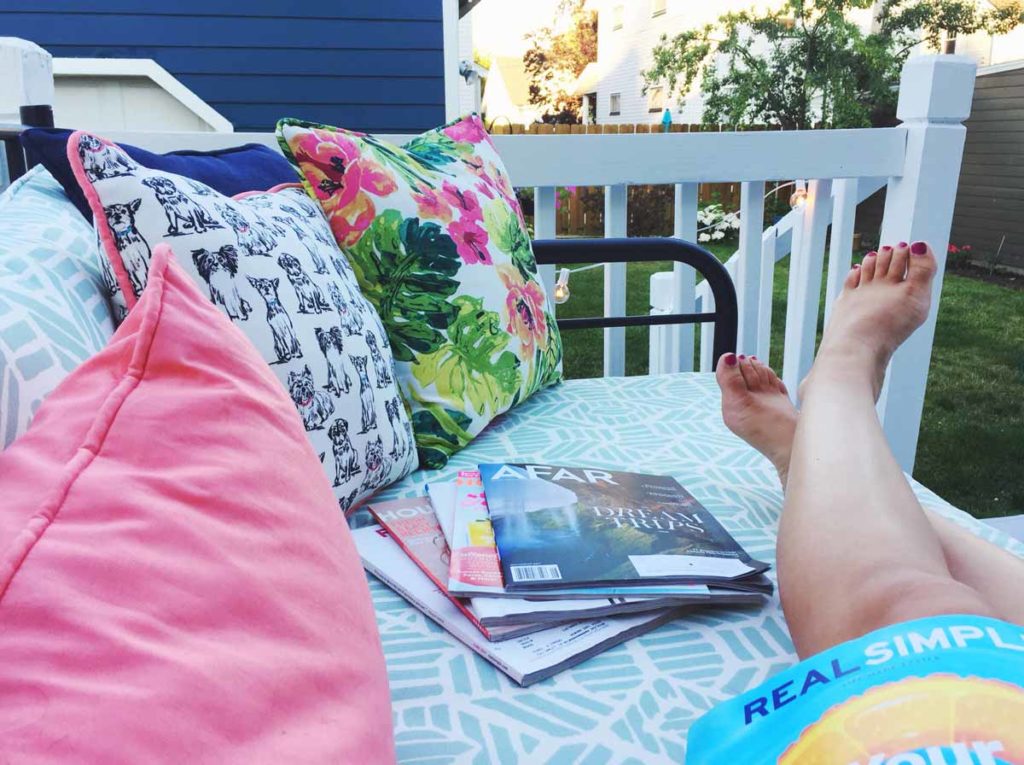
The best part of the deck is my new daybed! It fits a twin mattress and my mom sewed that awesome cover for it and all of the covers for the nine pillows.
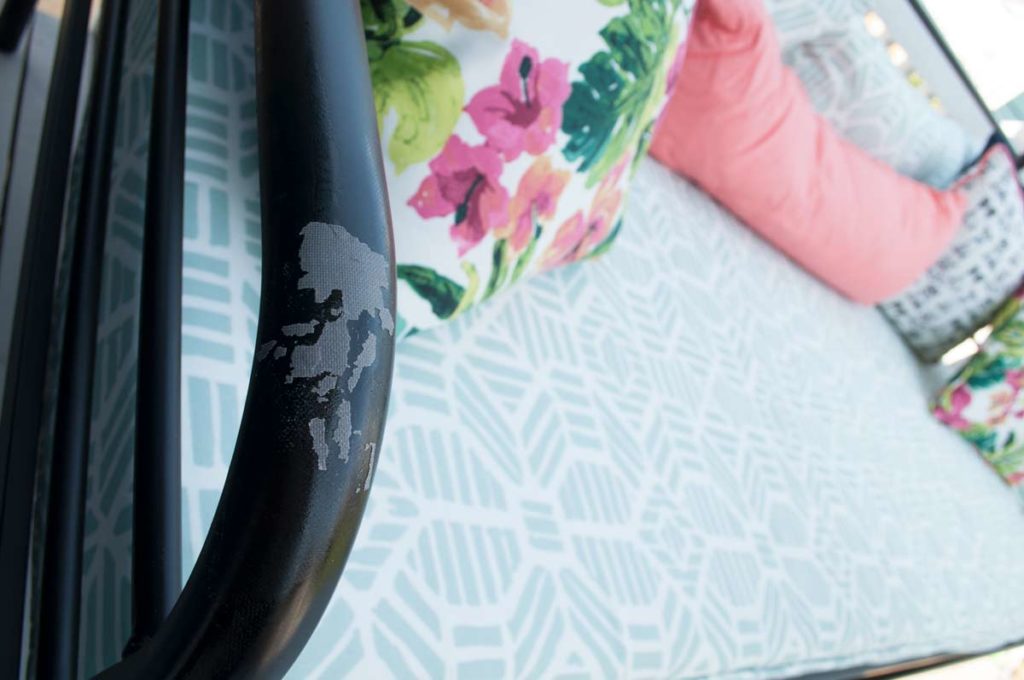
The only unfortunate thing about the bed is the furniture cover I bought to protect the cushions. I bought the Classic Accessories Ravenna Patio Deep Seat Sofa Cover in size Large.The inside coating of the cover completely melted and fused to the bed frame. I’m still waiting to hear back about a solution for this from their warranty department, but it is very unfortunate.
Here’s how the deck is laid out from above. Yes, I hung my body out the sunroom window to get this shot.
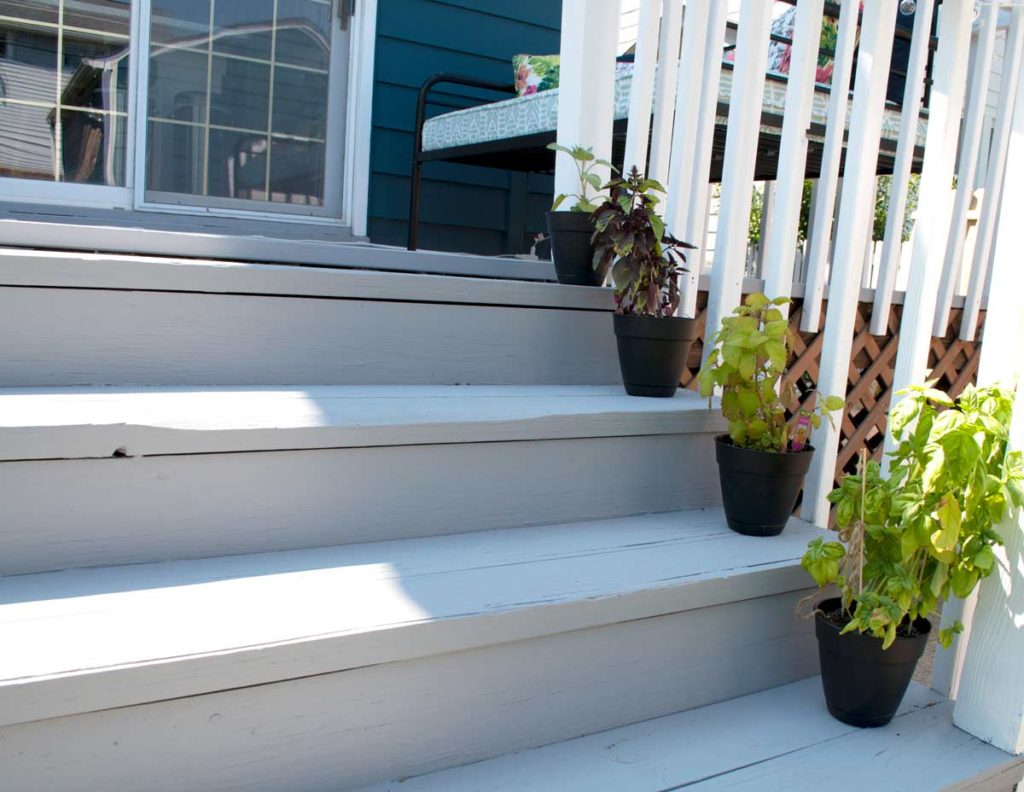
I’m also attempting to grow herbs on the steps. I’m looking for a mint and a rosemary plant if anyone has any laying around!
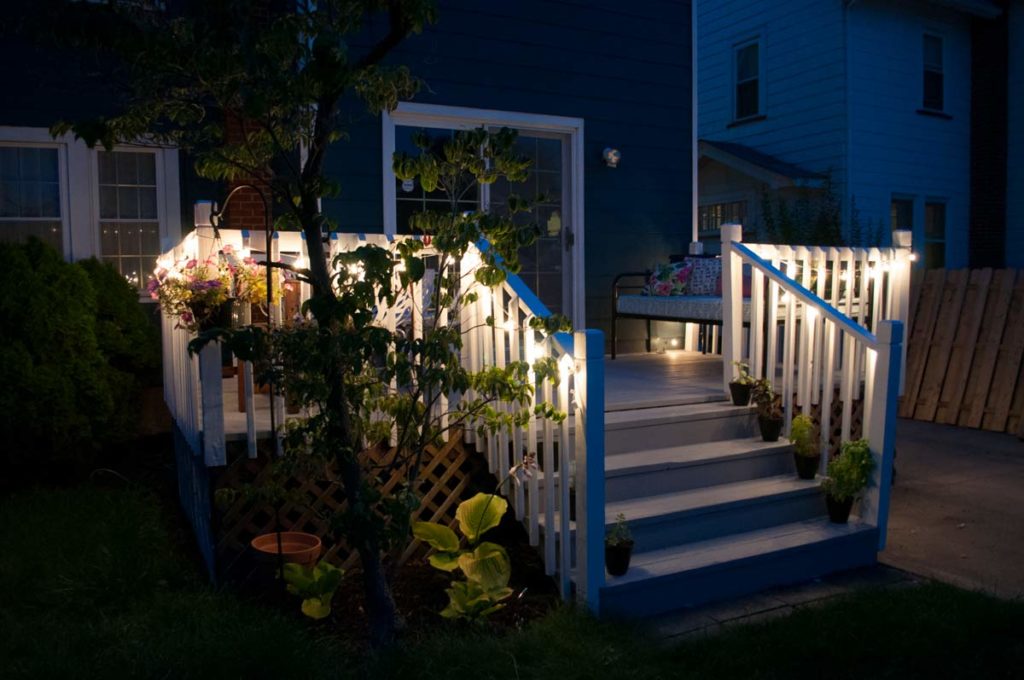
At night, the string lights cast such a nice glow! I bought the clear bulbs on white wire to help them blend in with the railings during the day. I used the green wire along the fence.
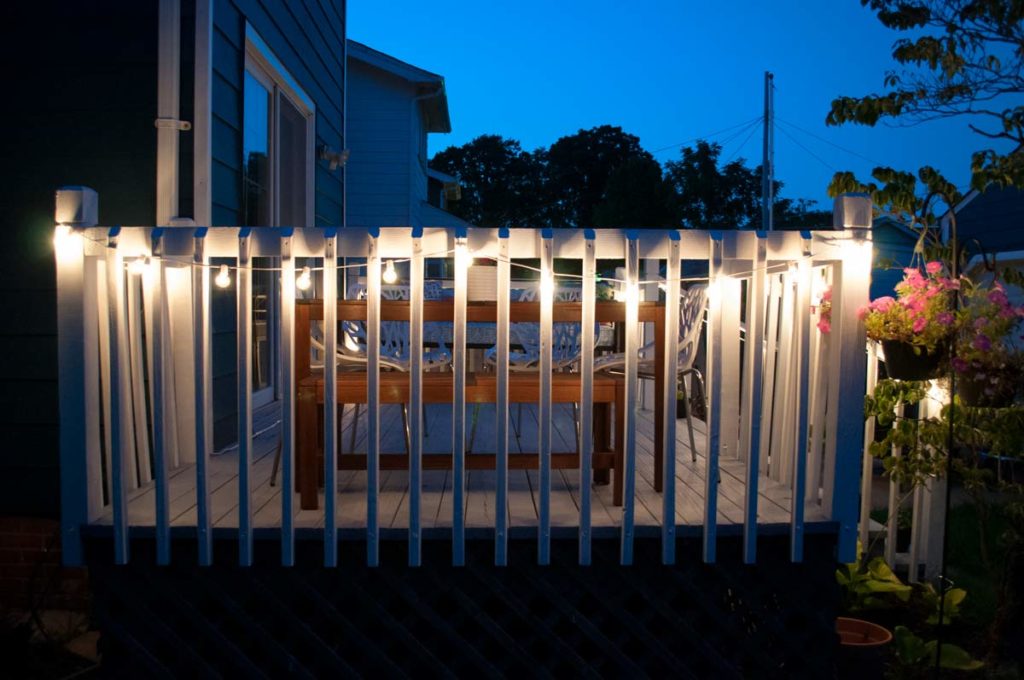
If you need me, this is where I’ll be all summer!
This post is not sponsored by Olympic Maximum Stain, I was just impressed with it and thought I’d share my review. I’ll be sure to follow-up with a post on how it holds up over the next few months.
Have you used Olympic Maximum Stain on any outdoor projects? How is it holding up for you? Do you have any favorite outdoor spaces you are totally obsessed with this summer? Let me know in the comments!

