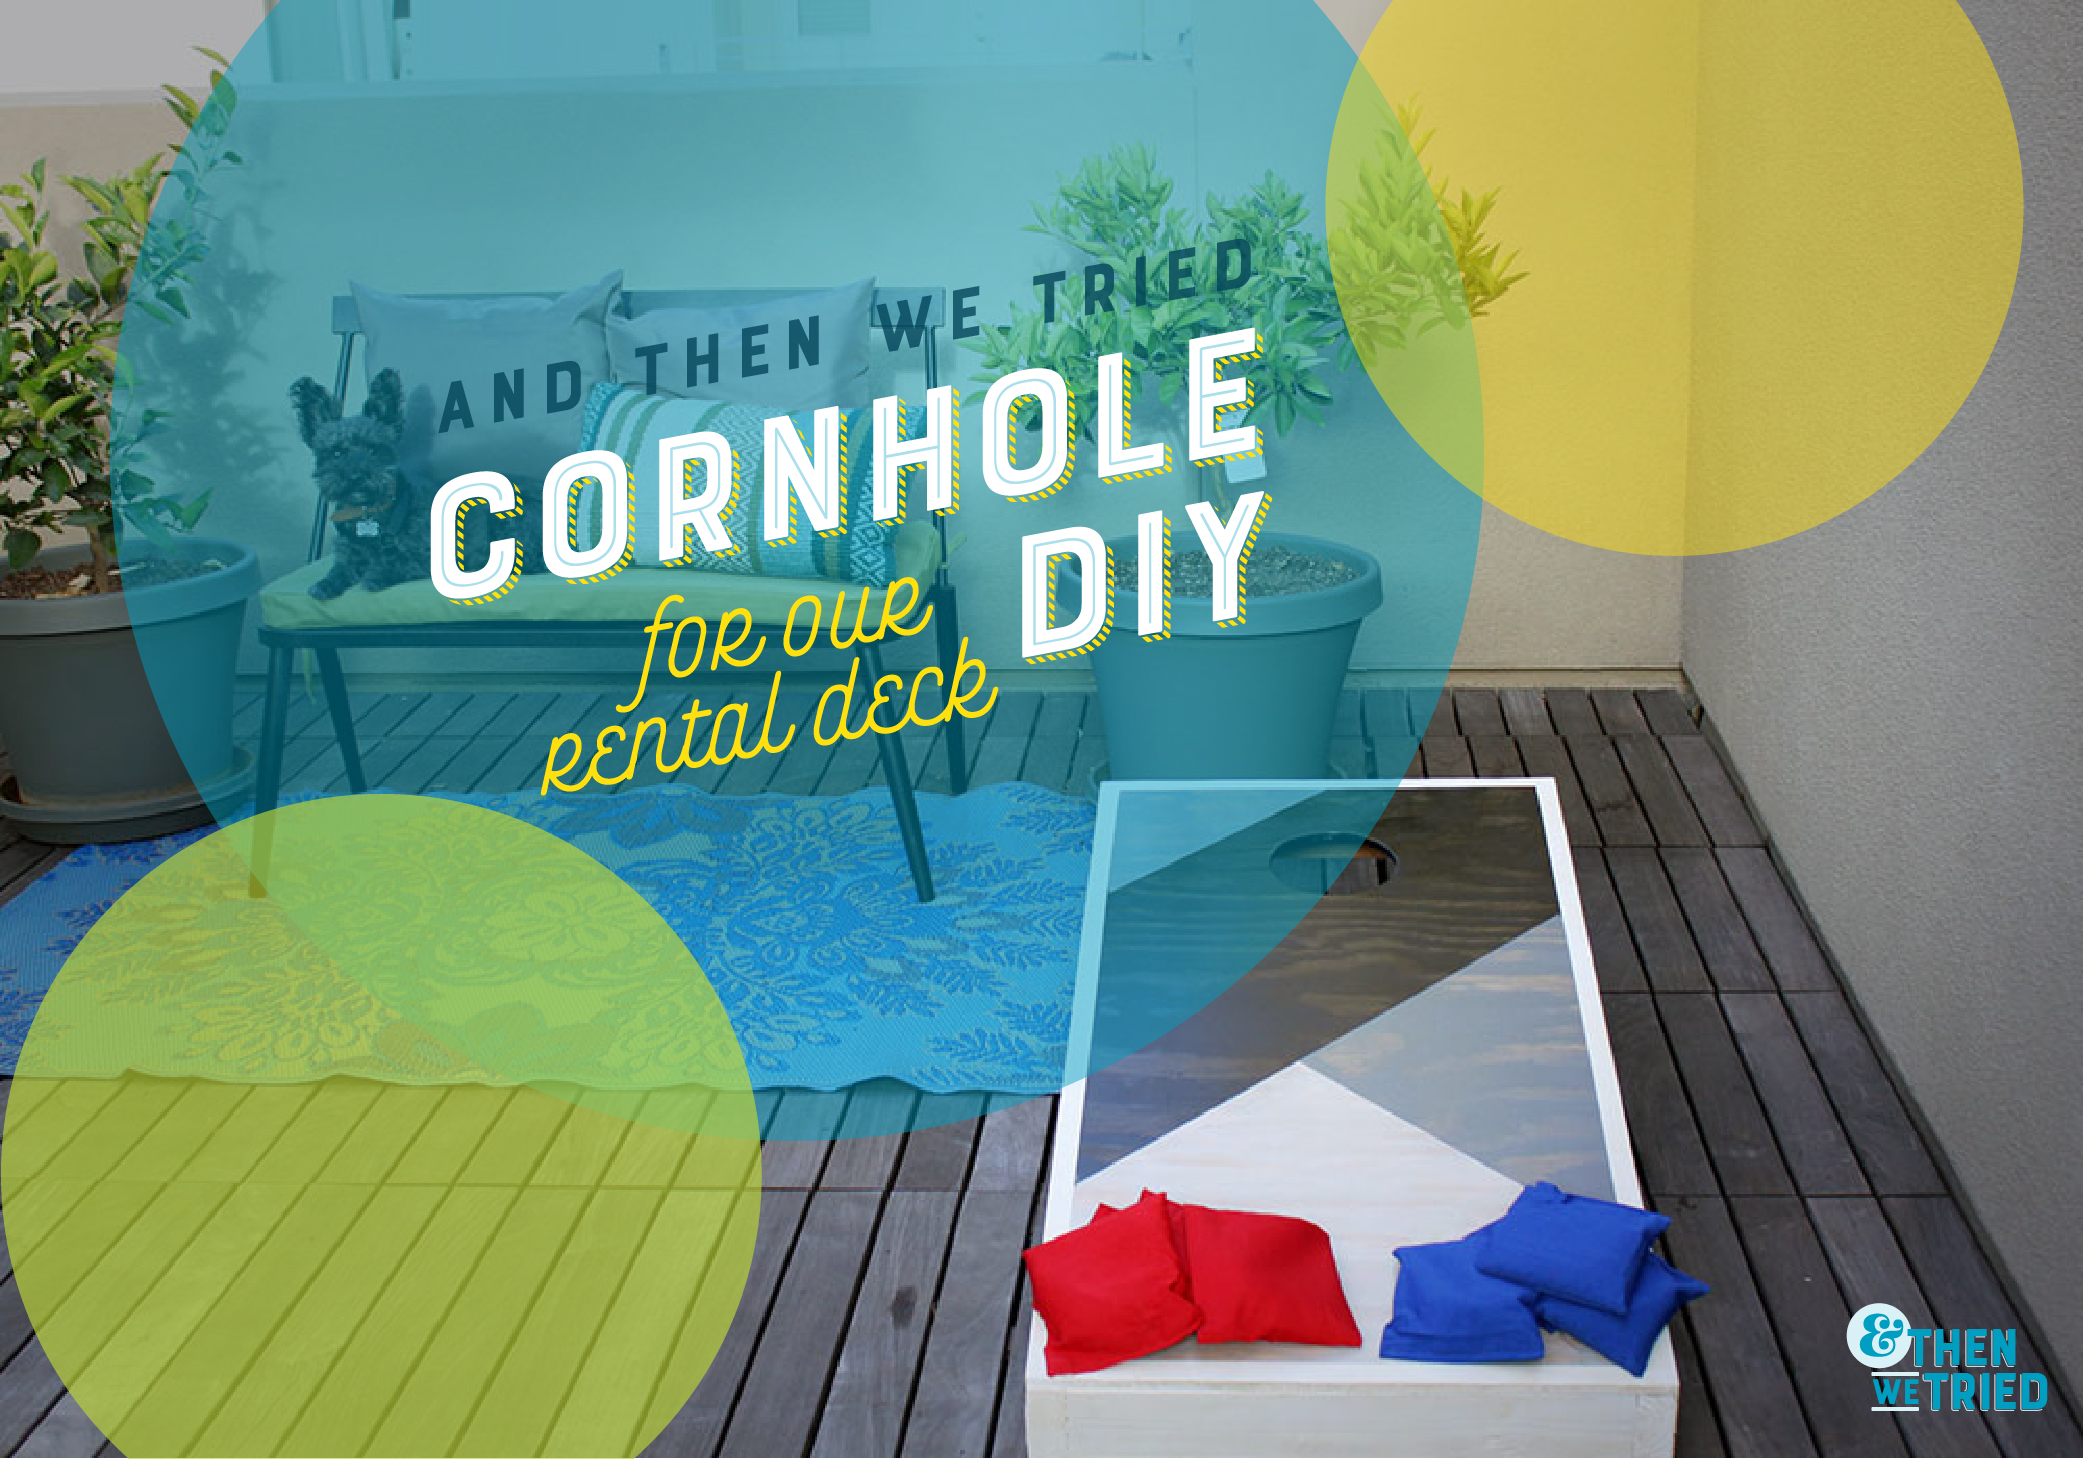
It’s week four of the One Room Challenge! This week it was all hands on deck as I attempted to build my own cornhole DIY. First, let me say if you’re not a midwesterner (or went to college there) you may not appreciate the thrill that is cornhole. And in fact, Wikipedia says, “The West-Side of Cincinnati, Ohio is considered one of the centers of the modern resurgence and renewed popularity of the game.” So having grown up and gone to college in Cincinnati, maybe that’s where I get the love. Or maybe Wikipedia is lying. Who knows?
So first off, if you Google cornhole DIY you will get many tutorials that show you how to put it together. I followed this one from DIY Network since they seem to know what they’re doing in the DIY department—hence the name and all.
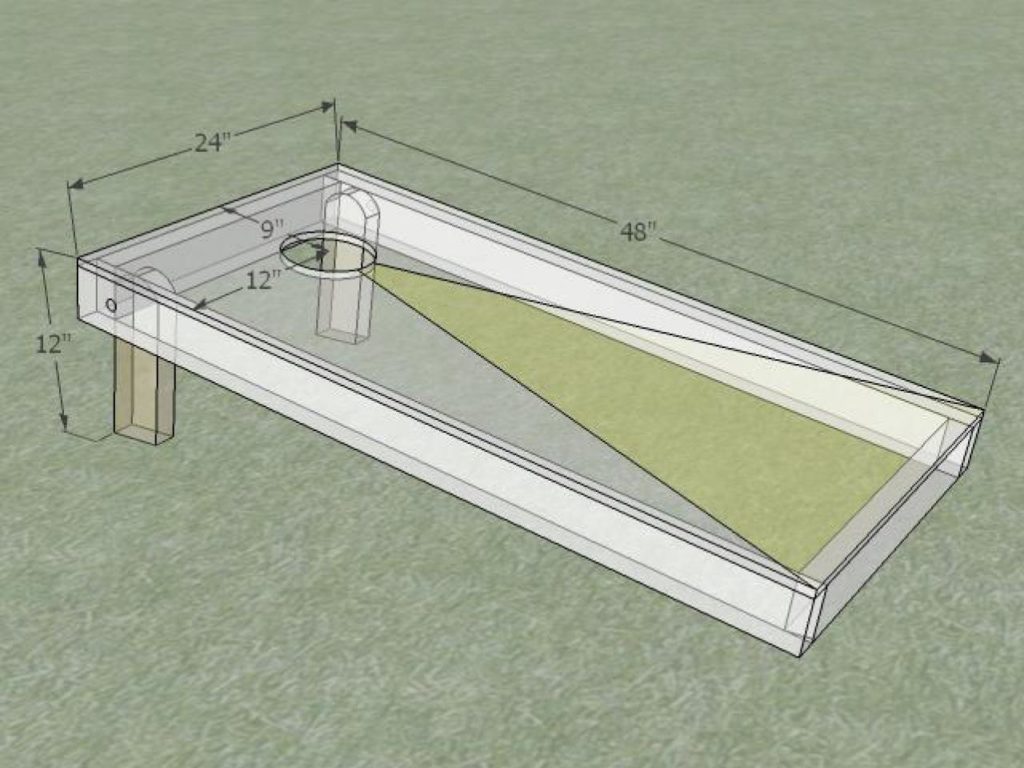
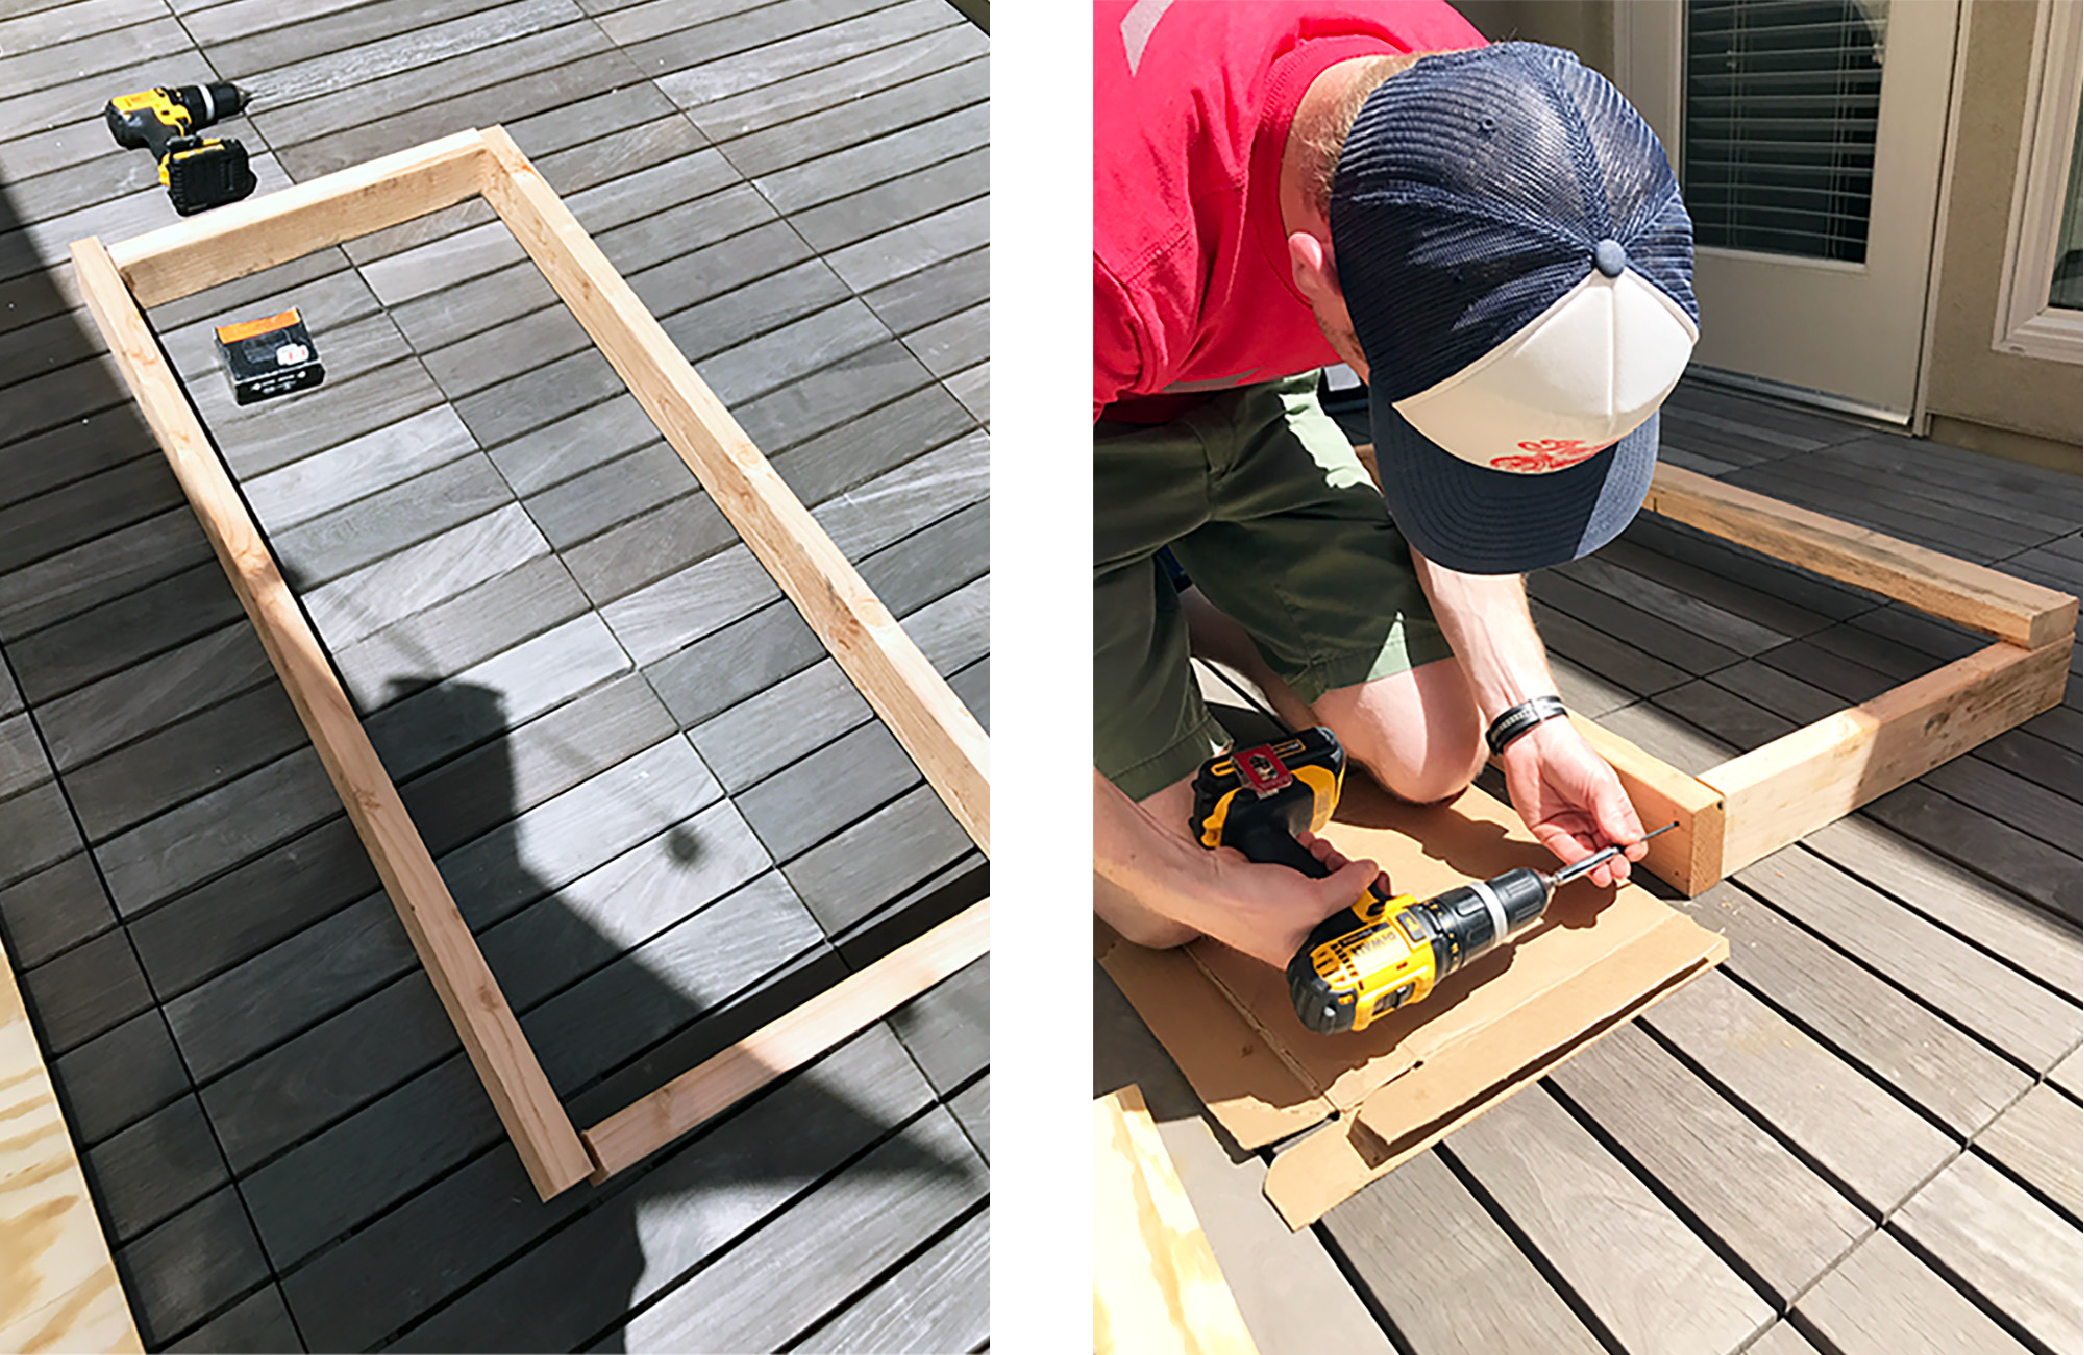
To easily break it down, you build a rectangular frame (48″x24″) out of 2x4s and then add a plywood top that is the same size.
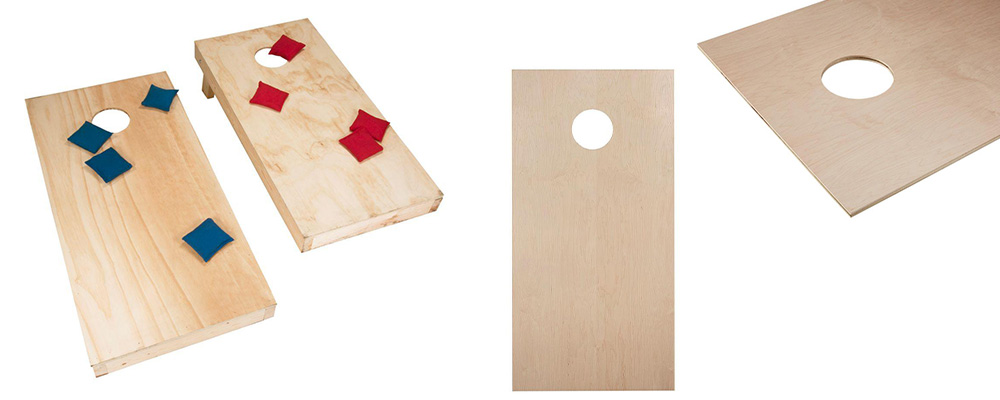
The tricky part, however, is to get the circle hole in the “face” of the board. Since I am a procrastinator at heart, I didn’t realize till it was too late that Home Depot sells the plywood faces, cut to size WITH the hole already cut in it. This would have been much easier. They even sell the entire board with bags if you’d rather just decorate them. But you have to allow a week to ship them and NOT know for weeks you’ll be building a cornhole set and wait ’til the morning of to buy everything like someone I know…
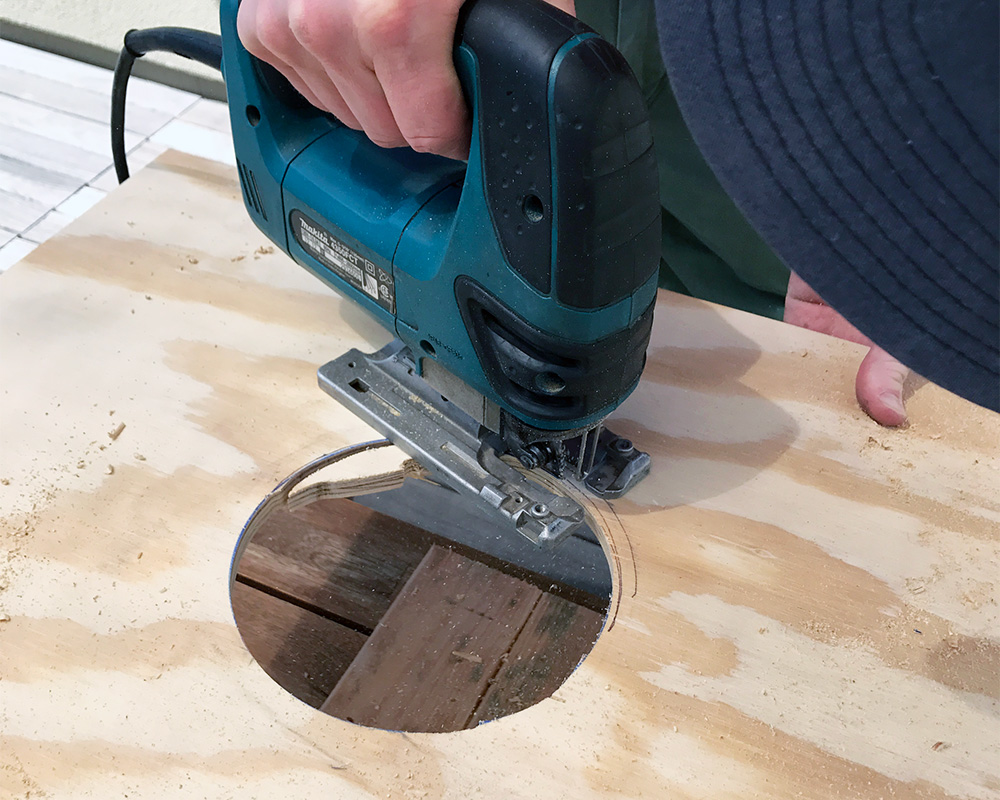
So to work around this oversight, I instead rented a jigsaw from Home Depot. This was my first go at their tool rental service. Have you guys ever used it? (Michelle rented a 1 Man Auger for her fence project, you can read about that here.) While everything at Home Depot tends to feel needlessly slow, I did get the tool rented, it worked with no issues, and it was easy to return so I’d call that a win for the day. It cost $13 for four hours and $18 for the entire day. Not too shabby if you’ll only be needing it once, but if you do have storage for something like this, the model I rented retailed for only $120.
The frame construction is relatively easy with the only intricate part being the legs. The goal is to have the legs hinge out when playing but hinge back in for storage. I had to watch many YouTube videos to figure out what they were doing. So let me help you out here, in a way that would have been helpful to me.
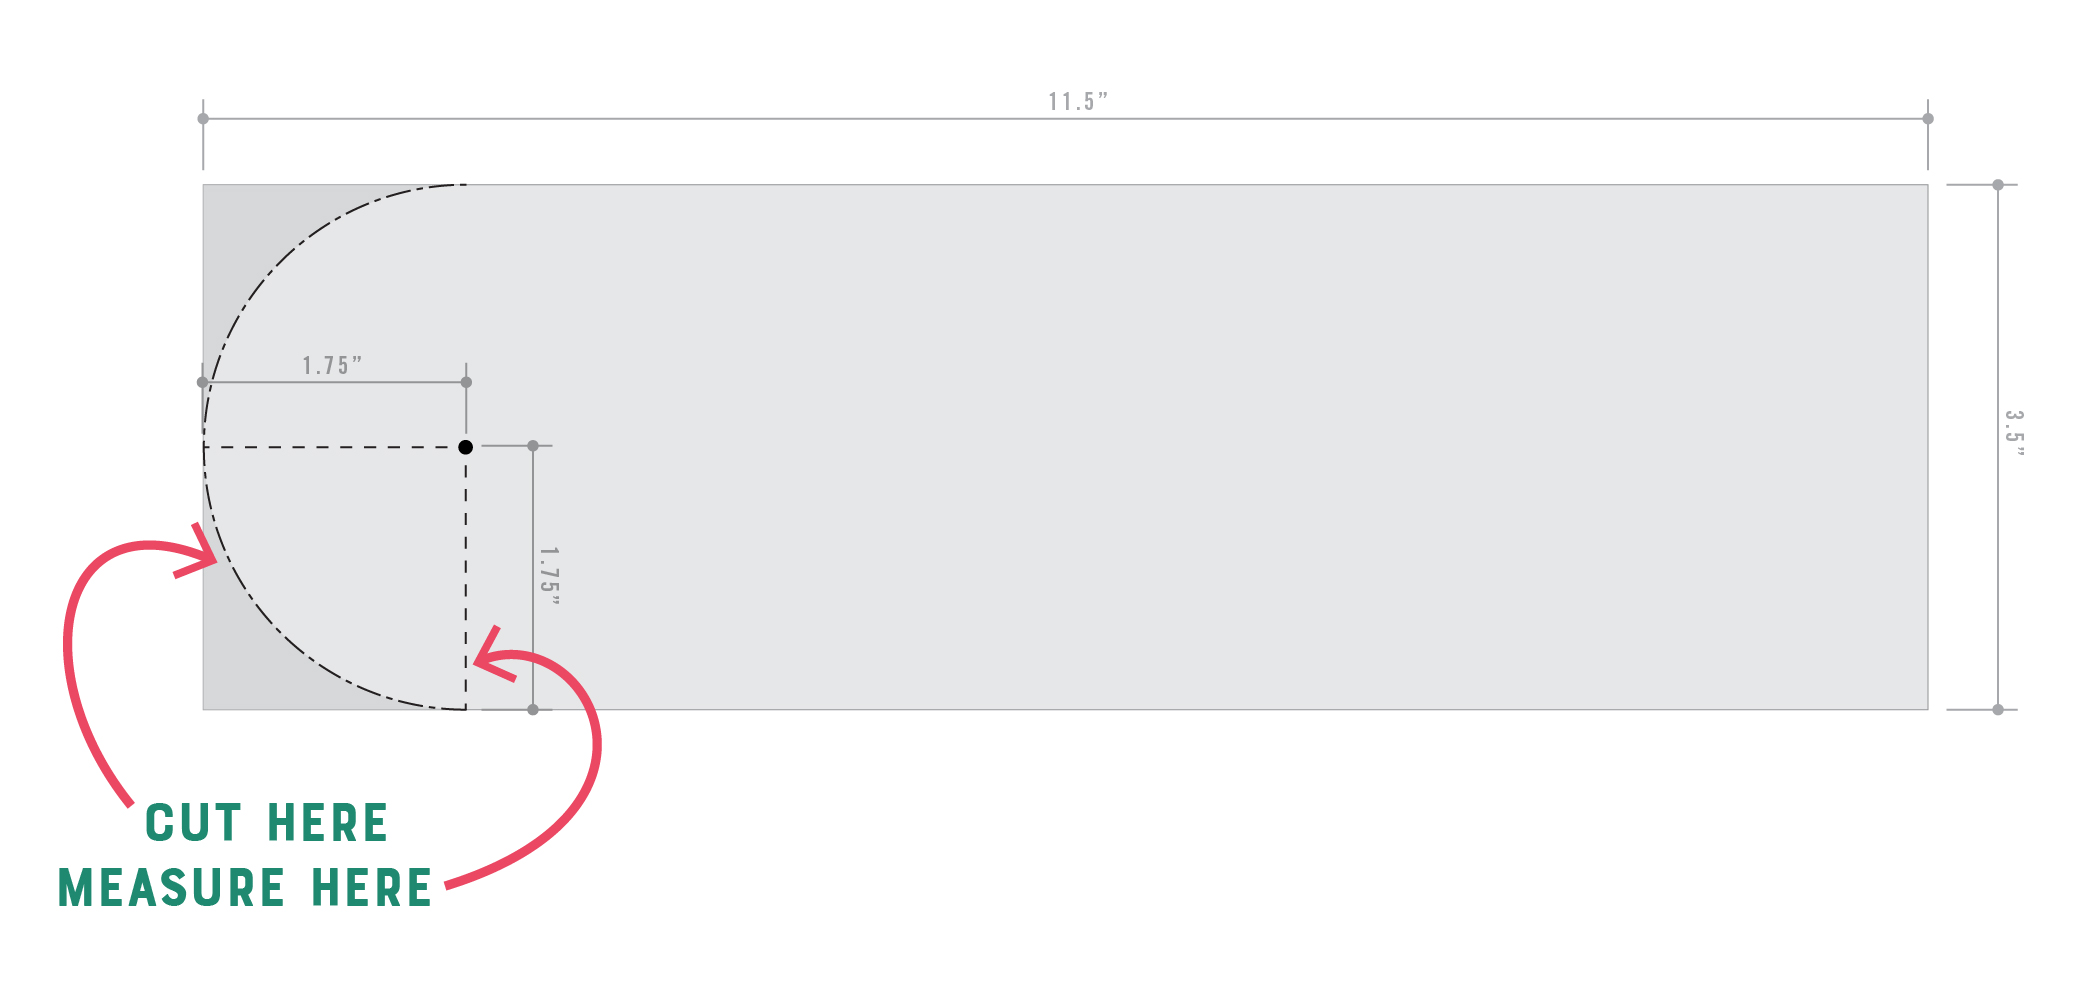
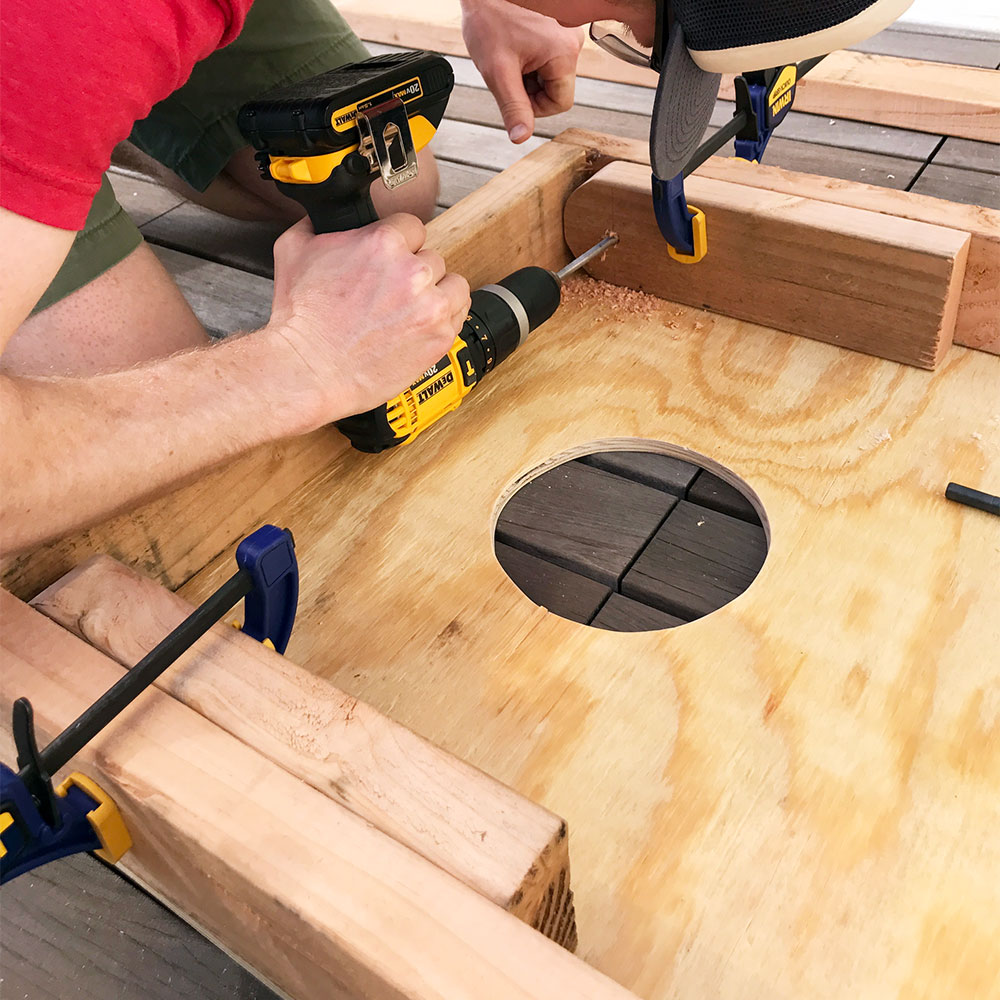
Start with your legs (four cut to 11.5″) and use the jigsaw to cut a rounded top. If you use a compass this should be a 3.5″ circle. You can find the middle by measuring down 1.75″ from the top and side. Mark this middle point because you’ll need it later. Once you’ve cut the rounded top, give it a quick sanding so it’s smooth and won’t stick when you go to put the legs down. Next, lay your legs inside the frame and clamp tight. Drill a 1/2″ hole through both layers of 2x4s from that middle point for your rounded circle. Boom. You did it! Now put your carriage bolt through from the outside and use a wing nut to secure. Move the leg around and make sure it hinges easily. If needed, you can re-sand the top of the leg to make it easier.
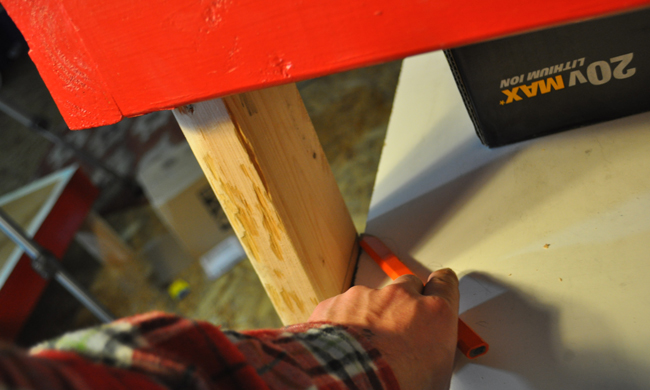
Now that you’ve got all your legs secured, the next step is to figure out the angle to cut your legs. To do this, put your board up on a table or flat surface and put various items under it so that you get the back angled 12″ off the ground. (I used different size books so I could easily take them out to get to 12″) Once you have it, slide the board to the edge of the table, put down one leg—hanging off the edge—and use the straight edge of the table to mark your angle. Do this for all four legs, cut the angles, and you’re done! Feel like a boss at this point and have yourself a beer because the building part is over!
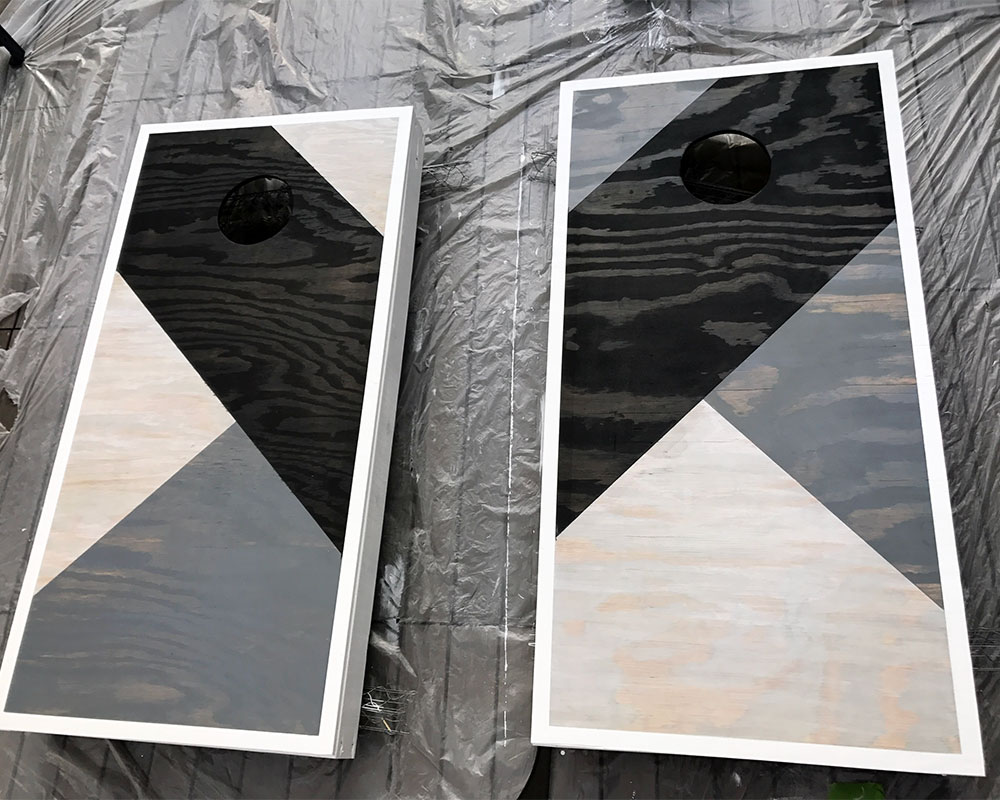
Next, comes decorating! As a designer, I tend to overthink every design decision. I don’t really know why, but I think I’m convinced I can always come up with something better so why ever commit?? WRONG. Gotta get projects done. So after Tai talked me off a cliff of doing this elaborate tape game, I went with this angled patchwork design.
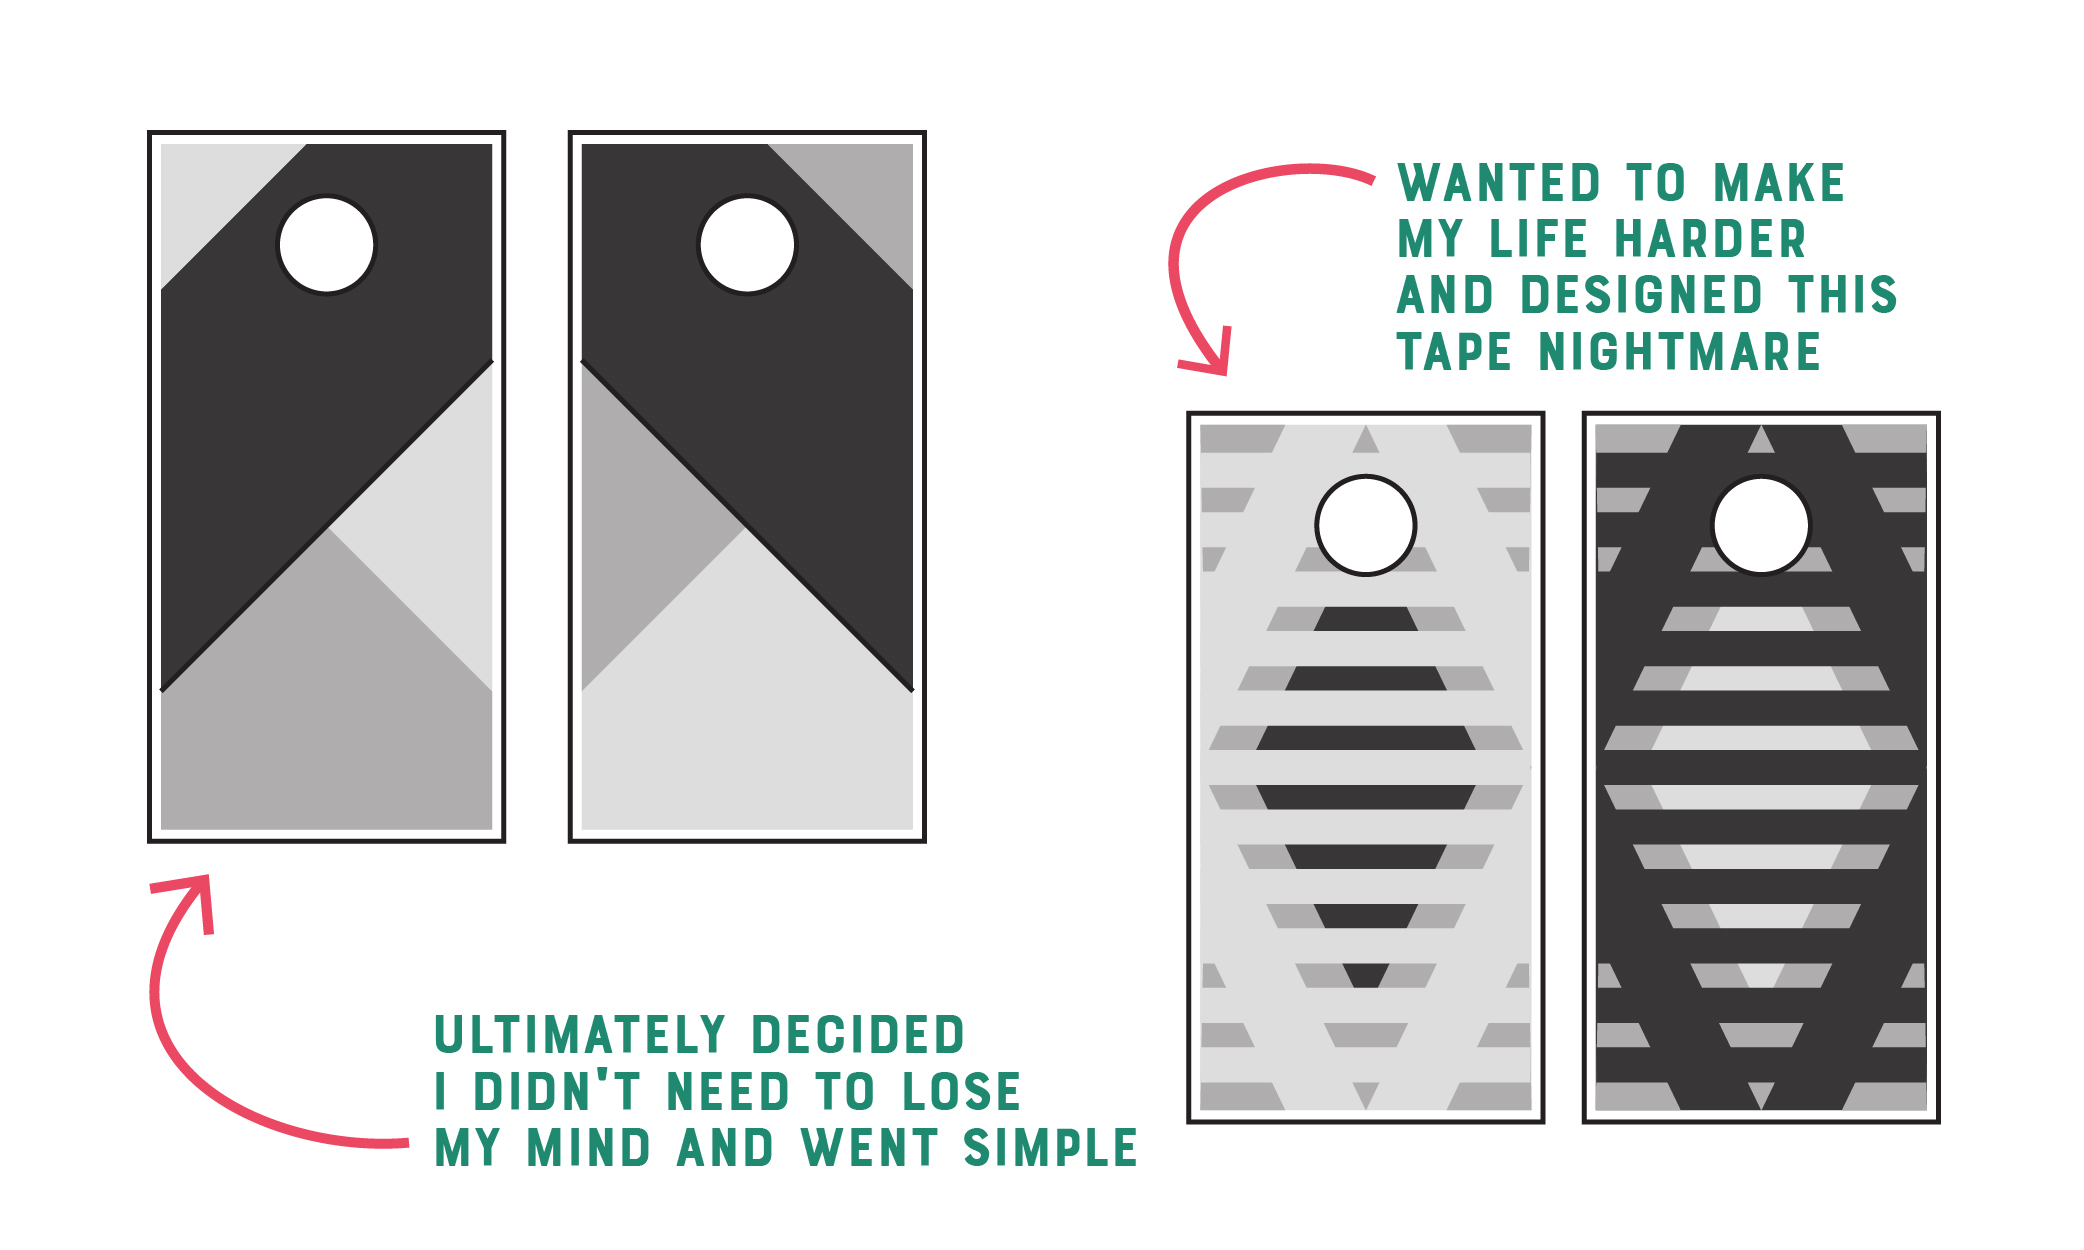
Many boards you’ll see online are uber colorful and die hard about some team/state/college/etc. Choosing not to profess my love in this way—though you totally can if you want to, no judgment here—I needed a new idea. I loved the look of staining the boards since you’ll still see the wood grain. I went with three colors of stain and white paint to use for the edges and trim around the face (to cover those pesky screw holes).
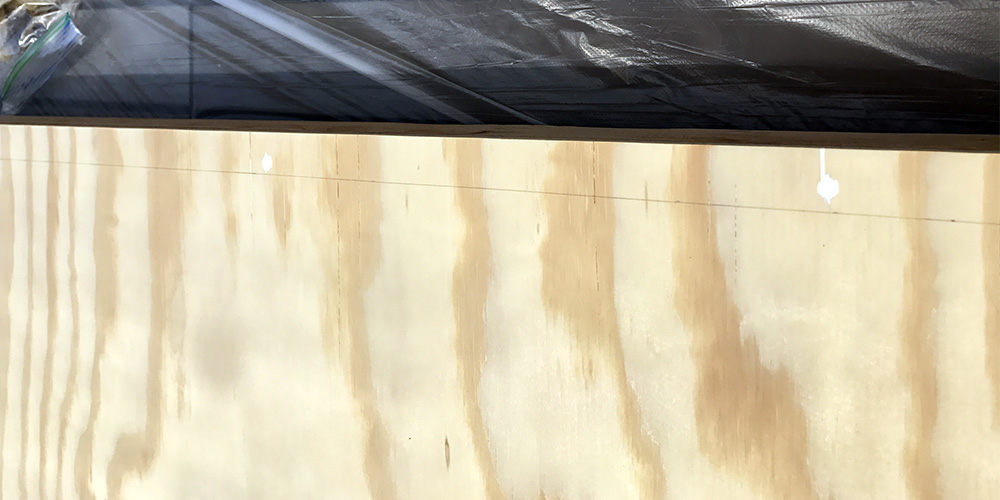
Now, this is a quick PSA/rant for all the painters who use painters tape (all of them?). I read an excellent review recently about Frogtape. So when I went to restock, I picked up a roll to try on this cornhole DIY. I HATED IT. Good ‘ol 3M blue painters tape was like a boyfriend that was good to me, and I left it for this hot new fling called Frogtape. And, as the story goes, I was sorely disappointed. Now, I know working with and taping off stain can be tricky, but this stuff wouldn’t even stick to the board! I had it peeling up everywhere! But enough ranting, learn from me and just use the good 3M tape and call it a day.
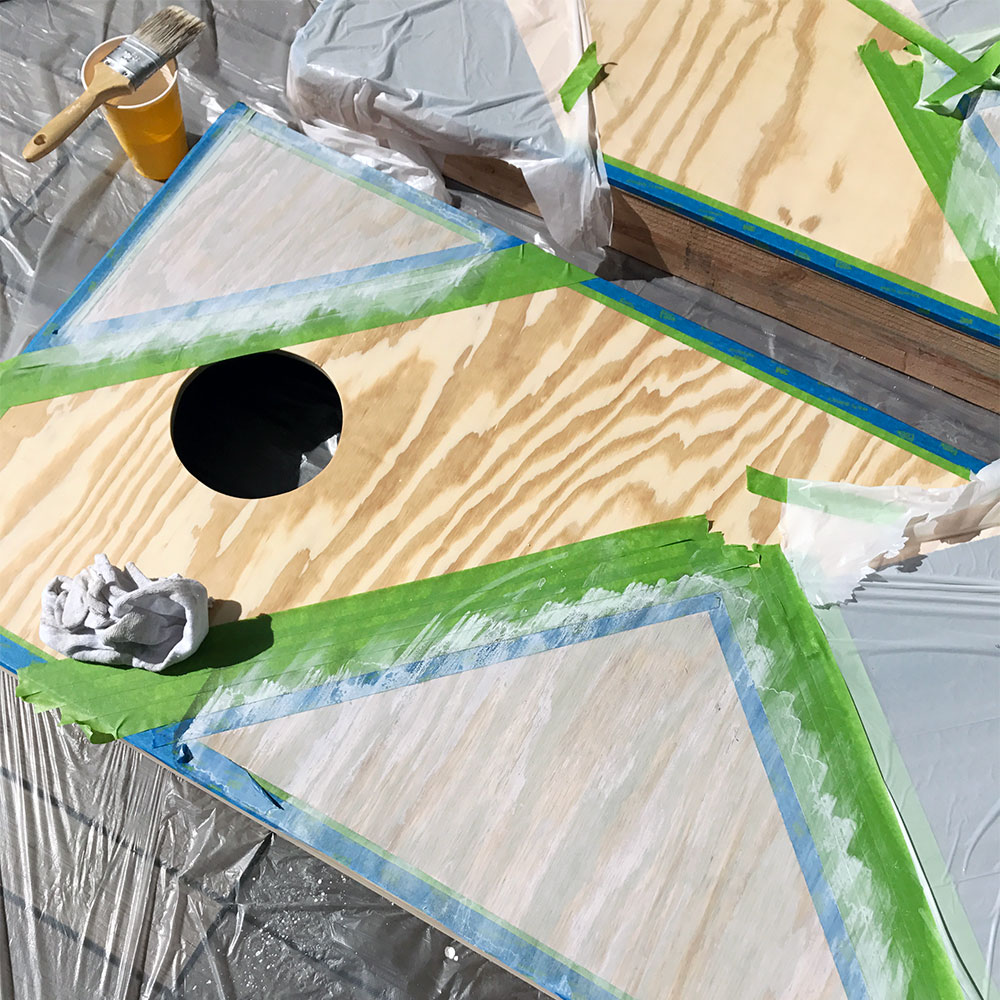
Working in sections, I taped areas off and started to apply the stain, waiting 30 minutes to an hour between sections. The lightest stain turned out too light, aka nonexistent, so I decided to dilute my white paint to whitewash those sections instead.
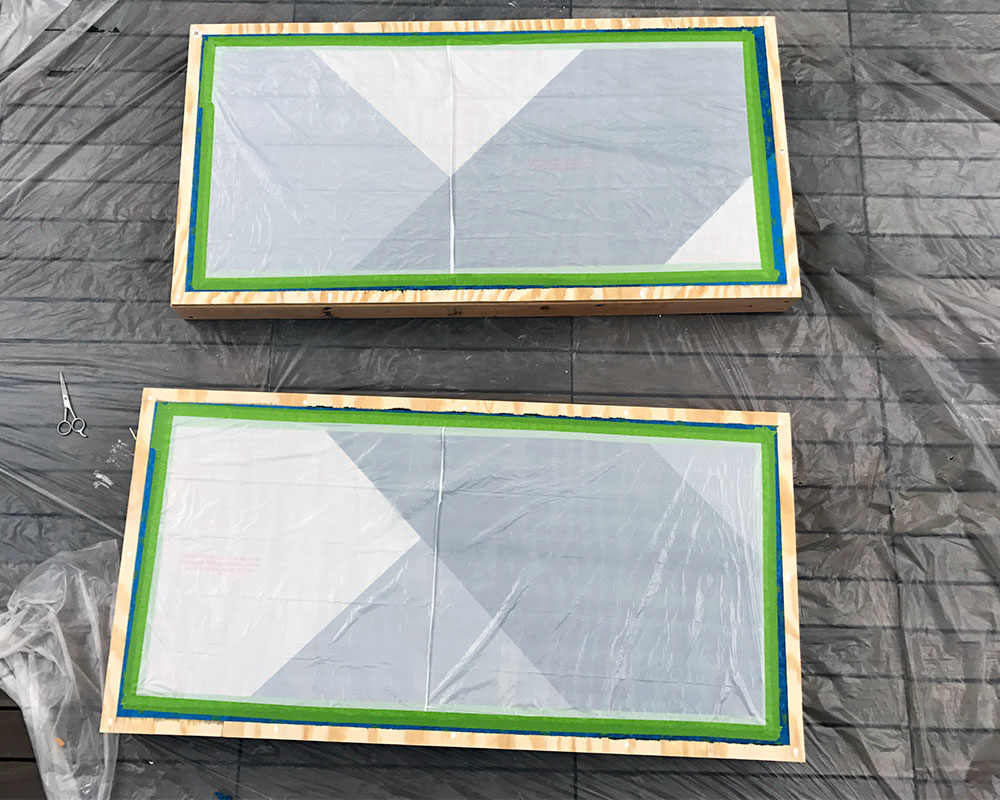
Apply a couple coats of polyurethane to seal and protect your boards and your cornhole DIY is all set!
Cornhole bags can either be made yourself or get them on Amazon for about $20 (depending on the colors you choose) and they’ll be here in two days. So naturally, I did that. And they had an amazing selection of color combos for your die-hard team/state/college as mentioned above.
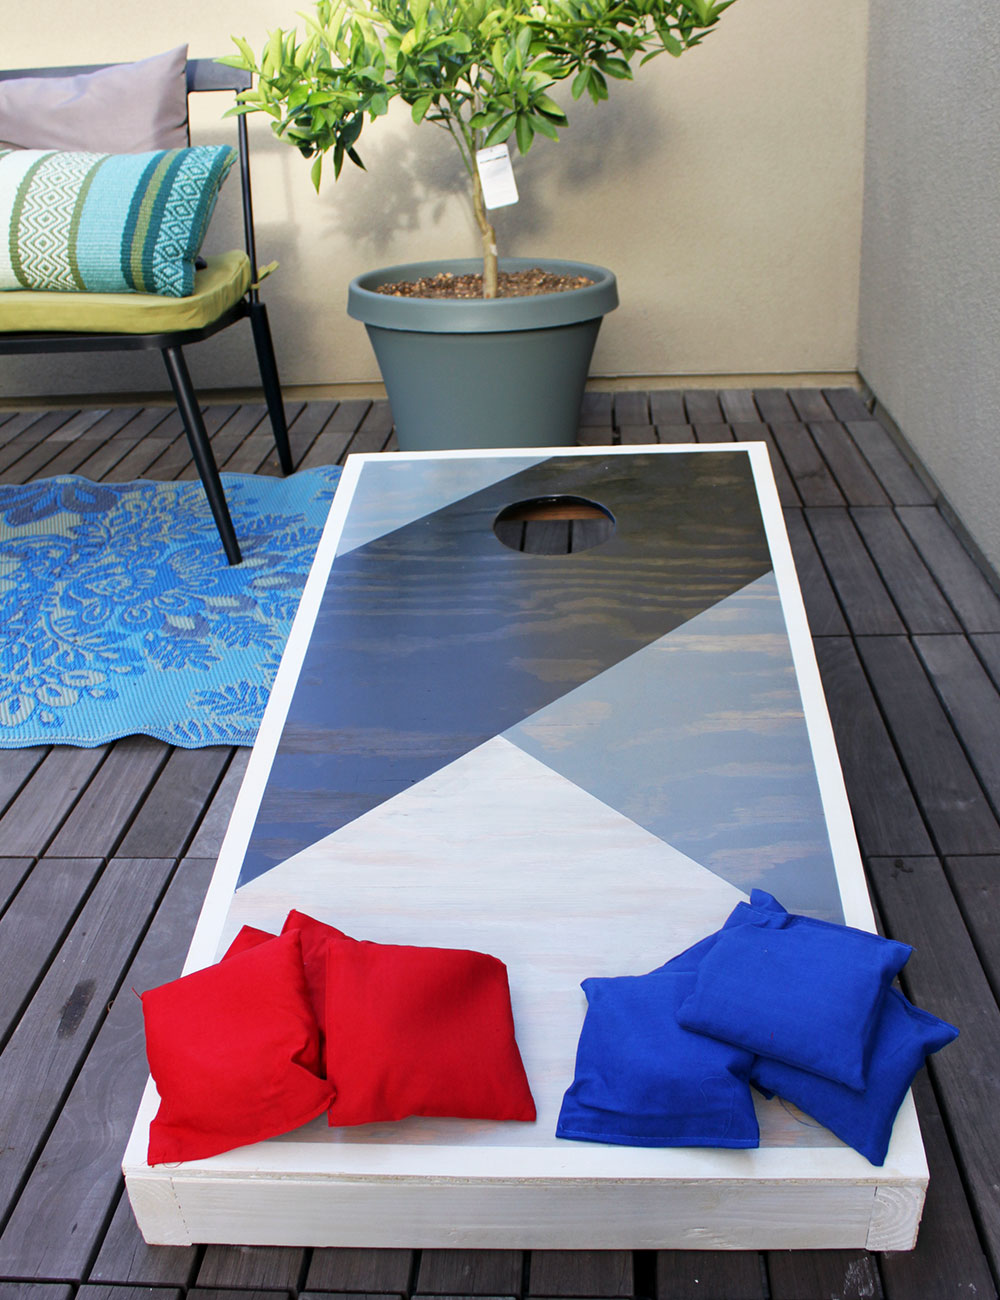
What do you think? I’m glad we’ll finally have something to play up here while we wait for the BBQ or just hanging out with friends. Do you guys like playing cornhole or other yard/deck games? Let us know!
 You can follow along with all the participants with @OneRoomChallenge and #OneRoomChallenge and read all about it at Calling It Home.
See what our fellow guest participants are up to at the link up.

