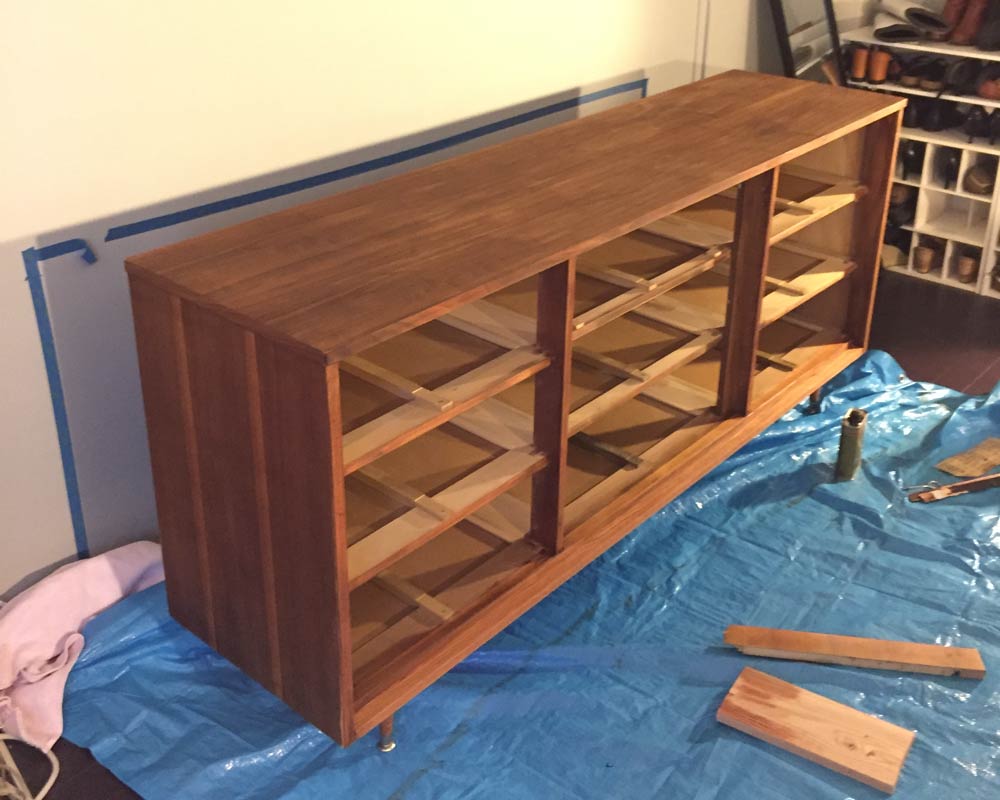
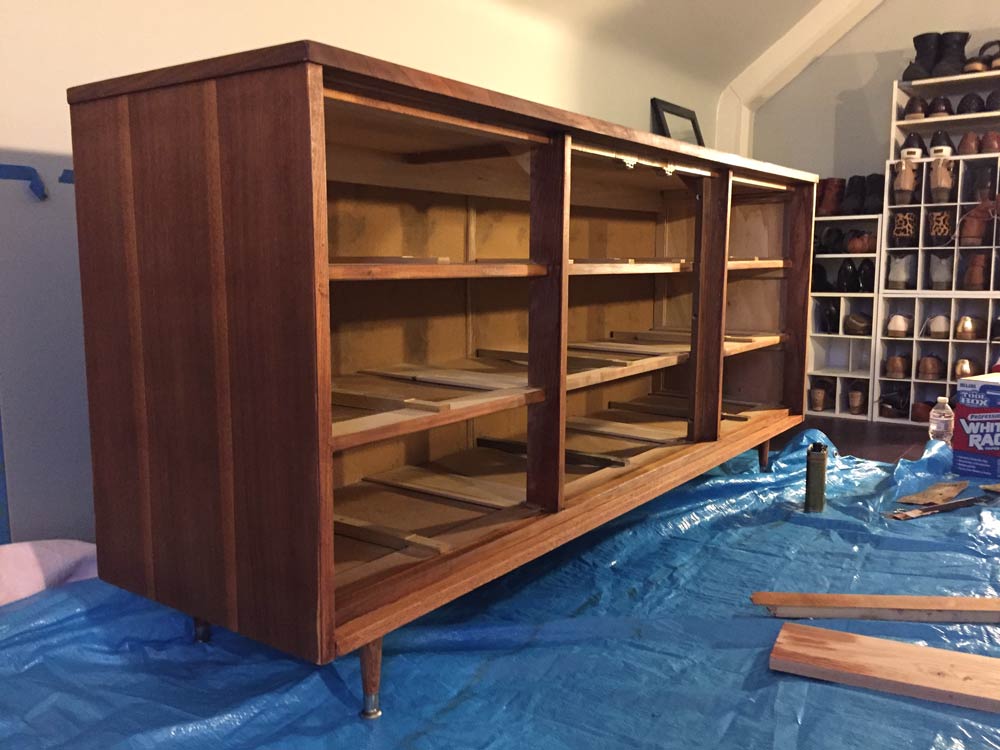
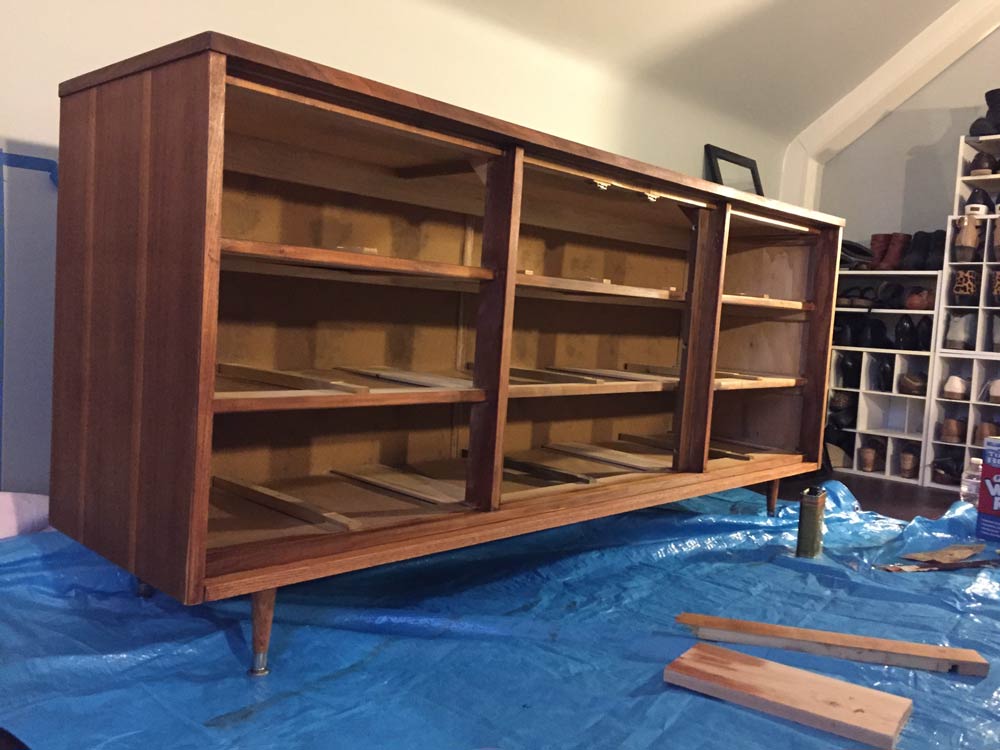
We’re taking a break from tracking the kitchen progress to jump up a few floors to my attic bedroom and the lack of progress up there. Some more kitchen progress should be coming your way soon.
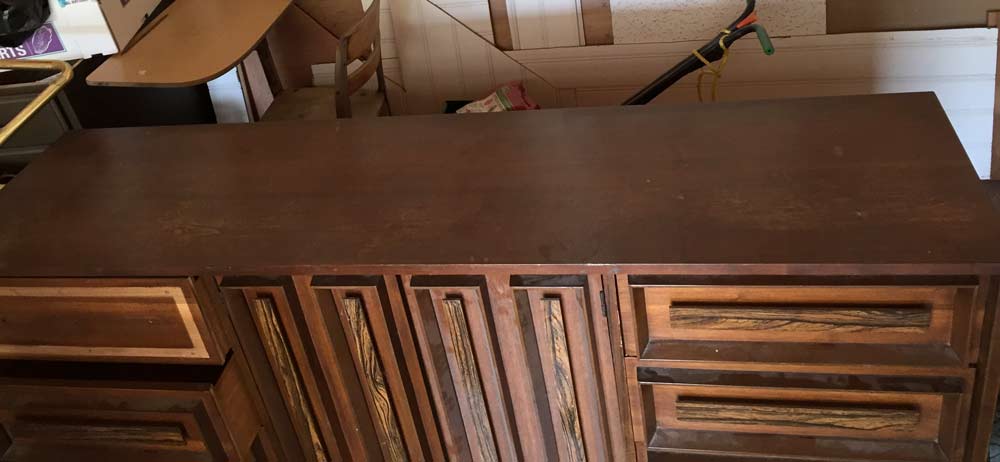
I’ve basically ignored my bedroom since ripping out the carpet and painting everything last summer. In the last few weeks, I’ve realized this is pretty common for people tackling a whole home or apartment, see Ginny’s bedroom and this post from Daniel @ Manhattan Nest. I set up my DIY Chevron Headboard and my yard sale dresser and moved around some rugs from other rooms in the house and that was it. Until six months ago when I couldn’t stop buying dressers and chairs from Craigslist and I snatched these two kinda hideous 1970’s dressers for $40 to transform into a DIY mid-century modern dresser.
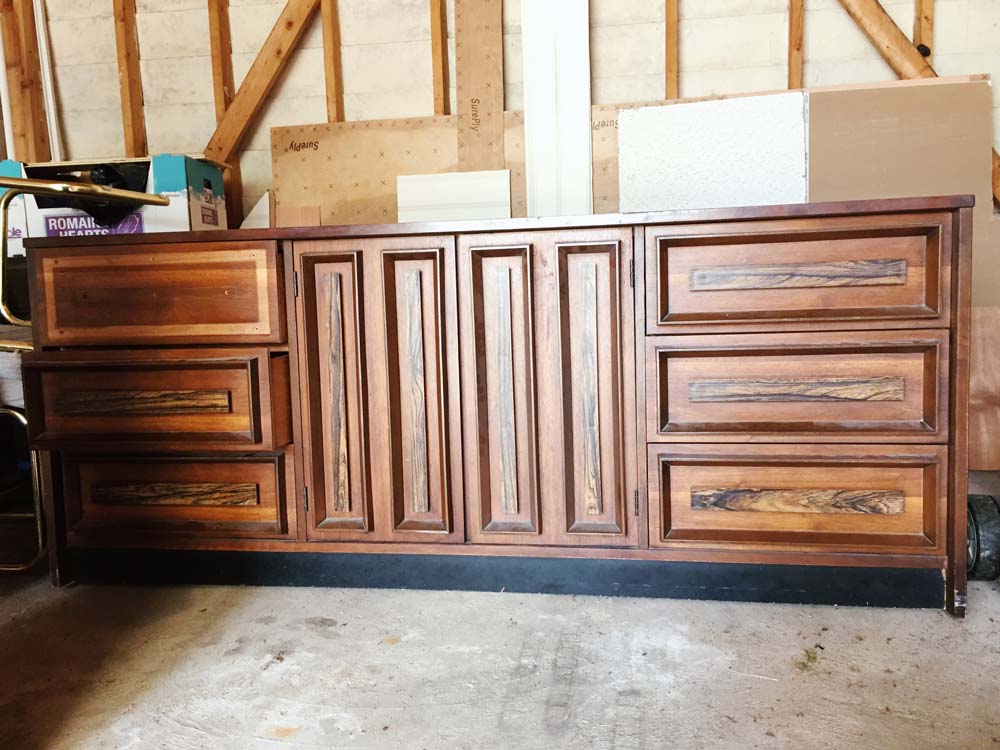
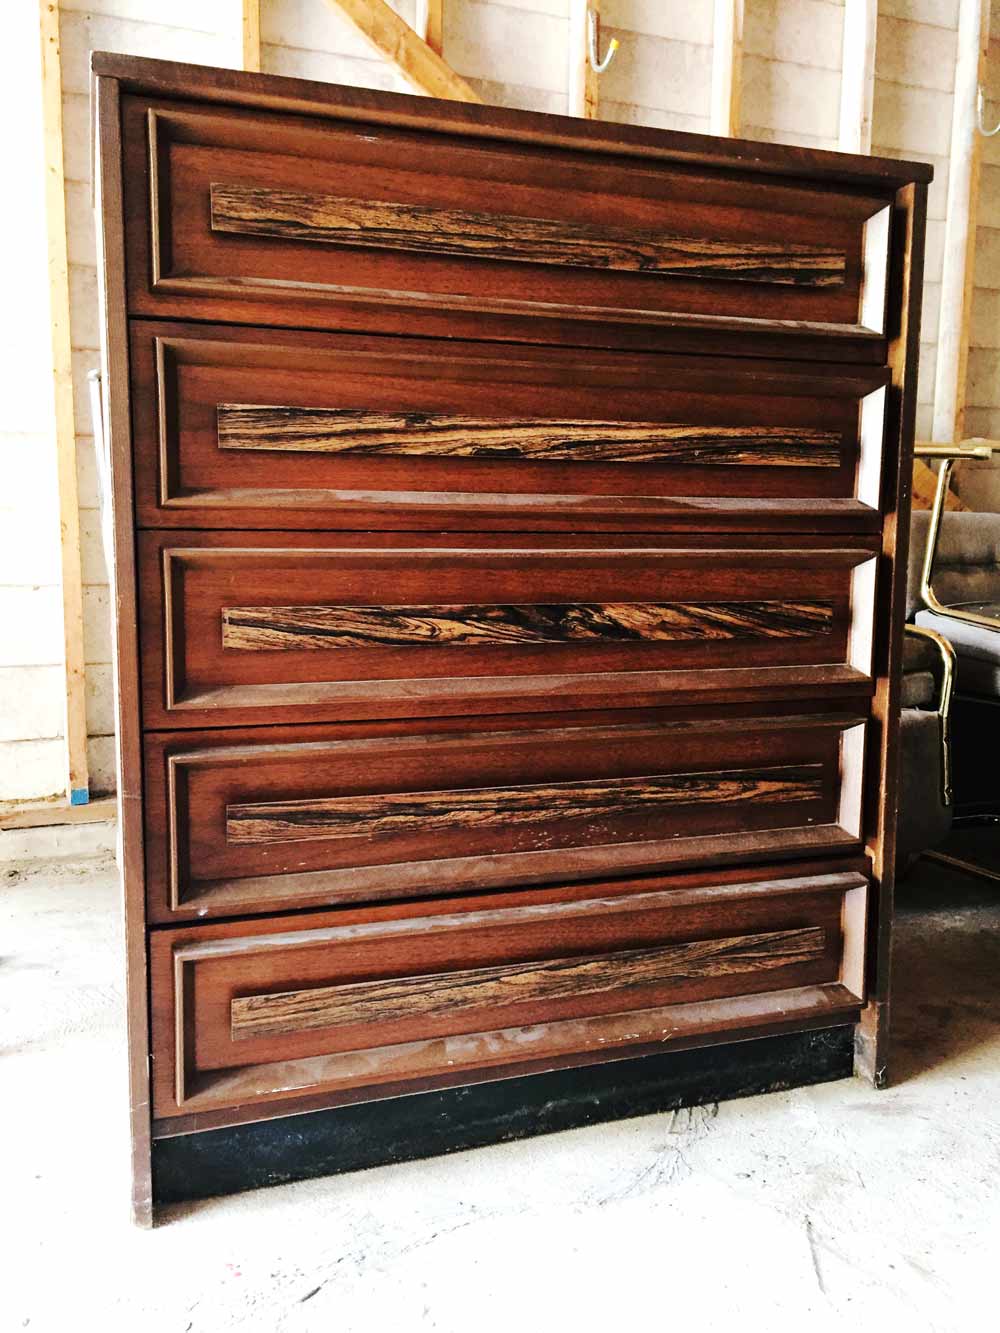
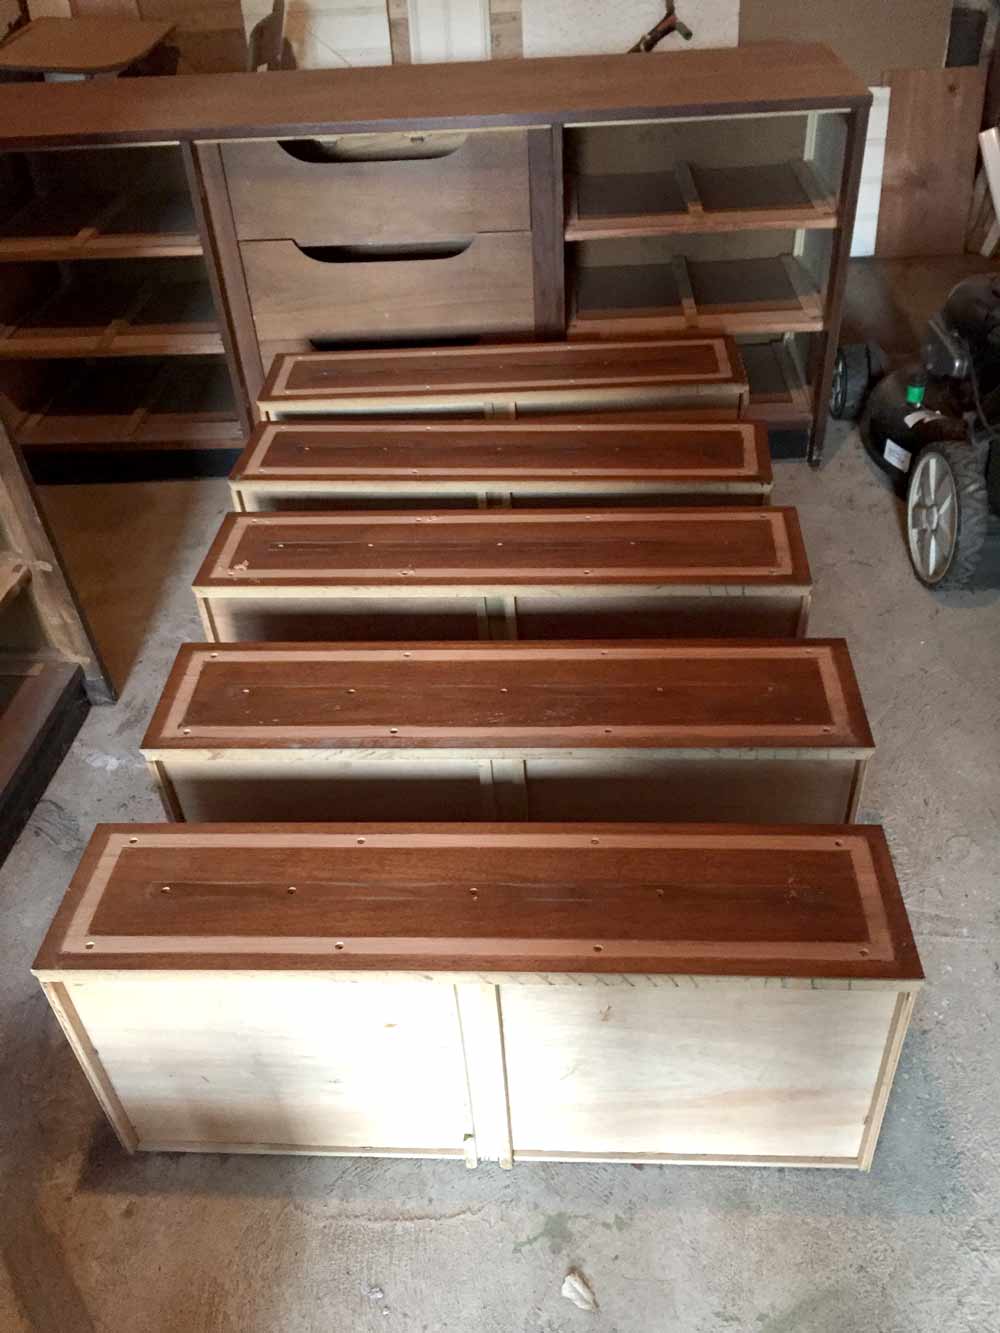
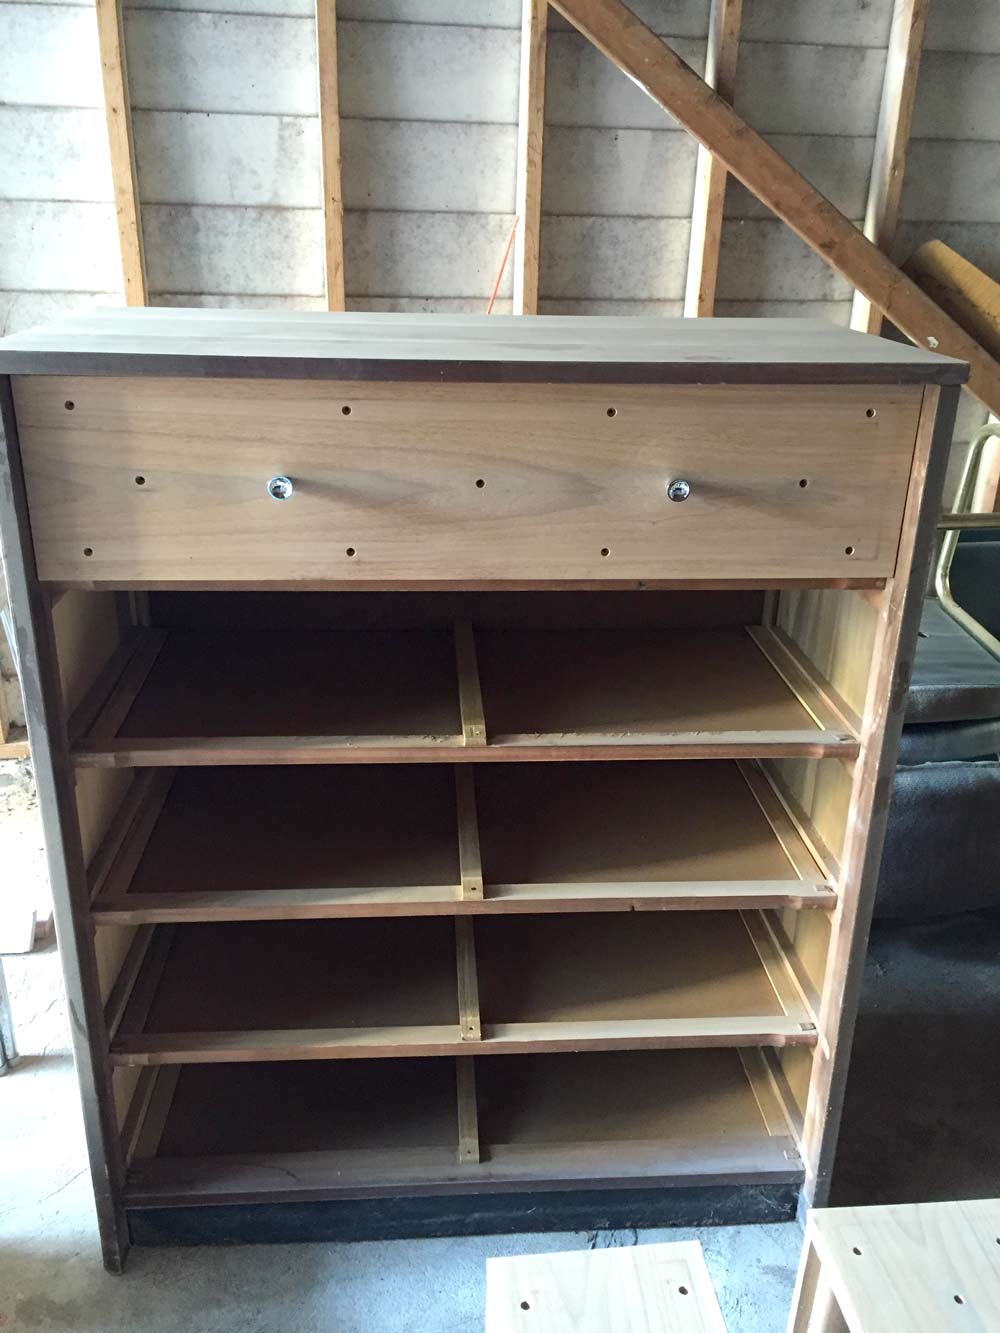
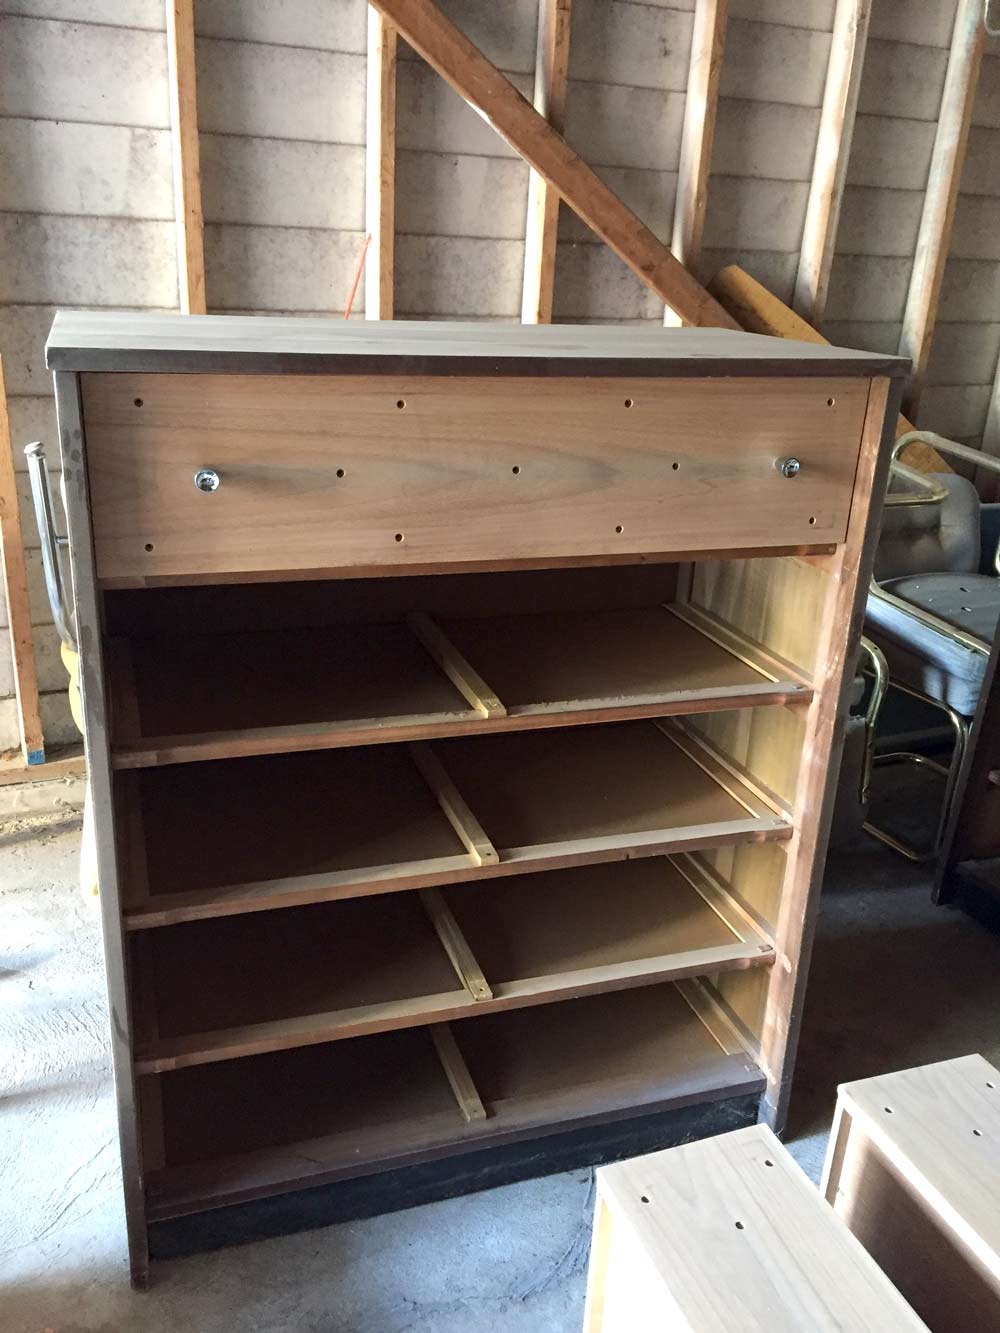
I taped up an outline on my wall for the long dresser and it was a perfect fit directly across from my bed. Obviously, these weren’t coming into my house as-is since my style tends to lean more mid-century, so I got to work tearing them apart to start fresh for the DIY mid-century modern dressers. My initial plan was to sand everything down and paint the whole dresser one color. I knew from the beginning that the water-damaged bottom of the dresser had to go, and was hoping to slice it off and add some tapered legs. This was when I thought the trim was wood molding, but upon closer inspection, it was actually plastic. I couldn’t be sure the plastic would take paint the same as the wood veneer on the rest of the dressers, so that plan was scrapped.
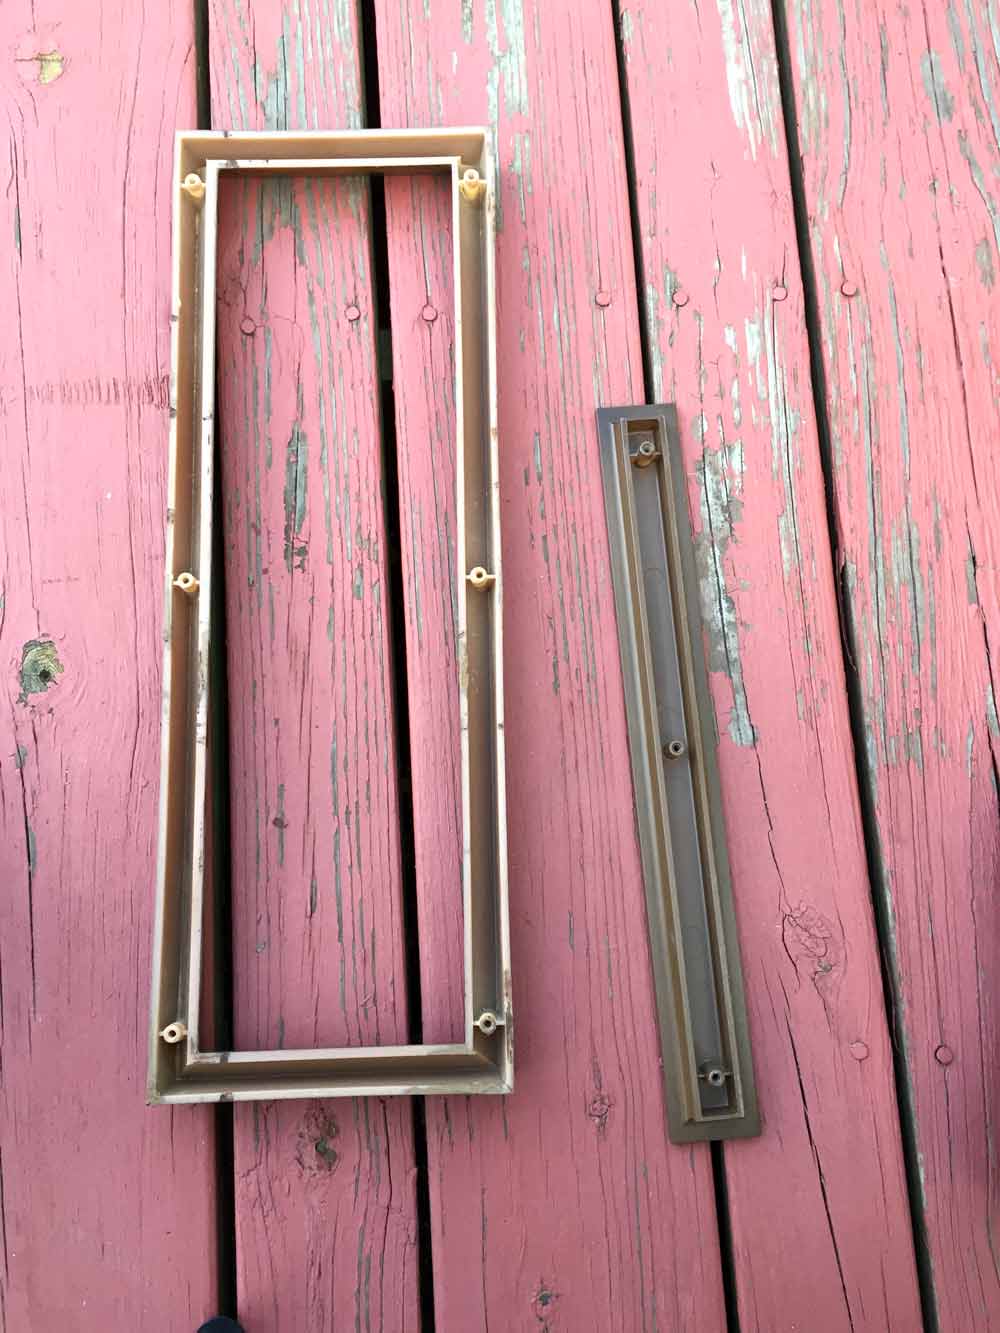
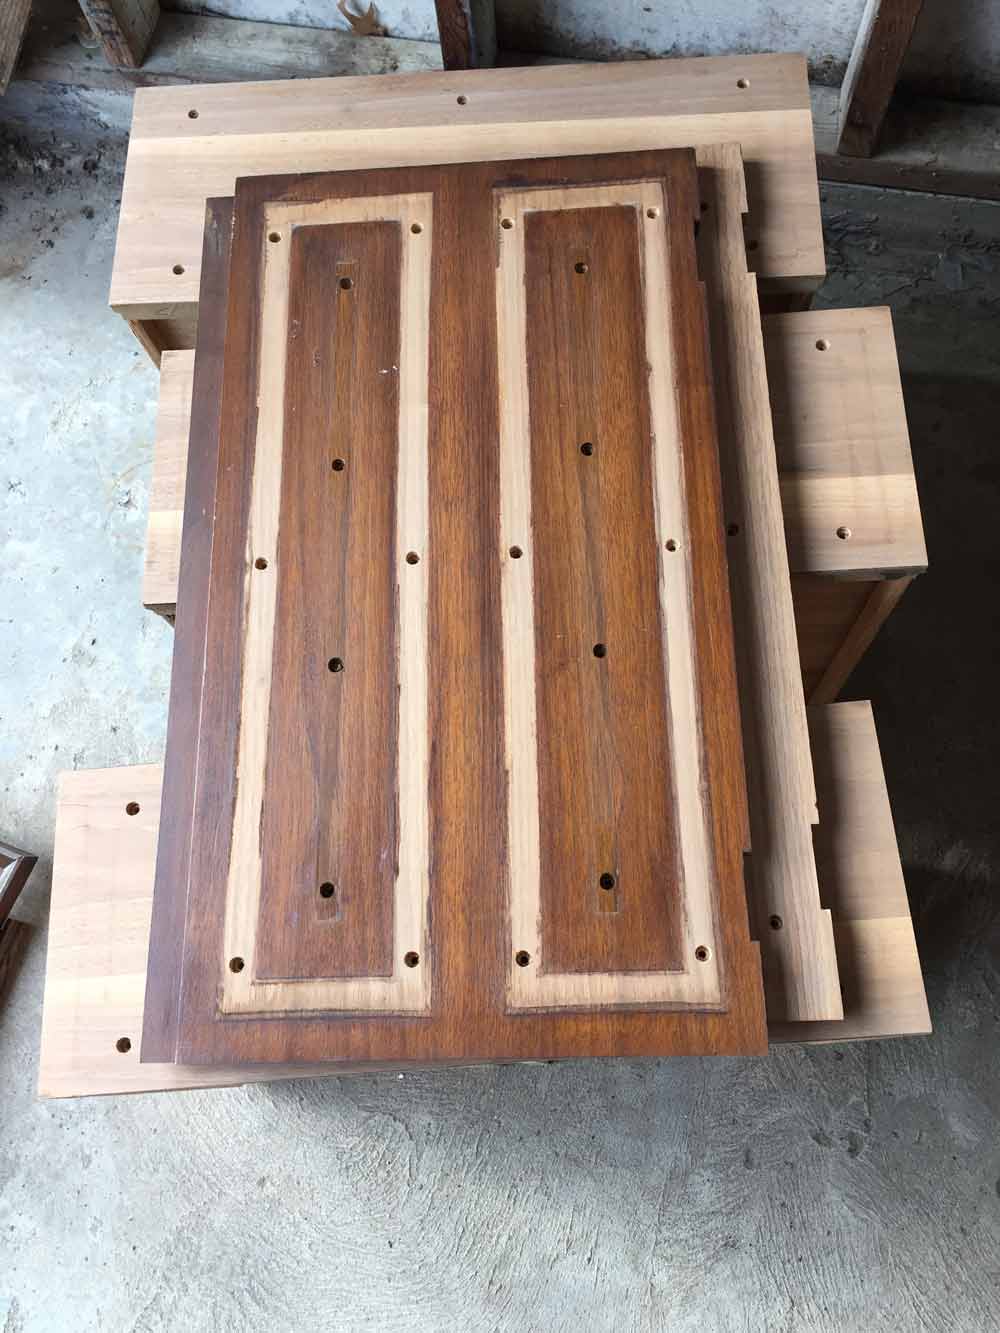
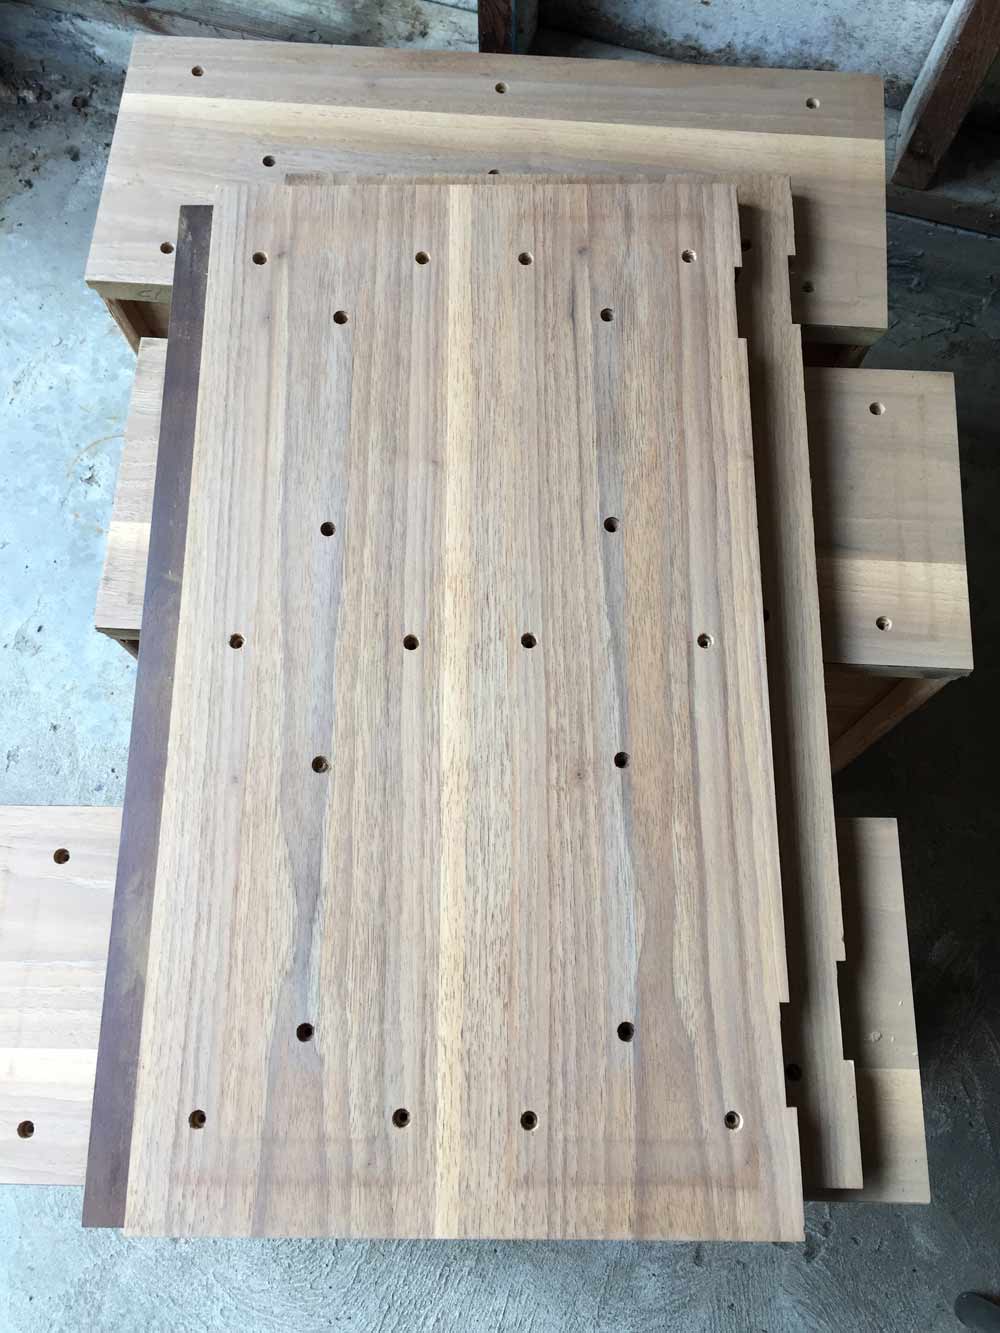
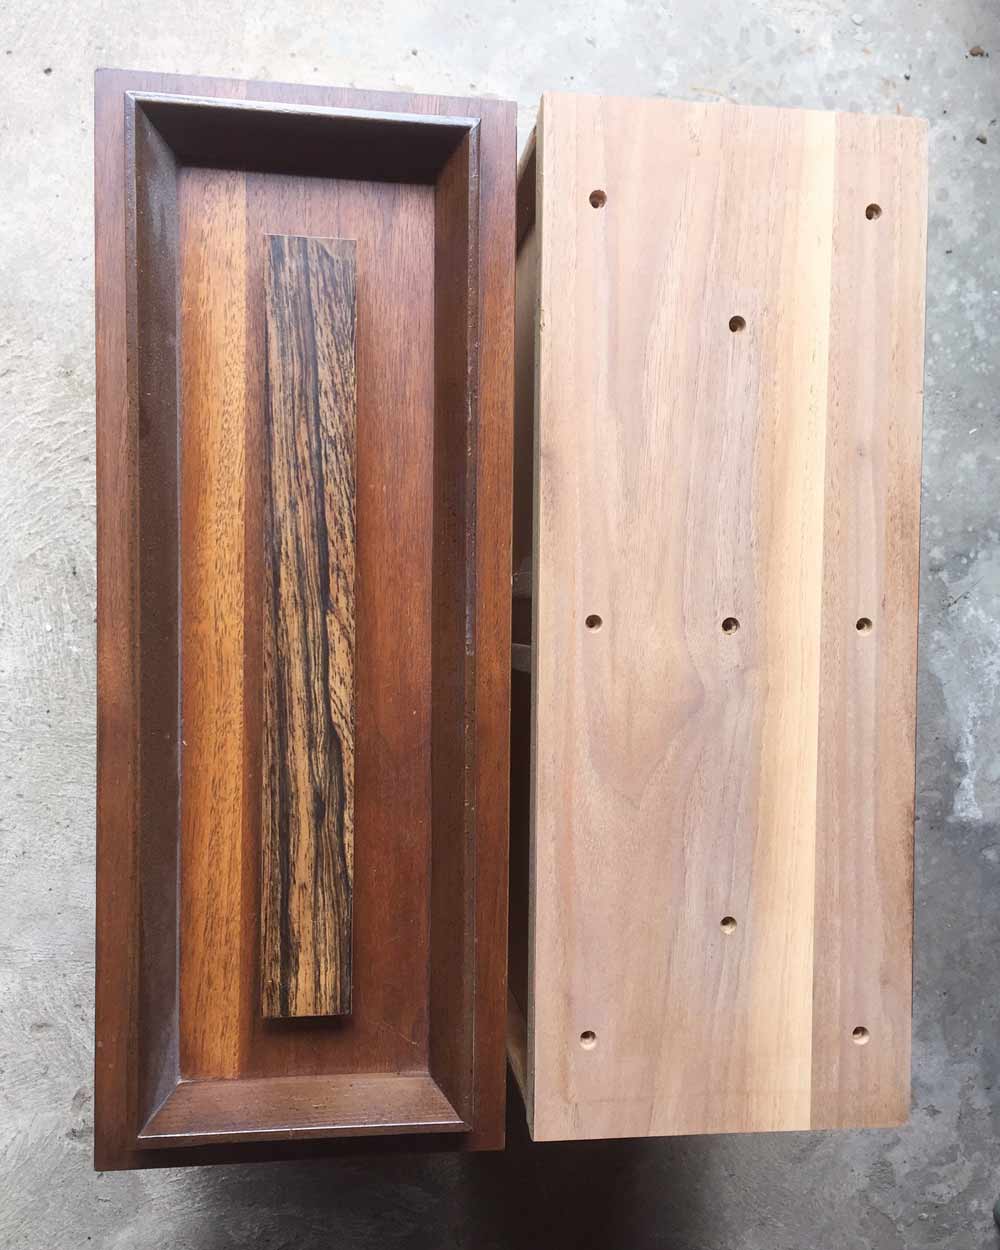
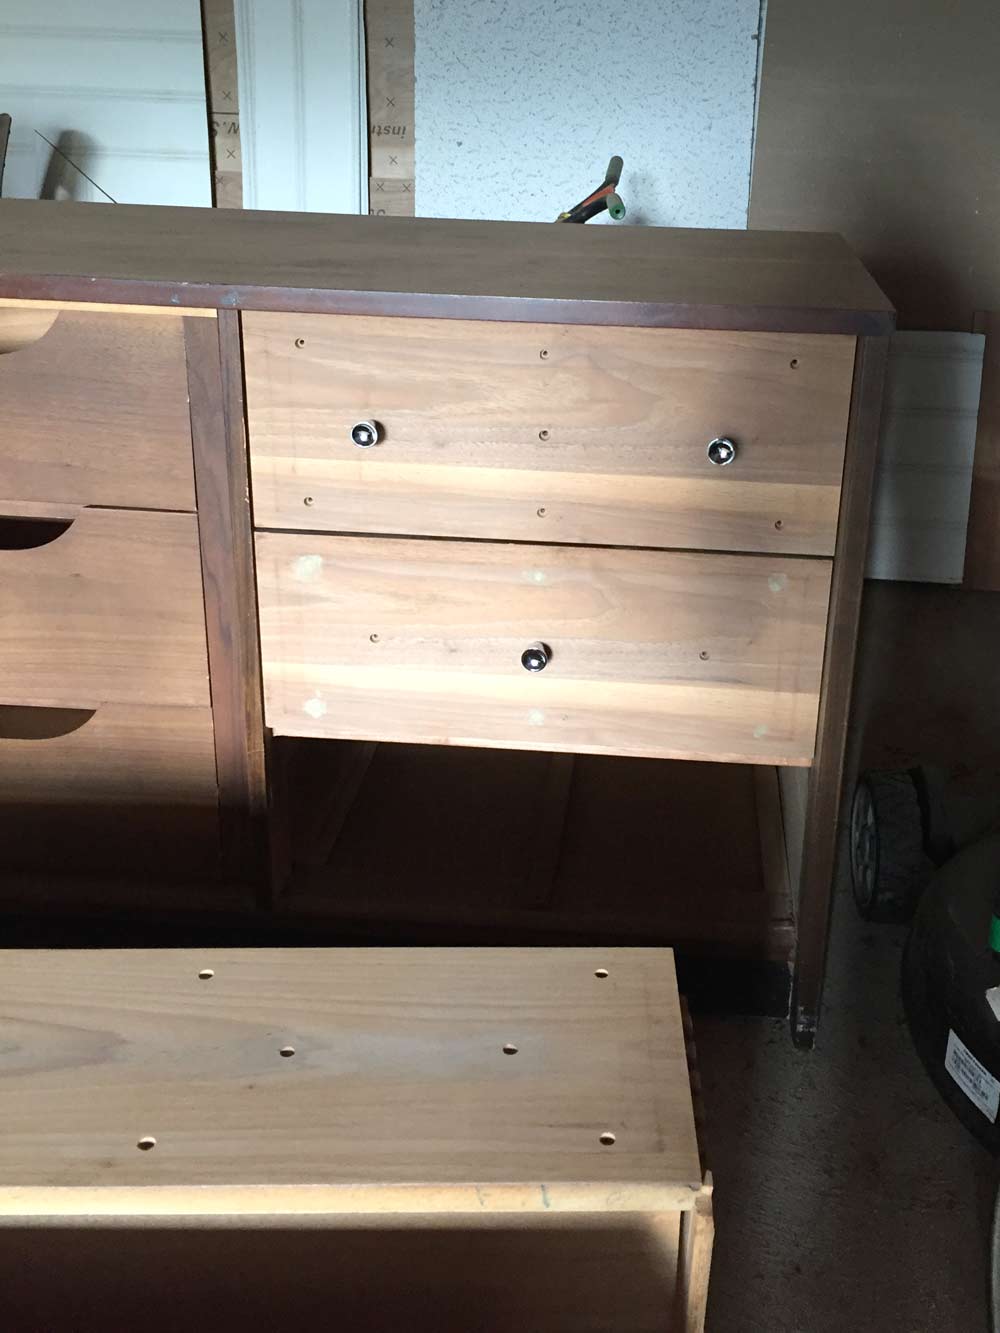
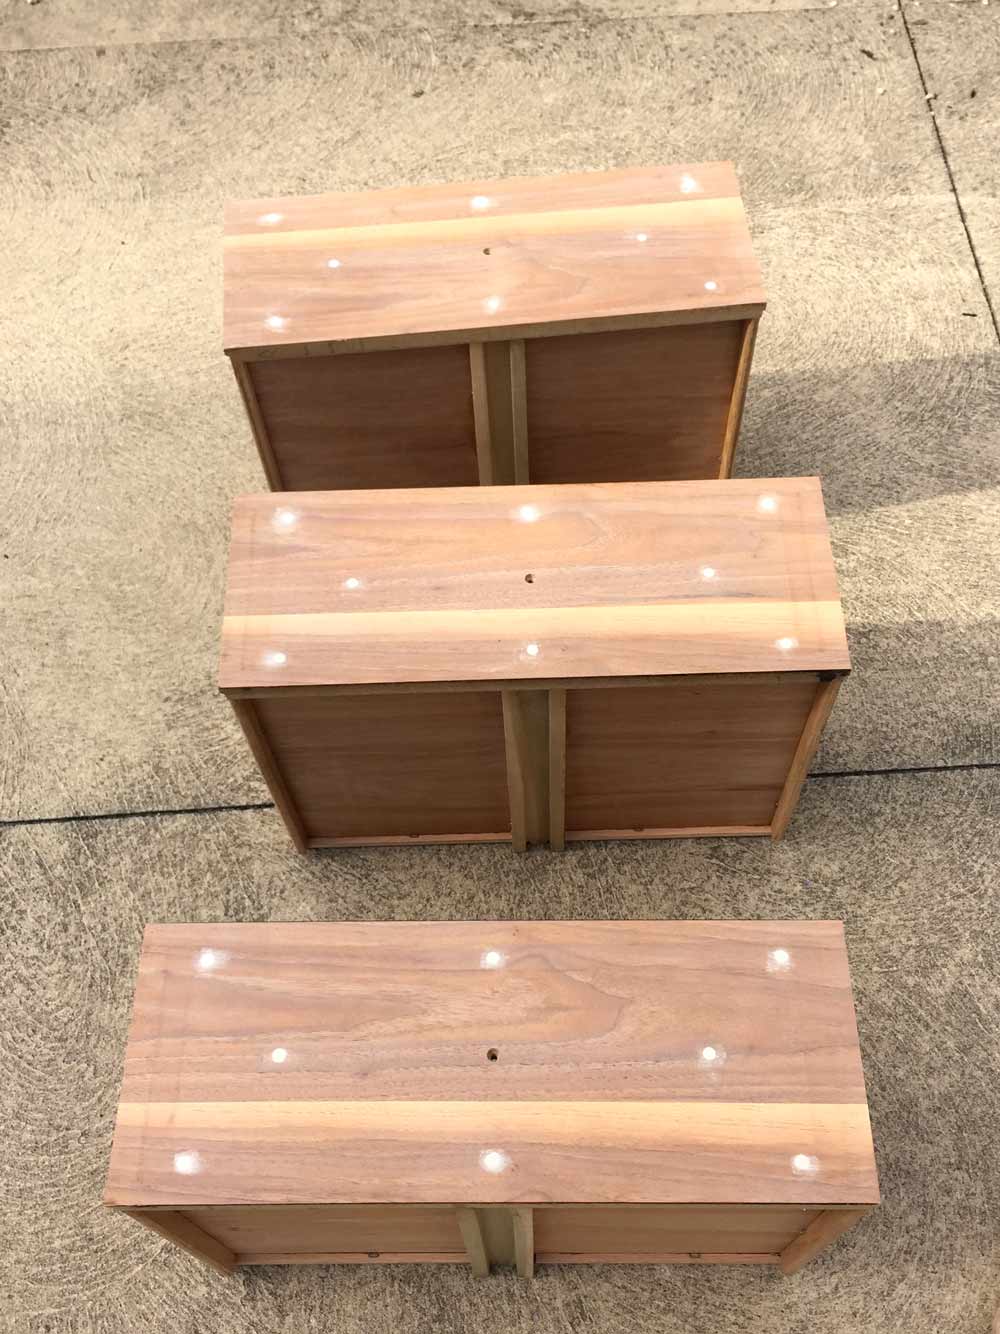
After removing all of the decorative trim, I was left with very pretty wood veneer covered in screw holes.
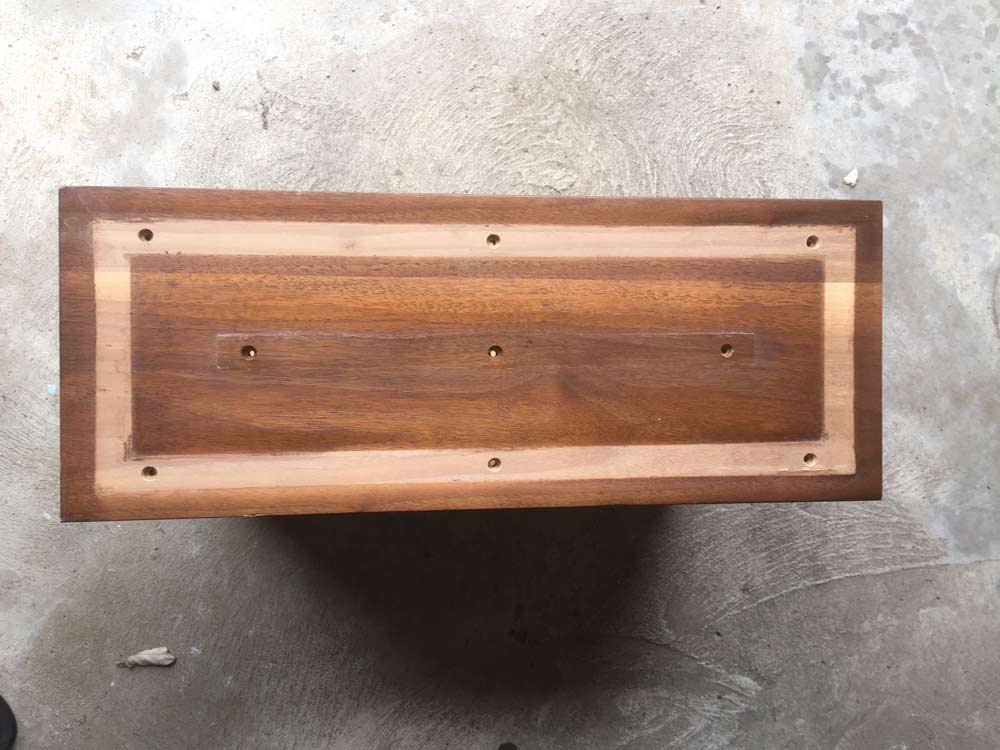
At this point, I was still planning on painting the whole dresser because there was no way to stain and get a smooth finish over all of these holes and the top and sides had some real damage. The original finish on the dresser was a very drab brown, with scratches and stains all over it.
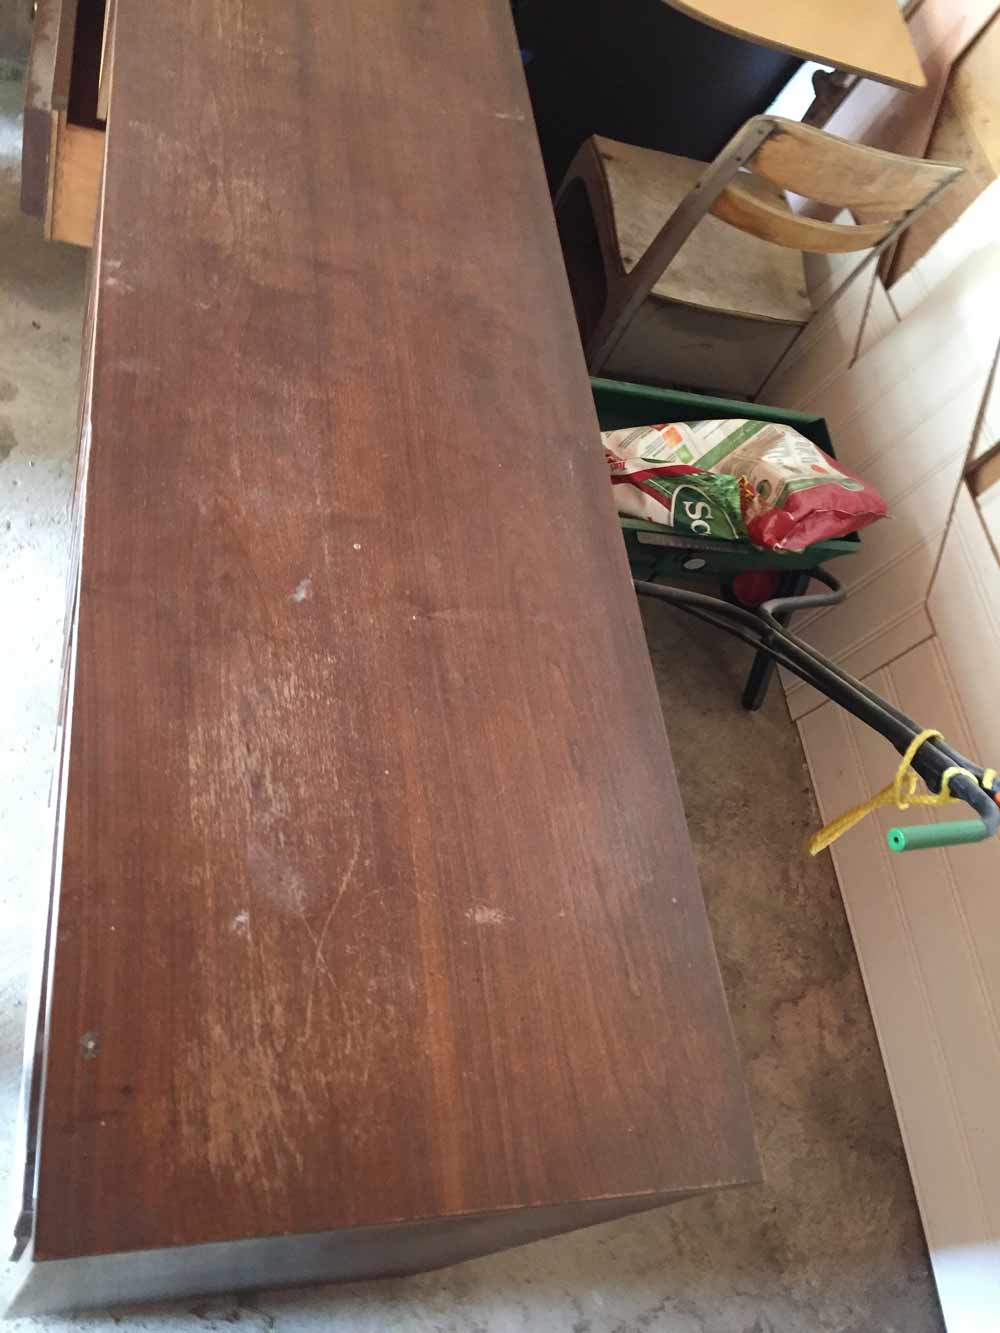
But then I sanded the top of the dresser and wiped it with a damp rag to see what it would look like with a coat of poly. Throwing a little water on freshly sanded wood is a good way to get an idea of what the final finish could look like. The color was much better than the original.
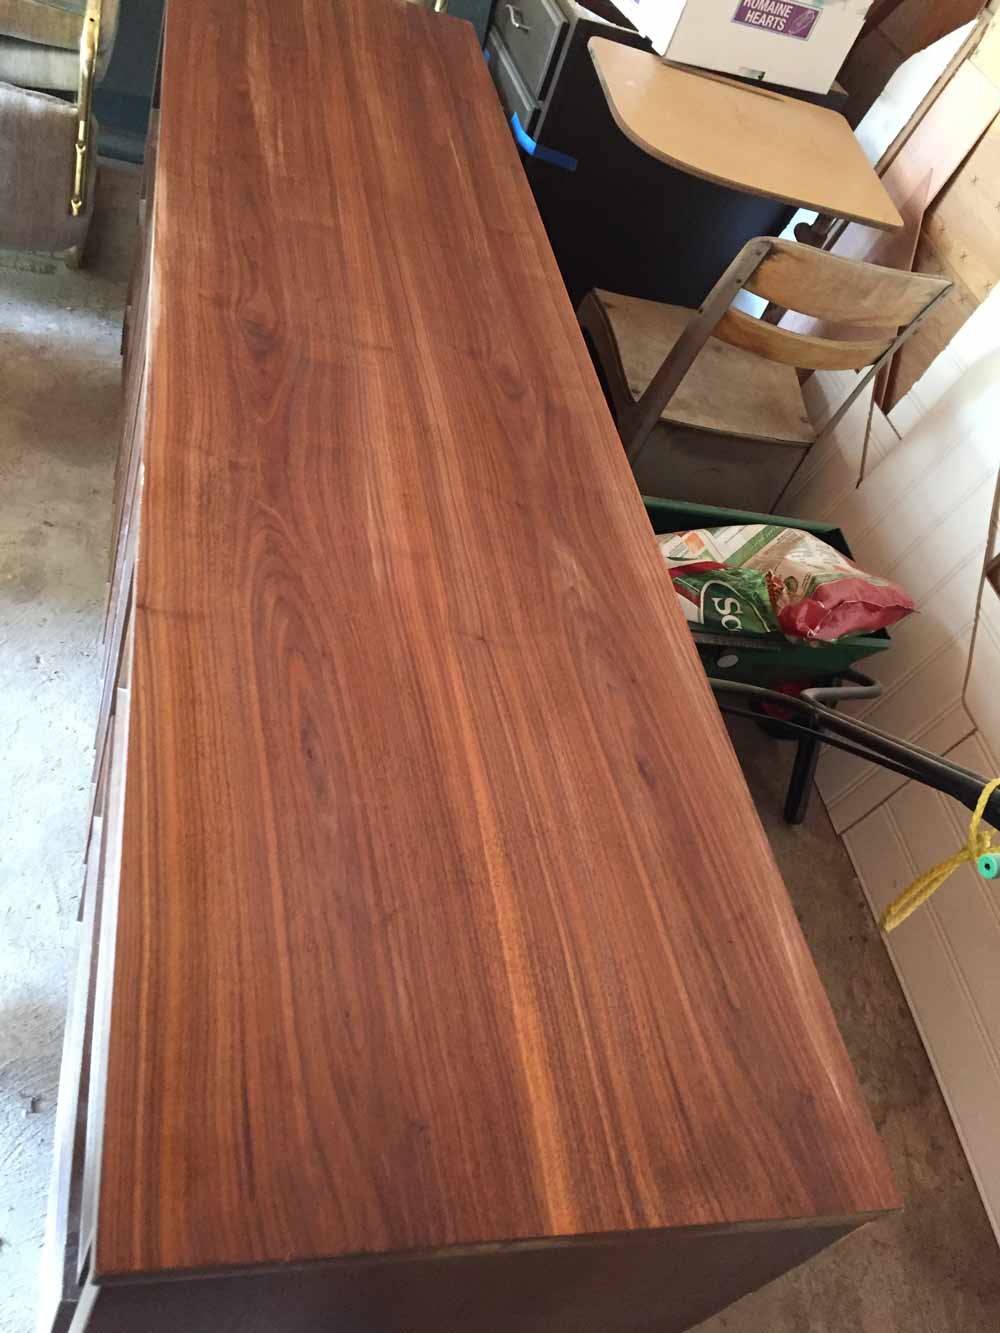
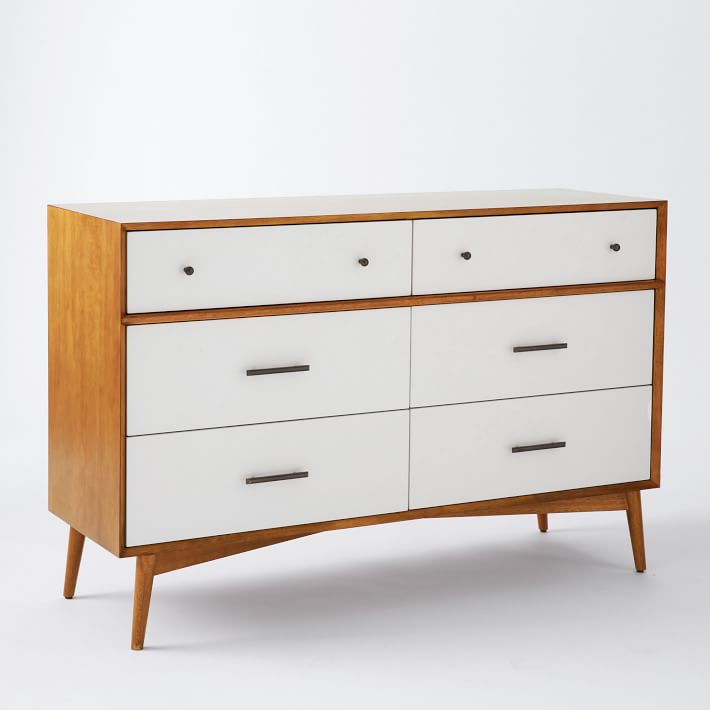
Now, I definitely needed to showcase as much of the pretty wood as possible, so the plans changed to include a two-tone finish. This would include: painting the drawers white, staining the top and sides, cutting off the toe-kick at the bottom of the dresser, building a new base, and adding tapered legs. I looked online to see if white drawers with a wood top and sides would look stupid and found this West Elm Mid-Century White + Acorn Dresser.
Sold. If it’s good enough for West Elm, it’s good enough for me. And maybe you, if you have a dresser with decorative molding and a sad base that you are looking to change up.
Let’s get to work
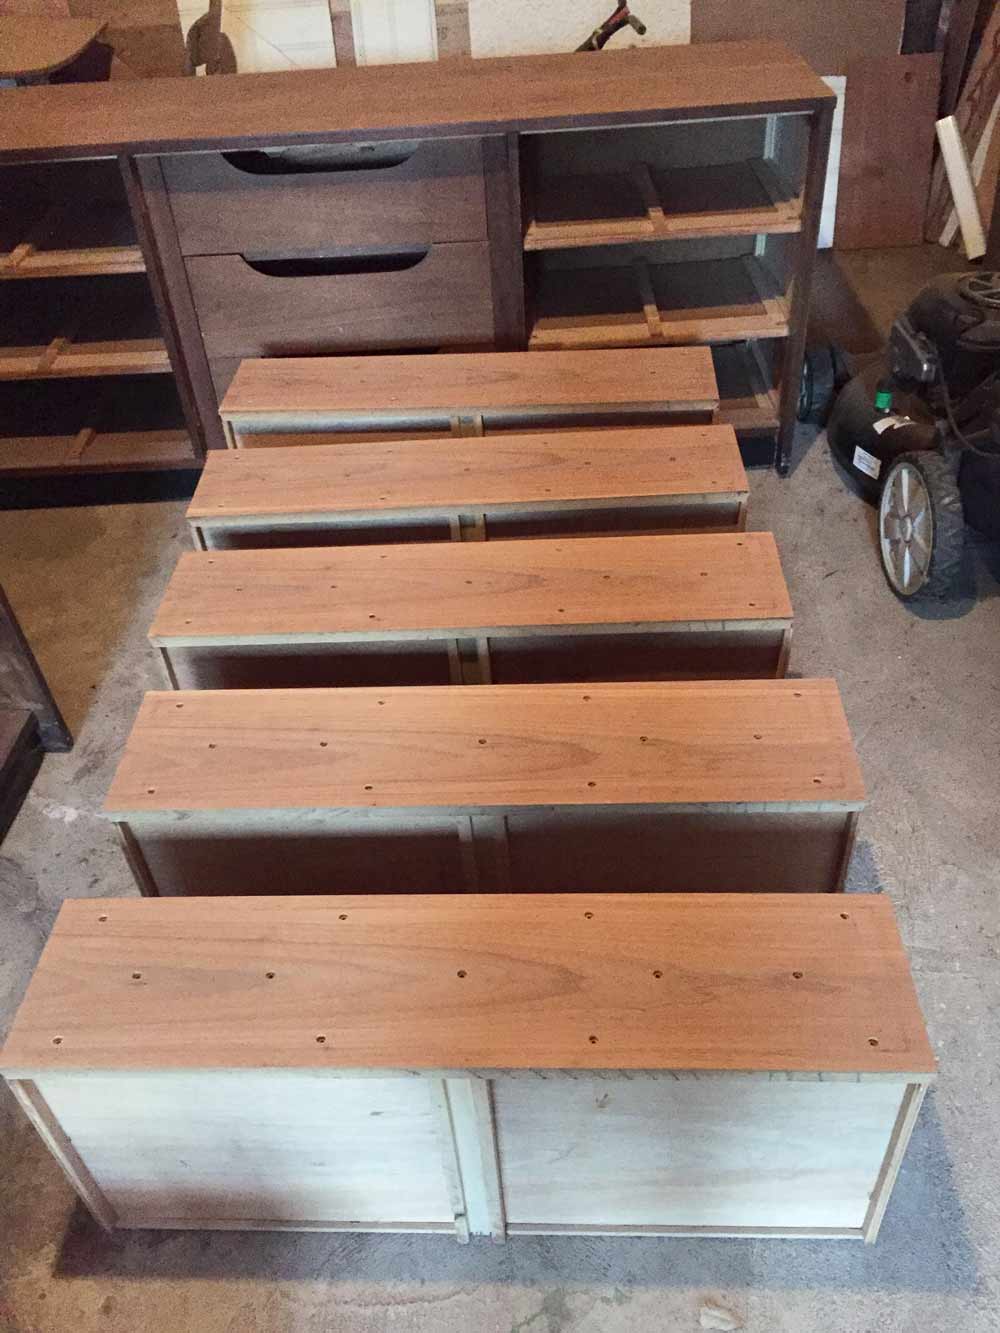
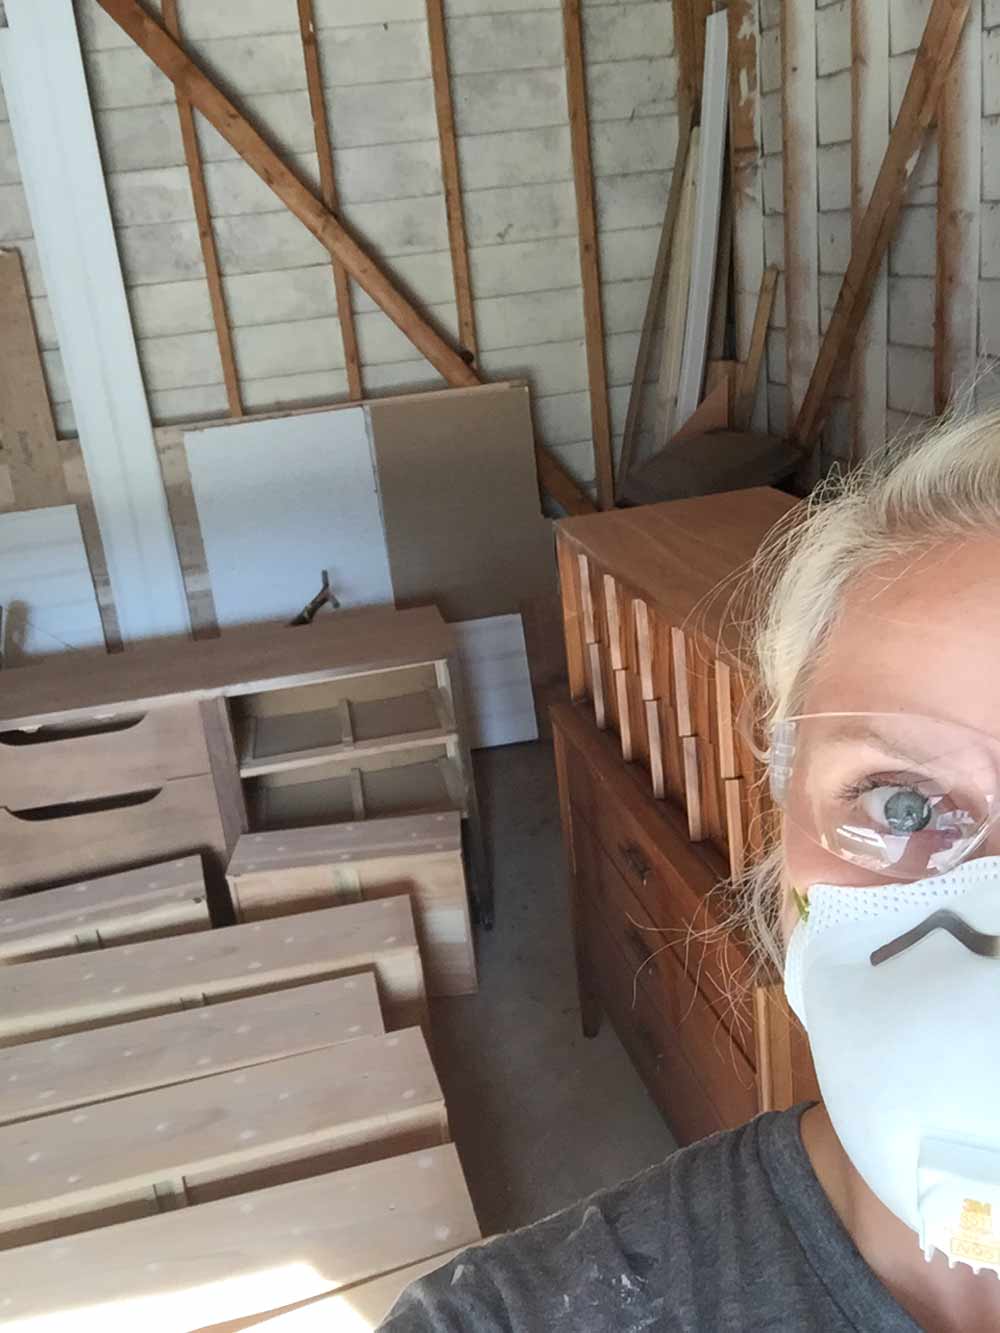
After test sanding the tops of the dressers, I power sanded the drawer fronts and doors with 100 grit sandpaper. I don’t like to use a very coarse paper on thin veneer and I wasn’t sure how much thickness I had to work with here. 100 grit worked to get the old stain/finish off and I was left with clean, hole-y drawer fronts.
Click through this slider to watch the sanding happen:
At this point, I did some tests with my knobs to decide on the number of knobs/handles I wanted on each drawer and where I wanted them. I wanted to try to use the existing holes, mostly so I didn’t have to fill them all, holla shortcut. I decided to go with one knob in the center of each drawer for the long dresser, and two on the tall dresser.
Check out the knobs on this slider
I bought the knobs on amazon and they were much cheaper in the silver finish than the gold. While writing this, I found out that they raised the price on amazon, more info about that is at the end of this post. I poked holes in some cardboard, screwed the silver knobs in, and spray painted them with gold paint. I’ll let you know how the finish holds up over time.
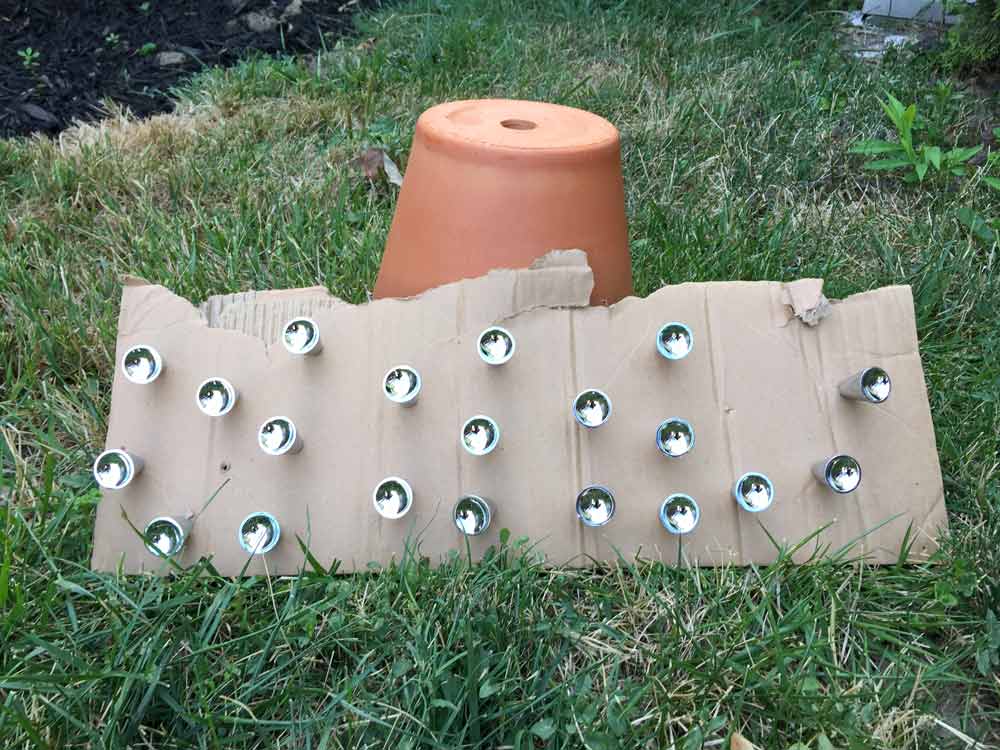
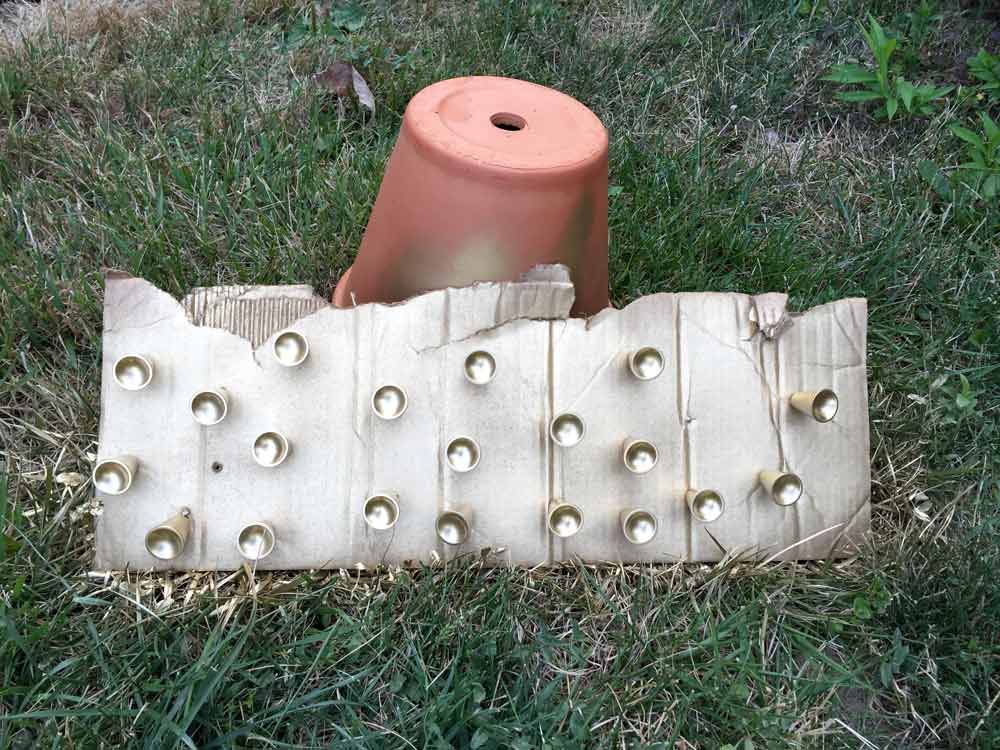
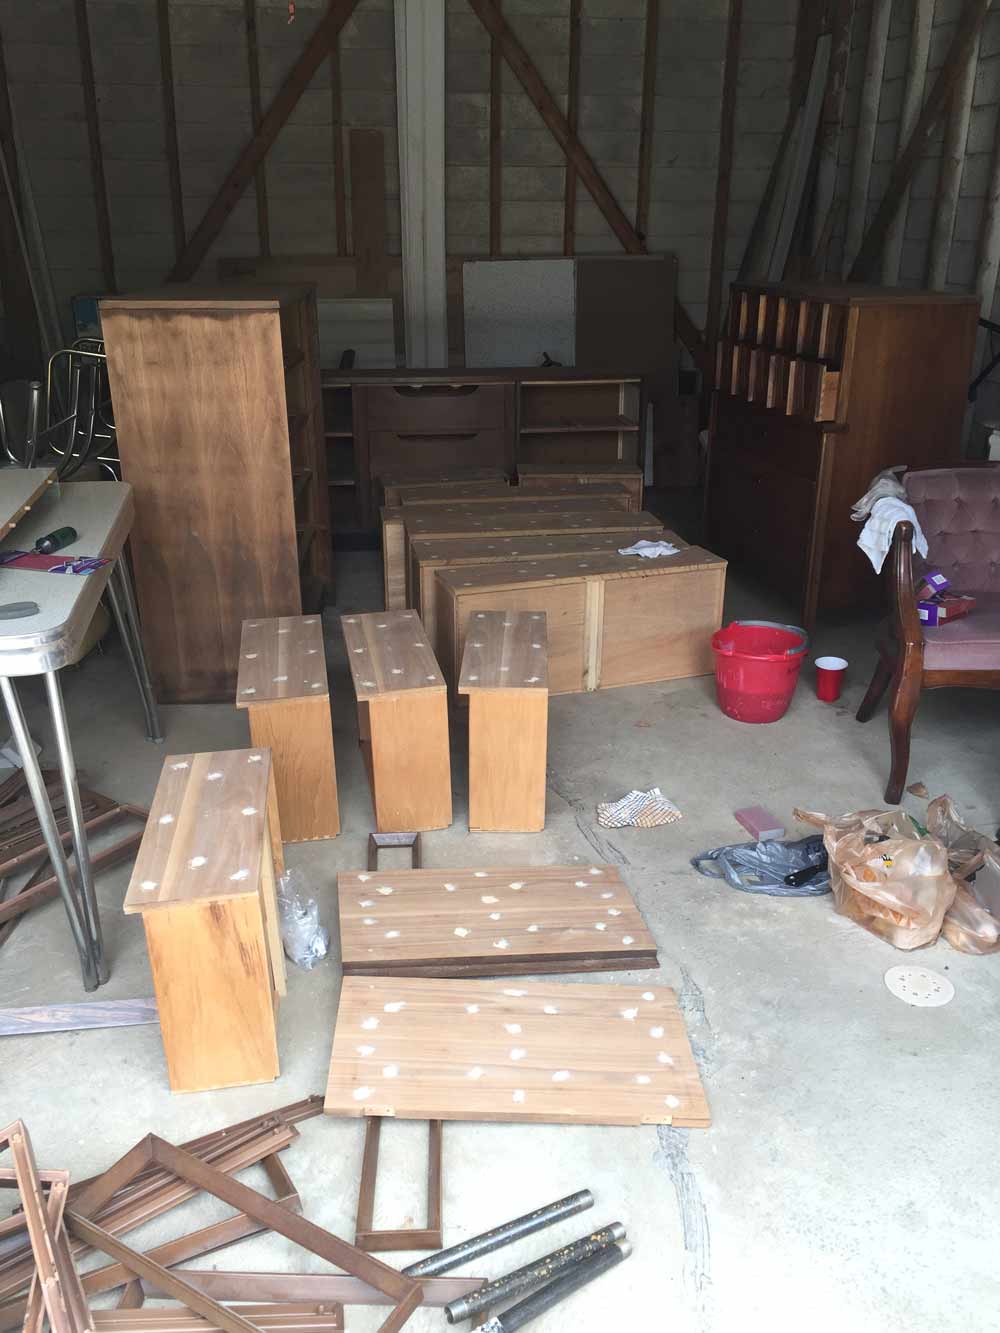
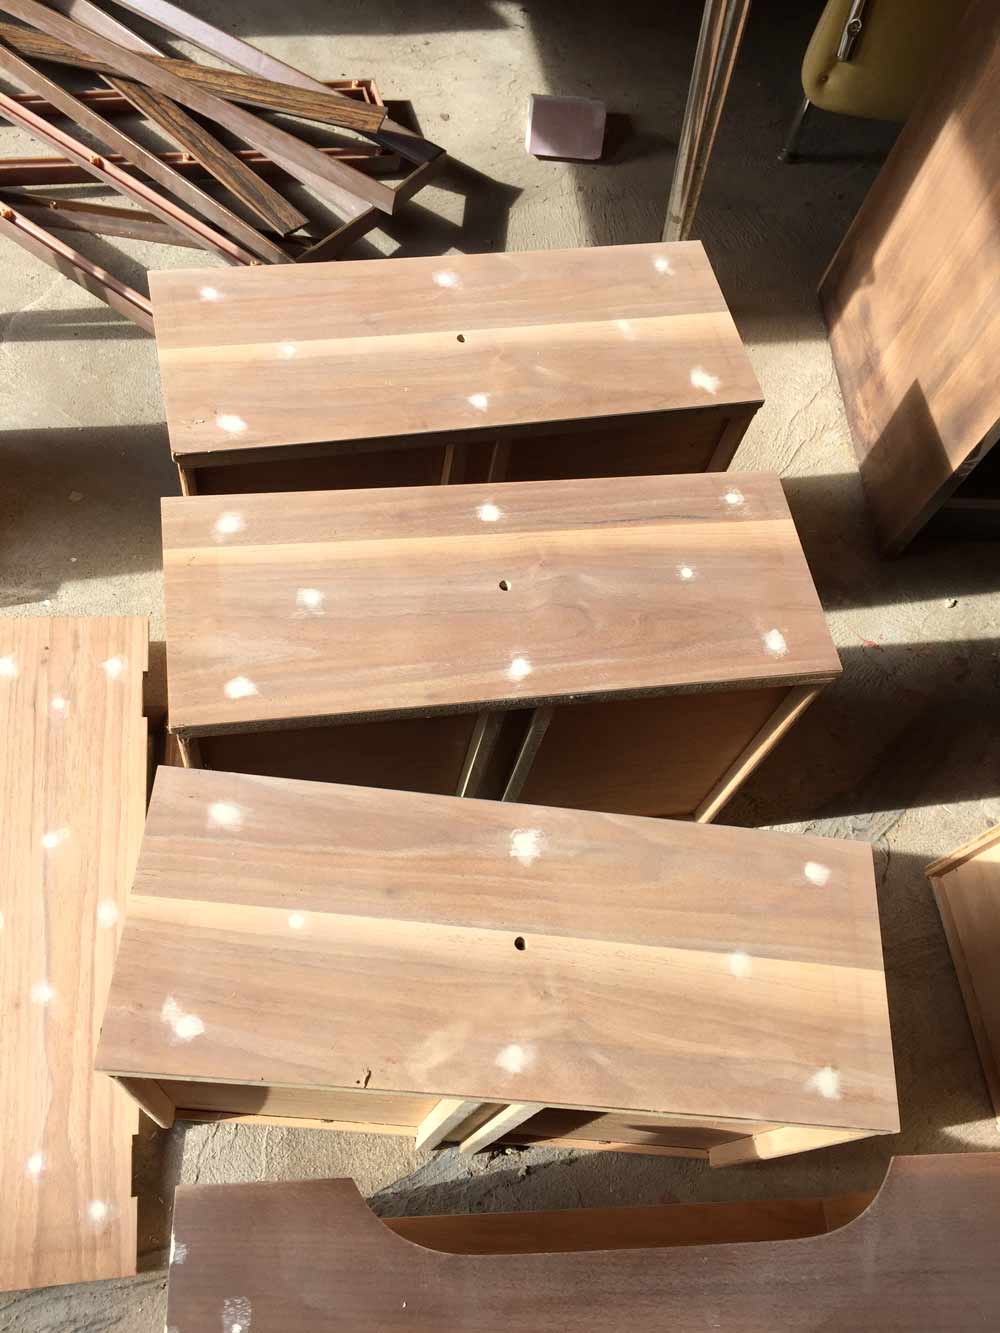
With the knob placement decided, it was time to fill in the holes. I used a combination of a few different wood fillers and smashed a bunch into each hole with a putty knife. Once it was dry, I sanded the fronts down. The filler shrank as it dried, so I added more filler and then sanded and repeated these steps forever until I was left with a smooth-ish drawer front.
Swip through the hole-filling process
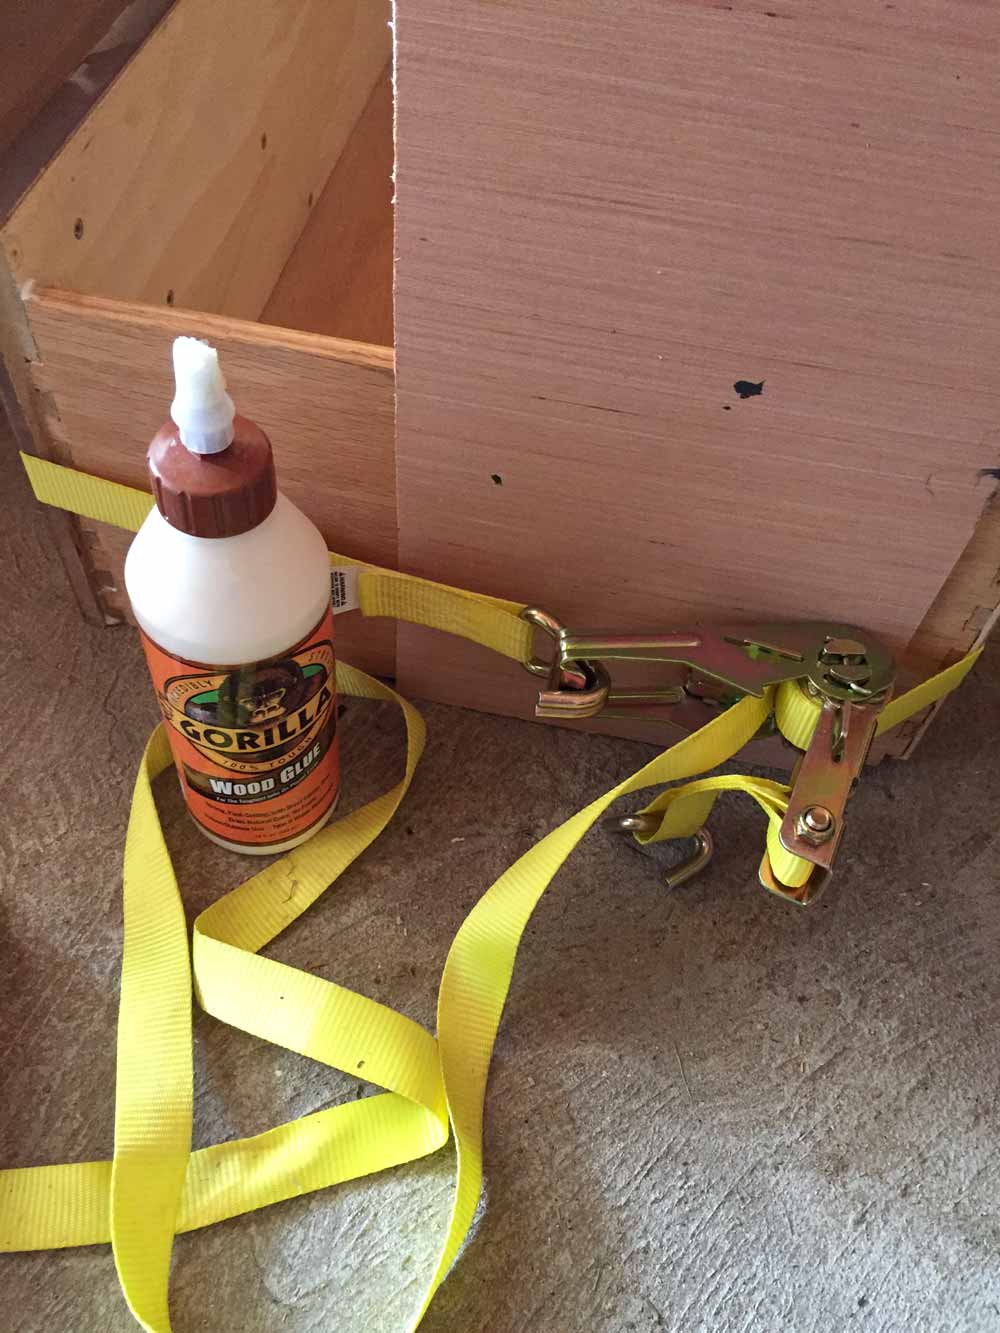
Most of the drawers on the tall dresser were falling apart so I added Gorilla Wood Glue to the dovetail joints and wrapped a tie-down strap around the whole drawer to hold everything together while it dried. *I could not figure out the right way to use the tie-down strap, so I rigged it. If you know how this works, let me know in the comments!
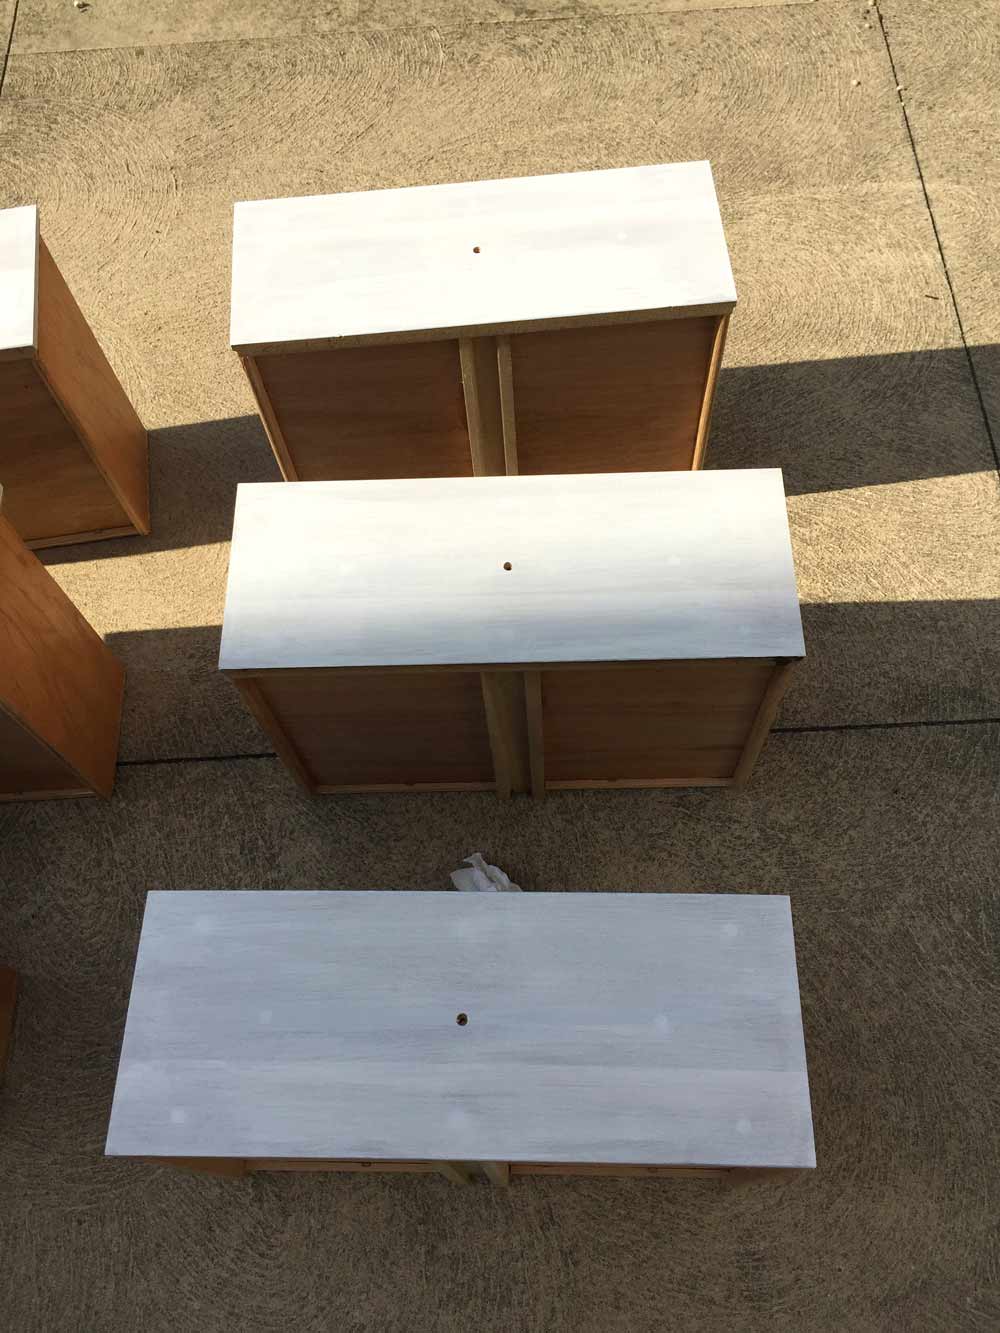
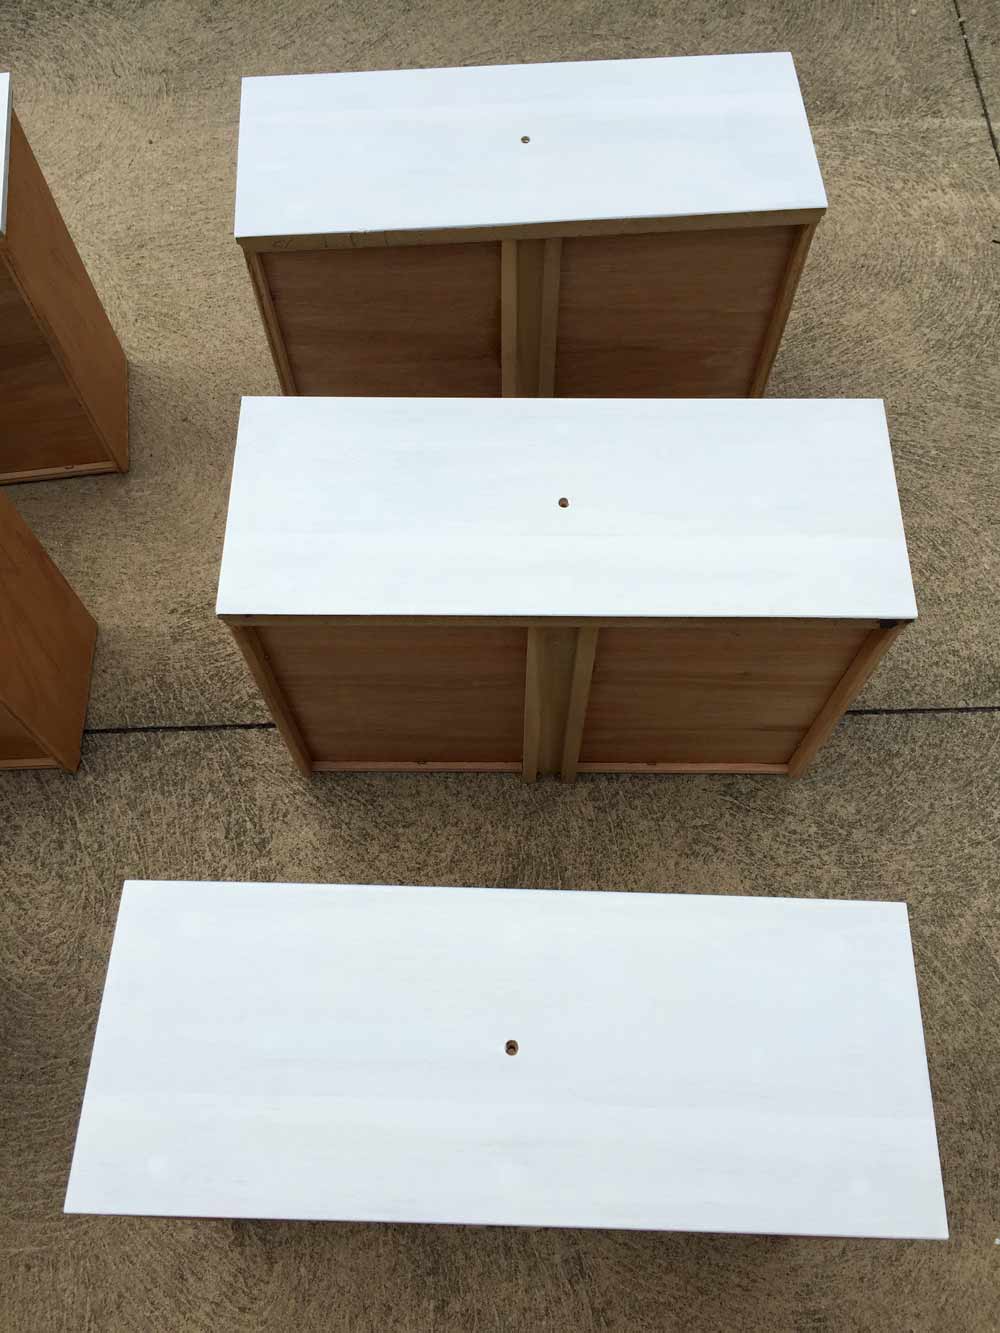
Next up, I primed the drawers with a few coats of Kilz, hoping to get solid coverage before moving on to the more expensive paint. Of course, I noticed some imperfections with the hole patching, so between each coat of primer I added more wood filler and did some more sanding. Every time the light would hit the drawers all I would see was those screw holes. Filling those in was the most tedious part of this project.
After I got the holes as smooth as possible, I painted the drawer fronts and edges with Benjamin Moore Satin Impervo in their base white. I used this paint on all of the trim in the house and have used it on other furniture projects and have always had great results. The self-leveling enamel helped cover the minor imperfections in the patched holes and the satin sheen looks super professional. Plus, my mom is obsessed with it and I’m pretty sure she would disown me if I used any other paint for a furniture project. The only challenge is that it takes a long time to set up and cure, which allowed for some debris/bugs in the garage to stick to the first coat. After the first coat dried, I lightly sanded everything and wiped it down with a tack cloth before adding another coat.
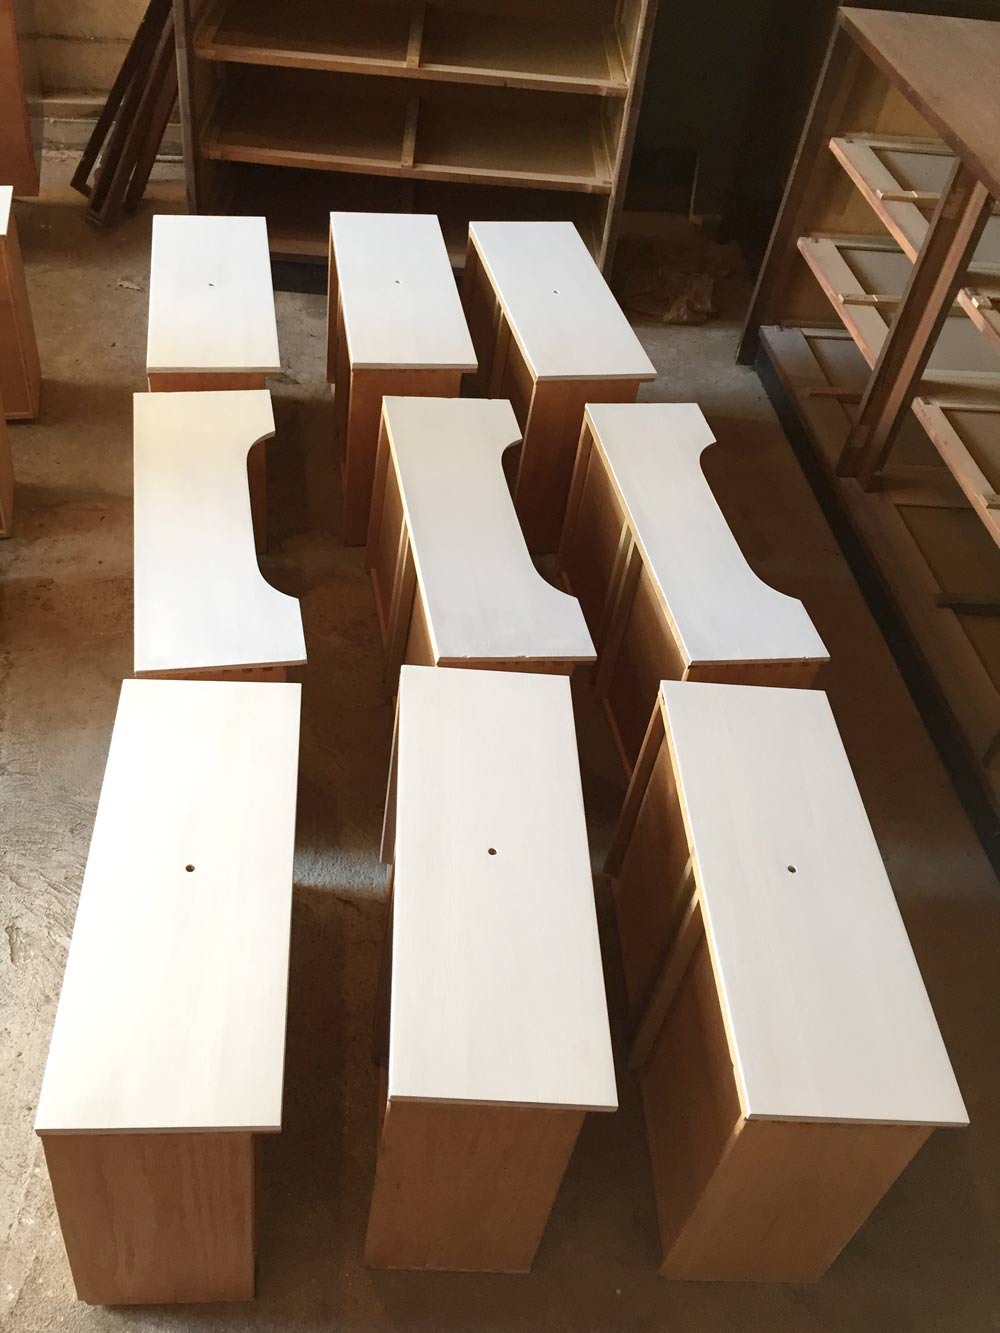
Then, I got busy working on other projects, like the fence, and the dresser sat in the garage for months before I got back to it. I attached all the knobs and moved the drawers and doors inside since the freezing winter temps weren’t helping them cure. I also needed to make more room in the garage to work on the dresser frames.
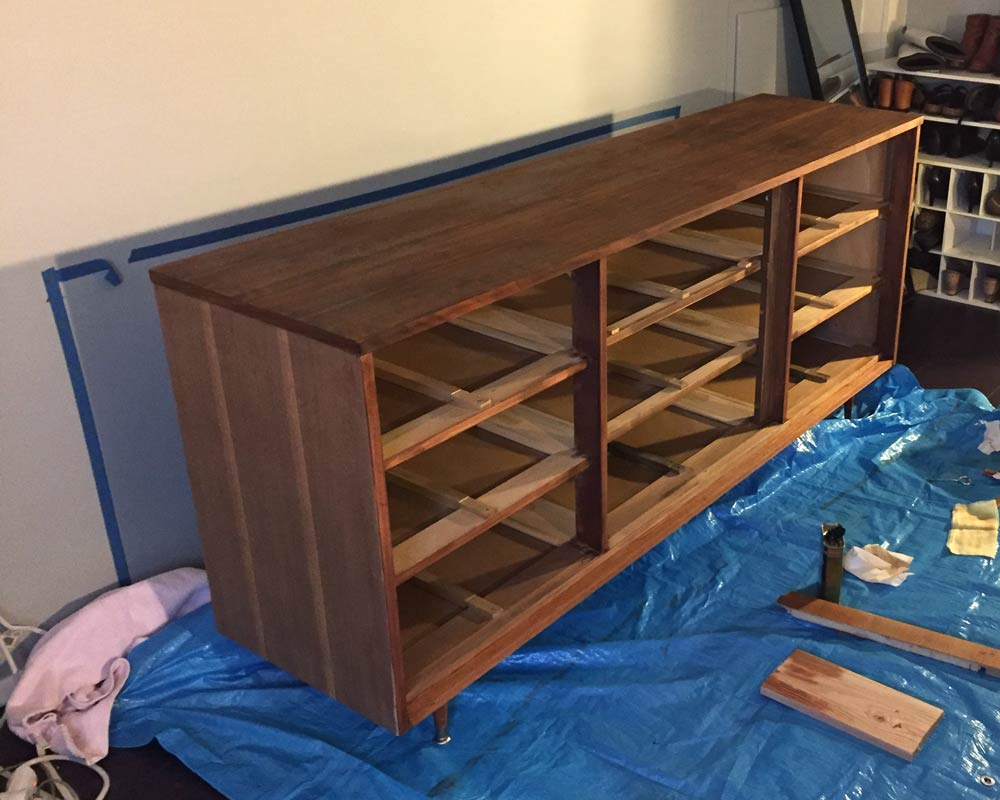
A few days later, my Dad came to my outdoor fridge/garage to help rebuild the bottom of the dresser. First, we unscrewed and pried off the toe-kick, which left the dresser with just the side panels for support. Since I wanted to have the new dresser stand on 4 tapered legs, I needed to reinforce the bottom and create a new front piece. I bought a 1″x6″ oak board from Home Depot and we screwed that into the wood frame.
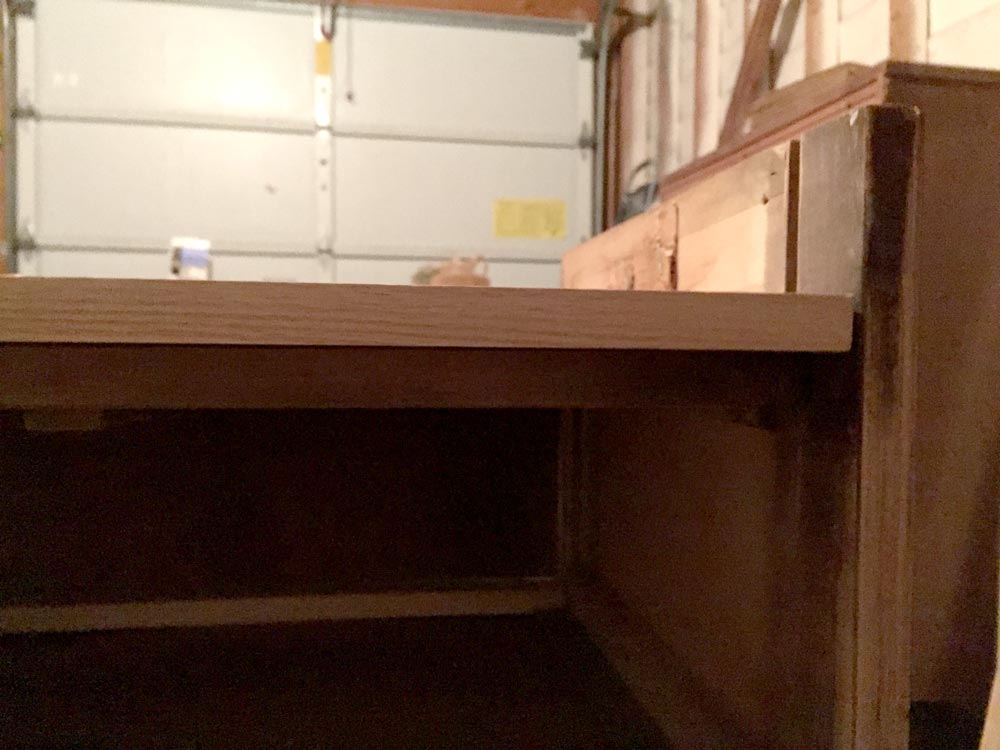
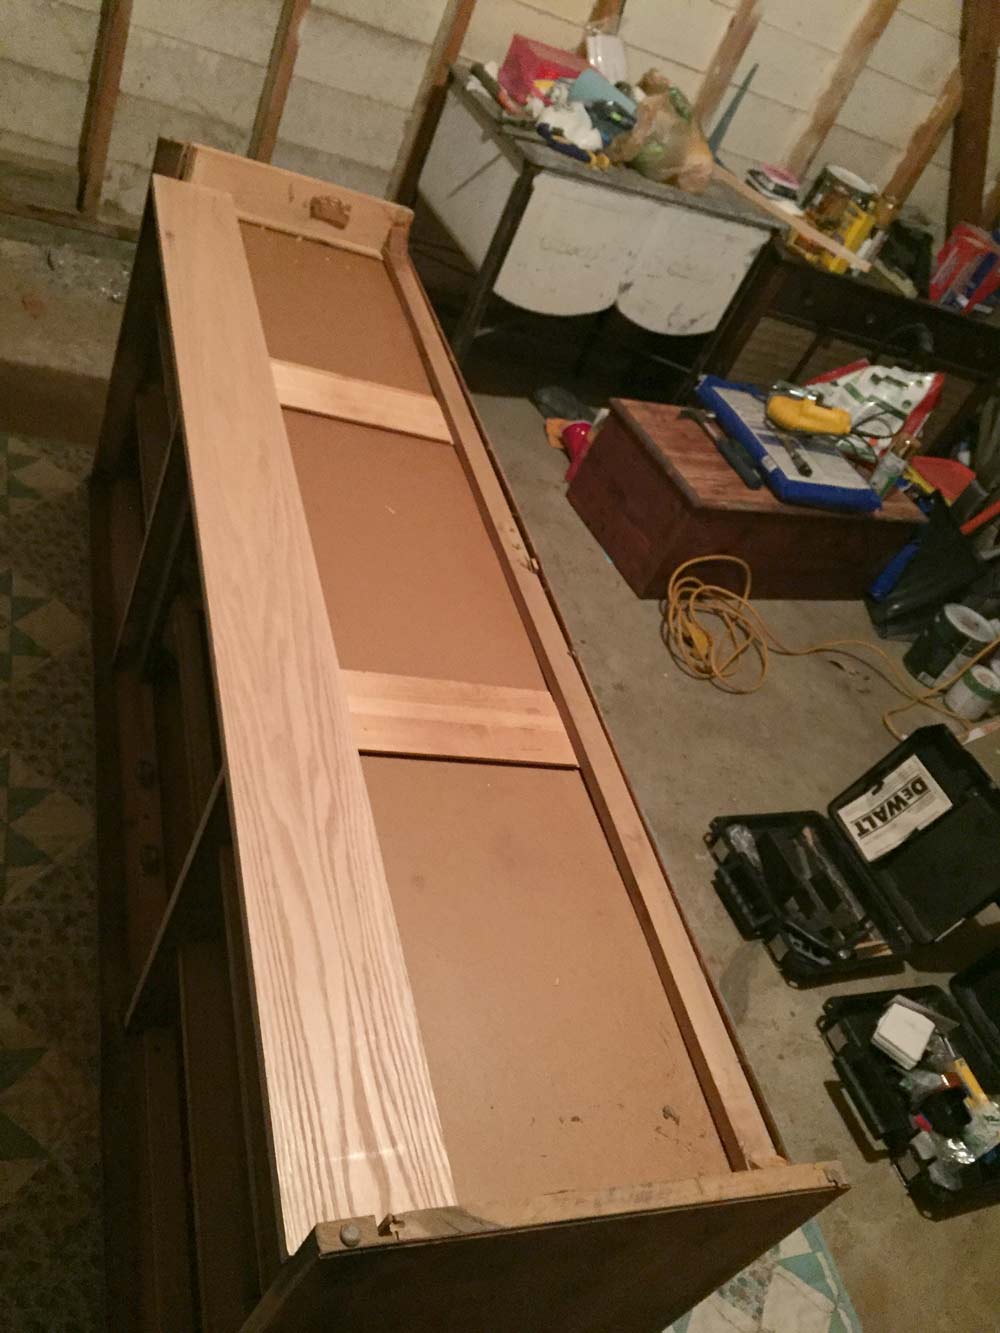
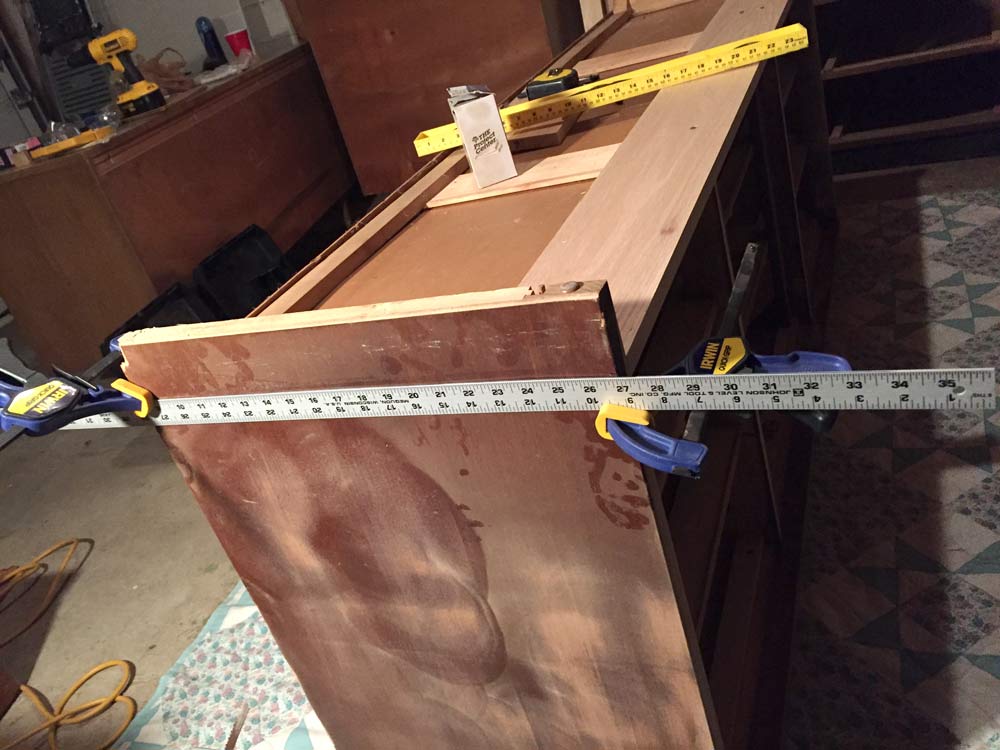
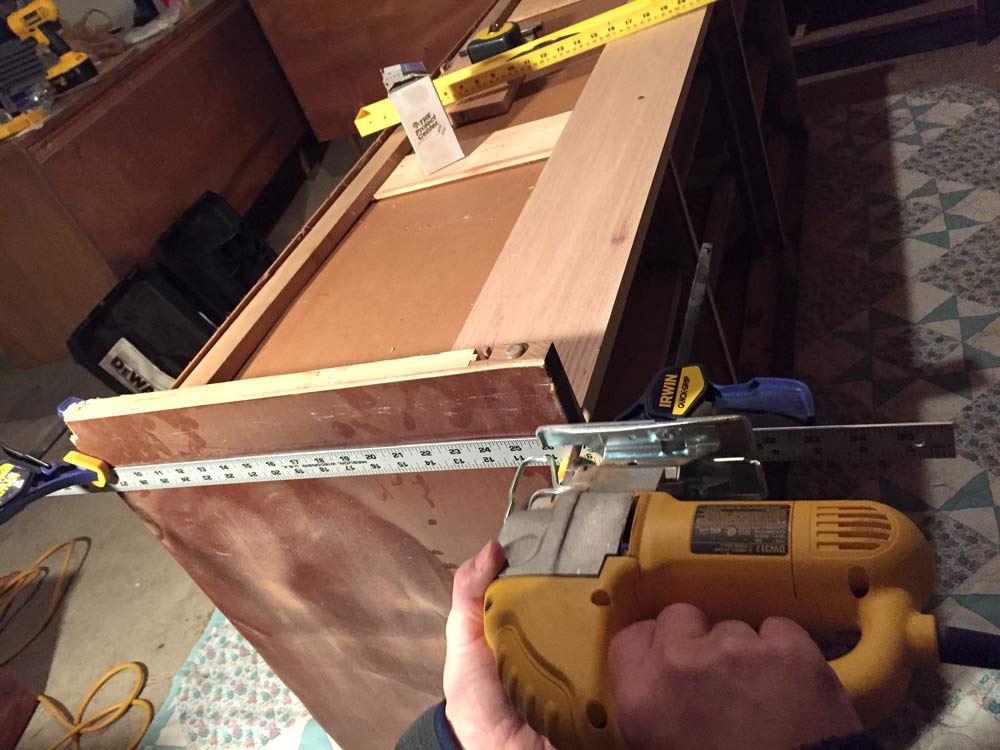
Next, we clamped a metal ruler as a guide along the sides in line with the new oak board base and cut the excess sides off with a jigsaw. I cleaned up the fresh cut with my power sander to make it level and flush with the oak board. The jigsaw wasn’t the best for this job, so we are going to try a circular saw for the tall dresser. Any other suggestions for cutting the bottom off a dresser?
Finally, we had to add a few more support pieces to the corners where I wanted the taper legs and top plates. For the front, we were able to attach the top plates directly to the new oak board, but the back of the dresser was lacking in sturdy supports where I wanted the legs(set in a few inches from the side.) So we stacked up a few pieces of scrap board and screwed those in wherever we found solid wood, then attached the top plates to those. I used the same straight top plates and Waddell taper legs that I used in my DIY Mid-Century Modern Plant Stands.
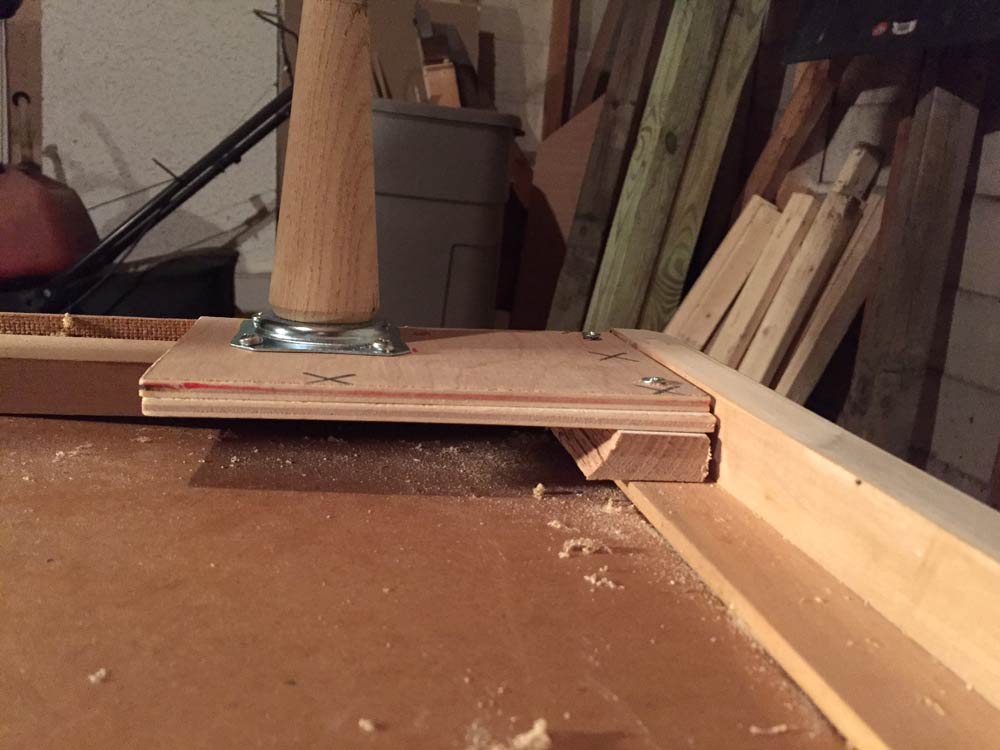
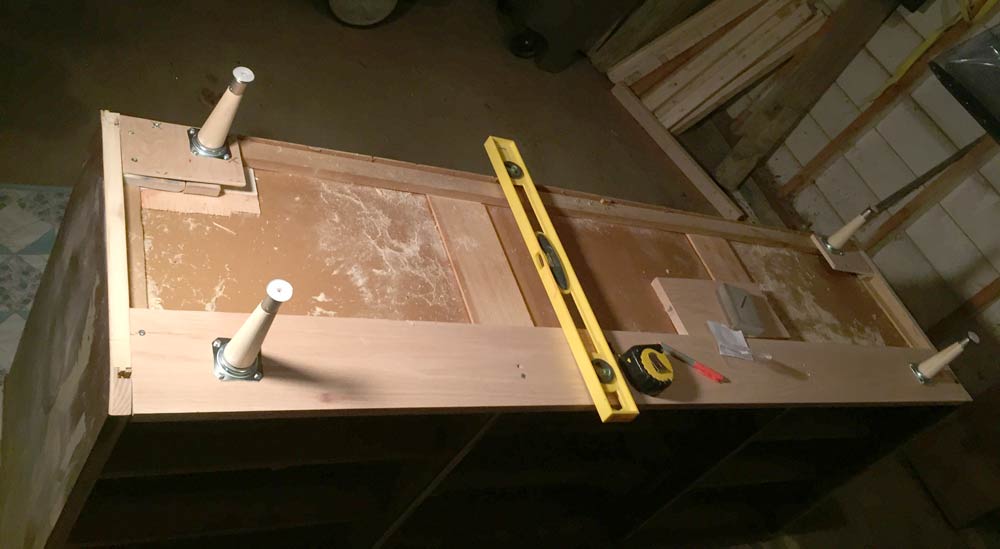
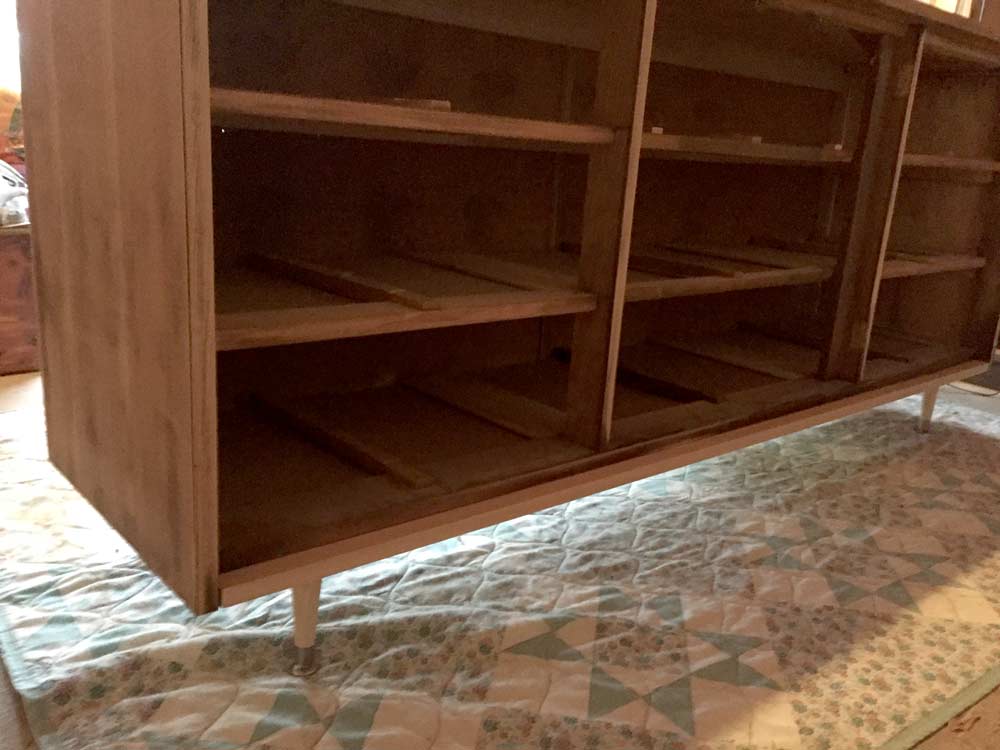
After taking those pictures, I wedged more wood under that piece that looks like it’s floating. So far everything seems very stable, but I’ll let you know if George jumping around on the dresser causes any problems in the future.
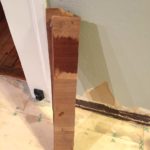 Later in the week, I went back to the garage to finish power sanding the sides now that I had clear access thanks to the taper legs. I hit the sides with 150 grit and then 220 grit sandpaper and went over the top with 220 to really smooth it out. I used the scrap side pieces we cut off to test the Tung Oil and Wipe-On Poly finishes and decided to go with the Wipe-On Poly for no reason other than the fact that I bought a fresh can of it and was tired of smelling Tung Oil fumes from finishing my office desk. I like that both the Tung Oil Finish and Wipe-On Poly can be wiped on vs. brushed, it takes some of the pressure off to create a brush-stroke free finish.
Then I had my parents come over to help me haul the dresser frame up to my room to stain and seal since it was way too cold outside for it to dry. I spread out a tarp, wiped everything down with a Tack Cloth, and got to work staining the new oak piece, legs, and all of the front pieces to match the color of the top and side veneer. I mixed Varathane Cognac and Minwax Provincial together to get the right color by splashing a little of both stains onto a rag and wiping that on the dresser. My can of Varathane Cognac was almost completely dried out and very thick, so the color might be a little different if you buy a new can. While that dried, I put the first coat of Minwax Wipe-On Poly on the top and sides of the dresser.
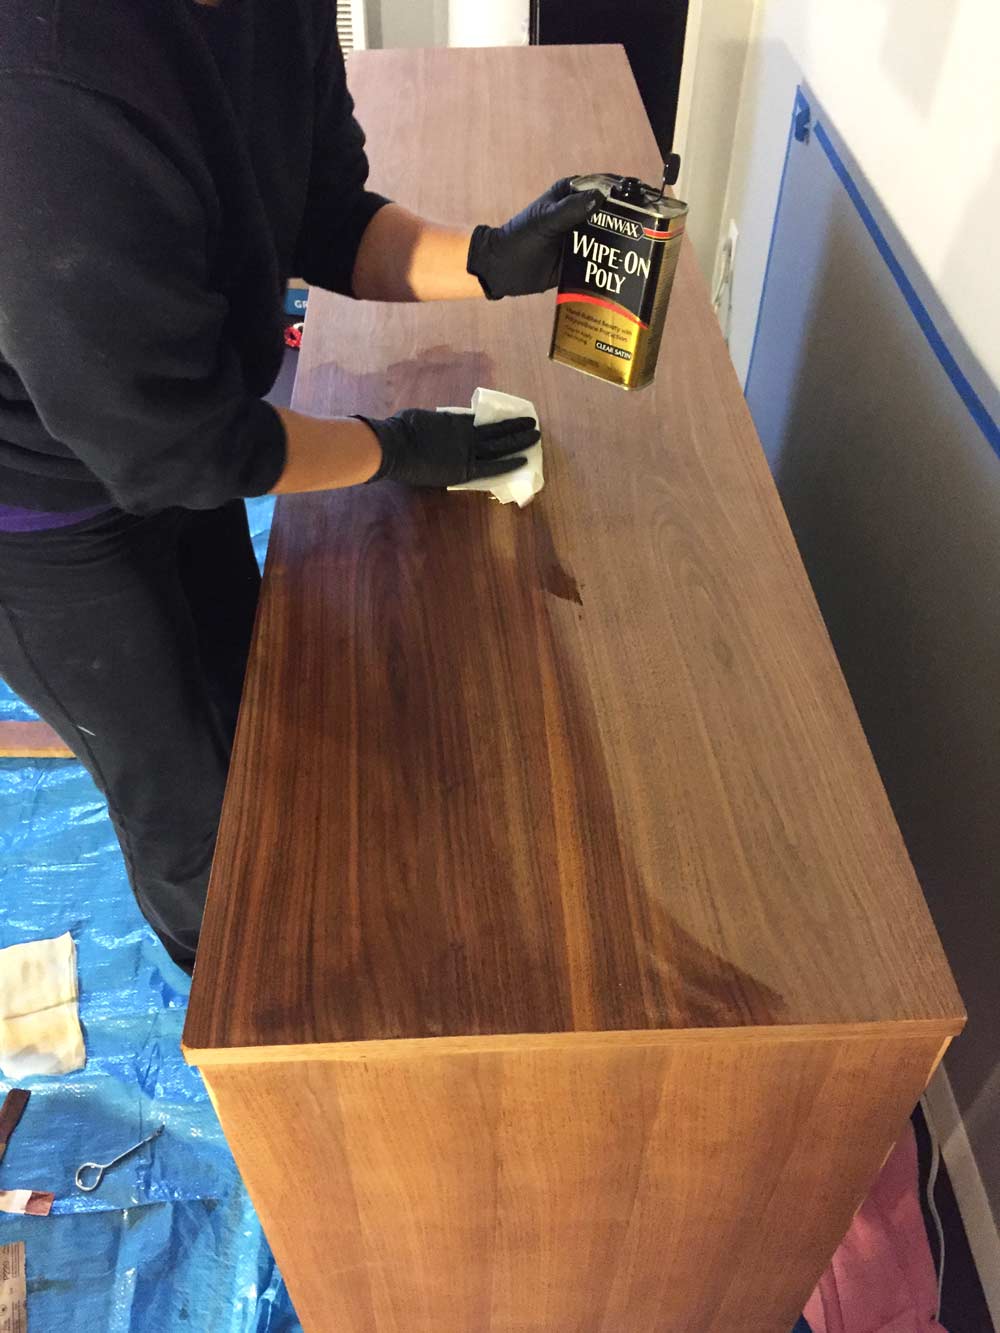
For this whole process, I used rags from this Box of Rags(I think these work better than some fabric rags since they have less lint) and new gloves from Amazon. After letting the polyurethane dry overnight, I sanded it down with 220 grit paper, used a tack cloth, and added another coat. Then I repeated this 3–4 times during the week. The fumes were way too strong up in my room, so I got a chance to sleep in the guest room, which is my favorite room in the house.
Swipe through a few more stain pictures here
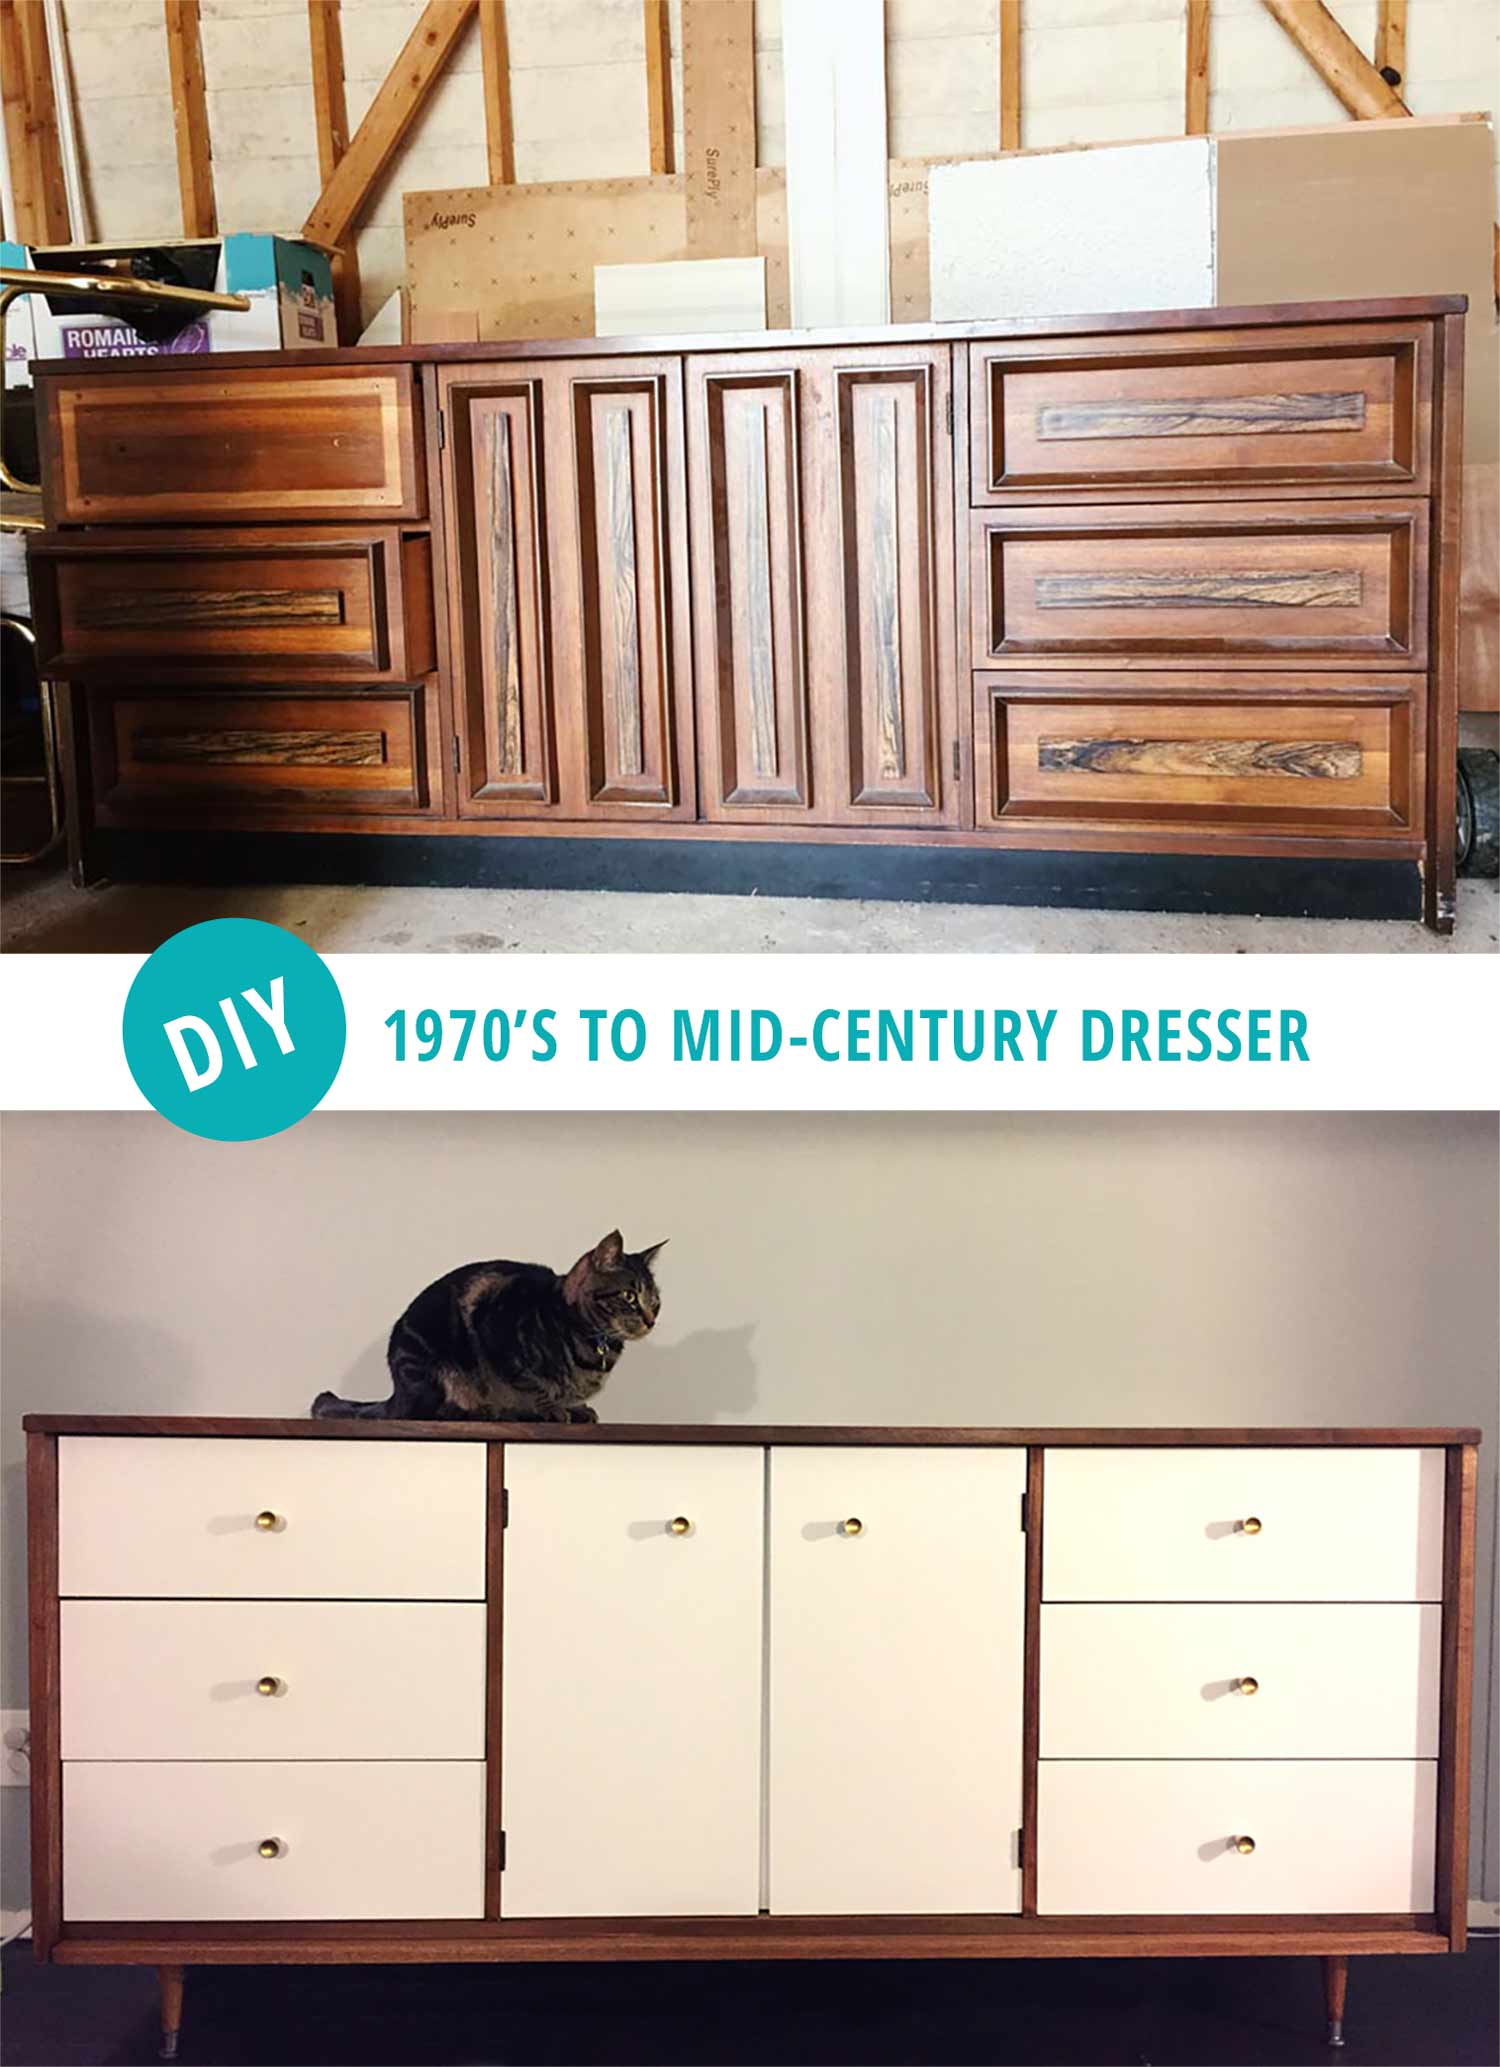
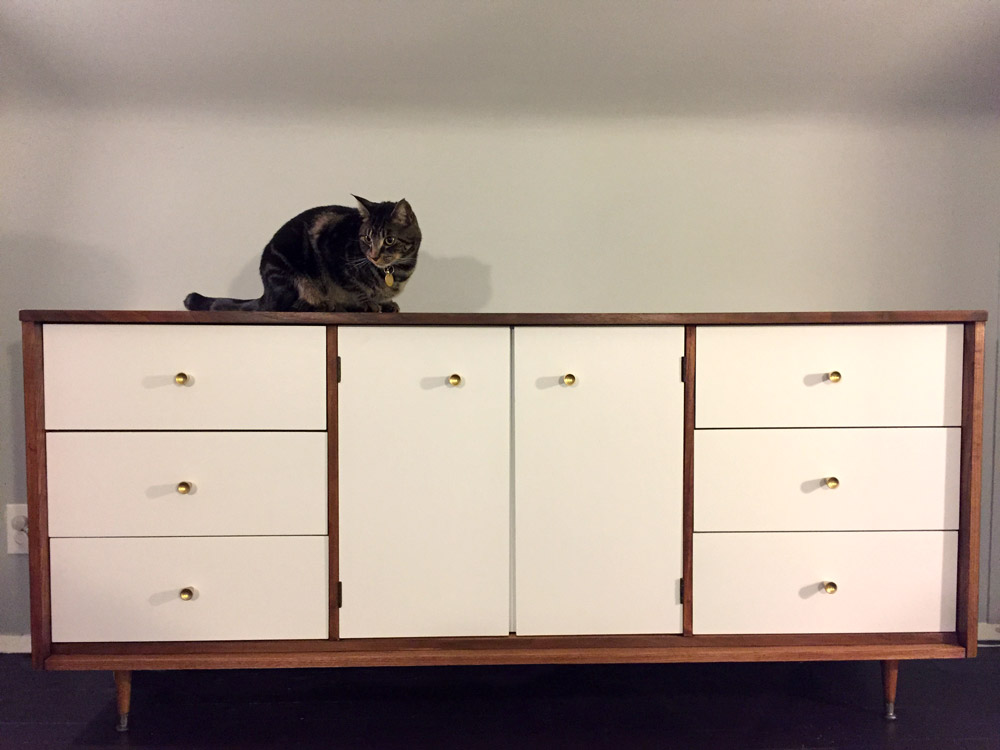
Last but not least, I drilled holes for the door knobs, reattached the hinges, and stuck all the drawers in place. Boom! 1970’s to mid-century all in the span of six months.
Costs(for both DIY mid-century modern dressers):
Two dressers from Craigslist: $40
Eight Taper Legs: $33.44 I paid $4.18/leg, but Lowes has them listed at $2.48 online right now.
Eight Top Plates: $15.84
Two 10-packs of Cone Knobs: $34.20 I paid $17.10/pack, but they have increased to $28.75/pack since July
Rustoleum Pure Gold Metallic Spray Paint: $6.88
Minwax Wipe-On Poly: $11.97
Two 1″x6″x8′ Oak Boards: $46.72
Total for both: $189.05
I had the Minwax and Varathane stains, Kilz primer, Benjamin Moore Satin Impervo white paint, and the sandpaper and tools on hand. Impervo is about $80, but my latest gallon has lasted me a while.
My room is still very unfinished, but I’m hoping this inspires me to put a little more effort in. Every time I come up the stairs to my room, I’m thrilled with the DIY mid-century modern dresser. I don’t think I could have done this cheaper with an IKEA hack, and it feels way more substantial than that. Another Craigslist victory! The tall dresser is in the basement waiting to have the sides cut off, and should be finished in January, so stay tuned for more attic bedroom pictures in the new year.
A final before and after for you:

Currently Trying:
To finish the tall dresser and not let it sit in the basement for another six months!
Thoughts? Let me know in the comments
- Do you have any better ways to cut the sides off of the dresser base?
- Is everyone else as obsessed with West Elm as me?

