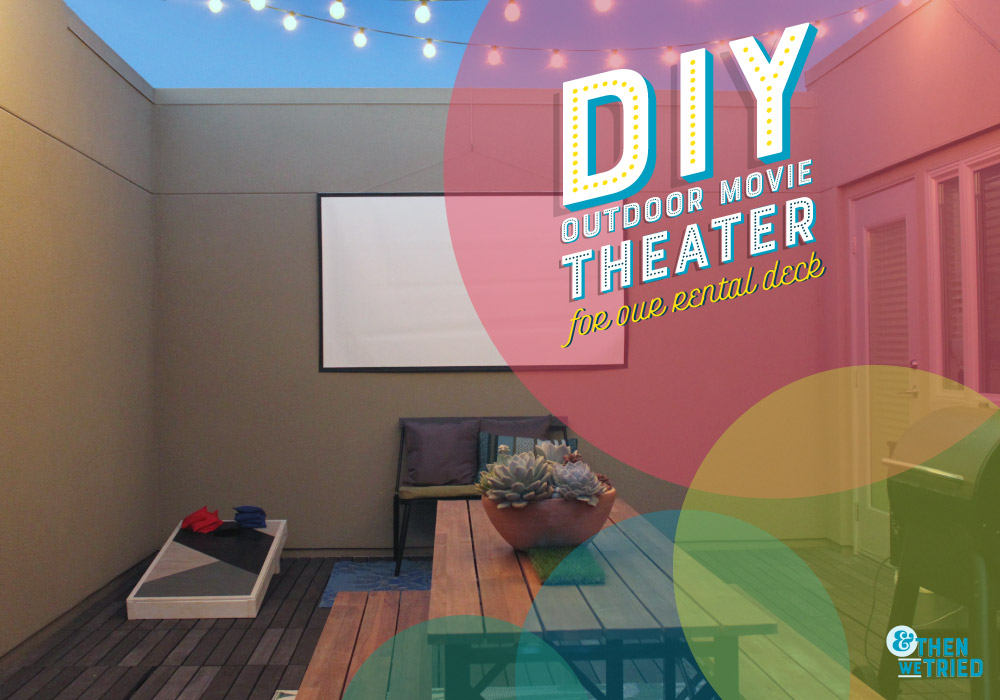
It’s week 5 of the One Room Challenge and I can see the finish line from here! This week was all about setting up the projector and home theater. A friend of mine kindly gave me his projector about a year ago and it has sat untouched for 12 months—that makes a whole year sound better, right? But now we can use the long-awaited DIY outdoor movie theater! If you’re just joining us, get caught up on all of the previous weeks as we built a cornhole set, an outdoor chalkboard, and restyled the entire deck.
For the screen, I ordered this outdoor projection screen from Amazon. Only $25 for the 84″ screen but also comes in 100″ and 120″. To hang it, I took inspiration from the wooden poster rails I’ve been seeing everywhere. I did a similar solution for a large map in my bedroom—which you can peek at on Instagram here—and learned a few lessons on how heavy and thick the wood should be. As in it shouldn’t be heavy OR thick. So this time I went with pre-primed MDF moulding which is really light weight and fairly thin.
Now a quick side note on lumber yards. I usually go to this lumber yard in Pasadena that has a much better selection than a lot of the big home improvement stores. I love it there. You can always find someone to help you and they are willing to do cuts for you—great for those of us with no garages and no big tools.
However, on this trip to pick up supplies, I was met with a cashier that was frankly rude and talked down to me when telling him what cuts I needed. And in not my finest moment, I walked away mid-checking out and let Tai finish up. I was deeply offended. Much more than the average rude person deserves. It struck me that even at this lumber yard where I go all the time and I know exactly what I need, I have a preconceived feeling of insecurity. I already had my guard up. I hear it every time they call me sweetie—bleh. How do you guys deal with things like this? Because it’s not just the lumber yard, it’s when I get my oil changed or go test drive cars. The fact is, people are going to be rude and may talk down to me. Who knows what kind of terrible day that cashier may have already been having? But how to not take it as a personal affront when in these situations is something I’m trying to learn. Is this just me?
Sorry for the bummer of an interruption guys, back to the DIY outdoor movie theater:
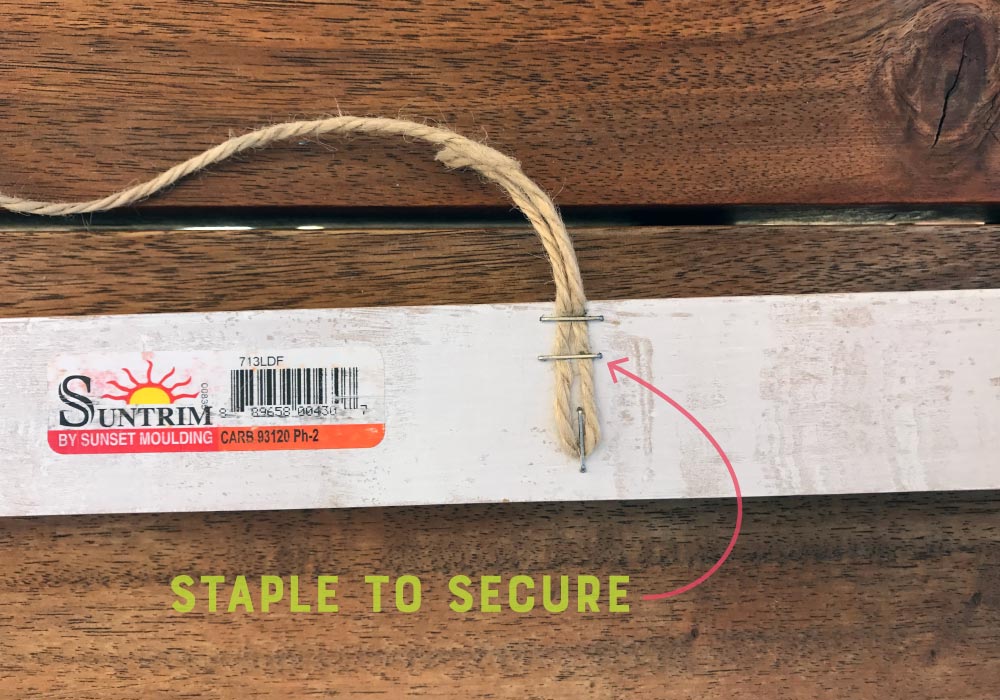
I wanted it to be incredibly easy to hang when needed as well as easily disassembled for storage. I started by stapling simple twine—10″ from each end—to create the hanger.
Using the velcro included, attach the screen to the pieces of moulding. I aligned the top of the screen with the top edge of the board so that it would look clean and you wouldn’t see it from the front.
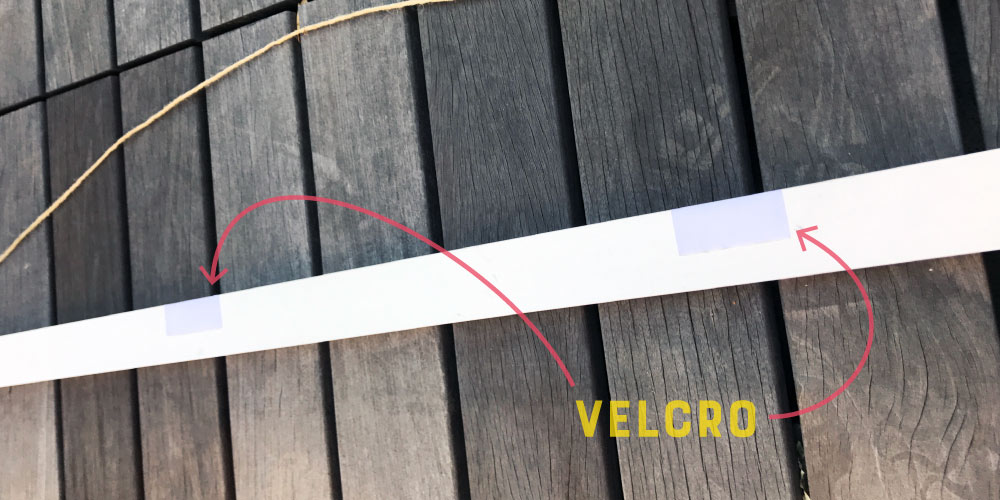
*I initially tried one board for both the top and bottom however it hung awkwardly on the wall. I ultimately decided to ditch the bottom board.
After that, it was easy to hang on the wall just like a picture. So simple!
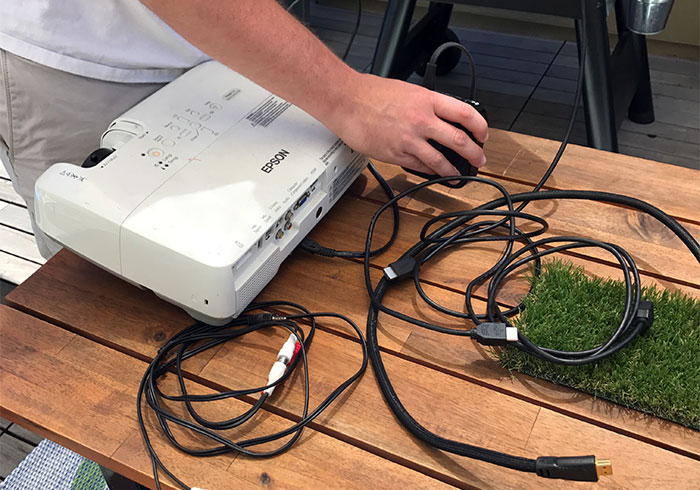
Called in some help with all the projector cords. Anyone know a good portable solution to hide all this mess? Definitely still working on that one. Luckily we can set the projector on the edge of the picnic table and it works perfectly!
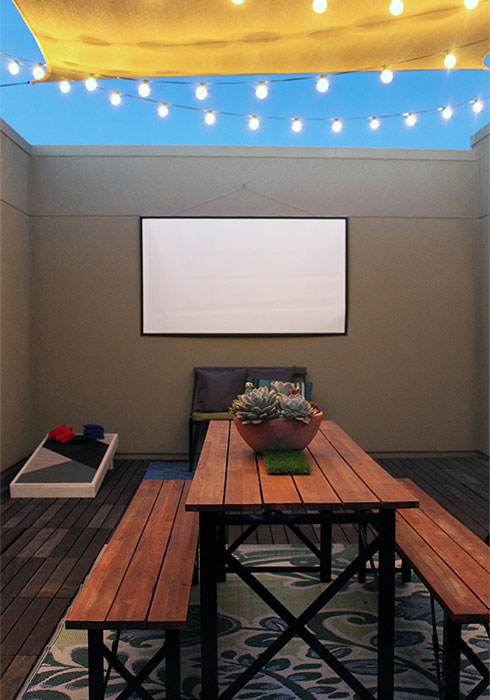
You can see the bench is trying a new location this week. What do you guys think? It’s a great spot for daytime deck activities—since this the shadiest side—however, it’s weird to be under the screen. We may just have to flip it around when showing a movie. Constantly moving things around is all in my process!
 You can follow along with all the participants with @OneRoomChallenge and #OneRoomChallenge and read all about it at Calling It Home.
See what our fellow guest participants are up to at the link up.

