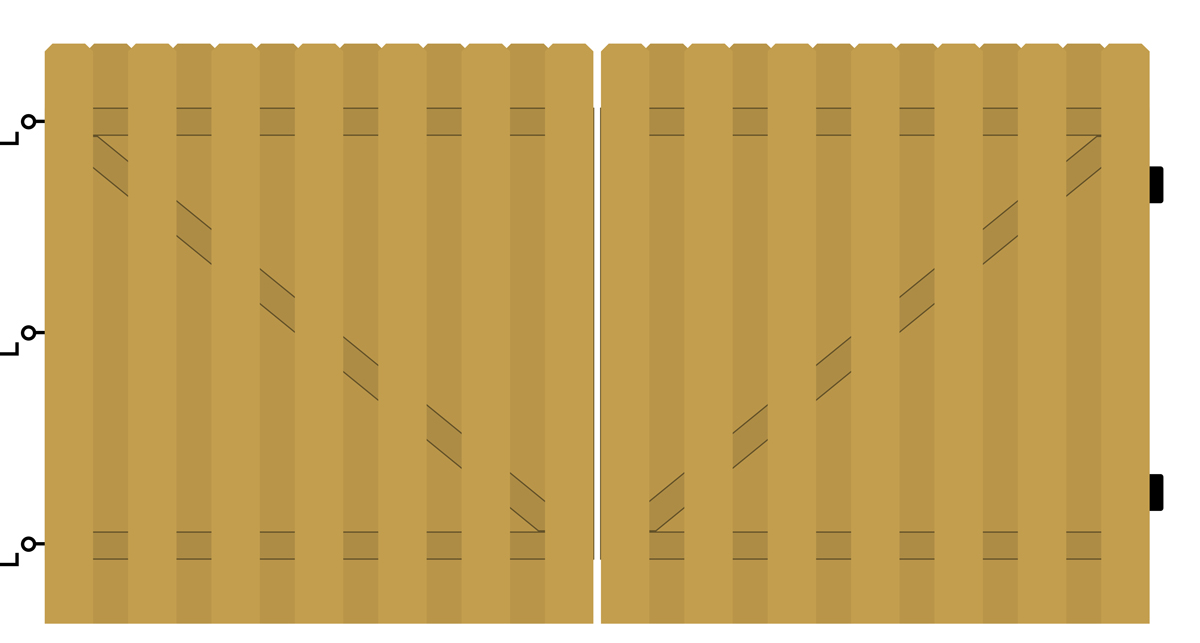
As I mentioned in my last fence/gate update post, I helped Erika attach a wood fence to the chainlink fence in her backyard. The process was similar to when I converted a chainlink fence to a wood fence, except in this case, we left the chainlink fence intact. This method is a good option if you want to add a little more privacy to your yard or camouflage a chainlink fence while you wait to save up for a completely new fence.
She has a 3-4′ chainlink fence that her neighbor’s dogs are able to hop over, which means her pup, Willy, isn’t suuuper safe in the backyard. The chainlink fence was built close to a tree and the roots have grown in a lot, which would make it difficult to dig new holes to set posts for a brand new fence. We also weren’t sure who actually owned the chainlink fence, so by building the wood fence ON TOP of the chainlink fence, Erika can take the wood fence down if there is ever a problem in the future. Also, she eventually wants to replace the fence around her backyard since it is made up of several fence styles, so attaching a wood fence to the chainlink fence was a good temporary-ish solution.
Supplies
Oz-Post Steel 2 Wood Fence Bracket WAP-OZ
Pickets
2x4s
Screws
Nail Gun + Nails
How to
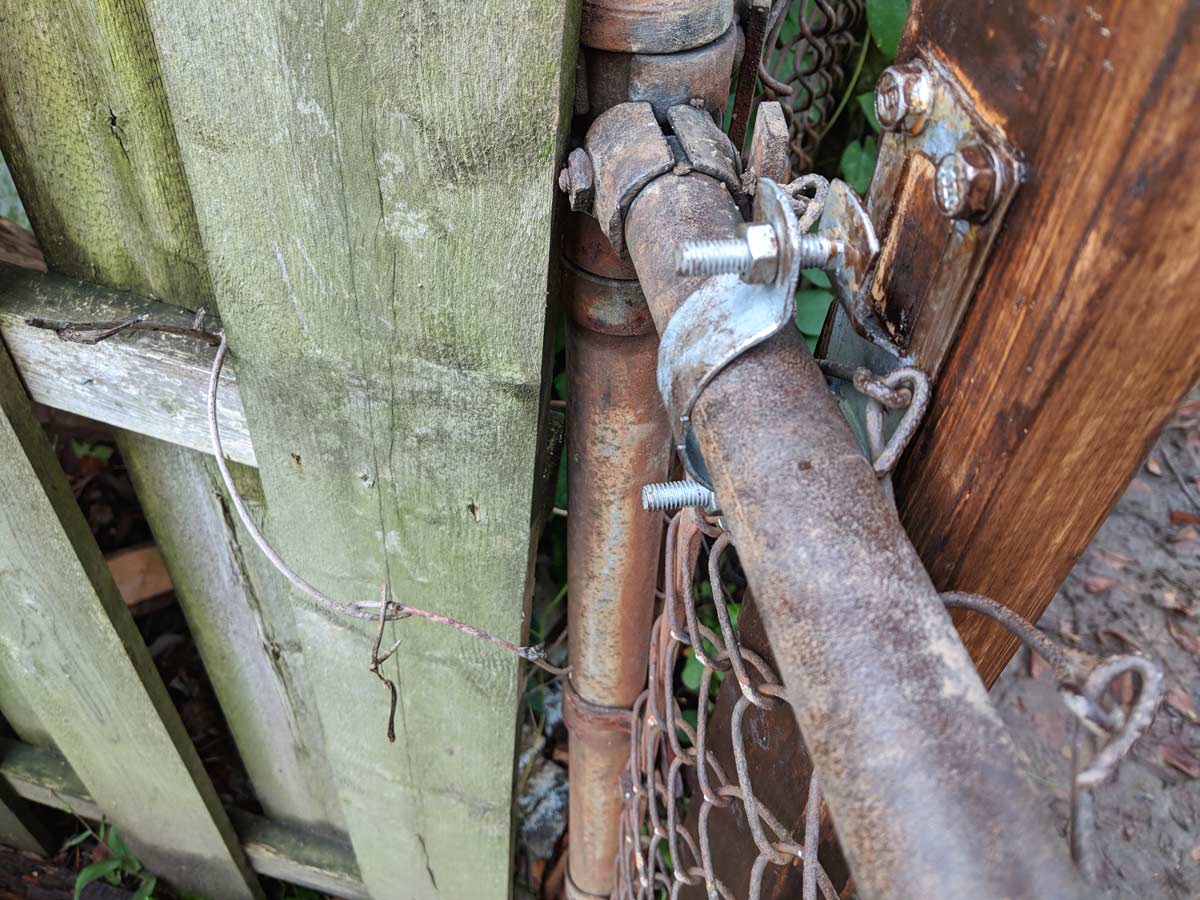
Using these Wap-Oz brackets and tension bands that were great for my own chainlink to wood fence project, we connected 2x4s vertically to the existing chainlink fence top rail at both ends. We also secured the bottom of the 2x4s to the chainlink by wedging them into some spare chainlink tension bands I had laying around.
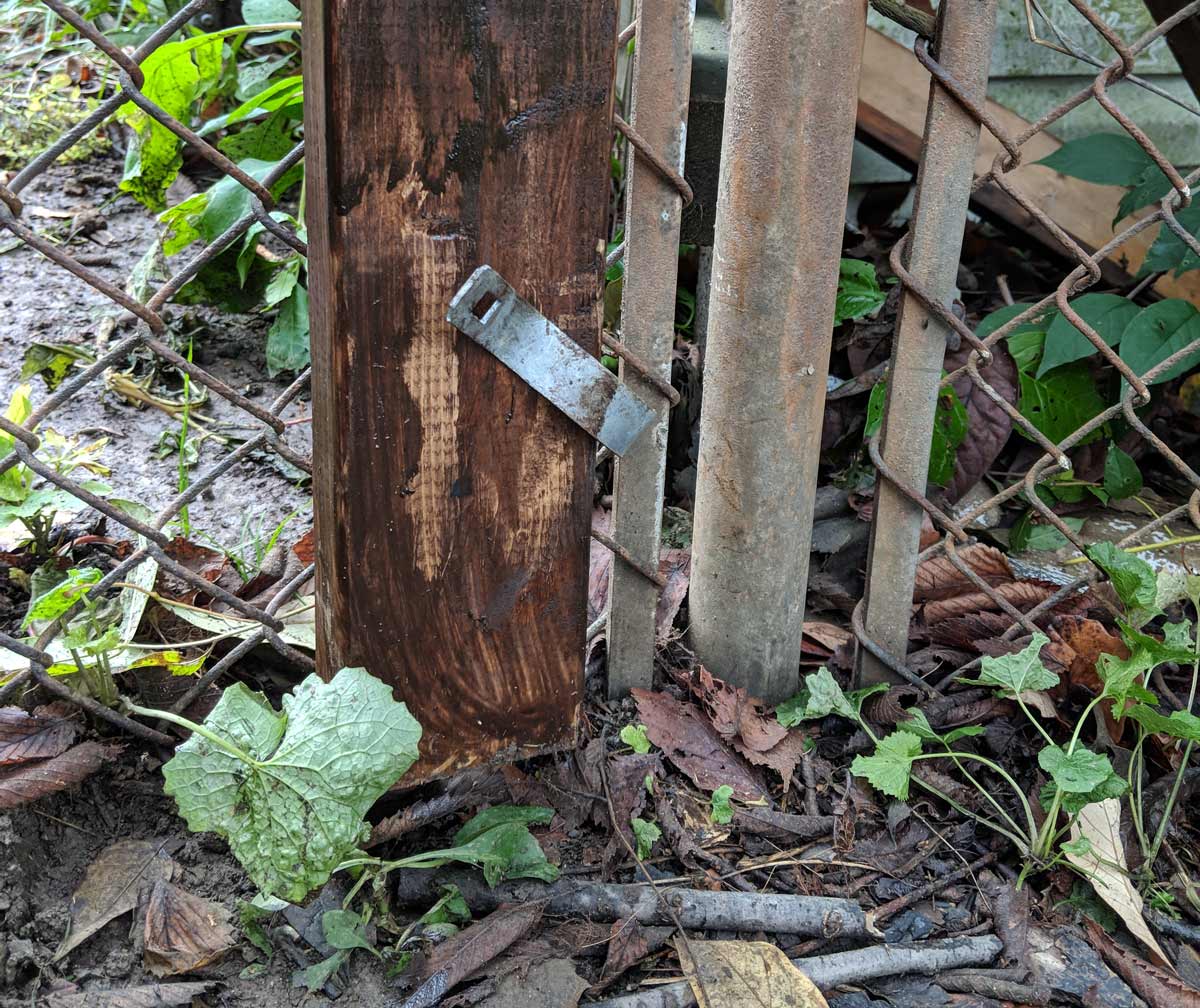
Instead of using an additional vertical 2×4 in the middle, we used the Wap-Oz brackets to attach a horizontal 2×4 along the top rail. Since there wasn’t anything solid to attach/wedge the bottom to the vertical 2×4 would have been pretty floppy.
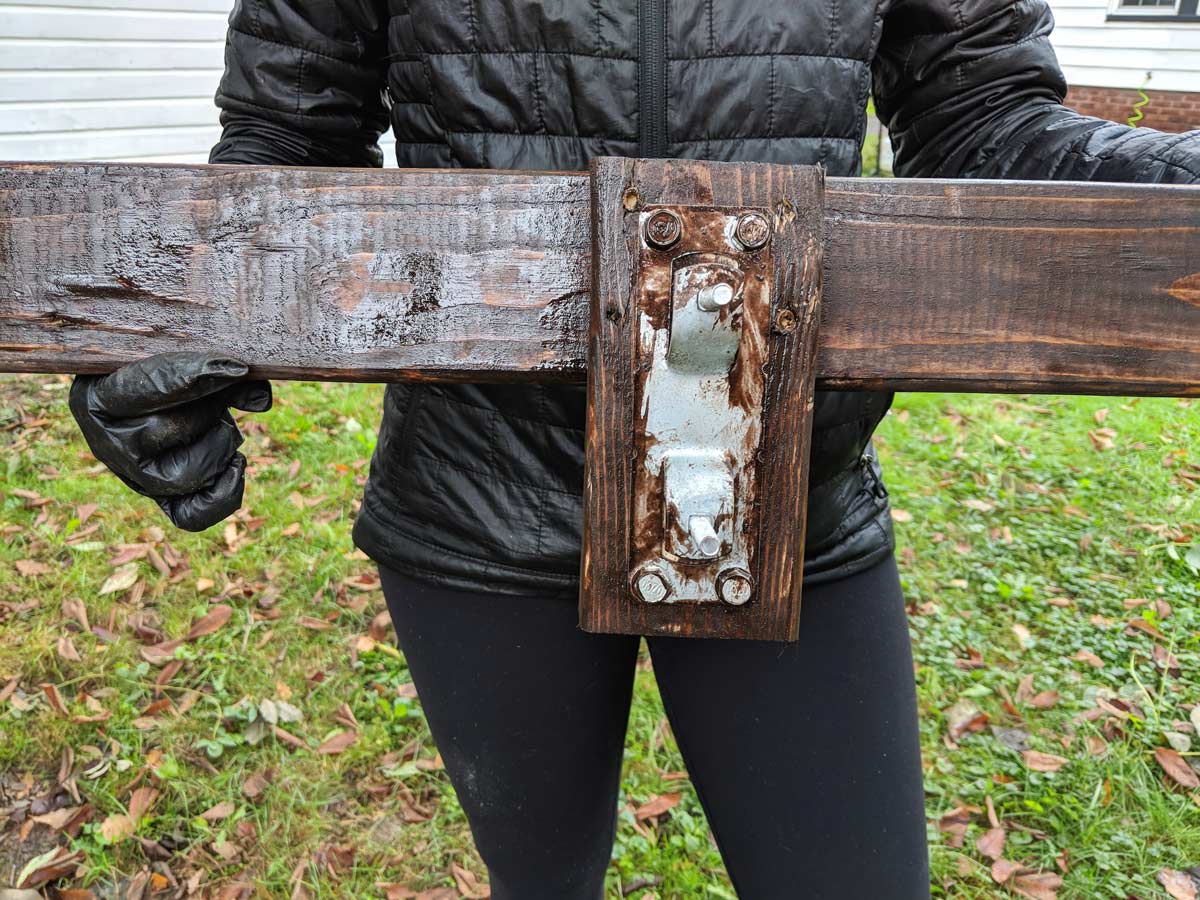

Then we screwed 2x4s across horizontally at the top and bottom to give us a place to nail in the pickets.
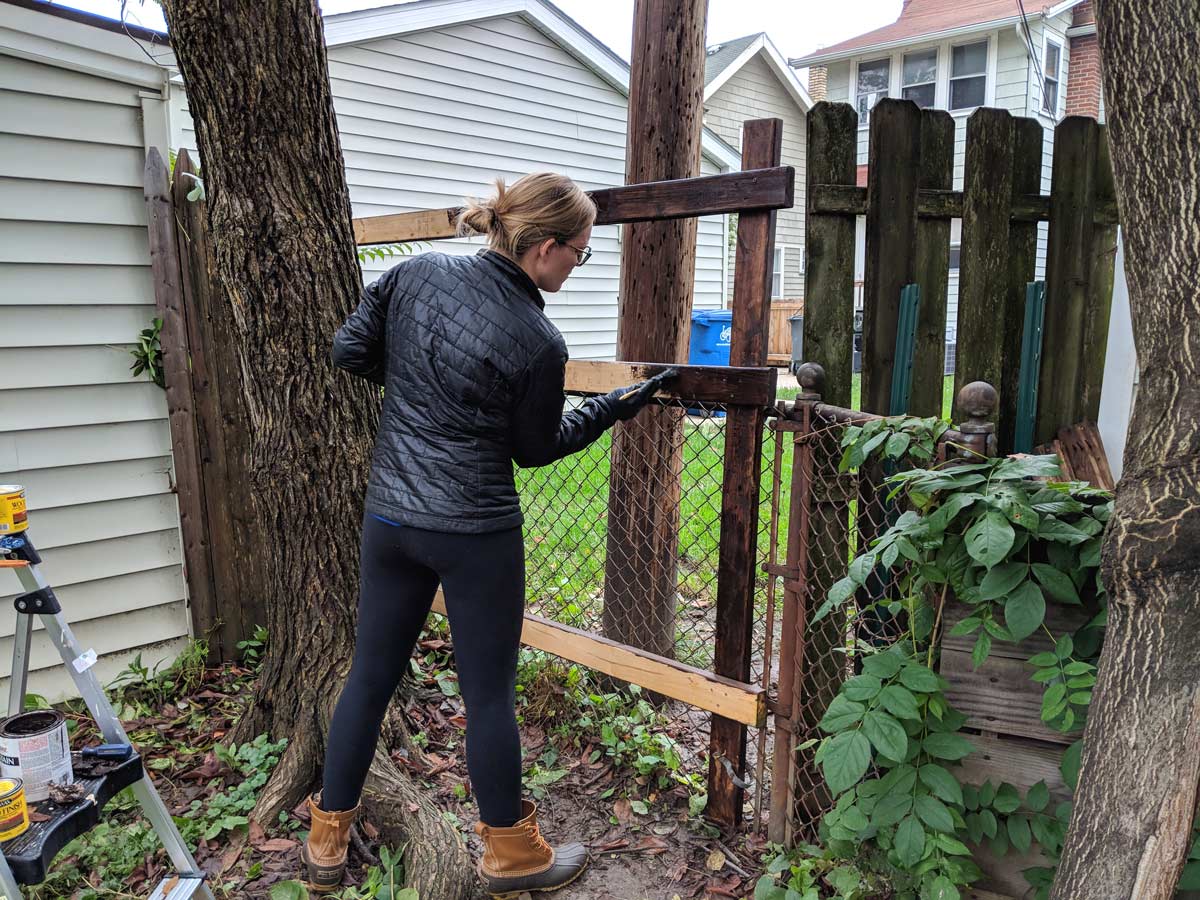
We stained all of the cross pieces, and slapped some stain on the brackets to help camouflage those a little bit for the neighbors, and stain the back of the pickets a solid dark brown. Normally with fence projects, the “good” side faces the neighbor and any brackets/posts would face your yard. This wasn’t possible with the way the chainlink was set up on the property line, so we tried to make the side facing the neighbors look as unobtrusive as possible.
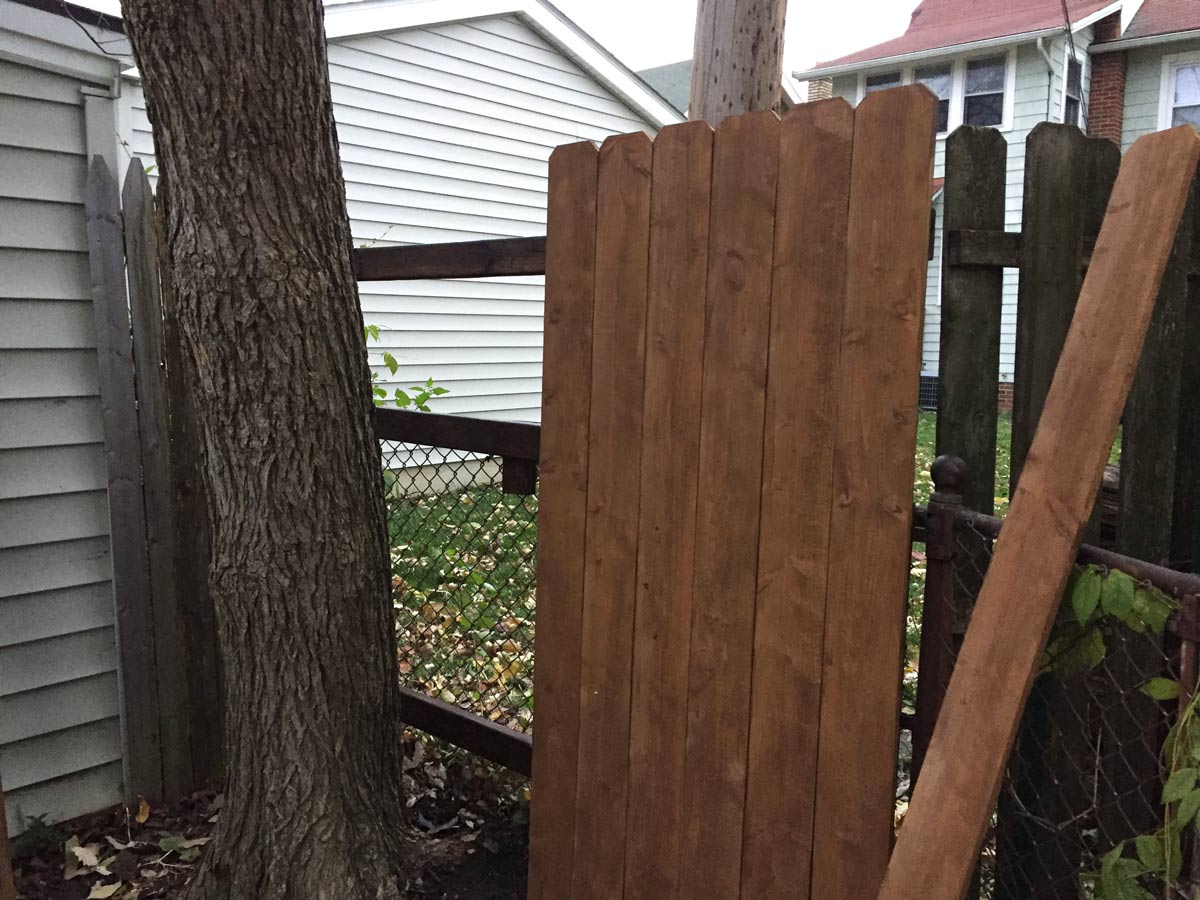
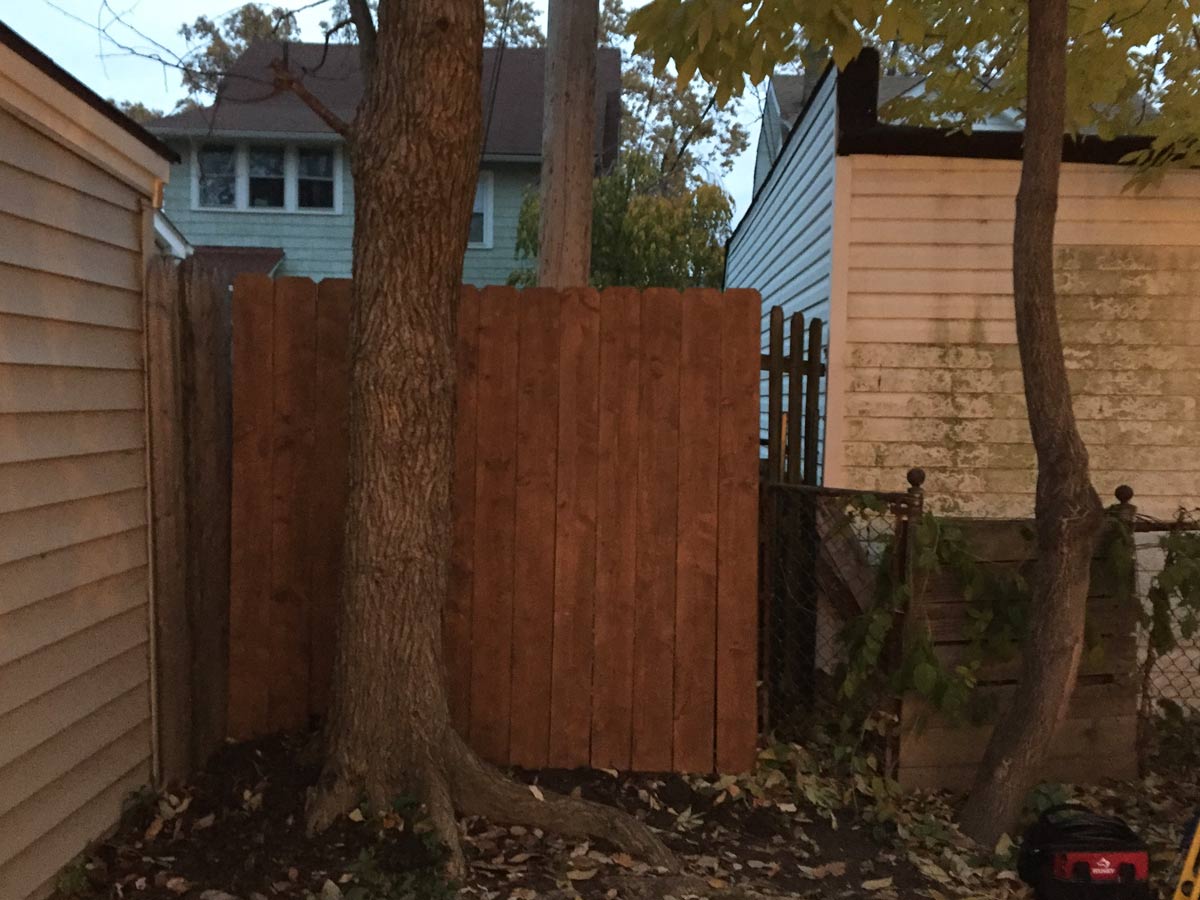
After staining the fronts of the pickets (slightly lighter since we ran out of the stain we used on the back), we attached them to the horizontal cross pieces using a nail gun. We used a jigsaw to trim the bottom of a couple of pickets to float over some tree roots, and that was it.
In Conclusion
So there you have it, an easy way to attach a wood fence to a chainlink fence without removing any of the existing chainlink. Sometimes the best solution to a problem is the one you can get done. Have you rigged up a solution to a problem recently? I’ve been on a roll lately. You should see the things I’ve done with extension cords in the last couple weeks…


