When I used to live in Germany, my German roommates were obsessed with how much whiter my teeth were than theirs. And I’ll admit, it was noticeable. I left my collection of white strips with them when I moved home and I’m sure that was their only positive memory of me. I have been whitening my teeth sporadically (just doing a few days of white strips whenever I thought my teeth were starting to look yellow) for the past decade using Crest Whitestrips but have never been blown away by their effectiveness or ease of use. Unless you level up to the most expensive version, the strips slip around on your teeth and somehow my fingers always ended up bleached white from trying to align the strips to my teeth. So when I heard about Smile Brilliant and their custom whitening trays, my inner teeth whitening addict was intrigued. Read on to see me drool all over my kitchen and get my full Smile Brilliant review.
Just want to enter the giveaway and don’t care to see me drool everywhere? Enter here.
Making your custom Smile Brilliant Trays
Smile Brilliant sends you all the supplies you need to get a solid impression of your teeth for the custom trays. I shared this whole process on Instagram stories, so you can watch that video above. I am REALLY missing those lashes right now.
Notes: You mix up the Base Paste with the Catalyst Paste until the colors are fully blended and then you evenly press the tray onto your teeth. Now, wait a couple minutes. This is the hard part because if your mouth is anything like mine, you’ll be drooling all over the place so keep some paper towels handy. Remove the mold from your mouth carefully so you don’t scrape away any of the blue stuff. Once both molds set up, you pop them in the bubble mailer and send them off to their lab. After a week or so you’ll get your custom whitening trays in the mail.
Using your custom Smile Brilliant Whitening Trays
Alright, on to the whitening portion of this Smile Brilliant review. These trays are AWESOME! All that drooling was totally worth it because the trays are a perfect fit. The nice thing about custom Smile Brilliant trays is that they go a little further back in your mouth than standard white strips do, so more teeth will be covered with the whitening gel. I want the food I’m chewing to be dazzled by my white teeth, so full coverage is appreciated.
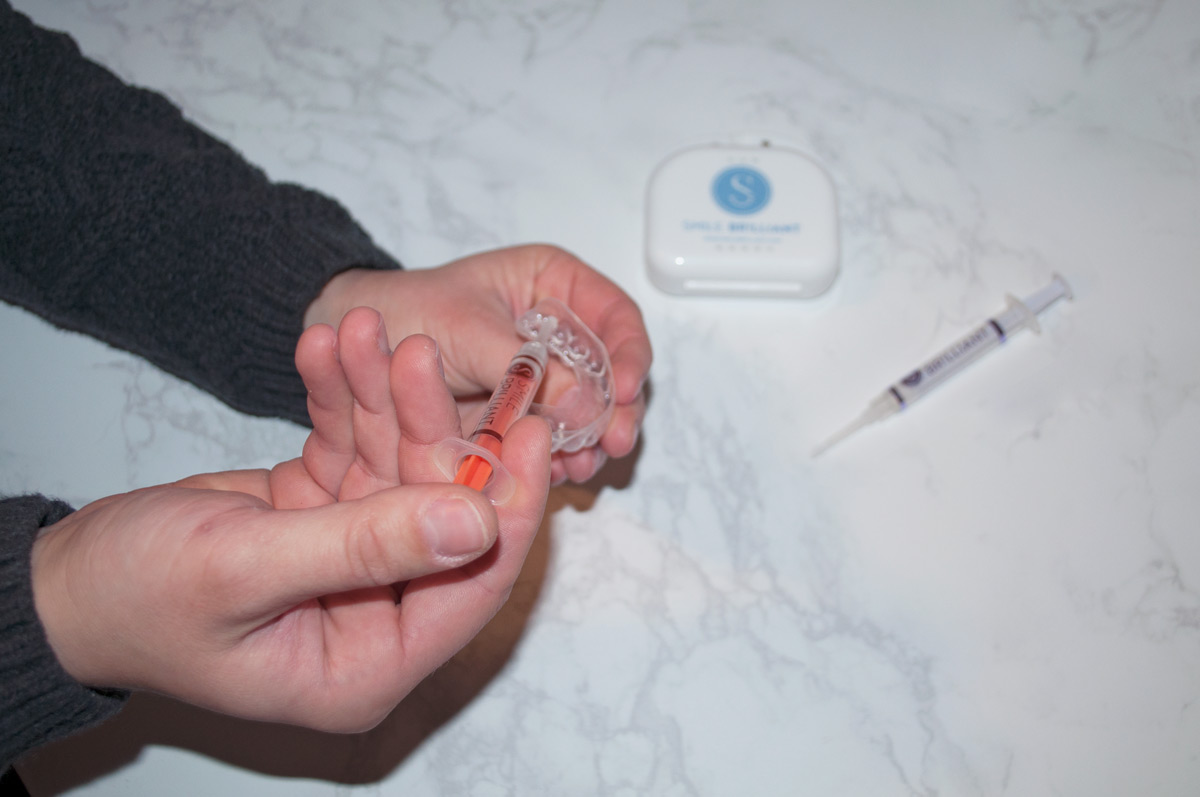
My system came with both the whitening gel and a desensitizing treatment that you use after whitening. They both come in syringes(about 3–4 full applications per syringe) so you can control exactly how much you are using each time. You apply a thin line of the gel across the front of the trays and then carefully push them against your teeth. Here’s where I messed up: you’ll want to use a q-tip to go around the top of the trays on your gums to wipe away any gel that has smushed out over top.
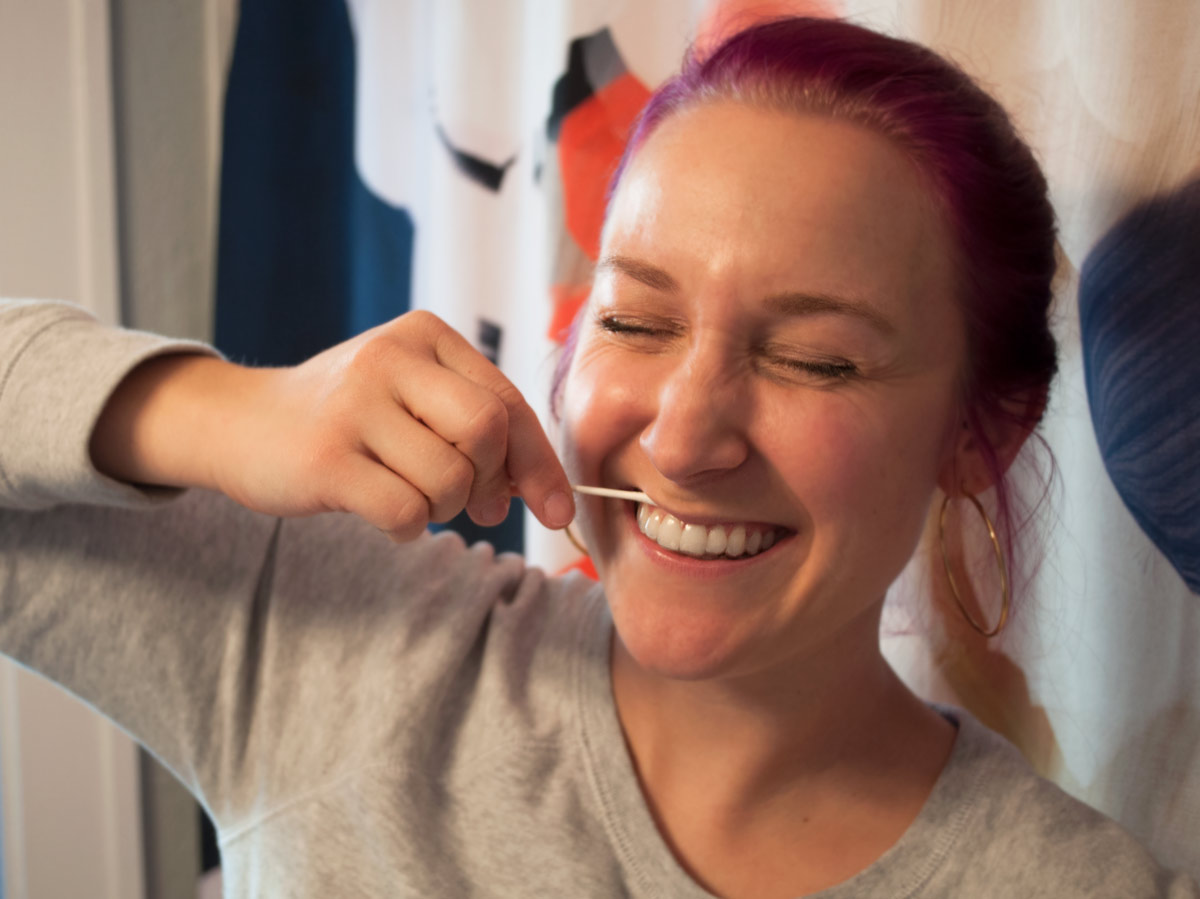
This extra gel can sit on your gums and cause chemical burns or irritation. A few spots on my gums were a little swollen and tender after my second round of whitening, so I took a few days off and then made sure to wipe away all the excess gel after that.
My only issue with this whitening system and the only real negative in my Smile Brilliant review is the amount of time it takes. You have to leave the tray in for 45 minutes to 3 hours and you really want to keep them on for as long as possible. After up to 3 hours with the whitening trays, you do another 10-15 minutes with the desensitizing gel, and then avoid eating or drinking anything for at least 30 minutes, ideally overnight. That is a LONG time to not eat or drink anything, and this water-loving lady was struggling. I did end up taking a few sips of water while whitening and just tried to swallow super fast. Then I chugged a full bottle of water before starting the desensitizing step before bed.
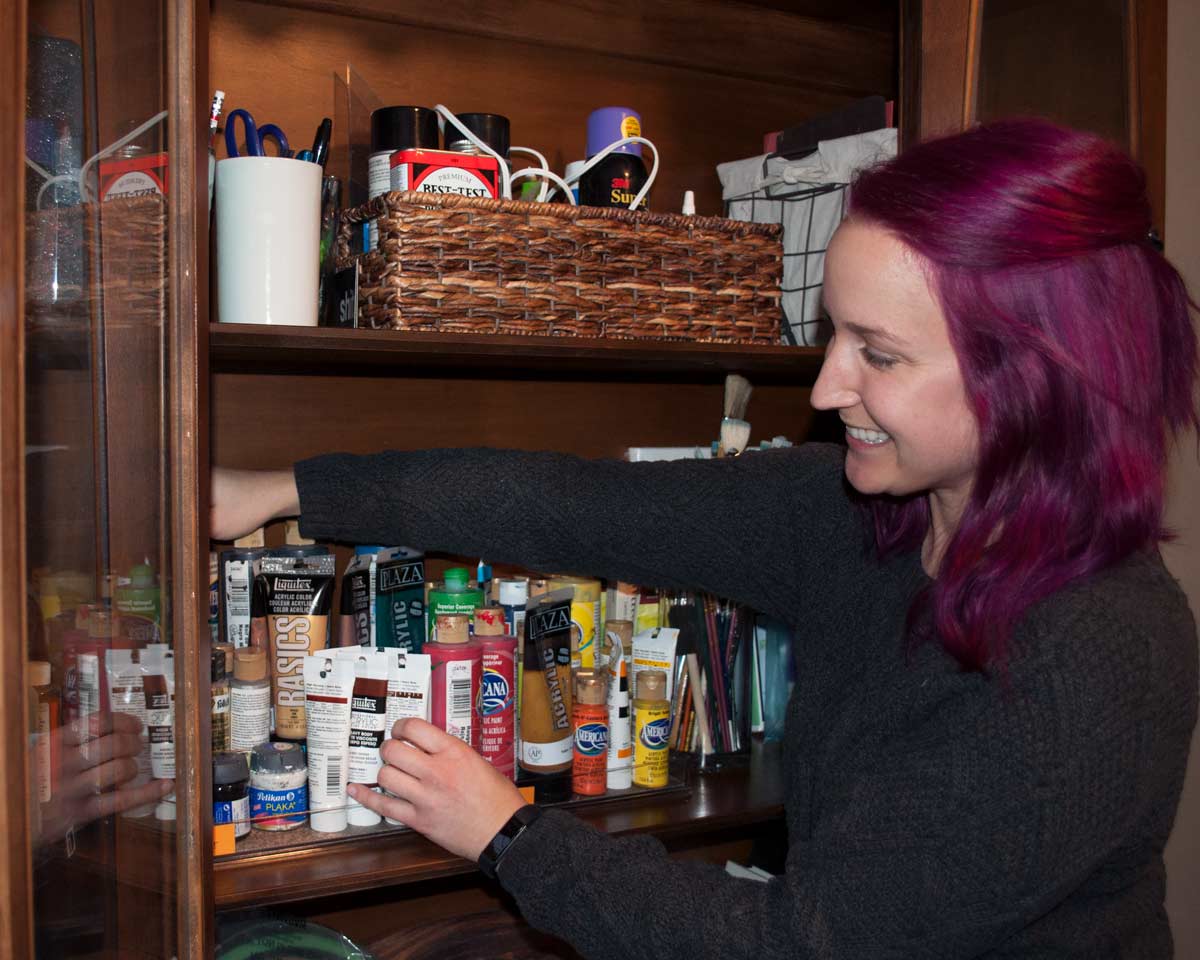
The good news is, with the custom whitening trays, you can pretty much do anything you want during your four hours (except eat or drink.) I had no problem talking with these in, a common problem I had with Crest Whitestrips since every word seemed to move the strips around and cause them to fall off. I typically spent my whitening sessions chasing Freddie and George (????+????) around the house, laying on the couch binge watching SVU, or trying to organize all of my art supplies in my new hutch. Bonus, you can barely see these while you are wearing them, so I think I’ll try wearing them to the gym to see how that works out!
See, you can barely see them in this incredibly natural, very flattering photo of me:
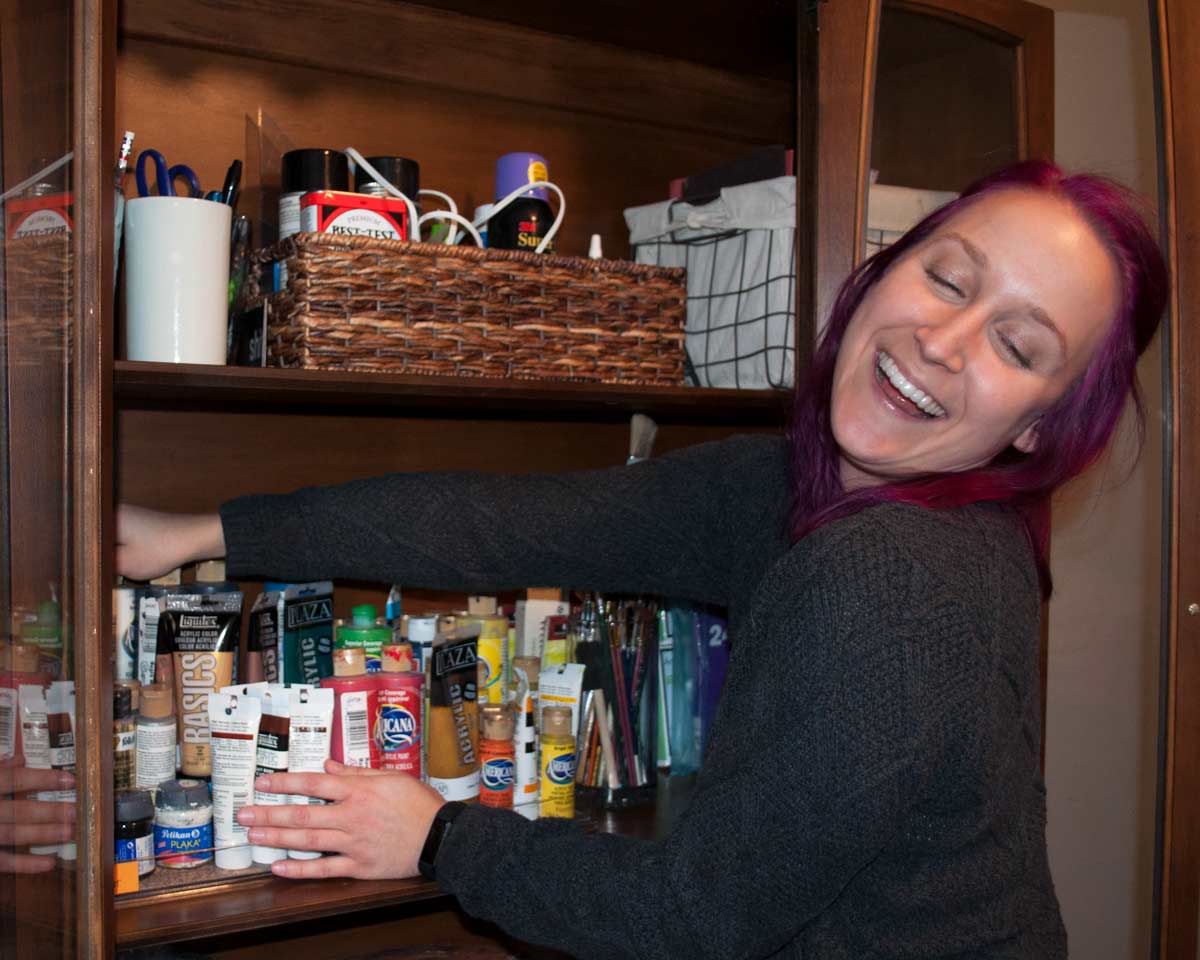
I am very good at being in photos. But, back to the Smile Brilliant review, immediately after I finished the desensitizing step, my teeth tended to look a little patchy and slightly translucent.
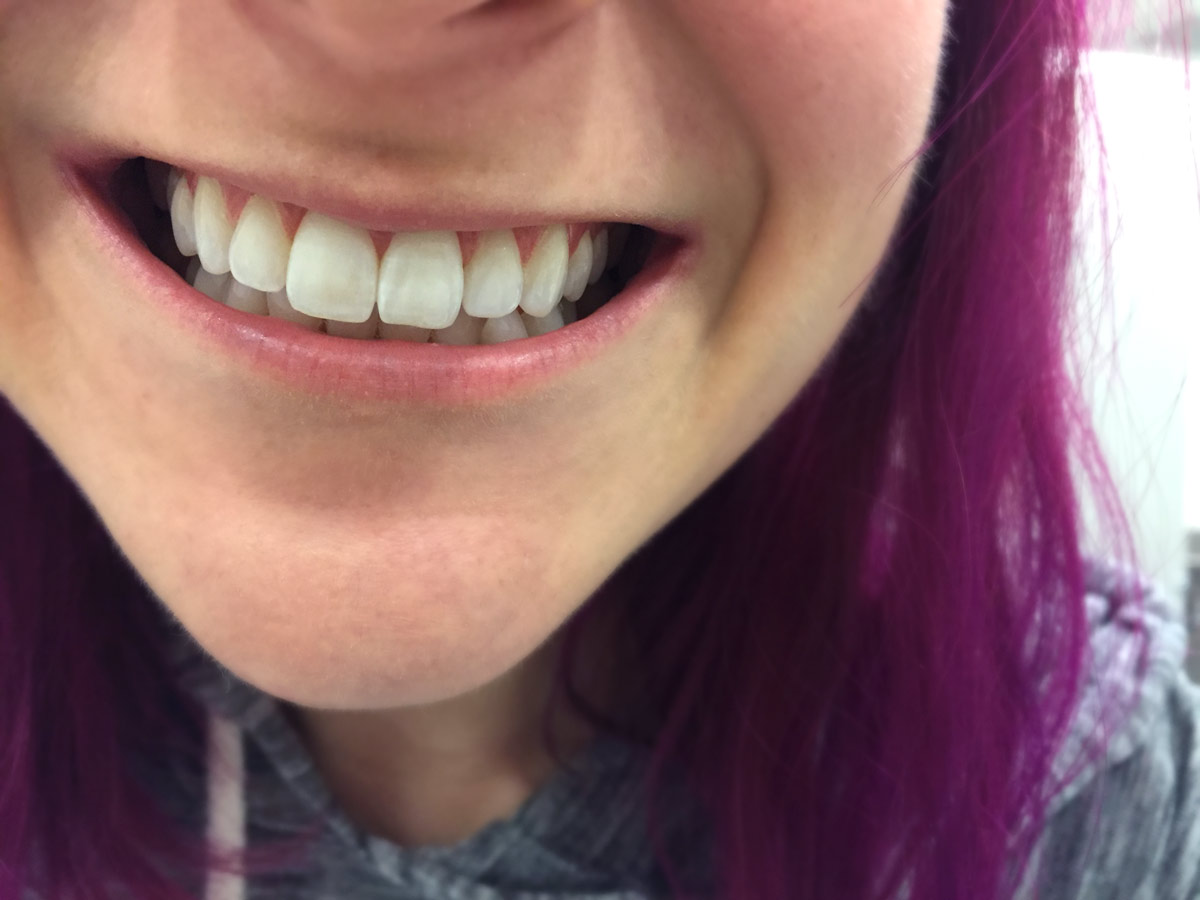
Some parts of my teeth looked quite a bit whiter than others. By morning, they had evened out and looked like a consistent shade of white, so no worries! Just thought I’d mention it in case anyone else has this happen and spirals out of control thinking they have ruined their teeth forever.
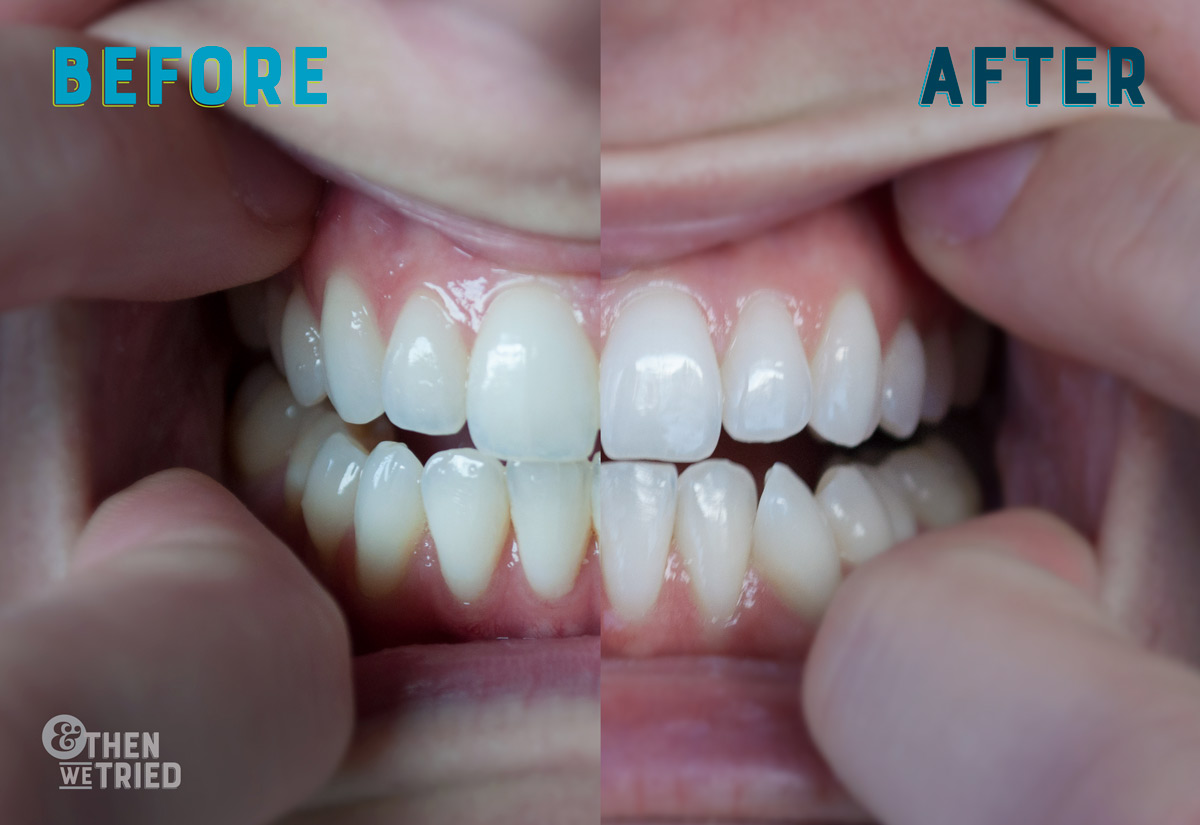
Before and After Smile Brilliant
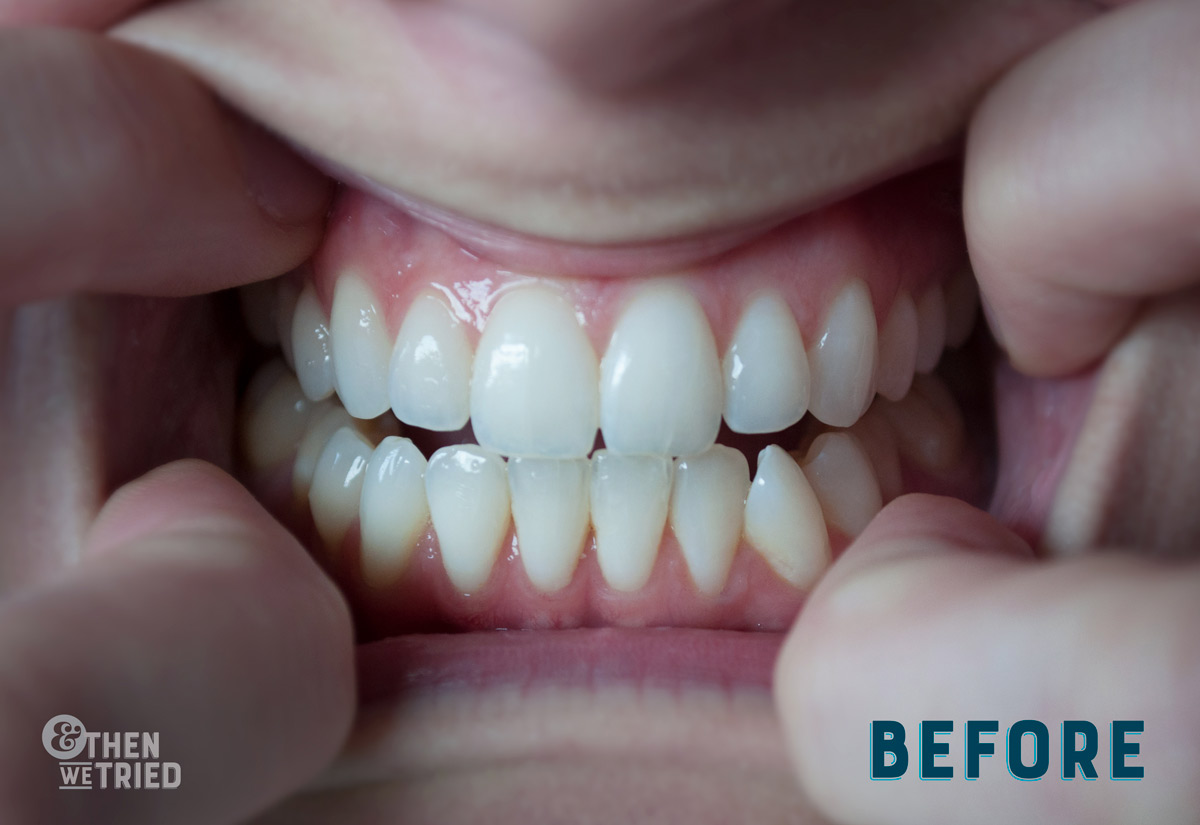
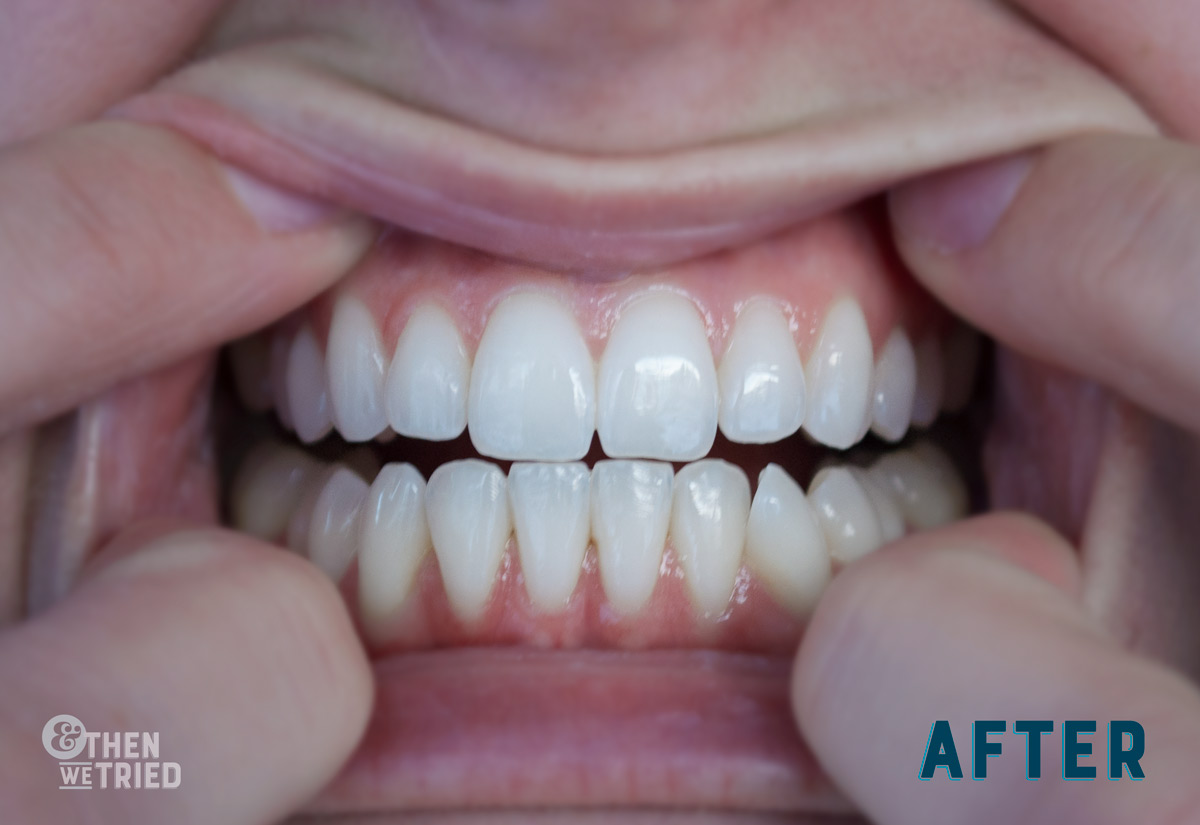
Yes, my mouth was sore after taking photos in this pose. I didn’t think that one through.
Overall Smile Brilliant Review
While my results are subtle in pics, I do feel like my teeth are whiter when I catch a glimpse of them during my frequent “is there any food in my teeth” mirror checks throughout the day. Anyone else constantly concerned they have food in their teeth? The process was super easy, and I plan on continuing to use the Smile Brilliant whitening gel to maintain my overall teeth whiteness. Yesterday, I had a dentist appointment and I brought the Smile Brilliant syringes along to see if I was destroying my teeth with this stuff. My dental hygienist said the ingredients are essentially the same as what is in the whitening products they use, so hooray! I would definitely recommend Smile Brilliant if you are looking to brighten up your smile or just caught sight of your teeth and remembered that ad “if you’re not whitening, you’re yellowing.” That shizz really spoke to me.
Who else out there is a white teeth addict?
Smile Brilliant Giveaway
We’re giving away a Smile Brilliant teeth whitening kit and I’d love to hear how it works for you! One lucky whitening fiend will get a $149 credit, which covers the cost of the T3 system(9–12 whitening and desensitizing applications.) The giveaway is still open, the winner will be notified via email.
Hop over to Smile Brilliant’s site here to enter the giveaway.
Didn’t win? Use our Smile Brilliant discount code for 15% off: andthenwetried15 to save on any system, whitening gel, or desensitizing gel syringes.
Smile Brilliant sent me their system to try out, but I’ll always share my honest opinion here with you. Knowing my teeth whitening addiction, it would only have been a matter of time before I bought this on my own.
