Disclaimer: Prior to this project I knew nothing about installing a vent hood. All of this was DIY and we were learning as we went, so if you aren’t comfortable making these kinds of decisions I would suggest hiring a professional.
A vent hood or exhaust fan is one of those things that you don’t really notice until you don’t have one. I never thought about it being a crucial part of a kitchen until Zac was making bacon one day and the entire first floor of our house was filled with smoke and the smell of bacon. Now, I was fine with the house smelling like bacon when we were about to eat some, but when the smell was still lingering three days later I was officially over it. Much to Zac’s delight, I decided that we had lived without a kitchen exhaust long enough and it was time to start installing a vent hood.
Admittedly, I did very little research when picking out the actual hood. We have plans to improve our kitchen at some point so we didn’t want to go with an expensive hood in the event that things are reconfigured down the line. However, we also wanted an option that works with our future plans if we decide to keep the same layout. We decided on an affordable, well-rated model in stainless steel to match our future stainless steel appliances.
With the hood acquired, it was time to see what we were working with. There was an existing vent on the side of our house, so we knew that a vent hood had been installed at one point. We were hoping to just use that existing hole to hook up our new hood.
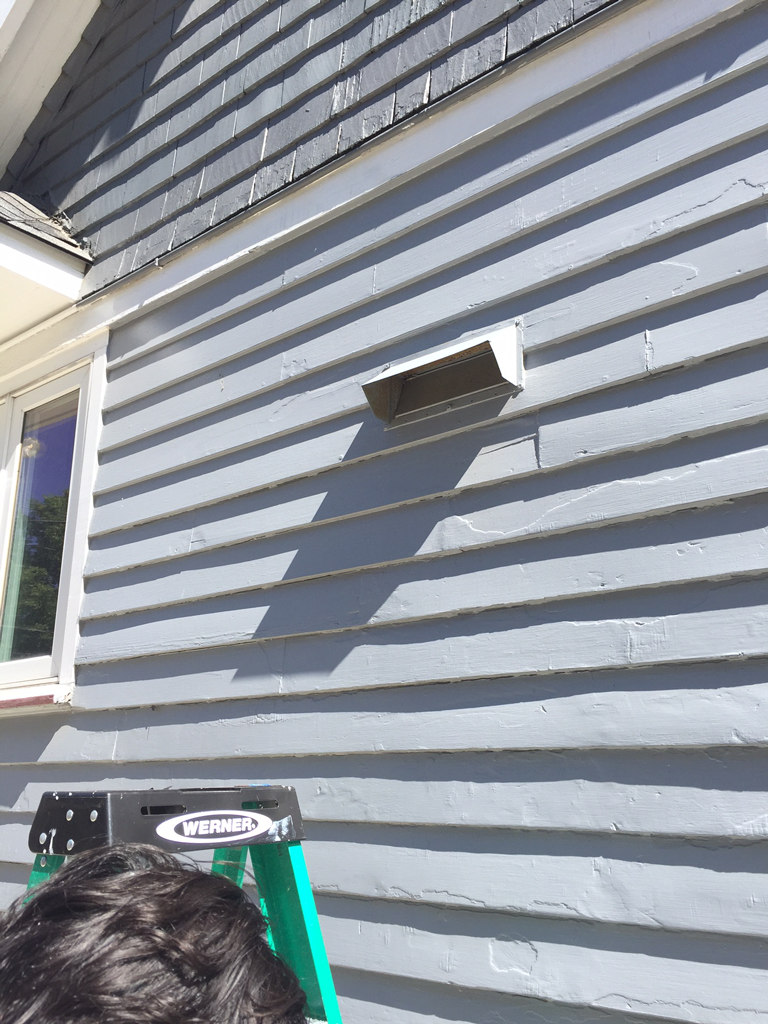
After removing the shelf above the stove, however, we discovered that the vent hole was off center. We would essentially be starting from scratch.
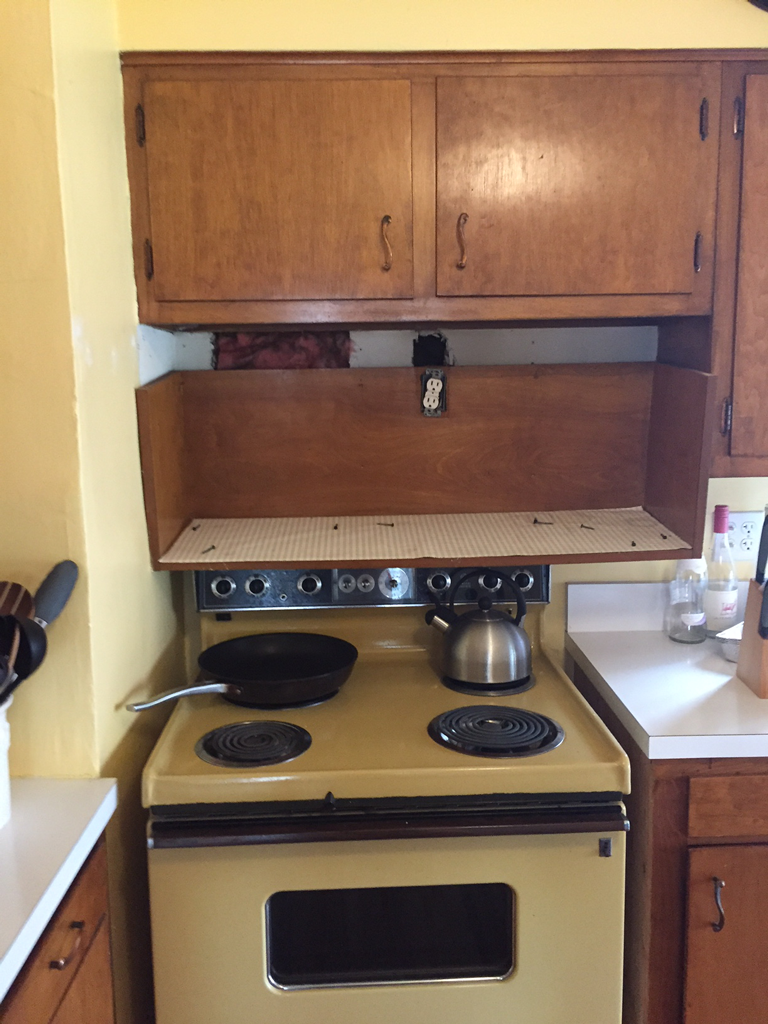
I know nothing about installing a vent hood, so I turned to the trusty Tom Silva of This Old House for a YouTube tutorial. I also asked my dad to help me and Zac undertake the project.
Our first step was to TURN OFF THE POWER. We had an outlet right where we would be working, so we turned off the power to that outlet to ensure that no one electrocuted themselves.
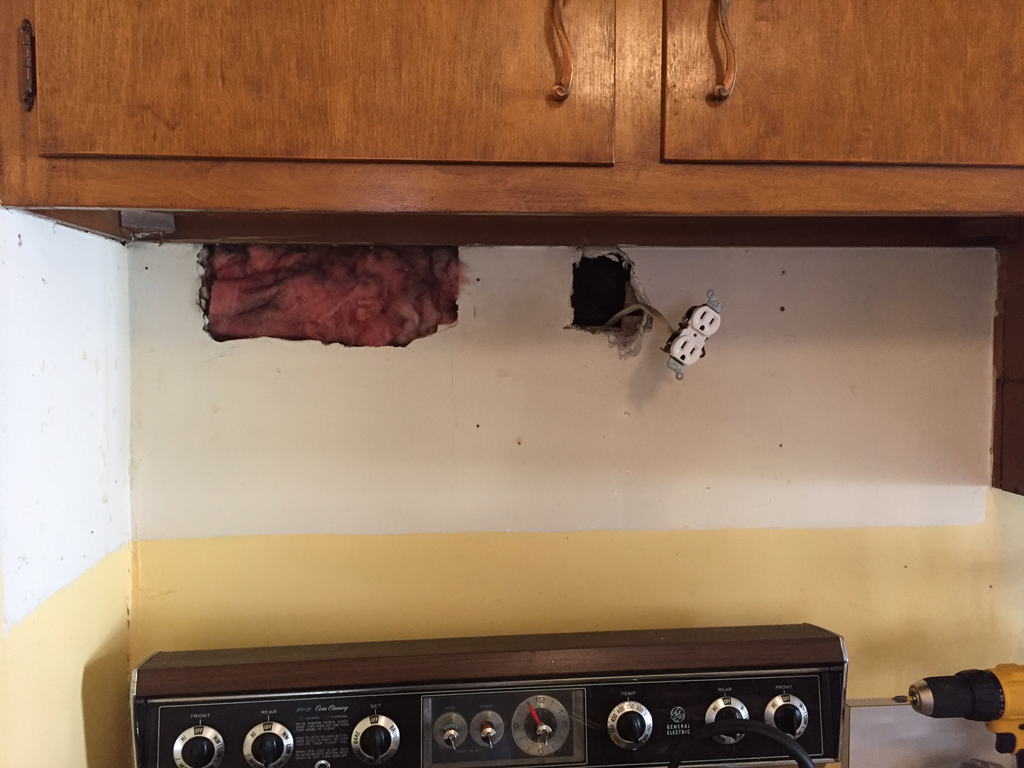
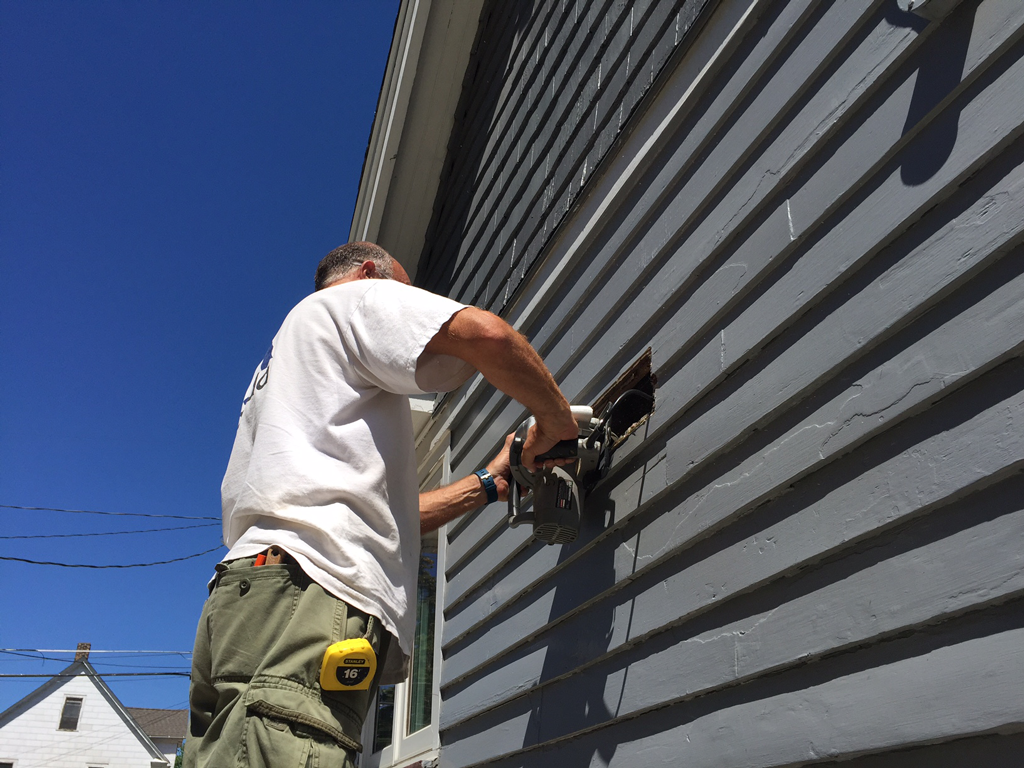
From there, we had to figure out where we needed the vent to line up. We decided the best way to do this would be to widen the existing hole until it lined up with our hood. So, we did what any self-respecting homeowner would do: we took a circular saw to the side of our house.
I’ll admit that this part was scary. We were literally CUTTING A HOLE IN THE SIDE OF OUR HOUSE. But, we trusted that everything would work out in the end.
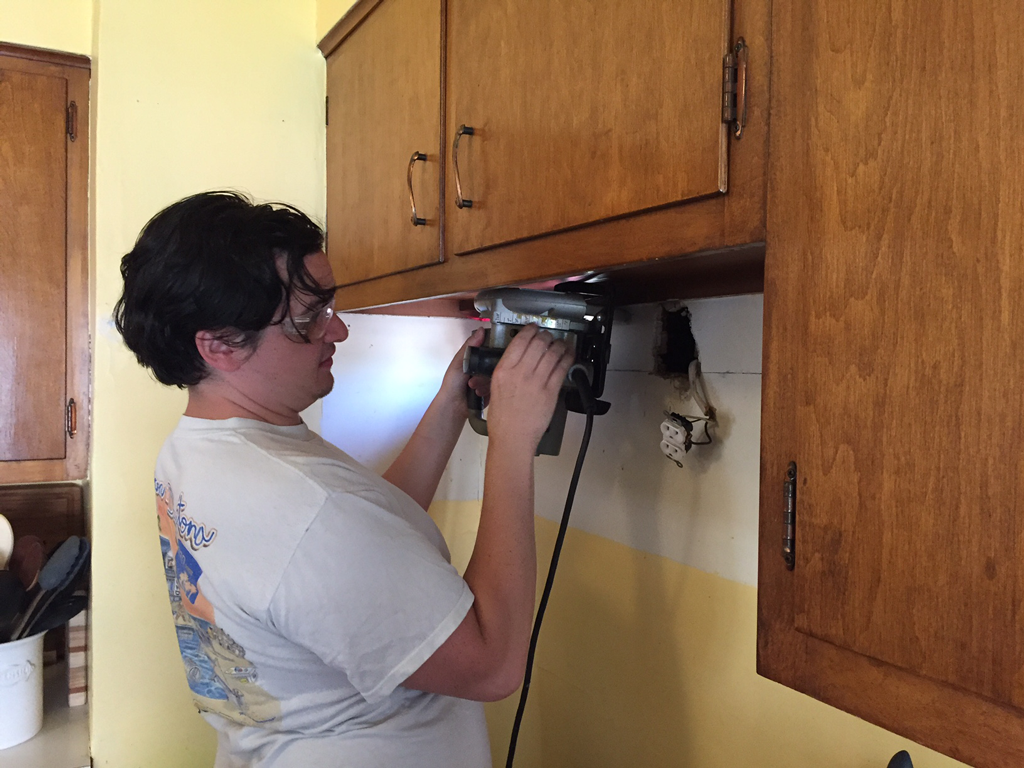
We measured where we needed to hole to be in order for our hood to be centered above the range and widened the existing hole to meet those measurements from both inside the kitchen and outside.
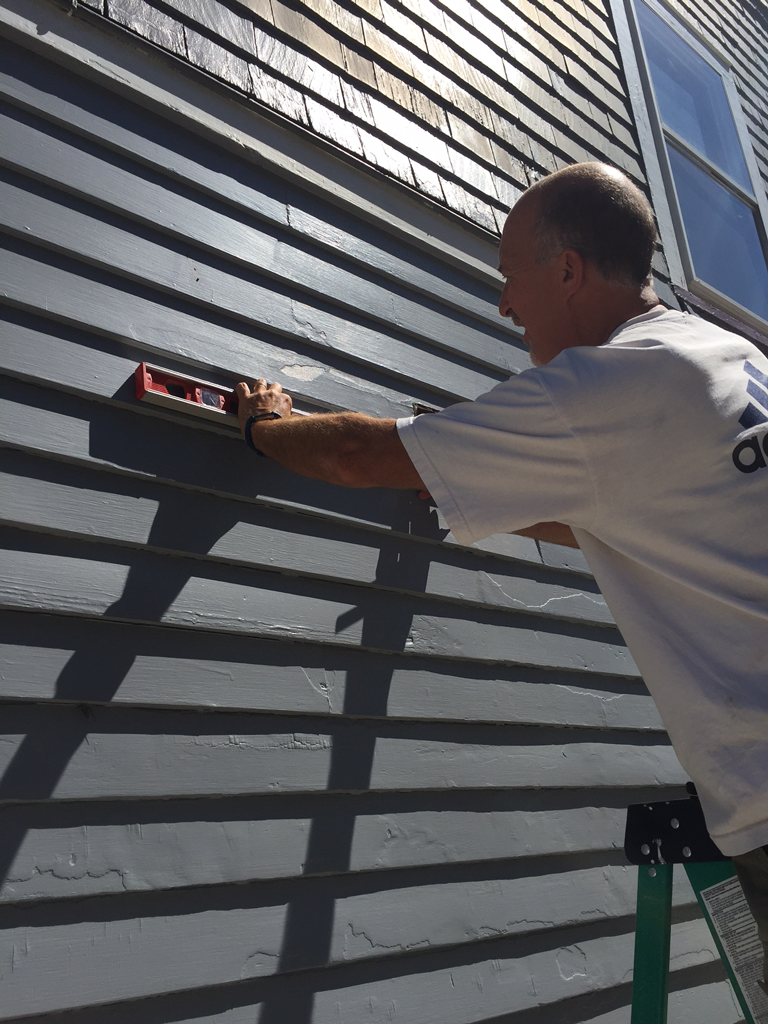
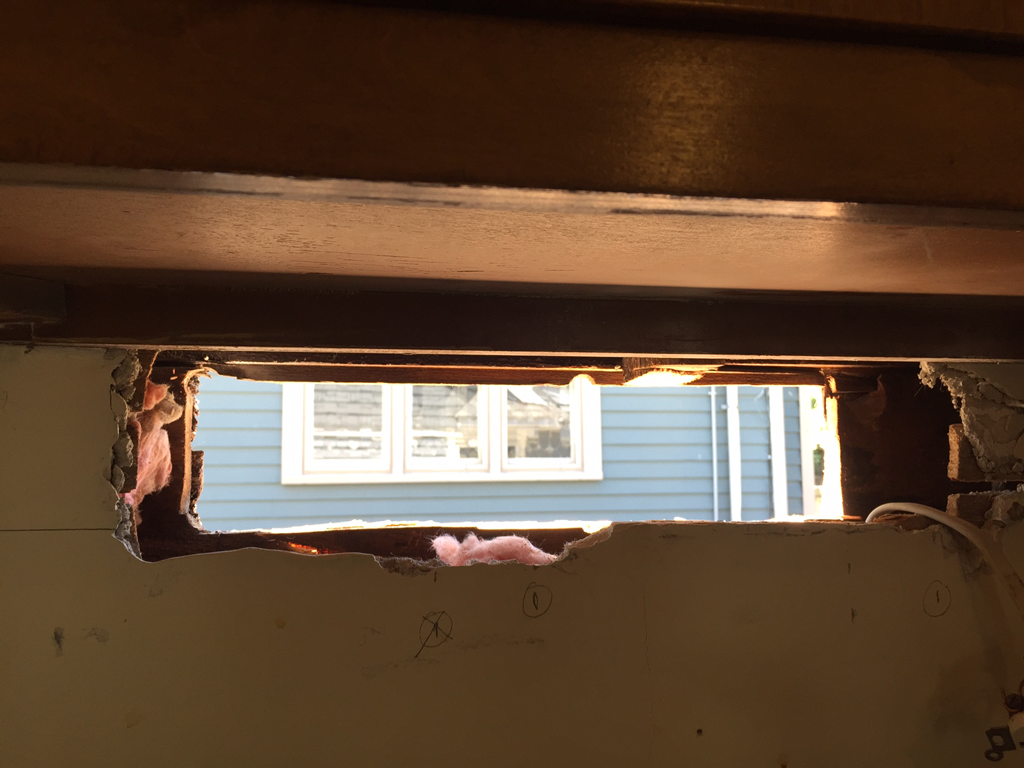
With the cutting done, we did a dry fit of the hood and everything lined up!
Before we could actually install the hood, however, we had to patch up the side of the hole we didn’t need. To do this, we attached some shims vertically to the inside of the exterior wall.
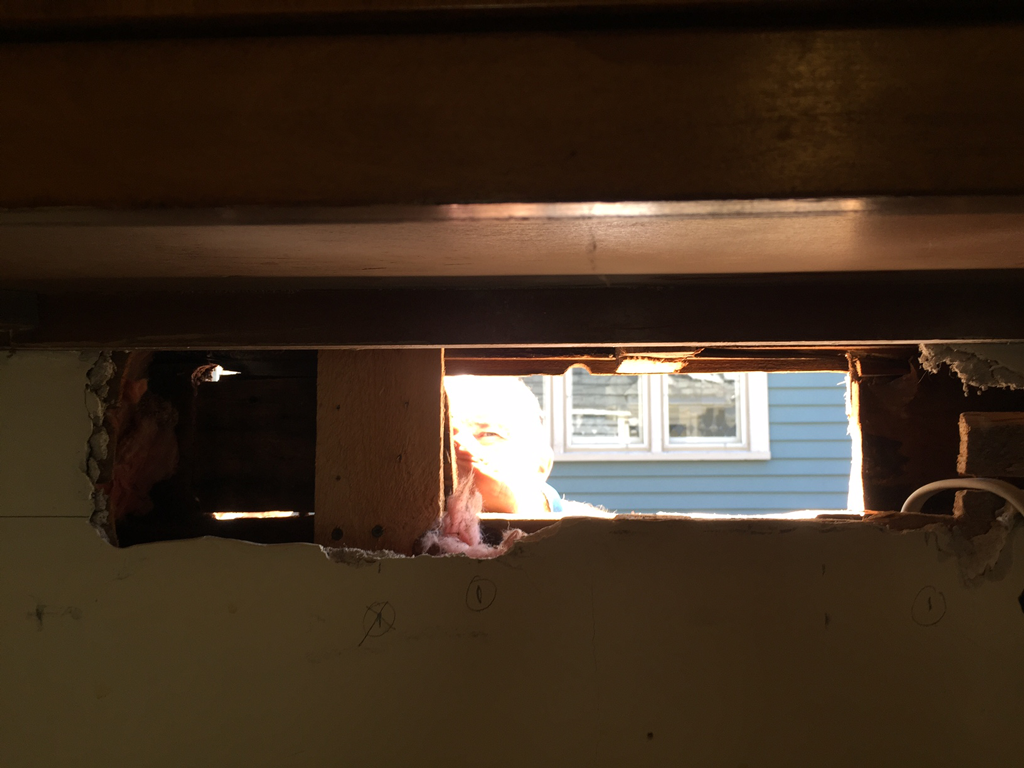
Then we used the part of the siding we had cut through as a patch, simply moving it over and attaching it to the shims. We caulked the hell out of the seams and then filled in with insulation from inside the kitchen.
At this point, we had a patched up exterior wall with a perfectly-sized opening for our new vent hood. The cabinet we were hanging the hood from had a lip underneath, so we needed to attach some supports that we would be able to drill the hood into.
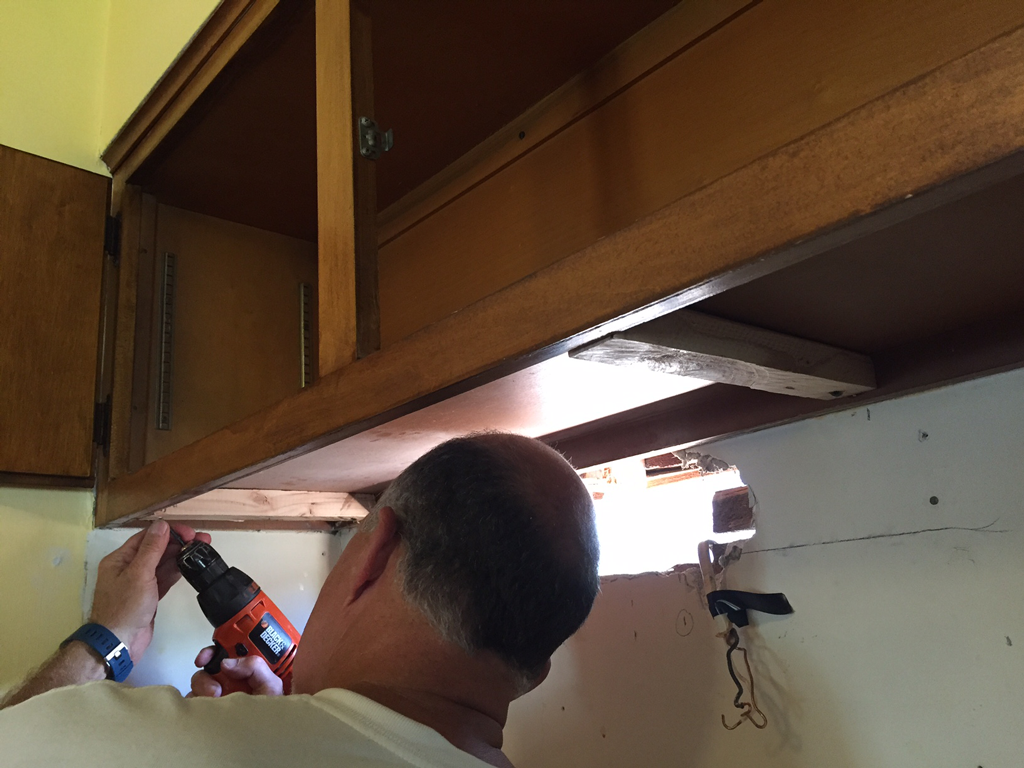
With the supports attached, we were finally able to install the vent hood with the supplies provided with the hood. We plugged the hood in, turned the power back on, and we had a working vent hood! Here’s a video Zac took that really captures our excitement.
A post shared by Zac Paladino (@paladizm) on
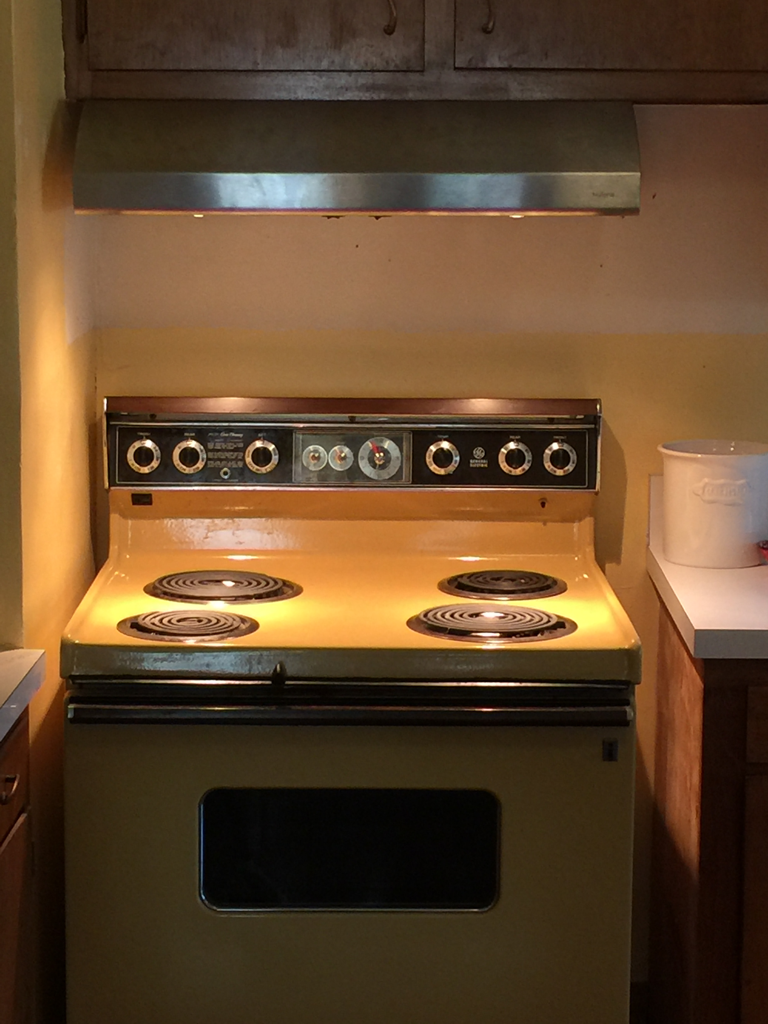
And that’s our story of installing a vent hood! Now we just need to replace our harvest gold range with a stainless steel one that heats evenly.
This felt like our riskiest project to date, but it definitely paid off. Have you ever installed a vent hood? Were you lucky enough to inherit one when you moved in? Or are you a fellow member of the smokey bacon house club?

