My attic bedroom came with a real lighting challenge: there wasn’t any.
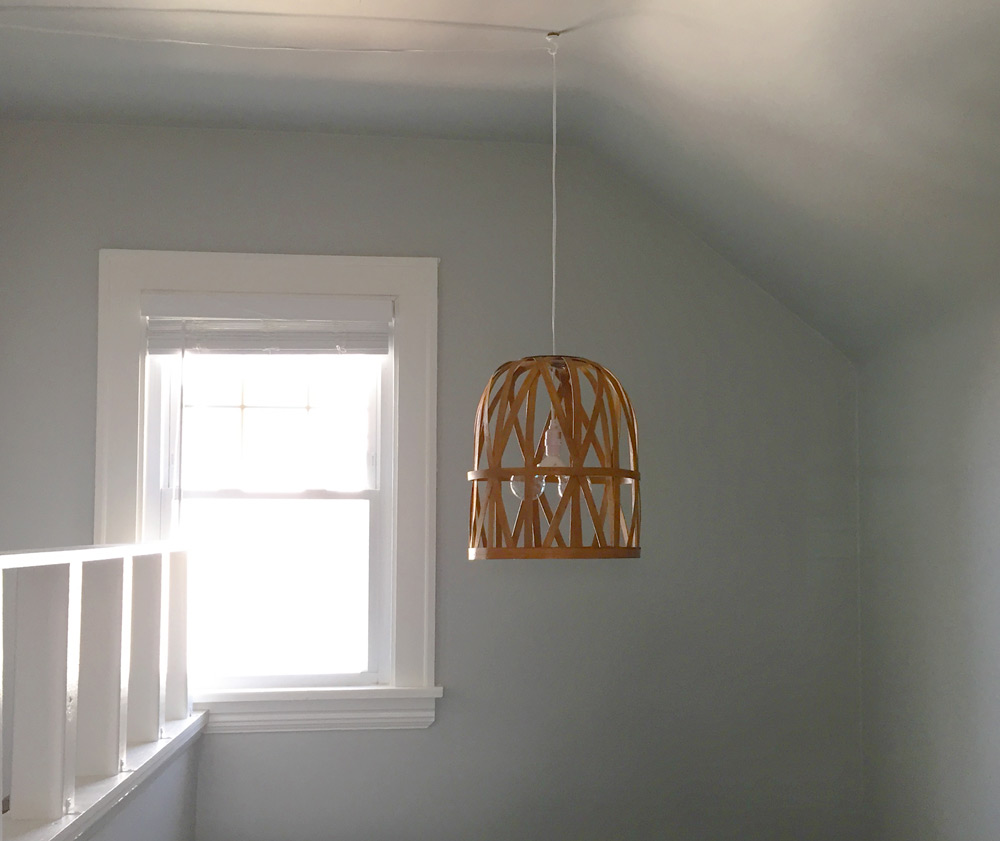
My electrician said it wouldn’t be simple to run a light over the stairs because we’d have to tear up the ceiling, and with the curved walls, it would be terrible to repair. So I lived with sad lighting for a year and then came up with a plan to swag a plug-in pendant or chandelier over the stairs. Keep reading to learn how the plan for the DIY basket pendant light was born.
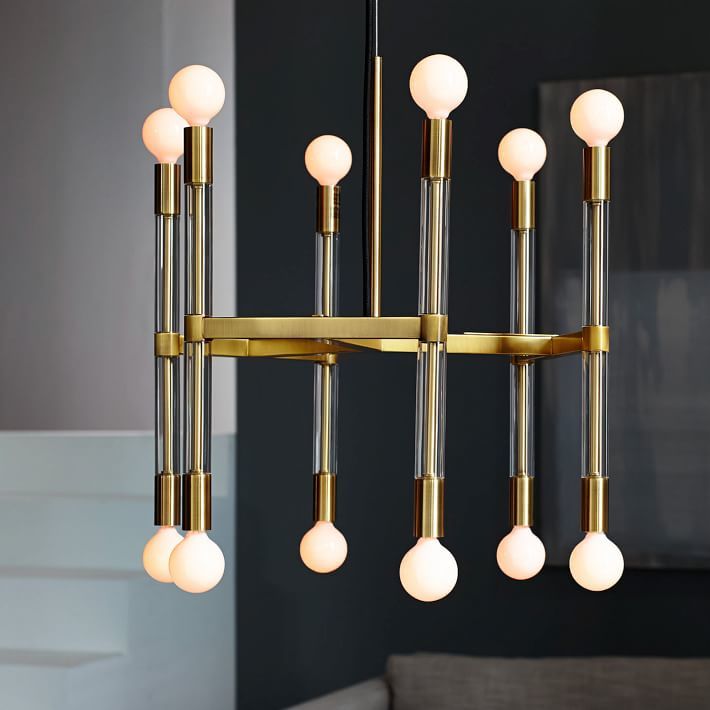
I loved this acrylic framework chandelier, but I would have had to rewire it to be a plug-in, and rewiring a $200 light seemed too risky.
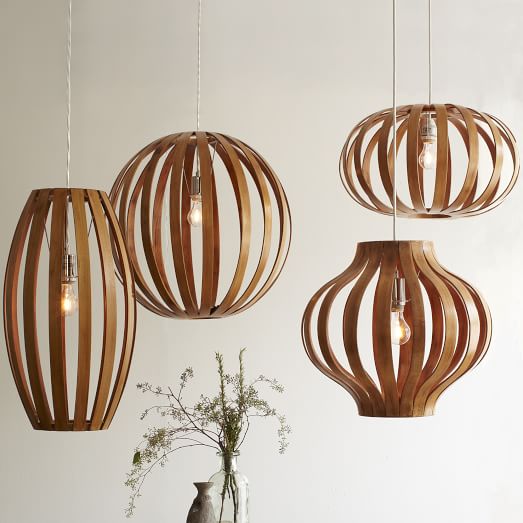
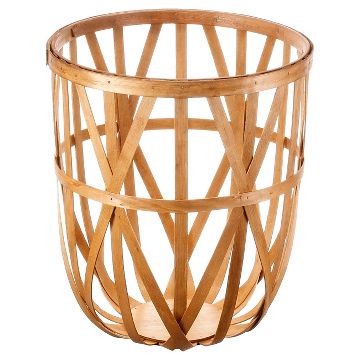
I’m thinking about doing acrylic handrails though, so that was about to be a lot of acrylic in one stairwell. And my room was starting to get very mid-century glam with the brass sconces I installed next to my bed and the new DIY mid-century dressers I made, so I thought this light could be a good opportunity to bring in some contrast. I liked the Bentwood Pendants from West Elm, and thought about them for a while until I stumbled on this basket from Target and a new plan to make a DIY basket pendant light was born.
Supplies
1 Woven Wooden Basket. Mine is from Target, but sadly, the tall version doesn’t seem to be available online anymore, so I linked the short one. They still have the tall baskets in stores, though! If you want to buy a taller basket online, either of these baskets would look nice: Hyacinth basket | Reed Basket. I’ll pull together a few more basket options at the end of this post.
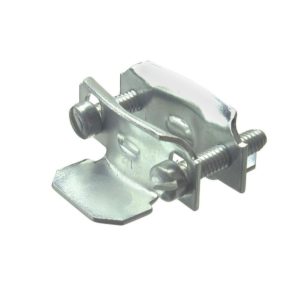
1 2-Piece Conduit Clamp Connector (1.25 or 1.5 inch)
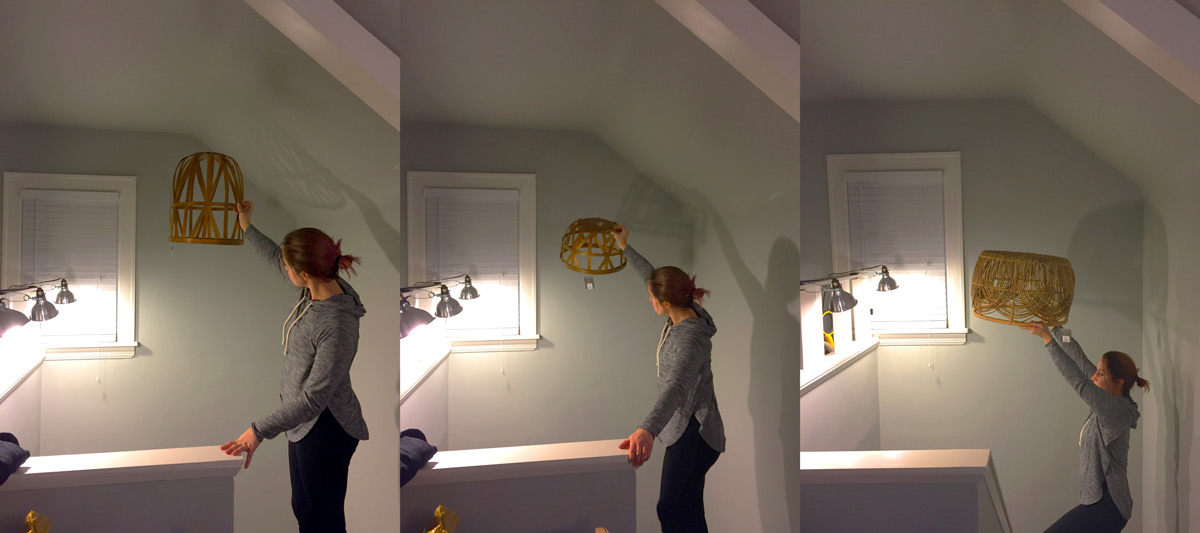
I compared three baskets by holding them up in the stairs and having my sister take a picture. Based on these pics, and science, I chose the tallest basket from the first picture because I thought it filled the space the most proportionately. If you have shorter ceilings or want to use a DIY basket hanging light over a table, you could go with one of the shorter, wider baskets. You can also see my previous lighting solution, three of these dirt-cheap clamp lights from Home Depot. At one point, I had five of these in my room.
While the woven basket I chose from Target is great for this project, it’s not actually a very sturdy basket, so I wouldn’t recommend buying this to use for storage.
I recruited my dad to install the ceiling hook because I wasn’t tall enough on top of the ladder. We used a drilling ceiling hook that essentially twists through the drywall or plaster and promised to hold 15 pounds. This light isn’t that heavy, so it feels pretty secure. Then, I looped the light kit cord around the base of the basket and rigged it to hang down to see if even I liked it before cutting into the basket. Check out these crazy shadows:
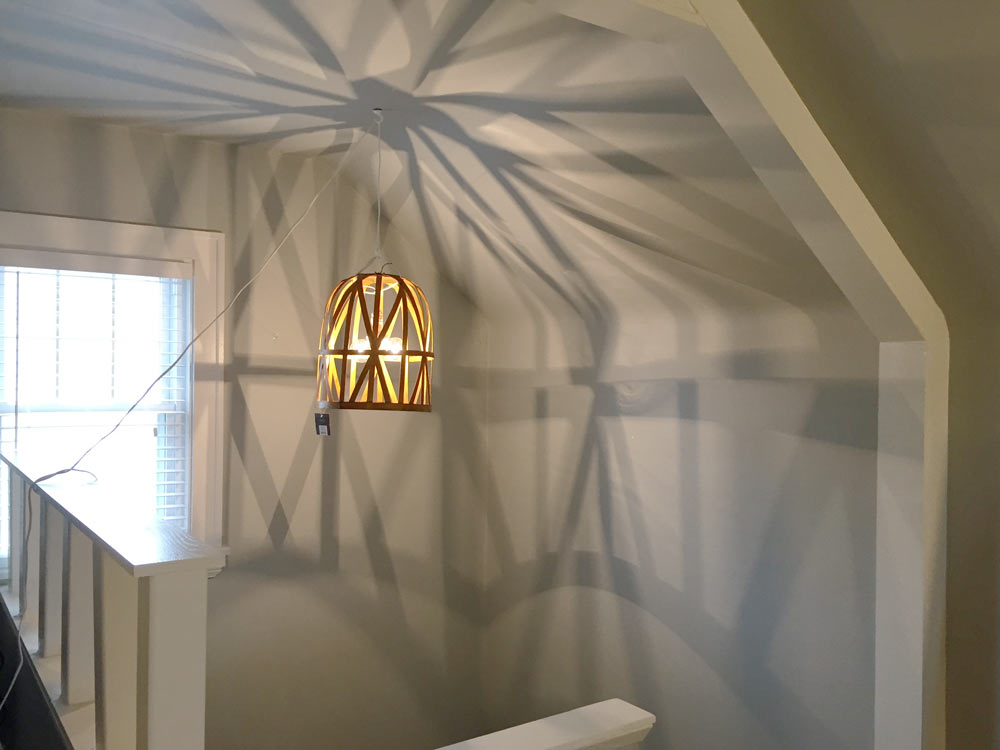
All of the DIY basket light tutorials I’ve seen online use the parts that come with the pendant cord to secure the cord + light to the basket, but doing that would have placed the bulb too high up in the basket. The World Market pendant light kit I used has all the pieces you need if your basket works with the bulb placed up at the top. Since I wanted the light bulbs to hang in the middle of the basket vertically, I had to find a way to clamp the cord at the top allowing 5–6 inches of the cord to hang into the center of the basket. I went to Home Depot and worked with someone there to find something that could keep the cord in place. I ended up using a two-piece conduit clamp that screws together to pinch the cord in place:
I started by drilling a hole large enough to pull the plug end of the cord through, then I got to work cutting out the slit for the clamp to sit in. I’ll be honest, this part was sloppy and a little difficult, so I don’t have pictures of the process. The basket was so lightweight it was hard to hold in place while I was drilling. I tried using a jig saw to cut the thin gaps on the side of my center hole, but I couldn’t keep the basket steady enough for that, so I drilled several small holes next to each other and hacked away at the extra wood using a utility knife. Long story short, you need to cut a space the same size as the clamp portion of your conduit clamp, drop it in, and then screw the clamp tight around the cord from inside the basket.
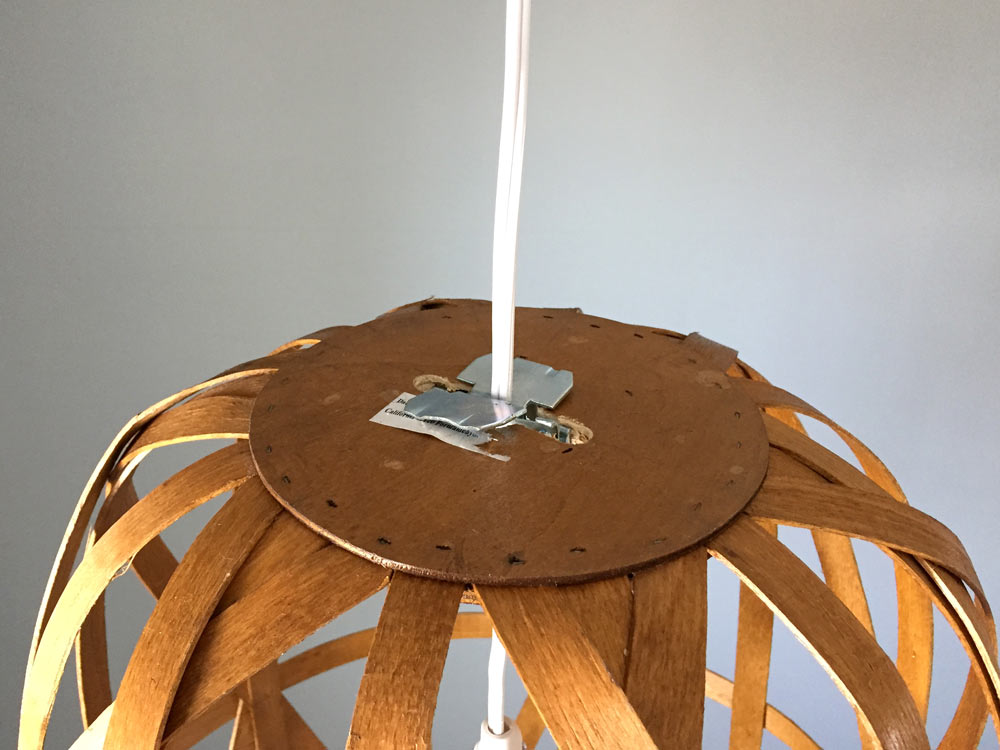
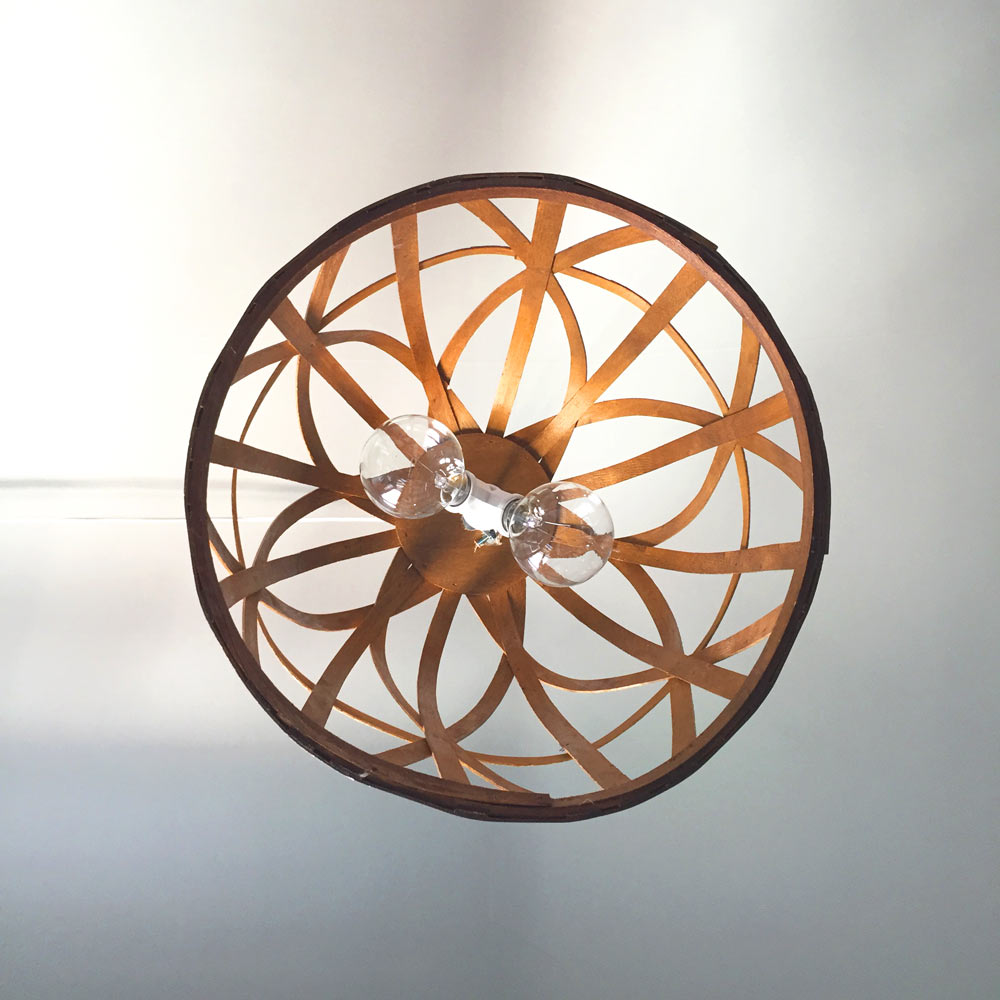
Since my DIY basket pendant light is hanging over my stairs, I never stick my face this close to it, so the rigged look is not noticeable day to day.
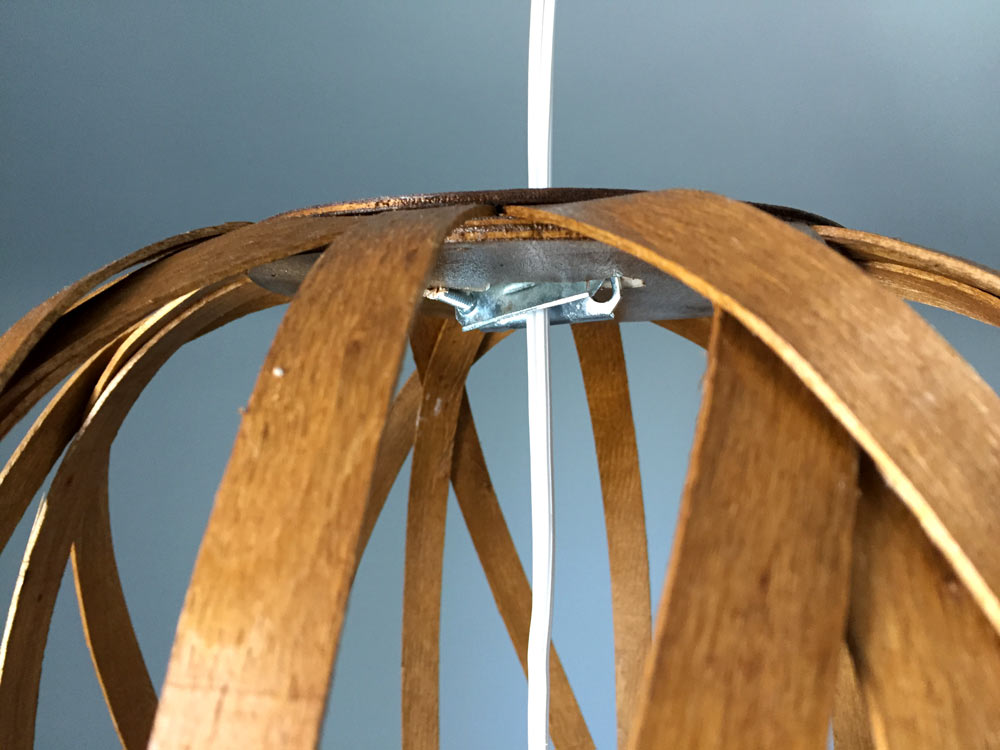
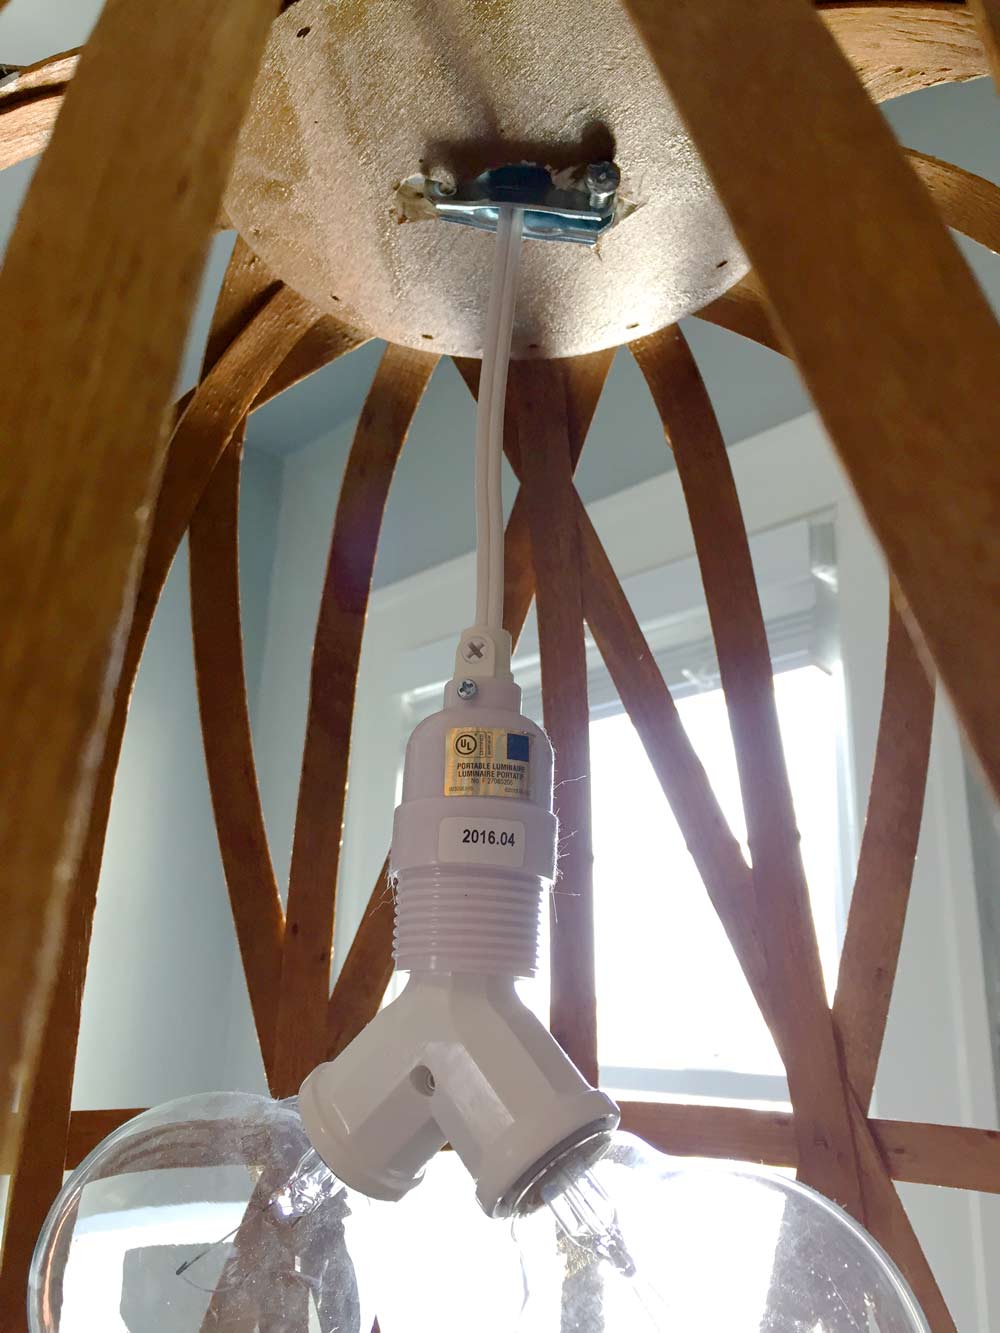
As you can see, I was only able to fit one screw in the clamp and, because of the thickness of the basket base, I had to chip away a bit of the basket to wedge the screw in place. I’m hoping to eventually find something to use to cover this mess up, possibly a two-part escutcheon? (Let me know in the comments if you have any ideas for covering the clamp) I used a socket splitter to be able to use two bulbs to get a little more light on the stairs.
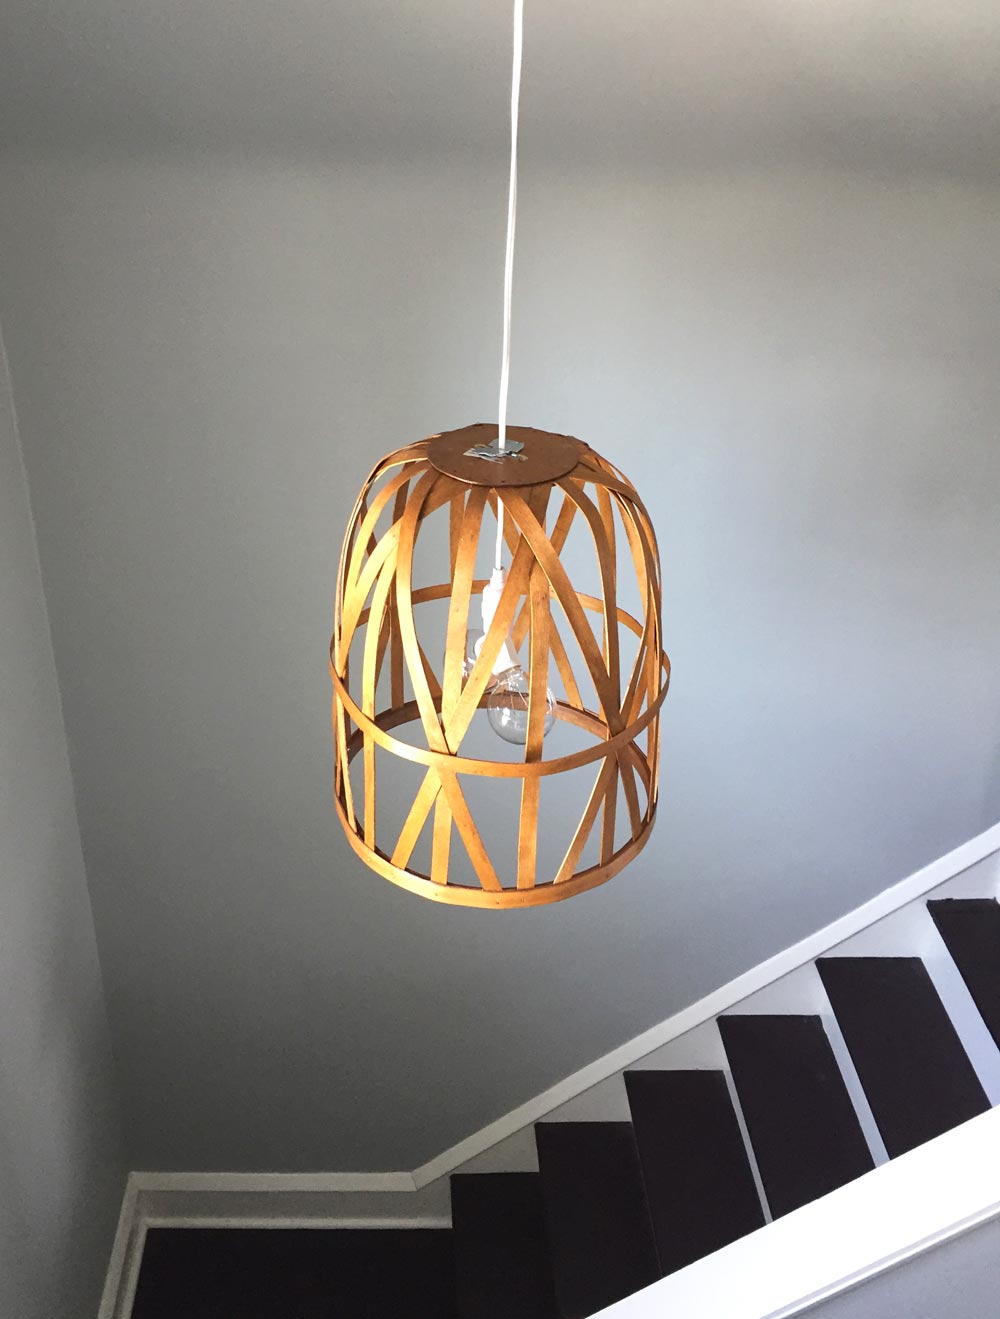
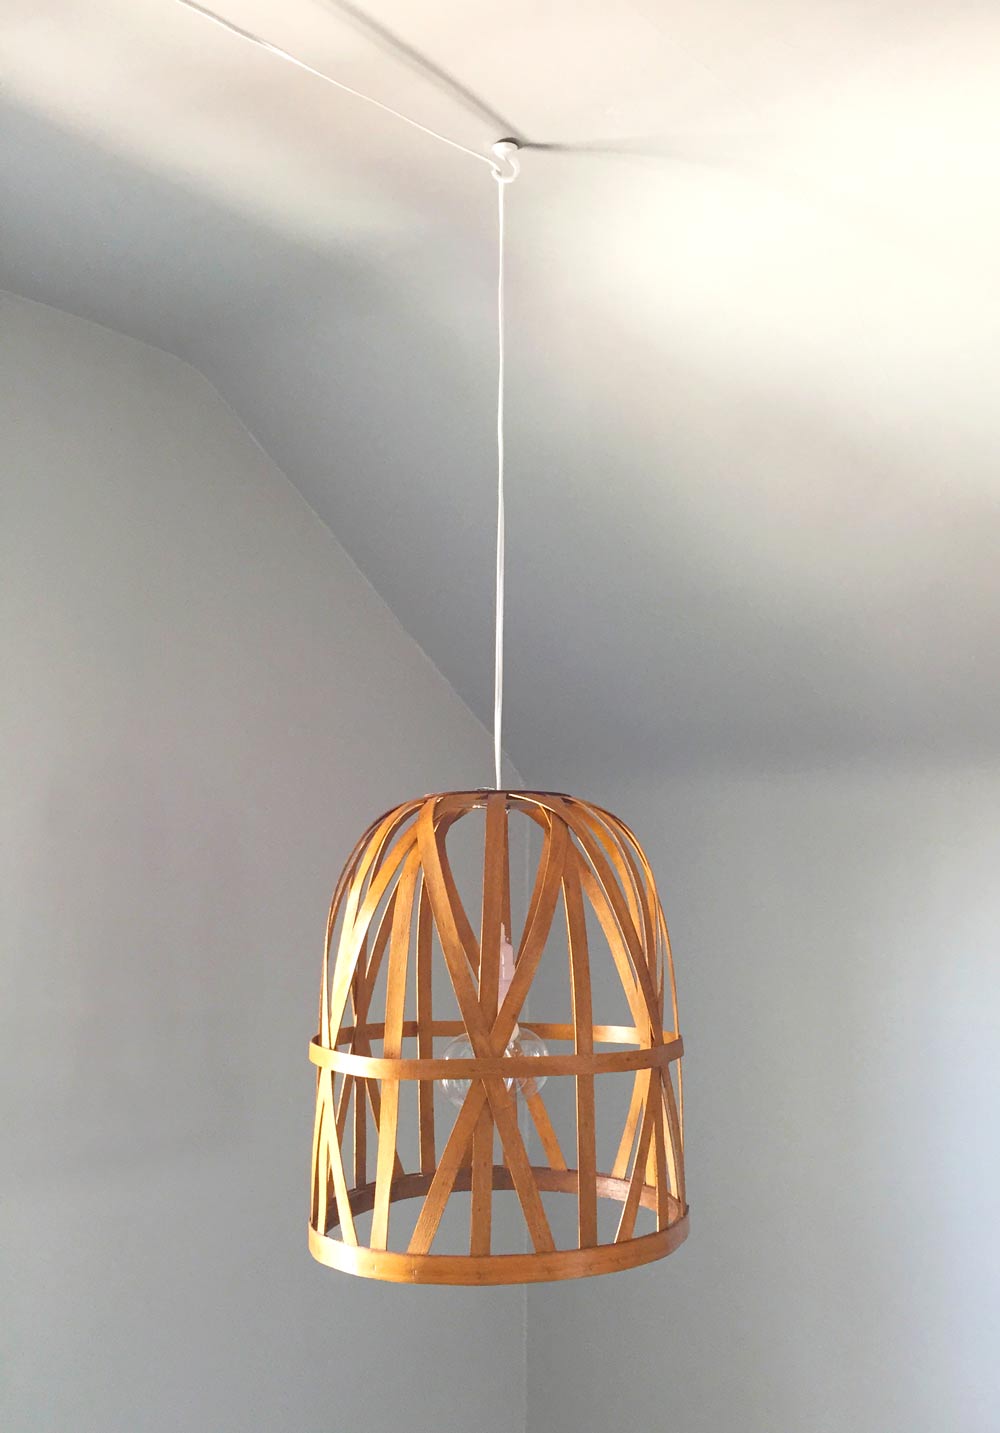
I ran the cord over to my closet and snaked it along the wall using 3M hooks. I used these outdoor light hooks since they were what I had laying around.
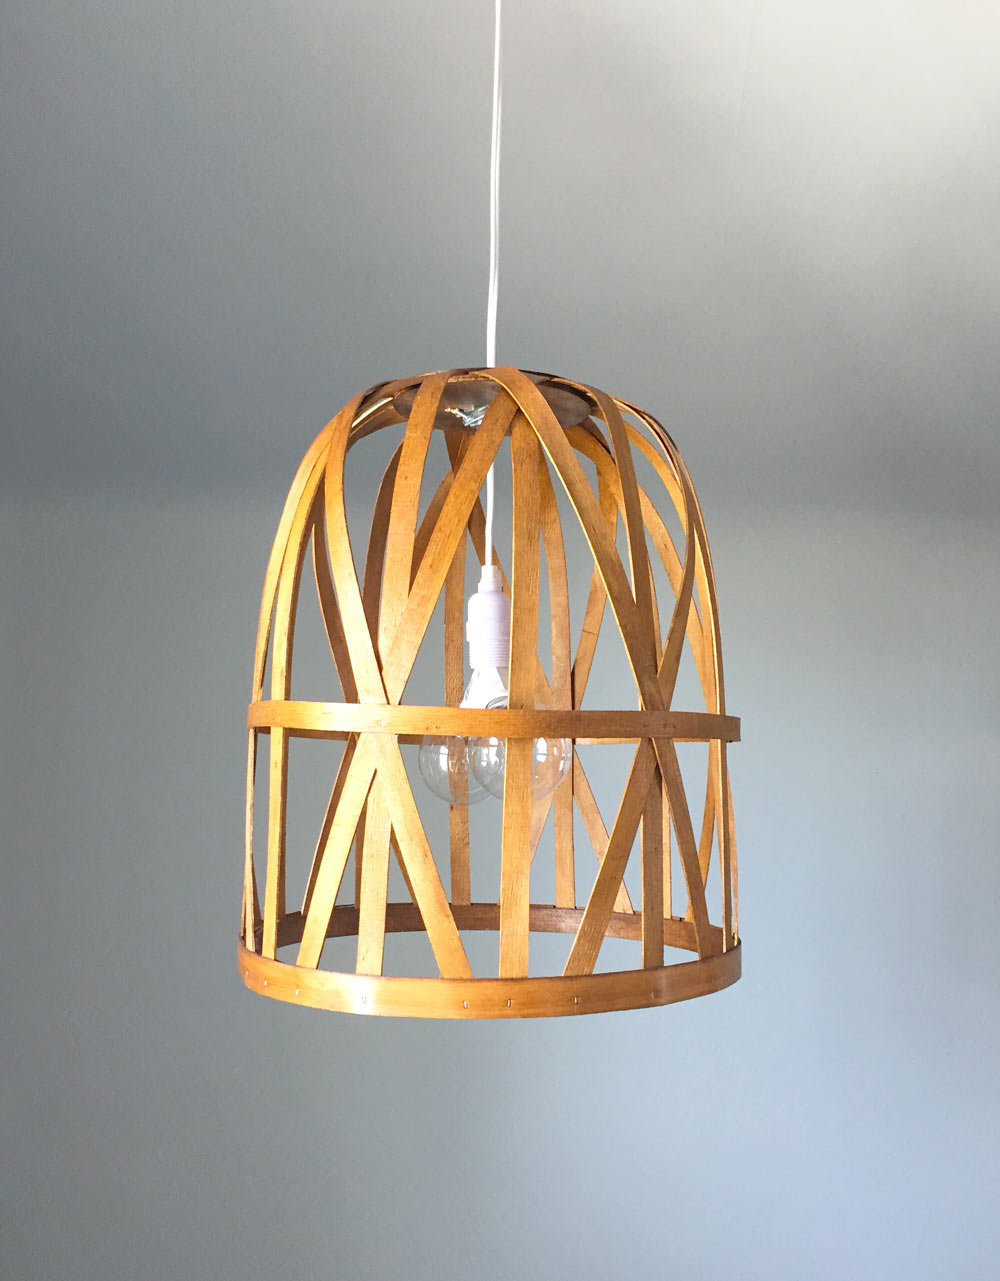
Total Cost: approx $50
I’m very happy with how the DIY basket pendant light turned out. This is a major improvement over the three industrial clamp lights that were so severe it was like I was walking into an interrogation every time I came upstairs.
Here are a few more basket options:
Please let me know if you have any ideas for covering up the conduit clamp and, of course, let us know if you make your own DIY basket pendant light!

