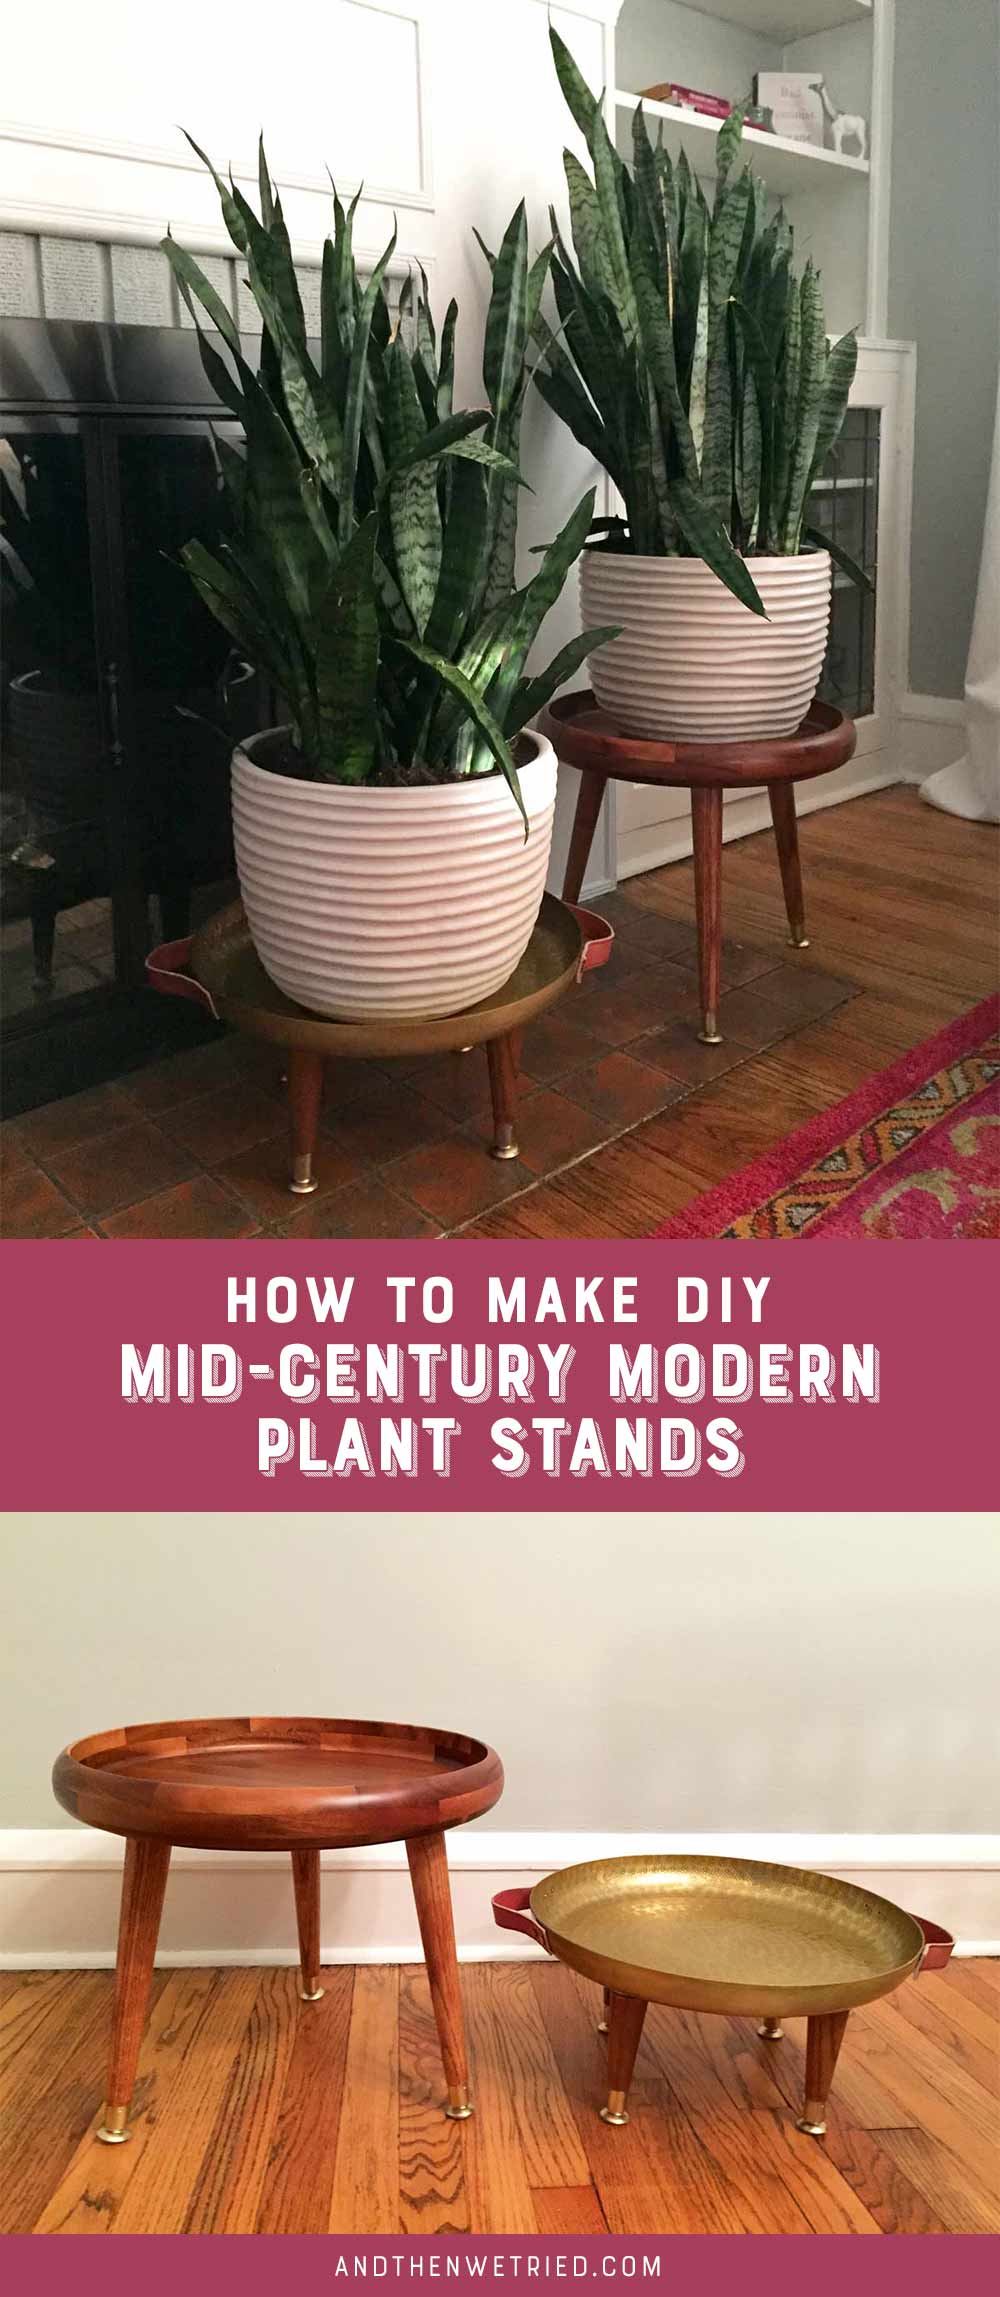
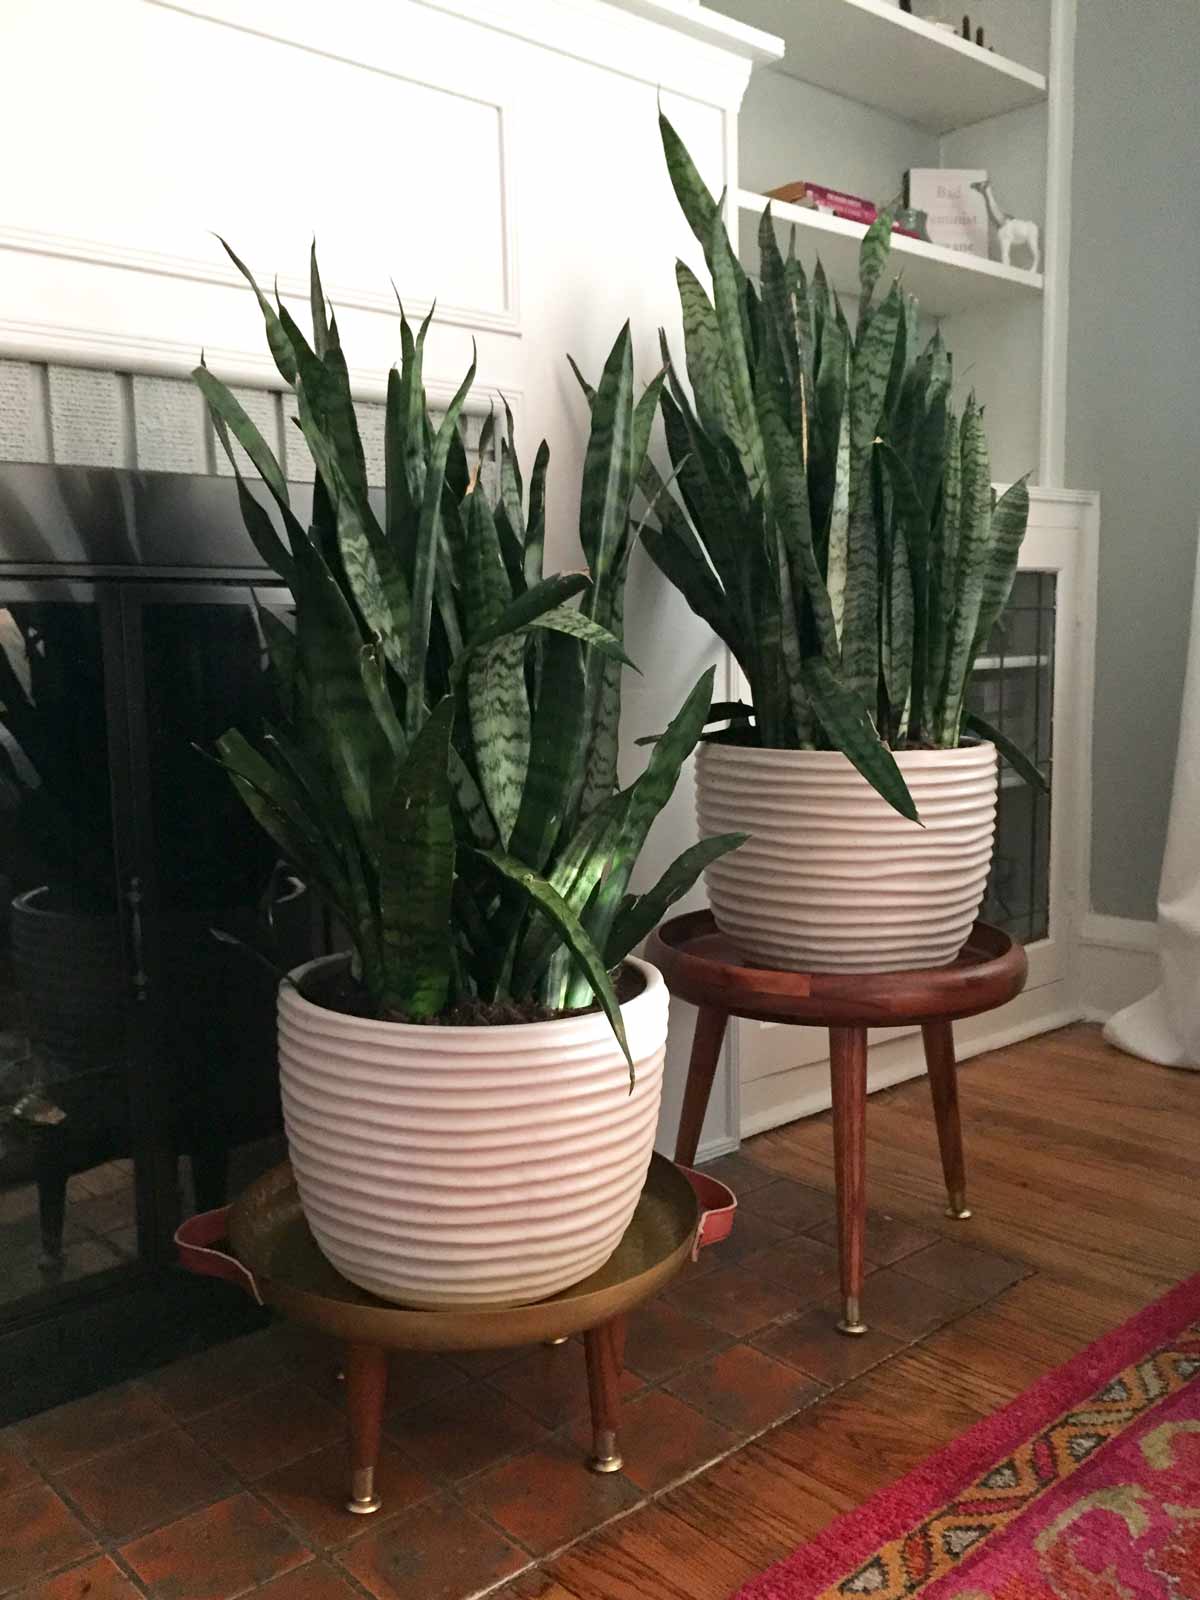
I love plant stands. They make any house plant look way more regal and purposeful and I am all about making things in my house look like they are there on purpose. My issue is that most of the affordable plant stands are cheap looking metal things and cheap looking metal things do not scream “this is happening on purpose” to me. I love the look of simple mid-century plant stands, specifically the tapered legs, but apparently falling in love with something too expensive is a habit of mine, so it was time to try to DIY it.
Follow us on Instagram to see our latest projects
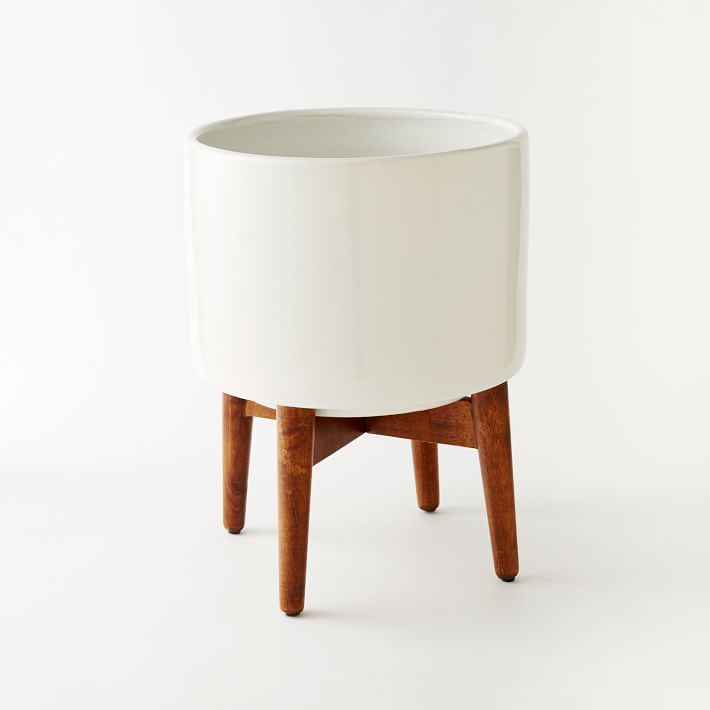
The inspiration:
West Elm Mid-Century Turned Leg Standing Planters $169
Yum. I guess the $169 isn’t so bad because it’s a planter AND a plant stand, so really that’s two for one. But, I’m trying to reign myself in, so on to the DIY.
Supplies:
- 1 x Threshold Decorative Round Tray Metal & Leather
- 1 x Target Large Round Natural Wood Platter (I used the Target version, but it is very popular so if it is showing as sold out, this one from Crate & Barrel is a good, smaller option)
- 4 x Waddell Legs 5.5″/6″
- 4 x Waddell Legs 11.5″
- 4 x Waddell Angle Top Plate
- 4 x Waddell Straight Top Plate
- 1 x JB Weld Steel Stik
- Wood Stain, Varathane Cognac was a good match for the wood tray
- Tung Oil or Polyurethane sealer
- Gold spray paint
- 8 x #8 1/2 inch wood screws
- planters: allen + roth planter from Lowes
How To:
- Gather all the materials, this part took me a bunch of amazon orders and trips to Lowes and Home Depot because I kept forgetting things.
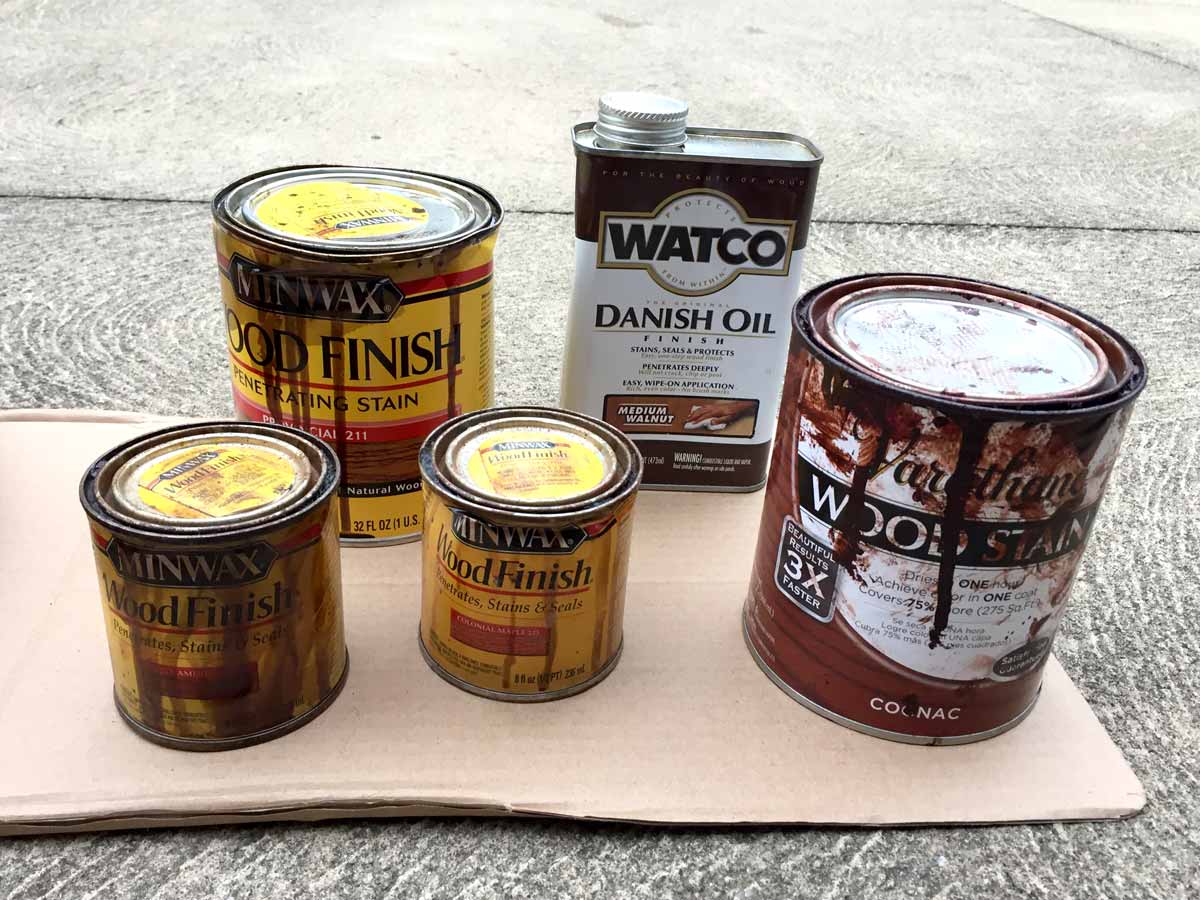
- Stain the legs to match the wood tray. I thought I would need to mix up a few of my stains to get the right color, but my crusty old container of Varathane Cognac was the perfect match.
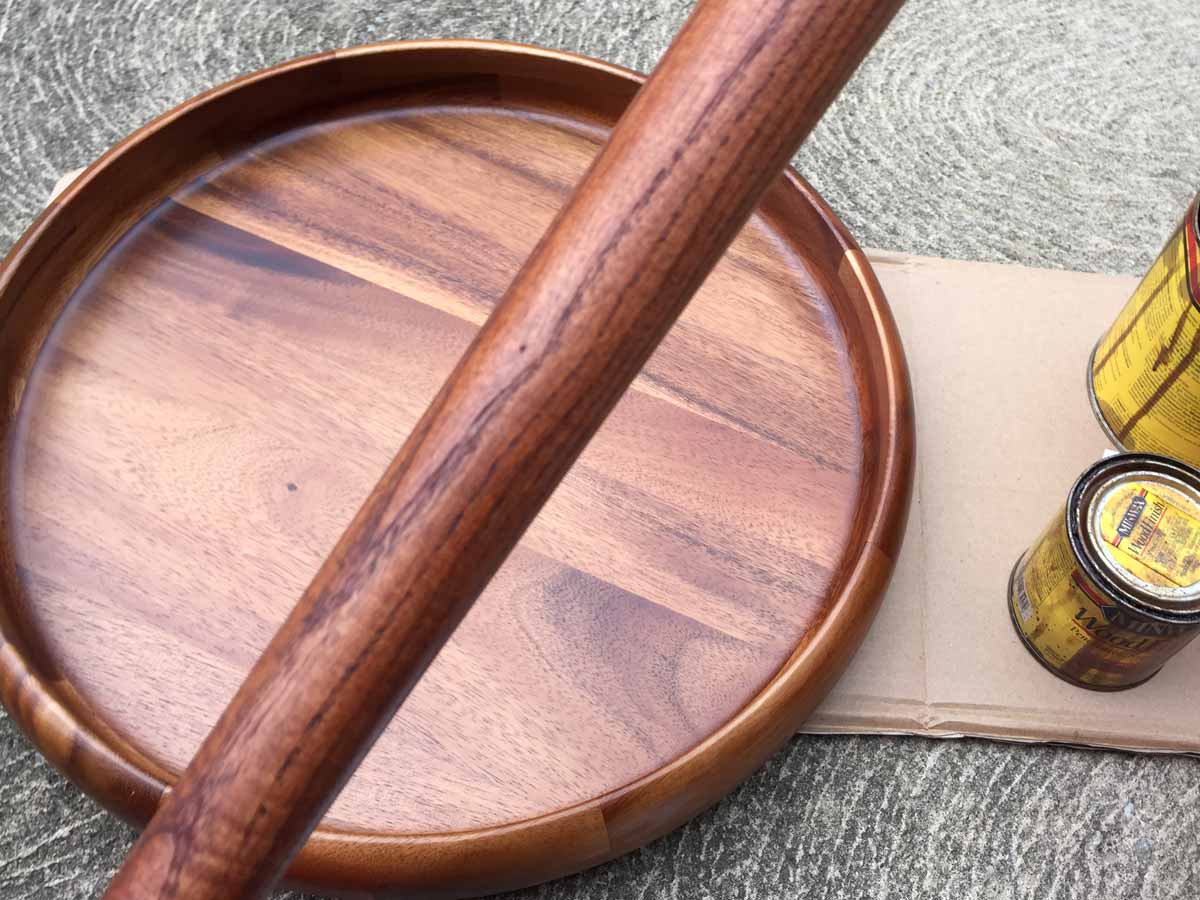
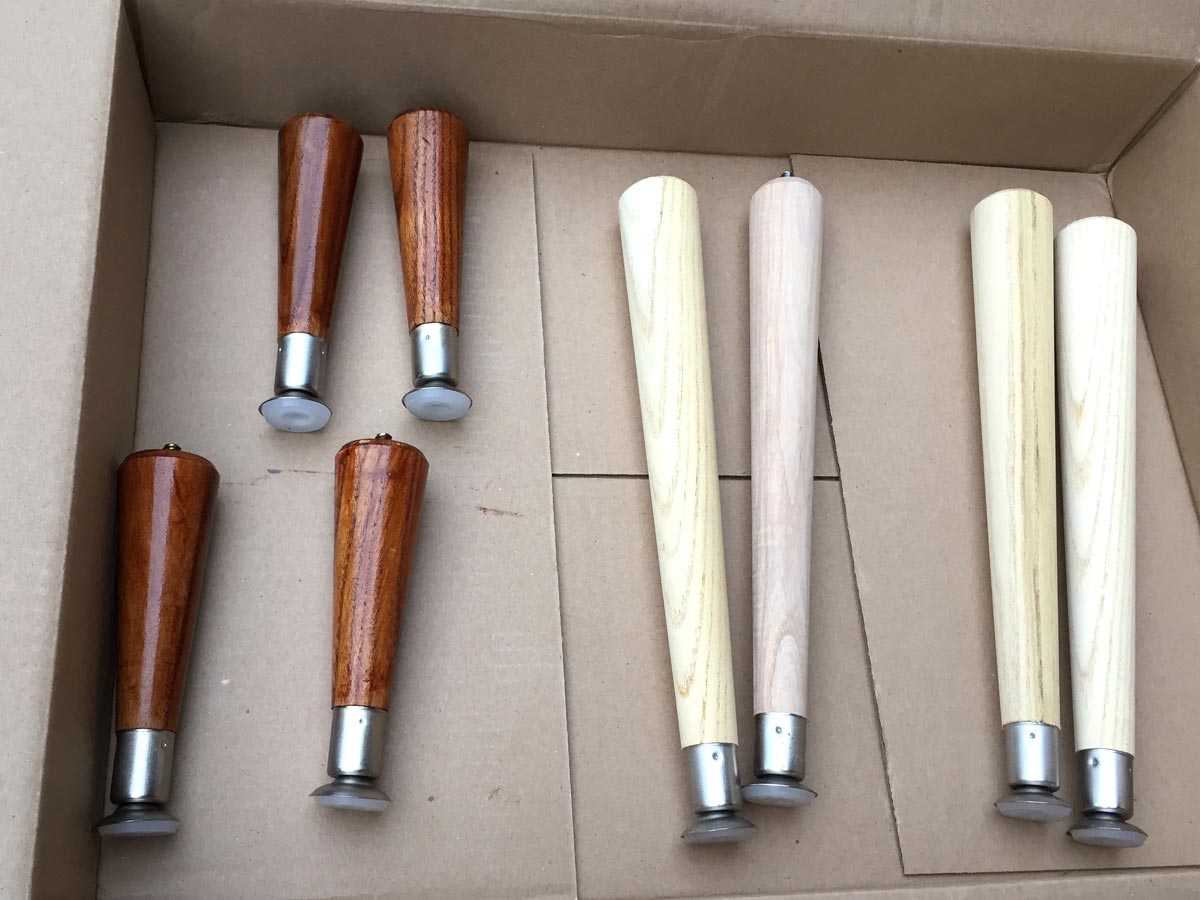
- After the stain is dry, coat the legs with the Tung Oil finish or any polyurethane sealer. Note: I was supposed to do two coats but I got antsy and wanted the planters to be done, so I only used one coat. I might add another coat in the future.
- Let the sealer dry and then tape off the legs, leaving only the silver end caps exposed. Spray these gold (or leave them silver, it’s up to you.) I also sprayed the top plates since I had a tiny bit of spray paint left and I was afraid you would see the plates on the round edges of the gold tray.
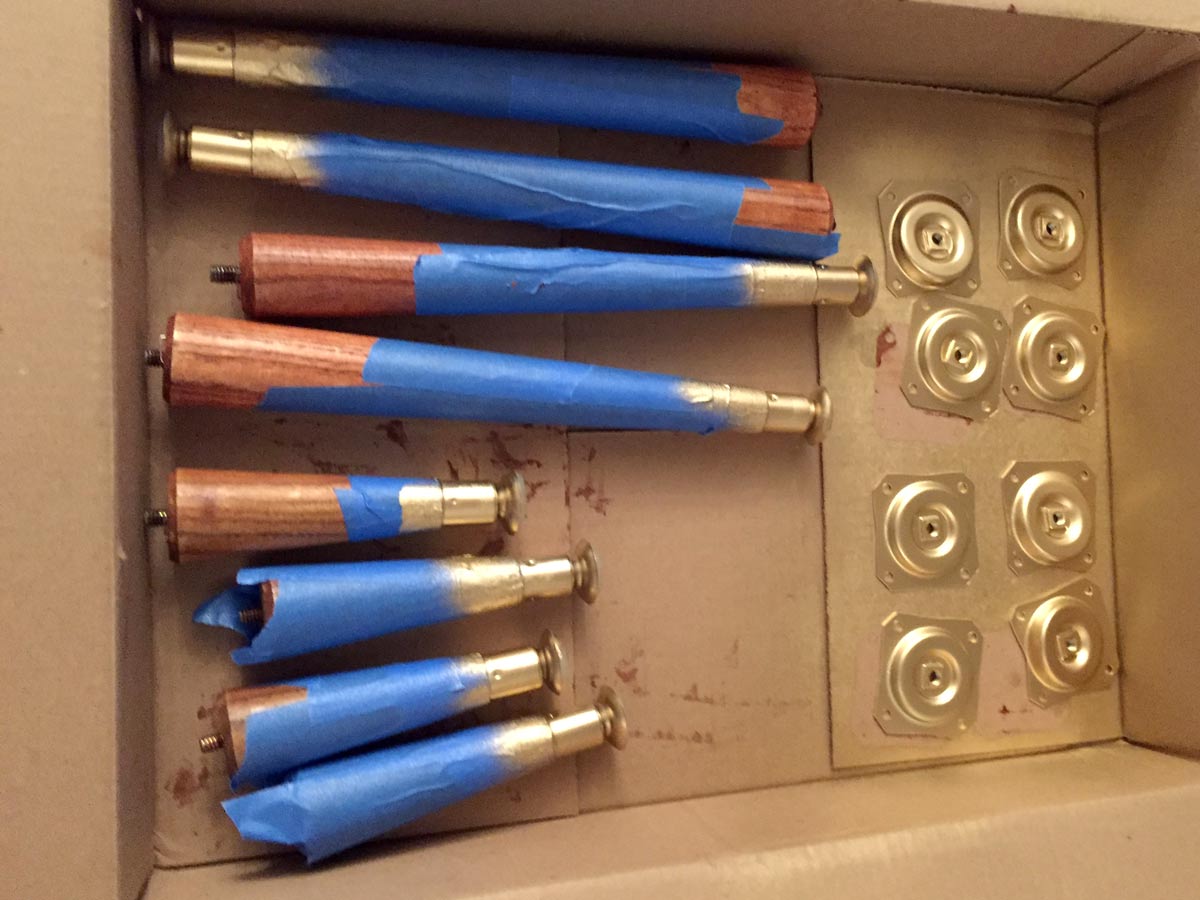
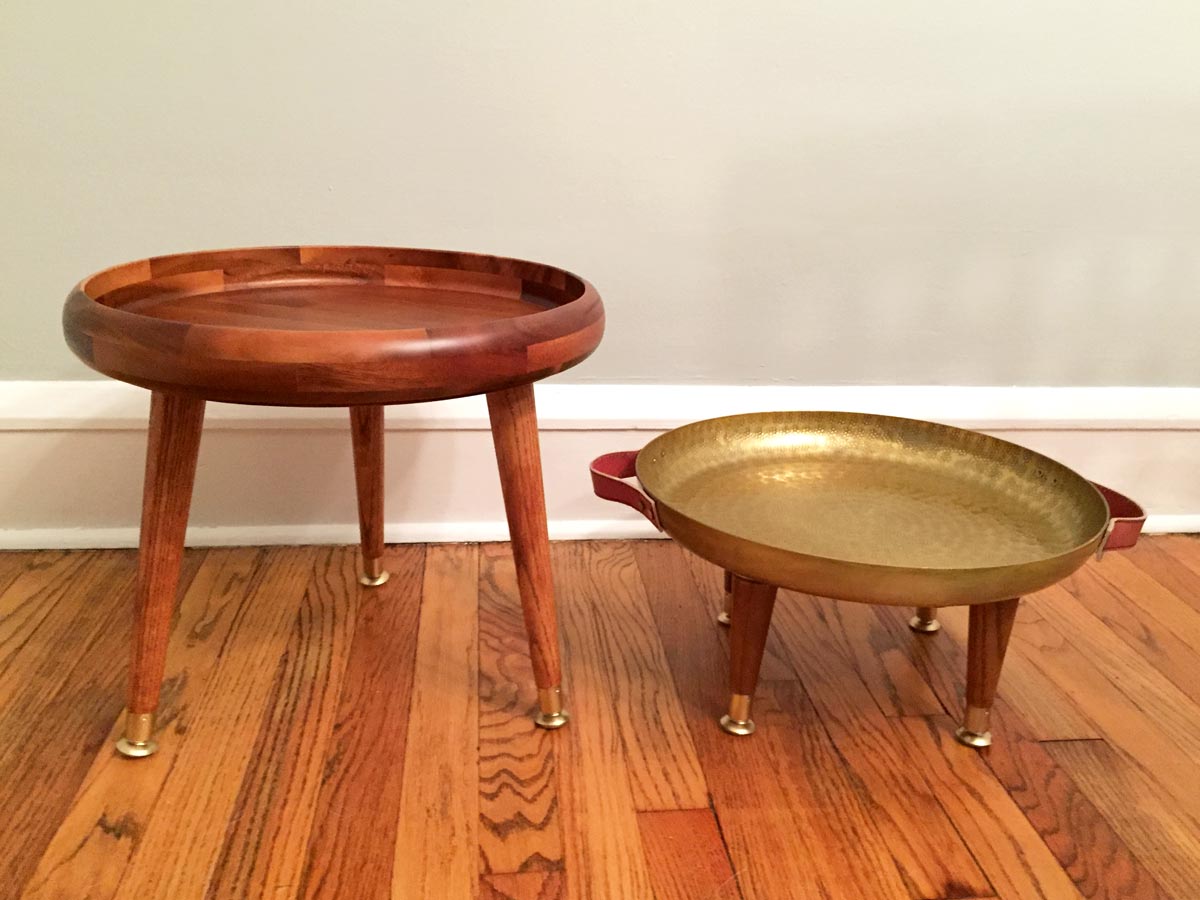
- Space your top plates evenly on the bottom of your trays, make sure that you have the angle facing the right way so that your legs will be angled out. I taped the plates to the trays to test if I wanted three or four legs on each stand. Since I glued the plates to the metal tray, I went with four legs for extra stability, but I love the look of three legs on the wood tray. I used tape to mark the final placement of the plates on the metal tray.
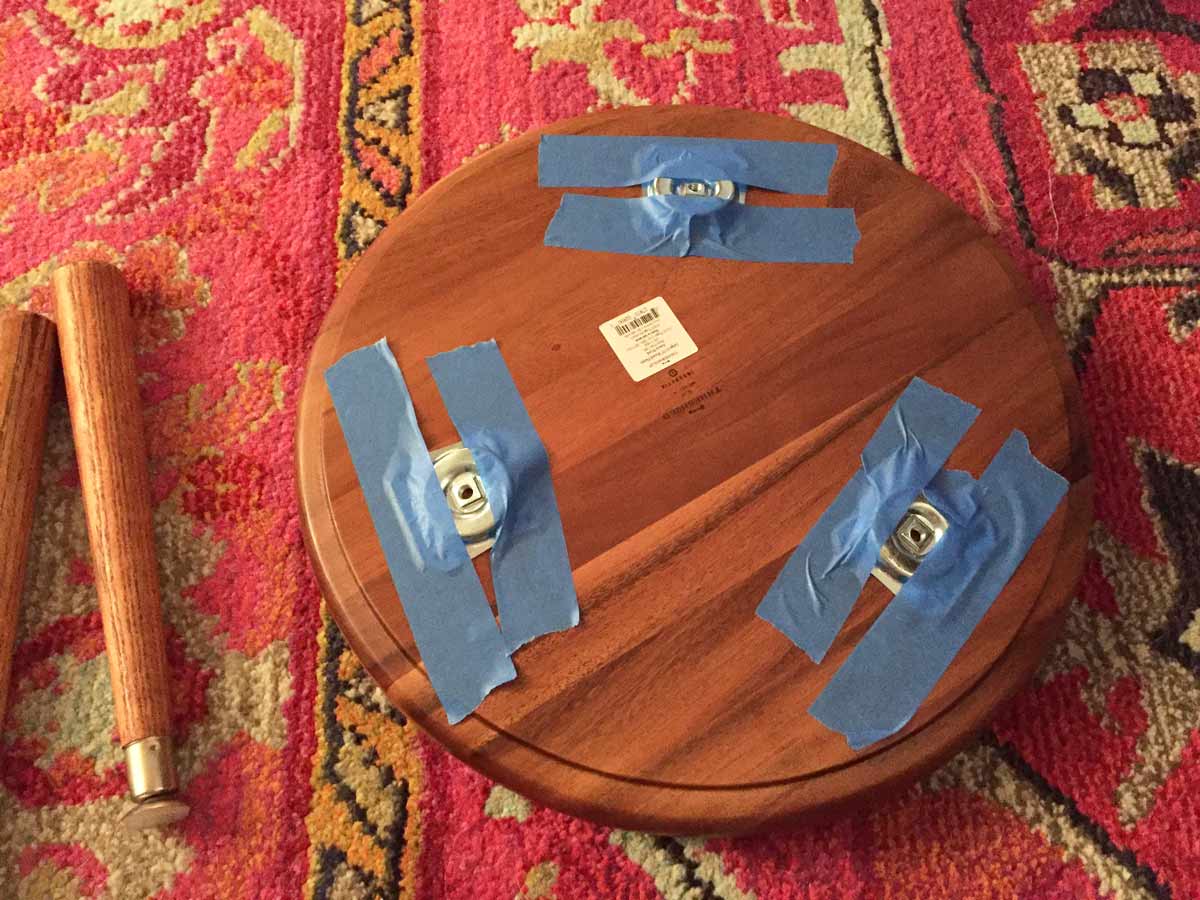
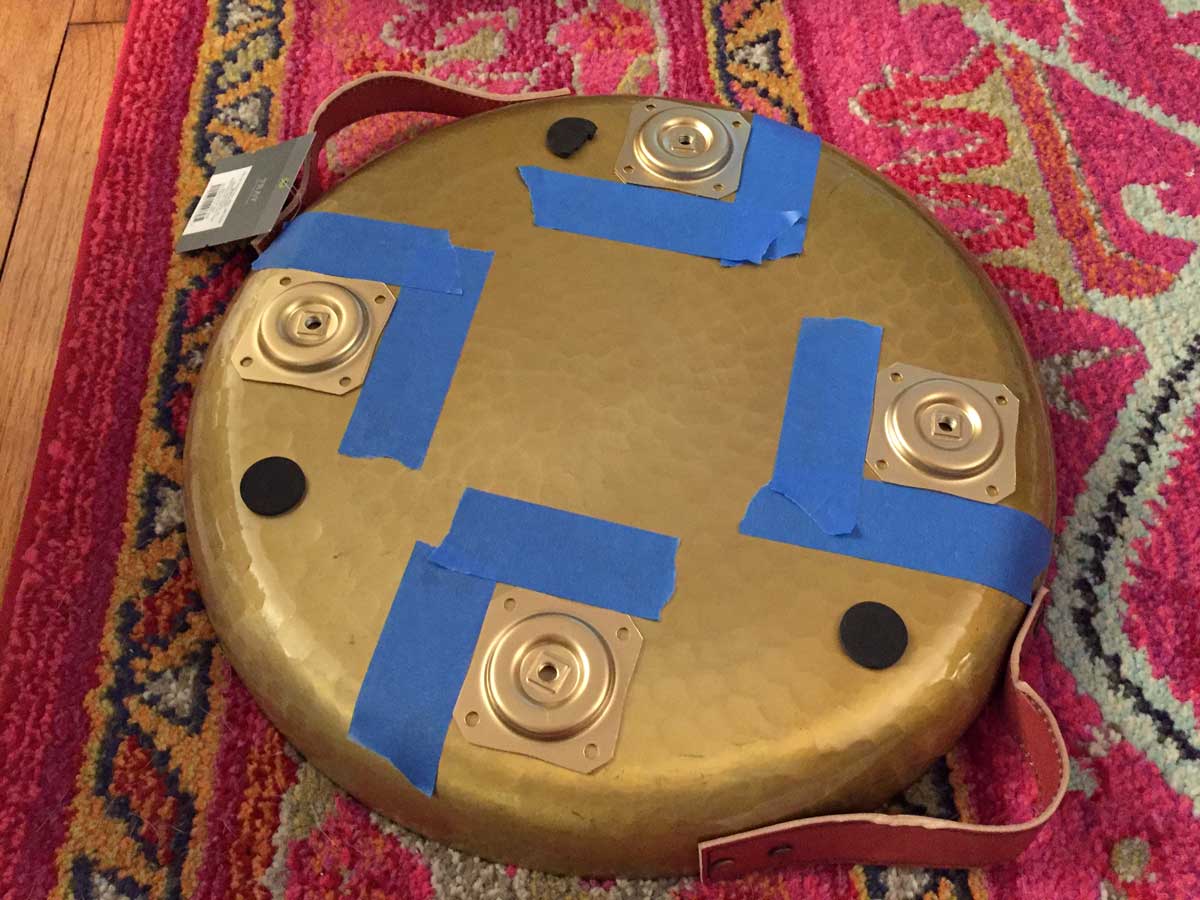
- Once you have them in place screw the plates into the bottom of the wood tray. This is where I used the shorter #8 1/2 screws so that nothing would show on the top of the tray. I found it easy enough to slowly screw in these shorter screws and didn’t drill pilot holes because I was worried that I would drill through the top of the tray.
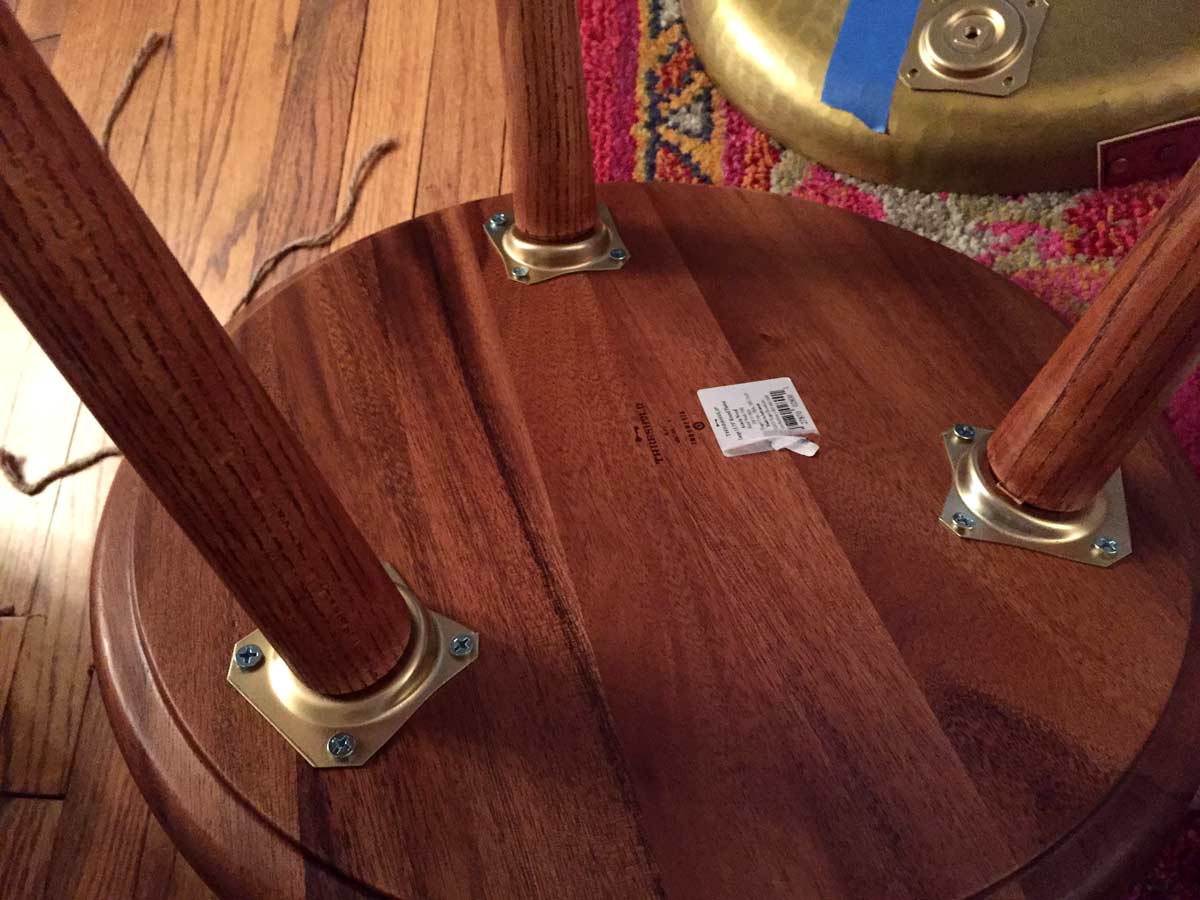
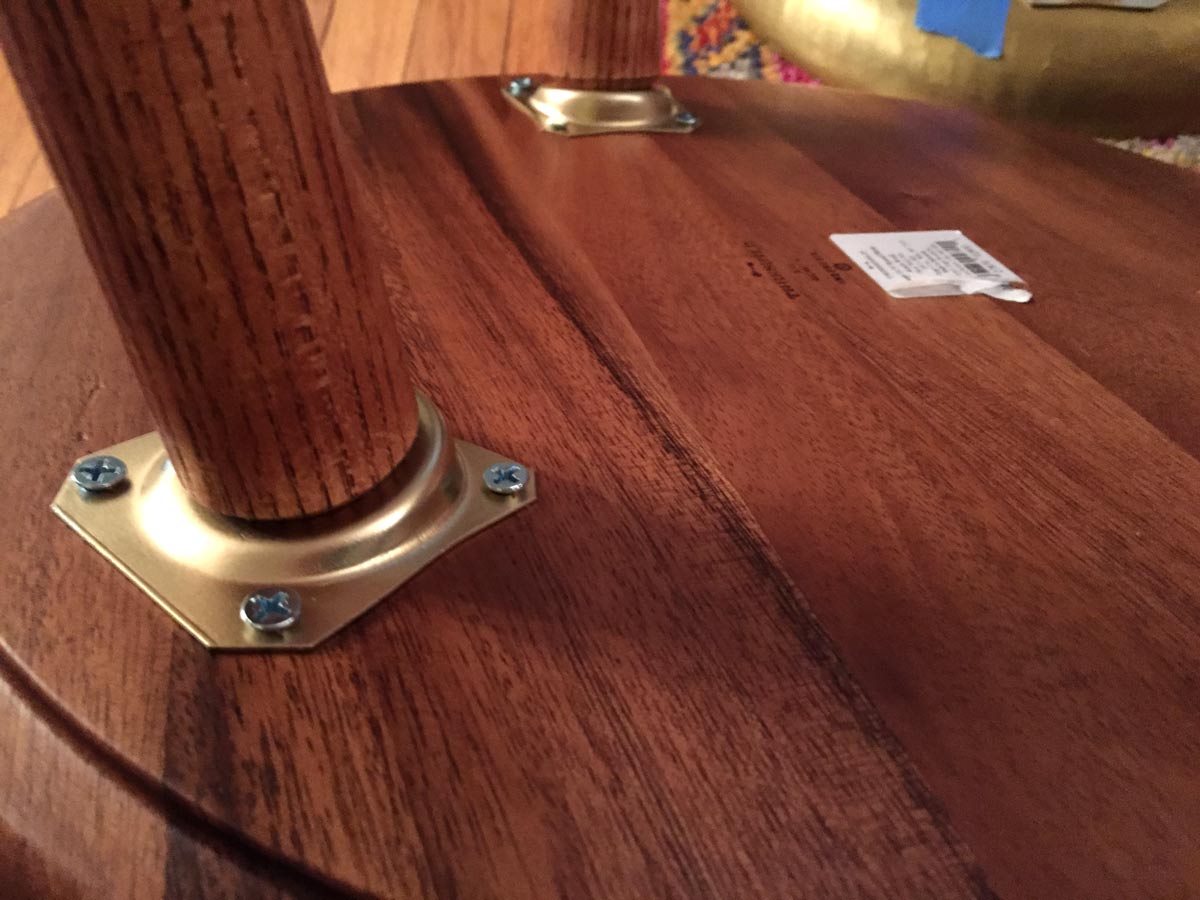
- For the metal tray, bust out that Steel Stik. This was my first time using the JB Weld Steel Stik and it worked great. I didn’t read the directions all the way through though and was definitely touching this stuff without gloves on for a few minutes and my hands felt really unpleasant, so wear gloves. Work a small piece of the Stik together with your gloved fingers until the colors are blended together and then attach a piece onto the bottom side of the top plate in each corner where the screw holes are. I added enough for the Steel Stik goo to bulge up through the hole once I pressed the plate onto the tray, and then I pressed the extra Steel Stik down on the top to sandwich the plate.

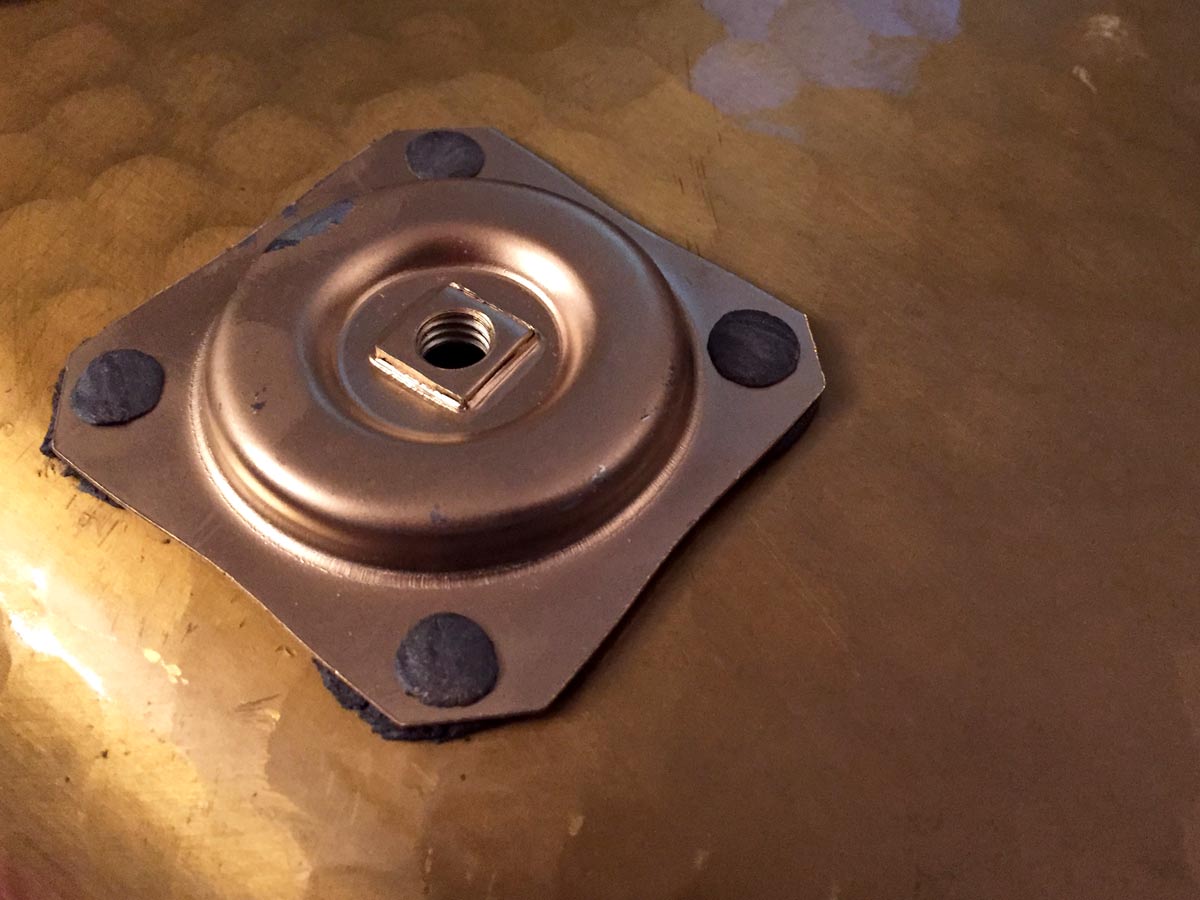
- Wait a few minutes for the Steel Stik to dry and then screw in your legs and add your planters!
Costs:
Wood stand + four legs (I only used three): $44, $64 with this planter
Gold stand + four legs: $60, $80 with this planter
Total for both: $144, two plant stands for less than one from West Elm, holla!
I had the spray paint, stain, and sealer on hand, so add an extra $15-20 for those supplies if you need them. A cheaper alternative to the trays is to use these pine rounds from Home Depot or Lowes. I used one for my coffee table and wanted to change it up for the plant stands.
Currently Trying:
To see what else I can stick together with this magic welding goo. The JB Weld Steel Stik impressed me on this project and I still have a bunch left.
Thoughts? Let me know in the comments
- Do you come home with new plants every time you leave the house? Oh, just me?
- Buy or DIY? Which would you prefer?
While the original West Elm inspiration is sold out, here are a few similar options if you don’t want to DIY your own, and several wood + gold/brass tray options if you can’t find the Target version I linked in their stores. The Threshold (Target) platter sometimes says it is sold out, but they actually have it in the stores
