Ever since I experimented with indigo dye last year, I have been playing with different ways to dye fabric. Many of which call for a consistent simmer which means you have to do it over the stovetop. Definitely a BIG ask. SO BIG my boyfriend refuses to be present when this happens for fear of dye ending up everywhere. But fear not, as daunting as it sounds, follow these simple tips for fabric dying over the stovetop and it’s easy.
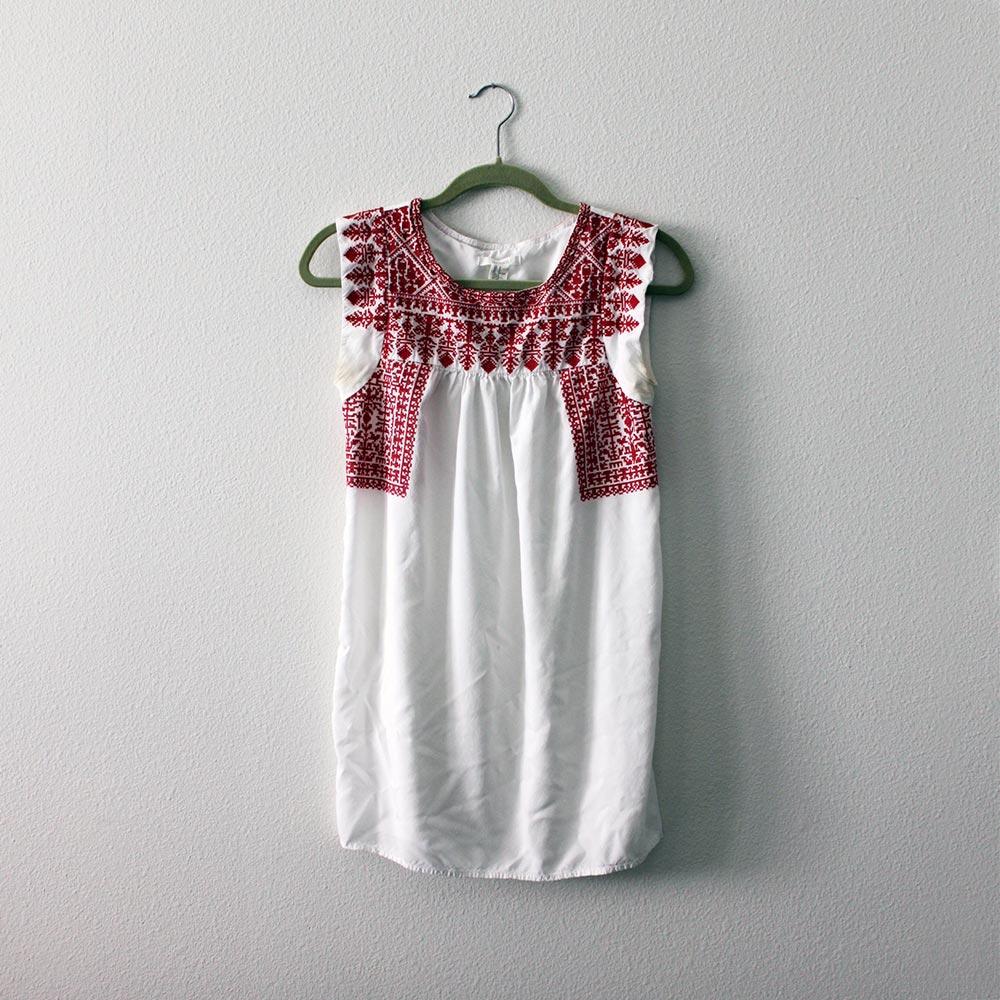
I started with this white dress with red embroidery from Forever 21. Very low risk. I’ve had it a few years and it was getting weird in the arm pit areas so I thought a new darker color would be just the thing to liven it up.
I like to use iDye from Jacquard which I usually pick up from Blick Art Materials. or Amazon. They have the largest range of colors I’ve ever seen. Many of the instructions below come from Jacquard. However, they don’t advertise that you can dye the fabric over the stove on the outside of the packaging so you’re left a little confused on how to actually pull this off. The only thing to be careful of when purchasing the dye is what your fabric is made of. For silk, cotton, linen, and rayon you’ll need iDye for natural fabrics. For polyester and nylon you’ll need iDye Poly for synthetic fabrics.
To start you’ll need a stainless steel or enamel pot and utensil that will be used exclusively for dying fabric. Once you use it, it’s no longer food safe. I love this inexpensive tamale steamer from Target. I love it so much I actually have two; one for dye, one for food. And my most worn out wooden spoon became my designated dye spoon.
Fill the pot with enough warm water that the item you’re dying has enough room to move around freely. Turn the stove on medium and add the dye packet. You’ll have to stir to dissolve. Pre-wet your fabric and add to the dye bath. Raise the temperature to a simmer, just below boiling.
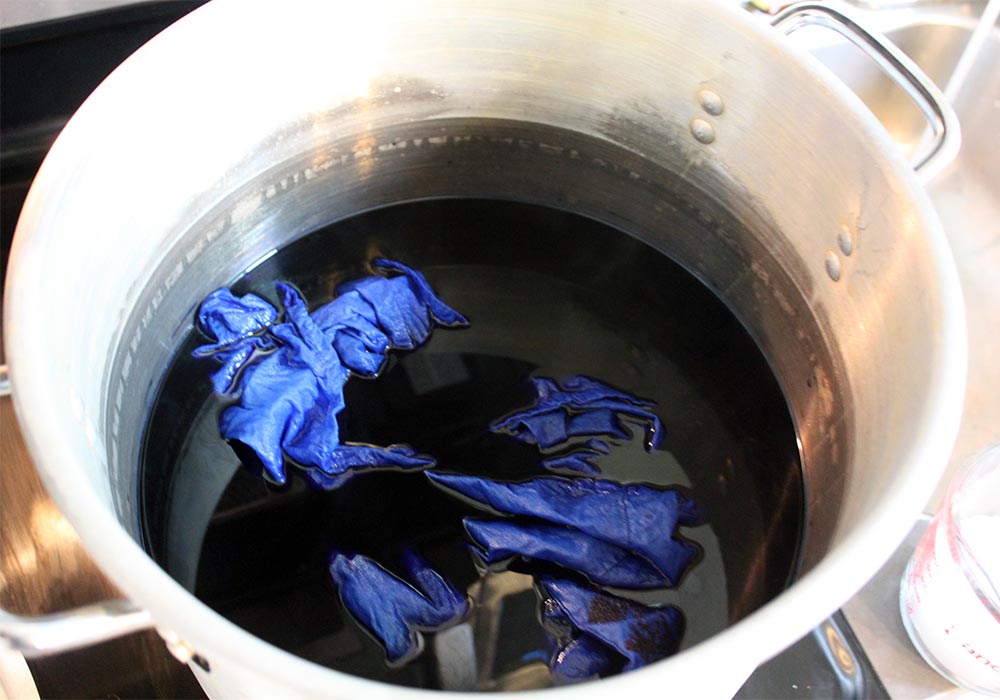
For cotton, linen, and rayon dissolve one cup non-iodized salt in hot water and add to dye bath. For silk add 1/3 cup white vinegar. Maintain the simmer and stir frequently for 1/2 hour.

After 30 minutes, turn off heat and remove fabric. The fabric will be very hot. You’ll need to transfer the fabric to the washer. I like to line by bucket with a small trash bag to make clean up easy. Carry to the washer and wash with mild detergent in cold water and dry. And thats it!
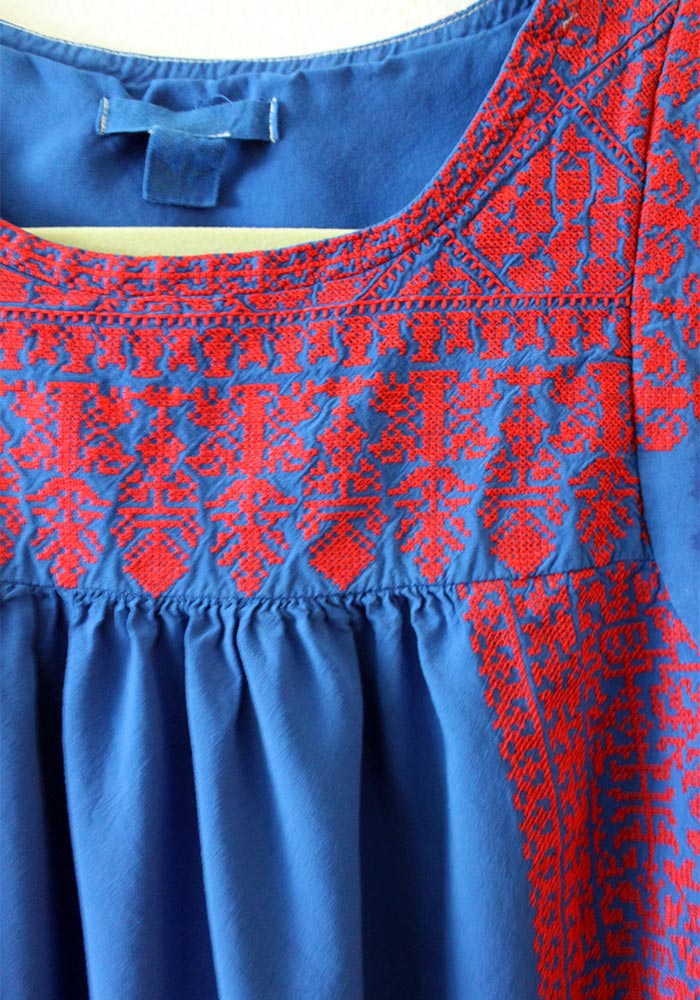
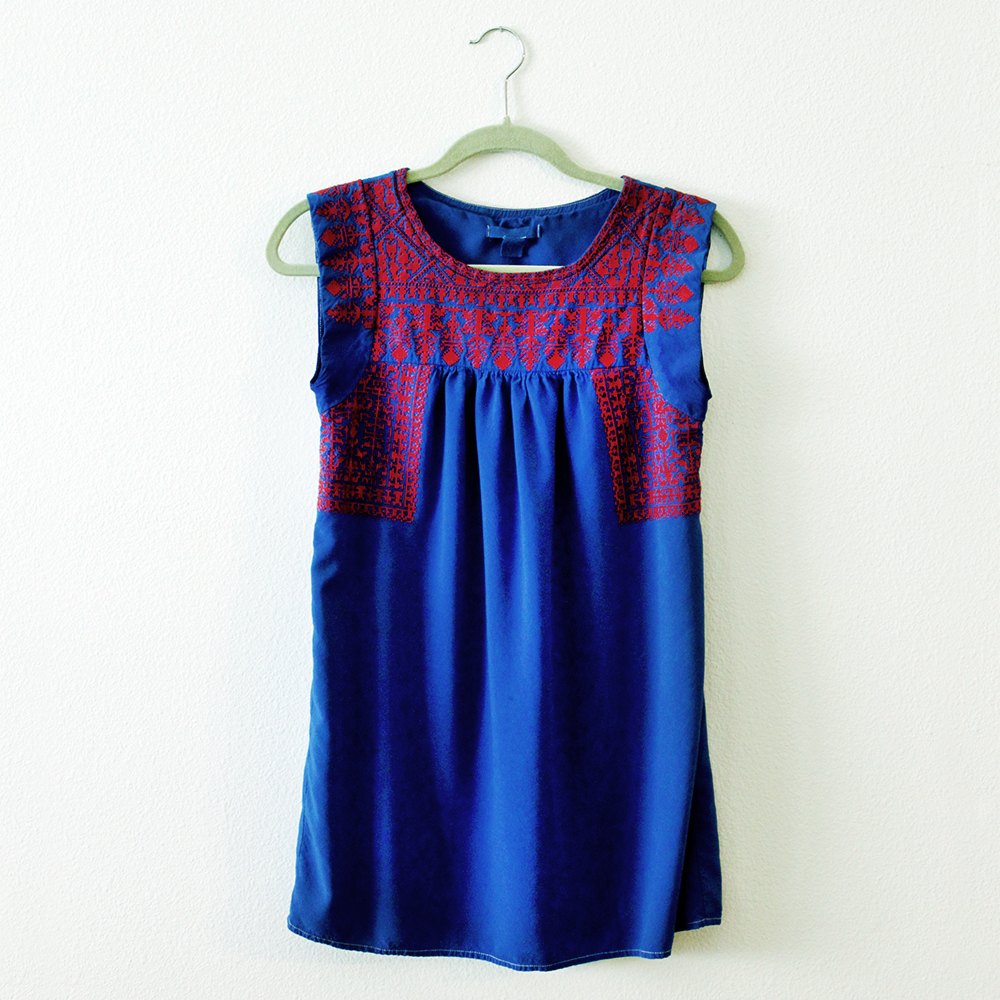
Any thread or embroidery will not be dyed so take that into consideration when choosing your colors.
What do you guys think? It definitely gave new life to my old dress which I kid you not, I’m wearing as I write this. Made me want to wear it again! What else would you dye?