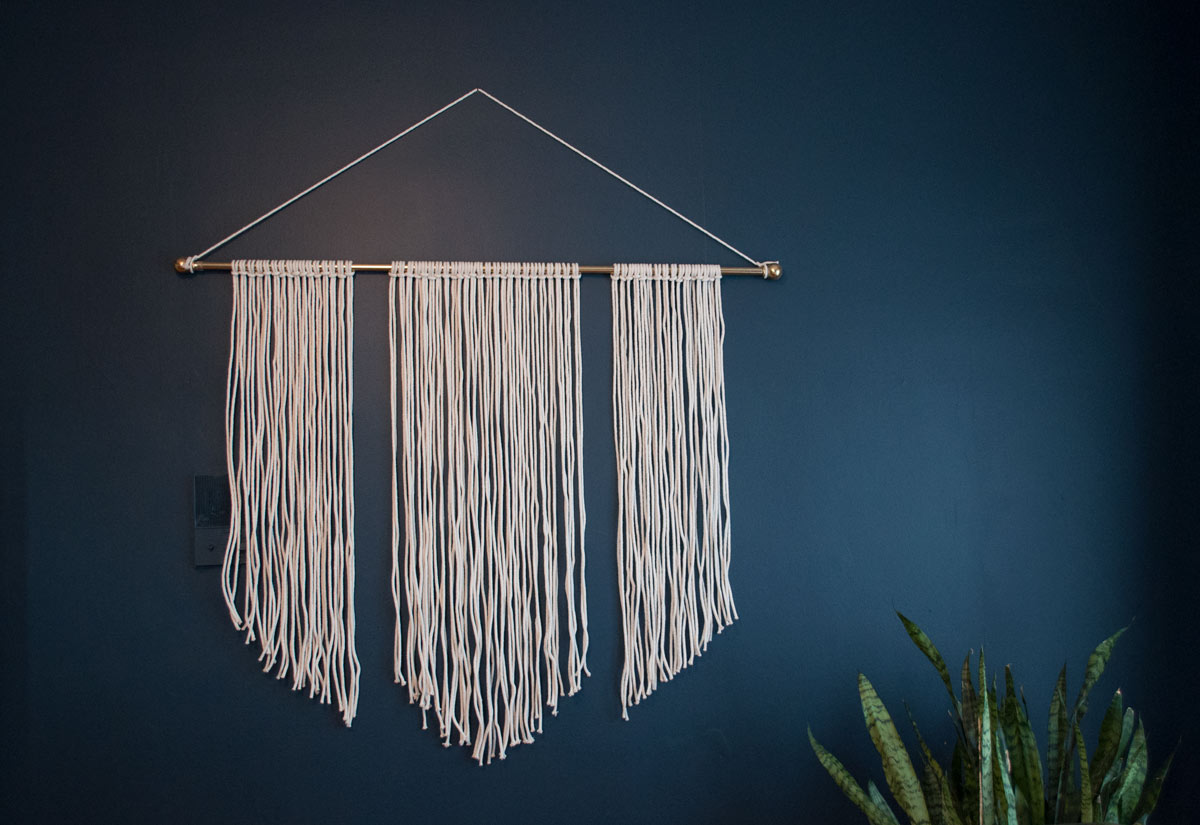
The big empty wall in my guest room was taunting me, and I was told that I couldn’t bring any more pet portraits into the house for a while, so I needed to get creative on some large-scale art. I had bought a ton of rope to make a few baskets, and it was perfect for some quick DIY rope art.
Supplies
- cotton rope
- something to tie the rope to
- I used an old curtain rod, but you could use a dowel rod, a copper pipe, a stick, or anything you have laying around
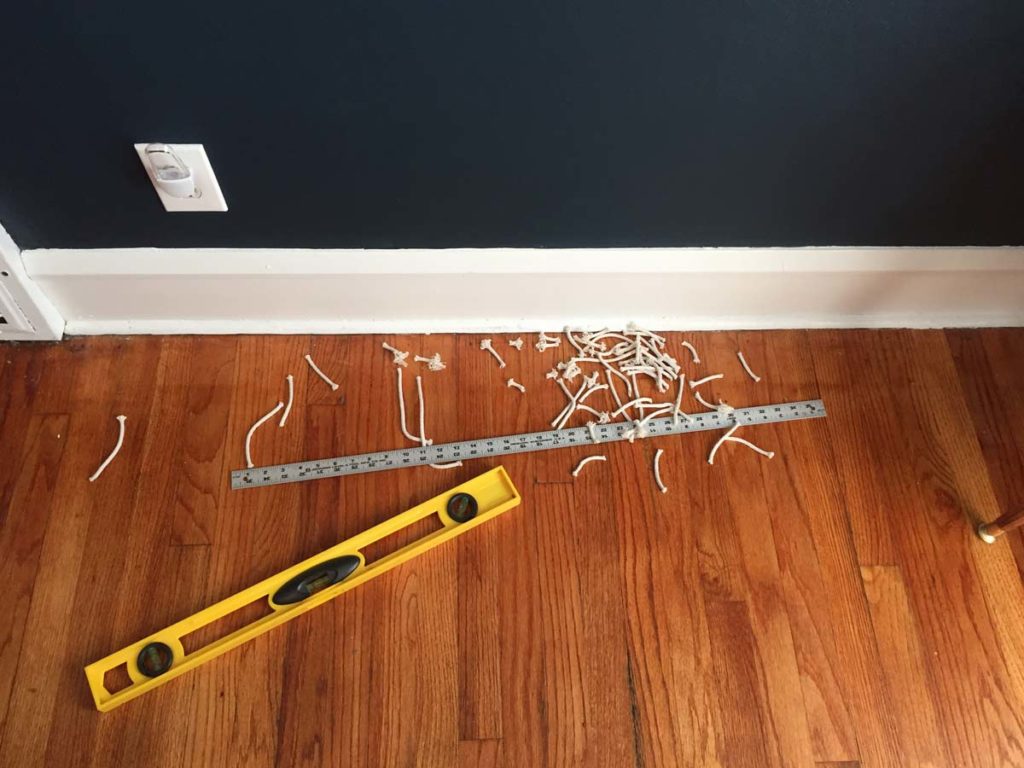
I started out by cutting a million equal lengths of cotton rope. Next I folded each piece of rope in half and looped it around the curtain rod.
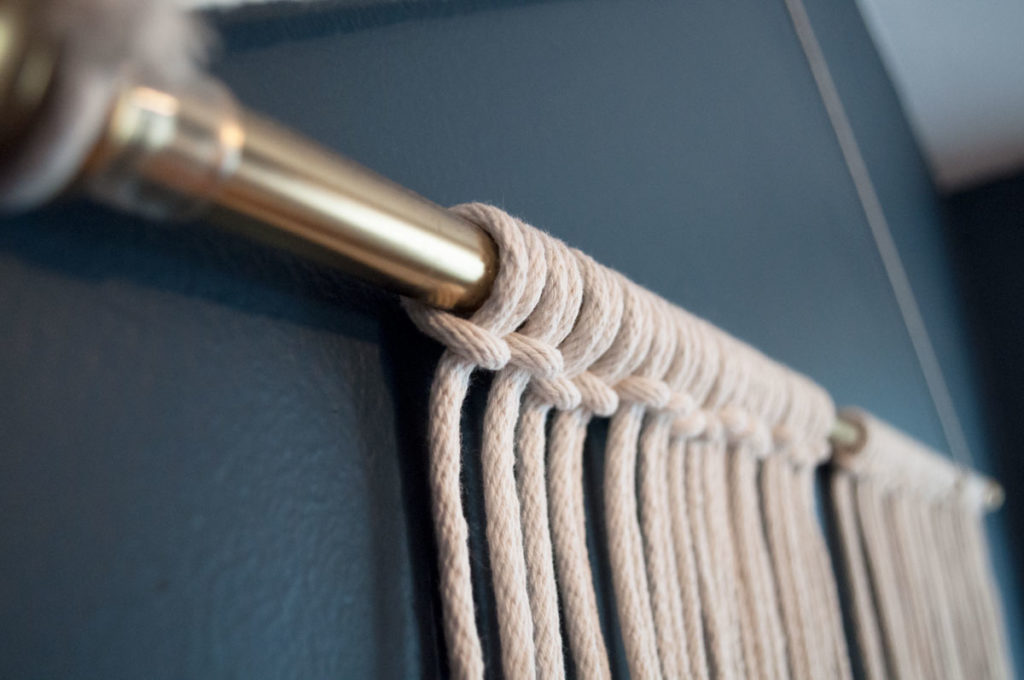
After you fill your curtain rod with the rope, it’s time to decide on your bottom angle. I played around with a yard stick to determine how I wanted to trim the ends.
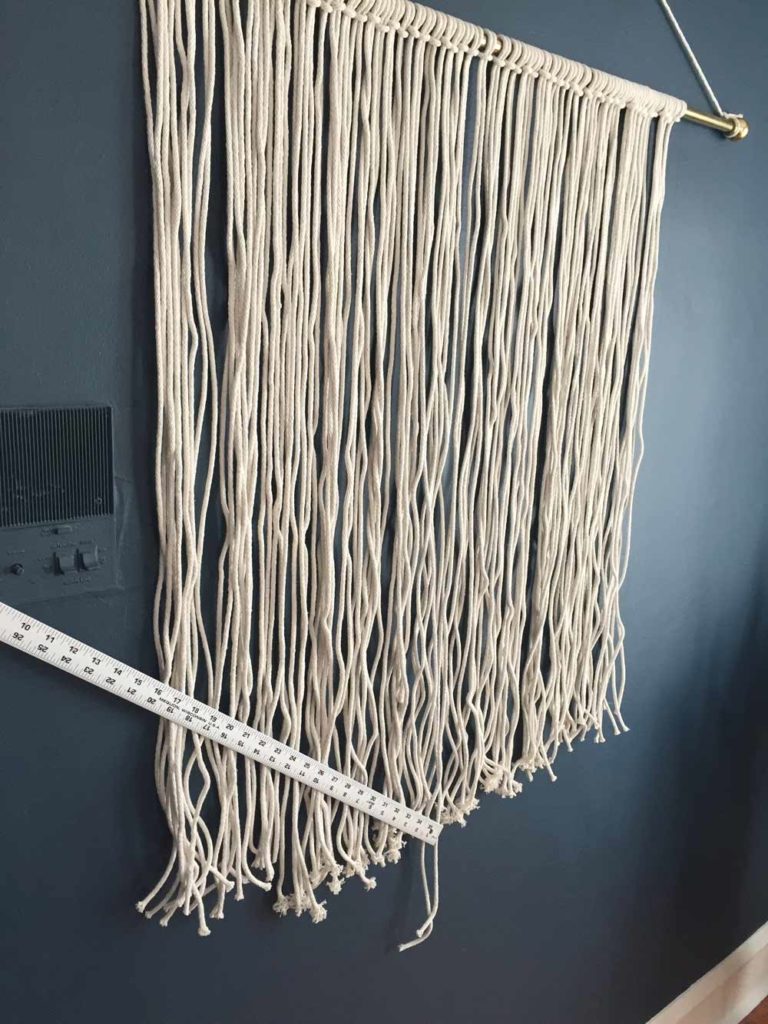
Counting in from the outside, find your middle rope and work to make your trimming symmetrical. For my first round of trimming, I did one side at a time:
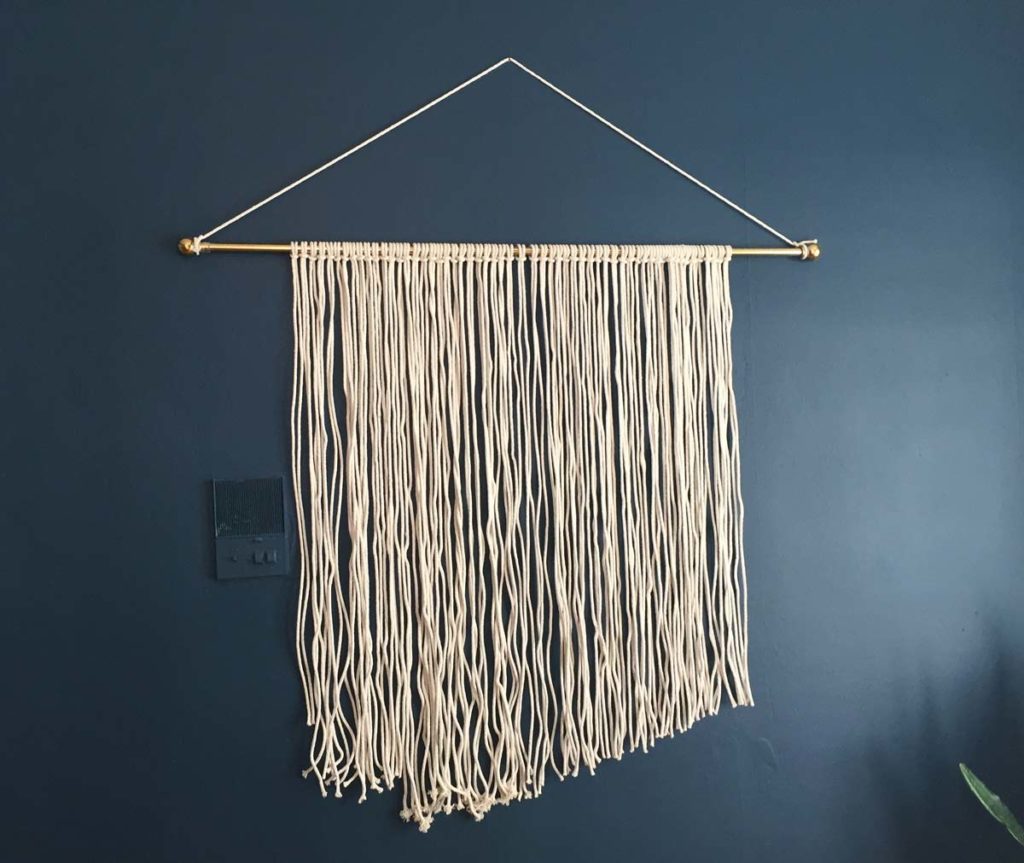
And, as you can see, it did not turn out that great:
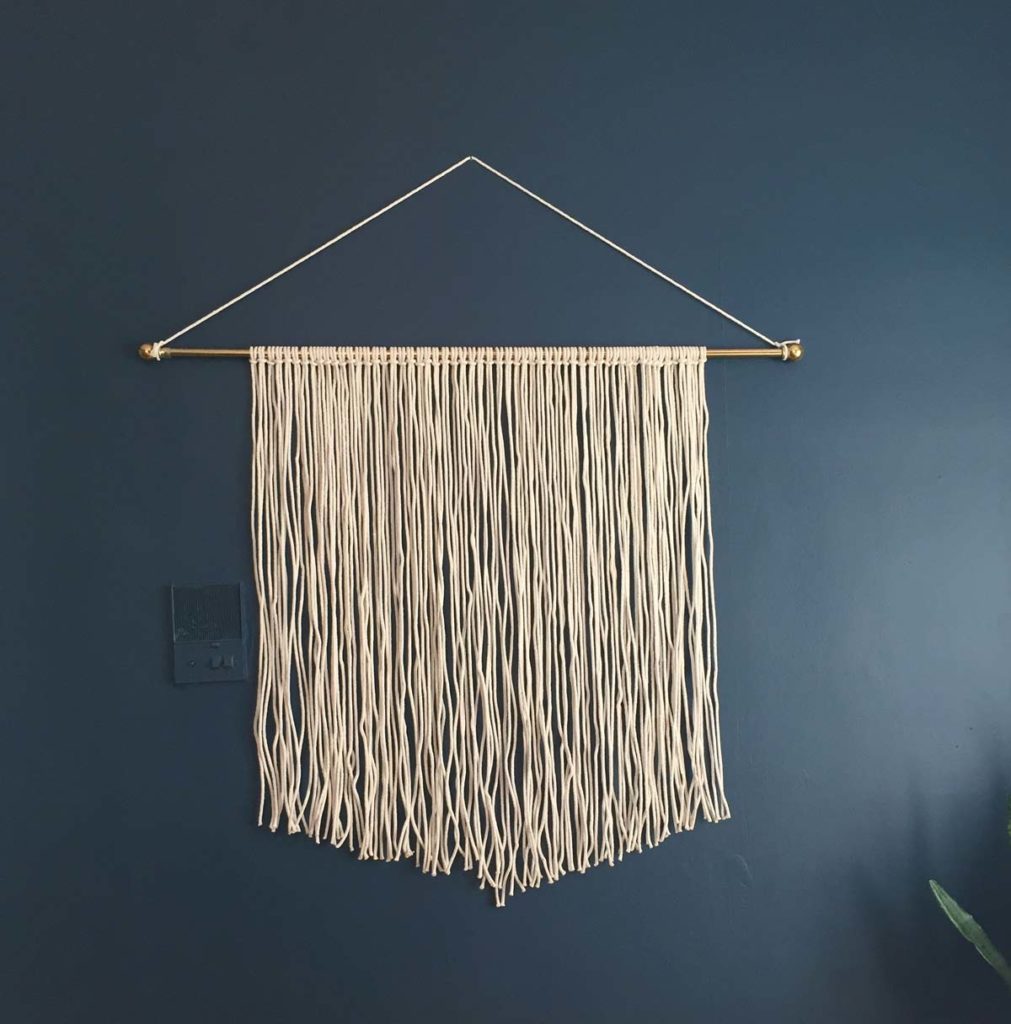
Learning from that mistake, I started from the middle and worked my way to the outside, grabbing one rope section from each side and pulling them into the center to check that I was cutting them the same length. Picture the method your hair stylist uses to check that the front pieces of your hair are the same length. While trimming, I thought the three separate sections of rope looked nice, so I continued in that direction.
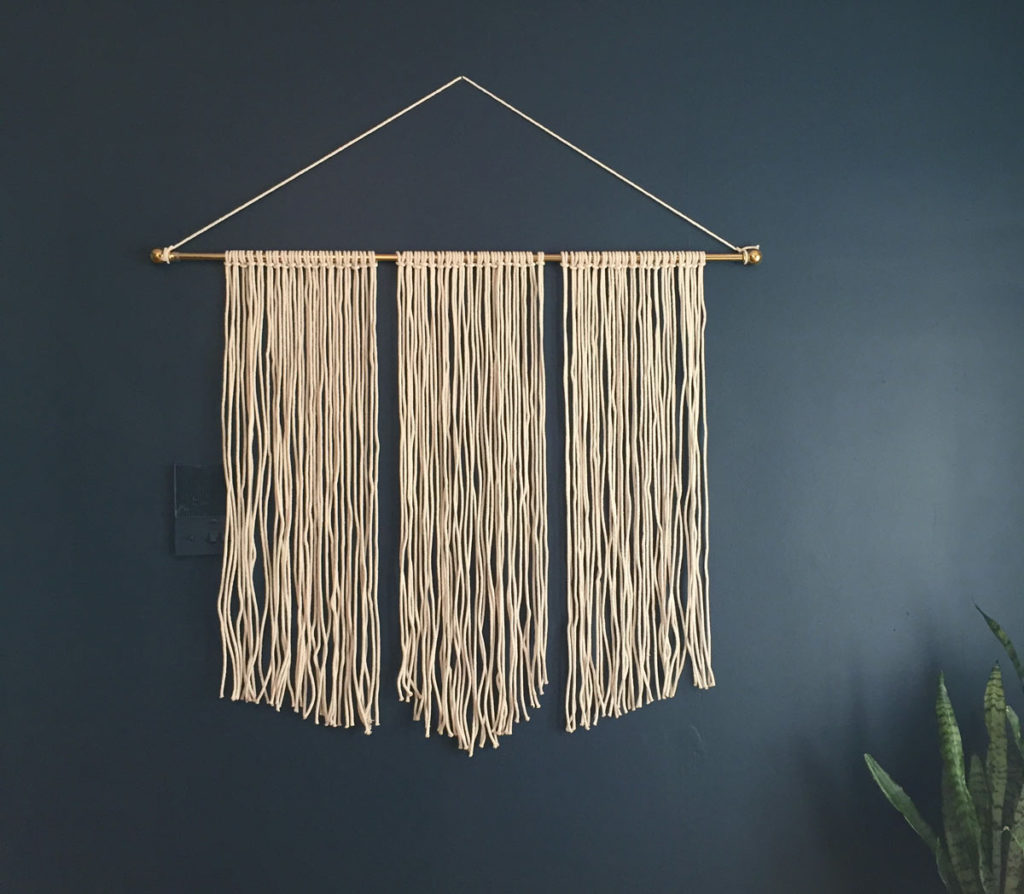
I used the level to make sure the curtain rod was hanging straight before I made the final snips.
The ends are raw, but overall, the DIY rope art is a huge improvement over a blank wall!
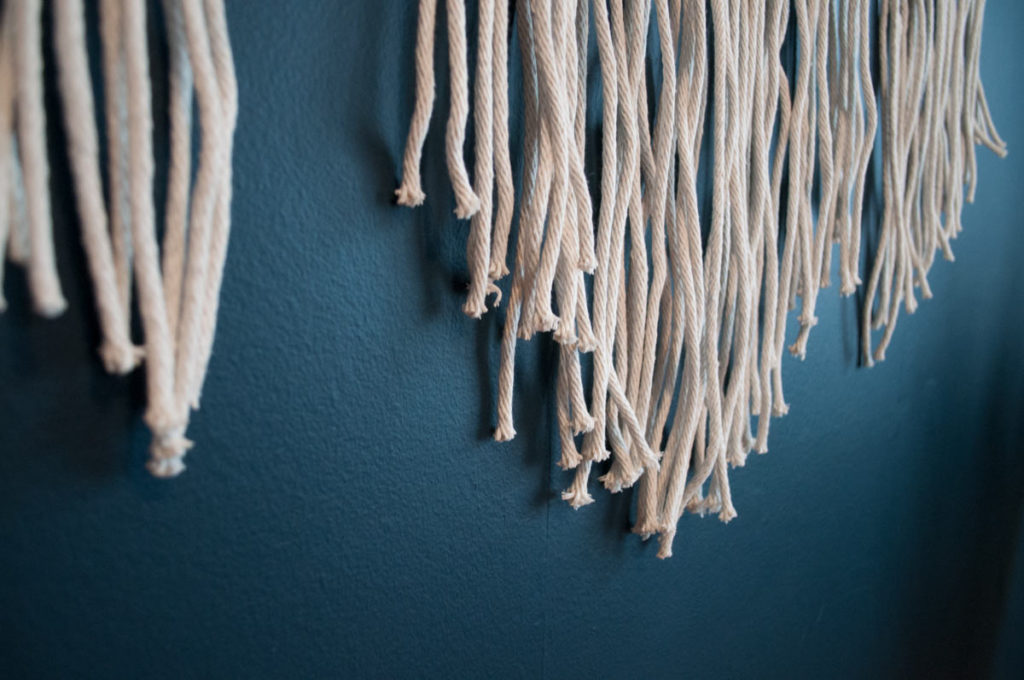
I’ve had this up for several months and of course, I have a few ideas for ways to spice up the piece now.
- Dip-dye the ends
- Since I used all cotton rope, it will take dye perfectly, so I could dip the ends in a mustard color dye.
- Incorporate wood beads
- since Robin’s DIY wood bead candle holder turned out so cute, I might add some wood beads to a few of the rope sections
- Wrap some sections with embroidery floss
- to bring in some extra color, I could wrap a few areas of rope with embroidery floss, the benefit of this is that it’s removable.
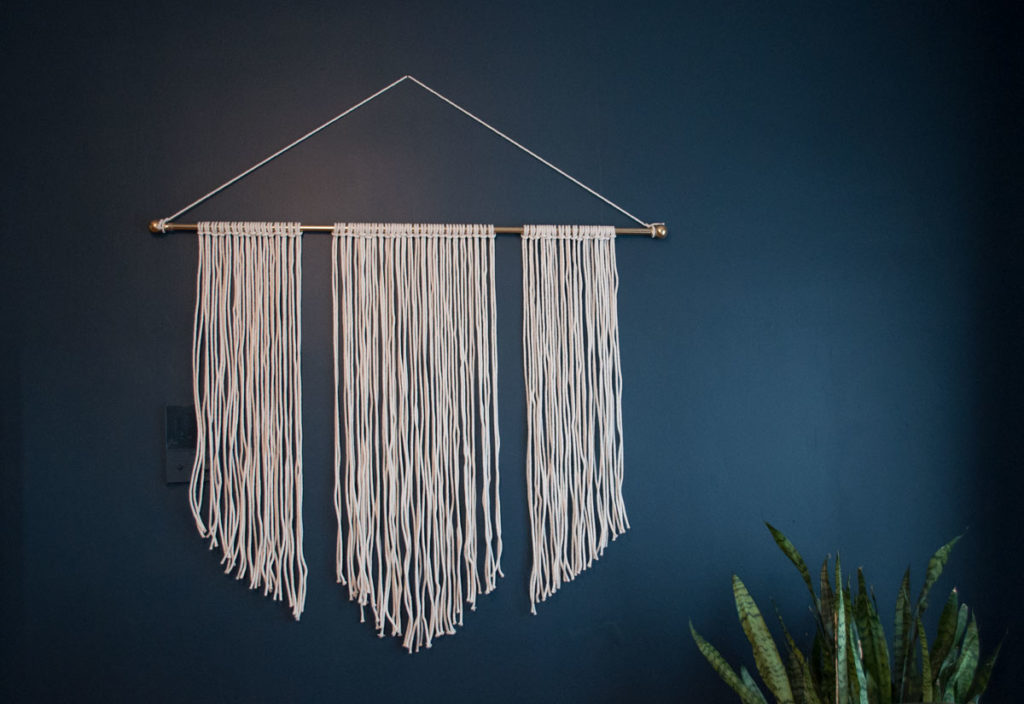
What do you think? This DIY rope art is super simple to make, and I’m excited to add some extra flair. Let me know if you have any ideas for ways to bring a little something extra to this in the comments!

