One of the things that can be disheartening about working on your house is that it often feels like you’re just throwing money at problems, even when DIY-ing it. Since I moved in last summer, my boyfriend and I have bought light fixtures, rugs, porch furniture, living room furniture, dining room chairs…the list goes on. And while I try my best to find a good deal (or a garbage-truck-bound dining room table to refinish), all of those expenses add up fast. So, in an effort to get the biggest bang for our buck, I gave our guest room a free room makeover using paint that we already had.
We decided on Silver Drop for our whole-house color back when we stripped the wallpaper from the living room and repainted the first floor. It’s a super light gray and/or warm white depending on the lighting and it looks great with all of our original woodwork, which was the major deciding factor.
After painting the living room, dining room, stairs, and upstairs landing Silver Drop, we had plenty of gallons of paint lying around, along with trim and ceiling paint. With no real plans for the guest room (other than having it be a functional guest room/my closet), I decided to get to work stripping the green floral wallpaper and making some free updates.
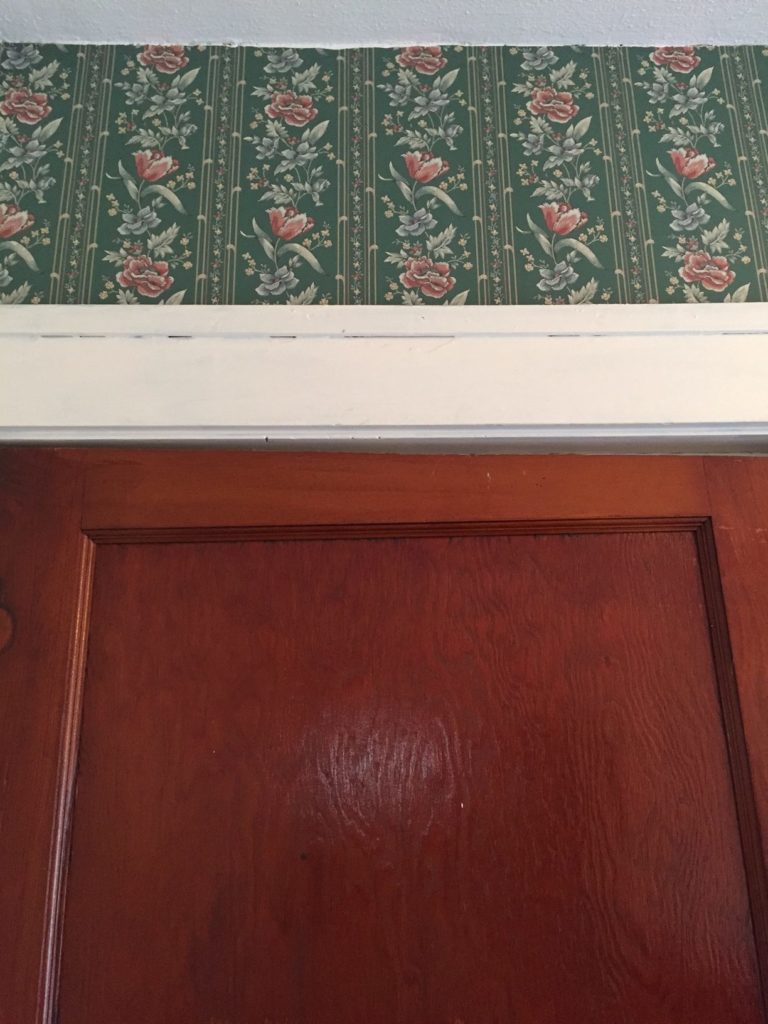
Ok, in truth, this project was kicked off before making the conscious decision to work on only free projects for a while. One night (after a few drinks, surprise!) I was in the guest room and noticed a corner of wallpaper coming up. I gave it a little tug, not expecting much, but a section probably three feet long pulled right away from the plaster. Tipsy Hannah was thrilled but, well, tipsy, so I filed that away for Future Hannah to deal with.
Cut to 9 am on a Saturday a few weeks later, and my boyfriend comes stumbling, bleary-eyed into the guest room. I had stripped the wallpaper from the entire room in about 45 minutes. He went back to bed.
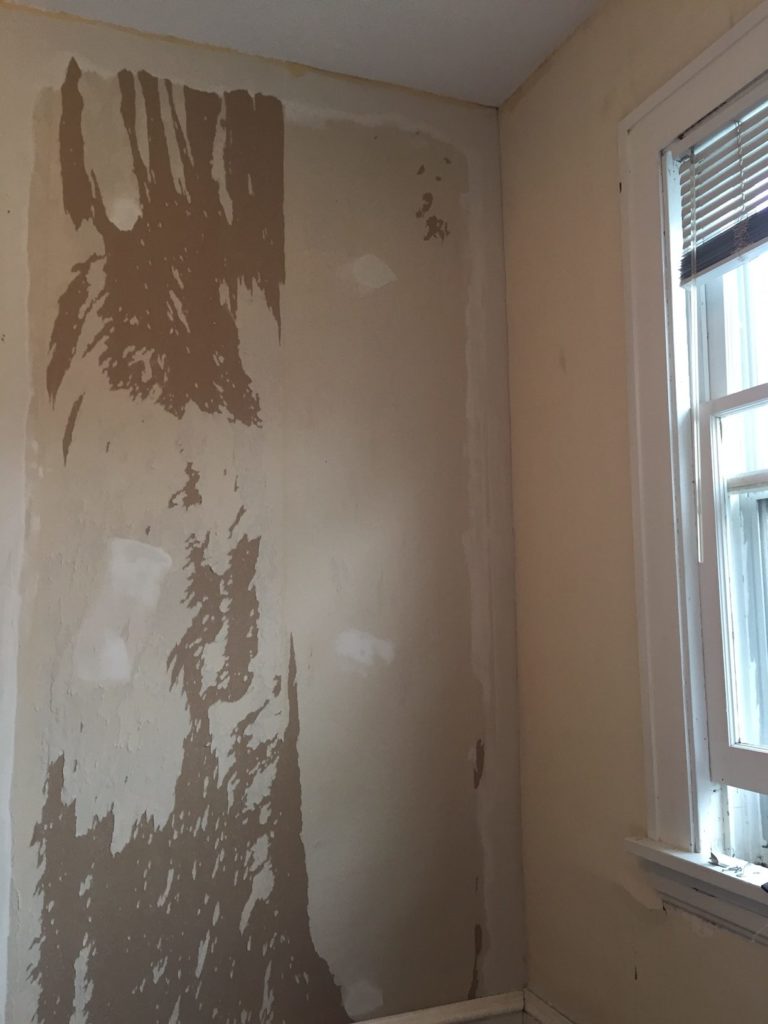
After spending hours tediously scraping wallpaper from the walls in the living room, this quick removal in the guest room was so satisfying. Wallpaper was coming off in full sheets without any sort or steam or warm water. It was amazing! Three of the walls revealed the original plaster underneath, but the wall that the guest room shares with the bathroom is drywall (best guess is the previous owners did some plumbing work in that wall at some point). Some of the drywall came off with the wallpaper, leading to a bunch of dents and holes that needed patching.
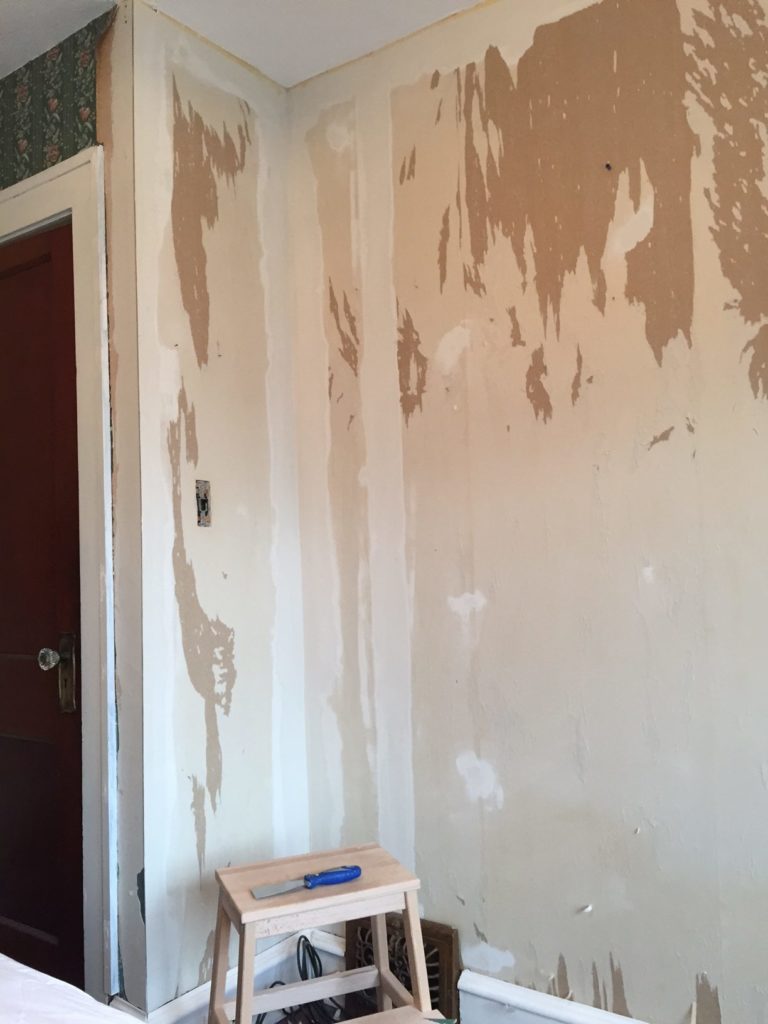
I don’t mind painting, but I despise patching walls. Luckily, my boyfriend enjoys it, so he handled that part of the prep process. With the walls patched, sanded, and wiped down, it was time to start painting.
We primed the drywall wall first with Sherwin-Williams Multi-Purpose Latex Primer then followed that up with two coats of Sherwin-Williams Super Paint color-matched to Behr Silver Drop on all of the walls. The trim (it was already painted when we moved in, otherwise I wouldn’t dare touch it) got two coats of Sherwin-Williams ProClassic Enamel in white, and the ceiling got a coat of Sherwin-Williams Eminence High-Performance Ceiling Paint in a flat finish. TBH, the ceiling probably should have gotten more than one coat, but I can’t stand painting ceilings so that’s what you get. You’re welcome, guests!
After letting everything air out for a few days, my rug, bed, side table, and dresser from my room when I lived with Michelle were moved back in to form a usable guest space.
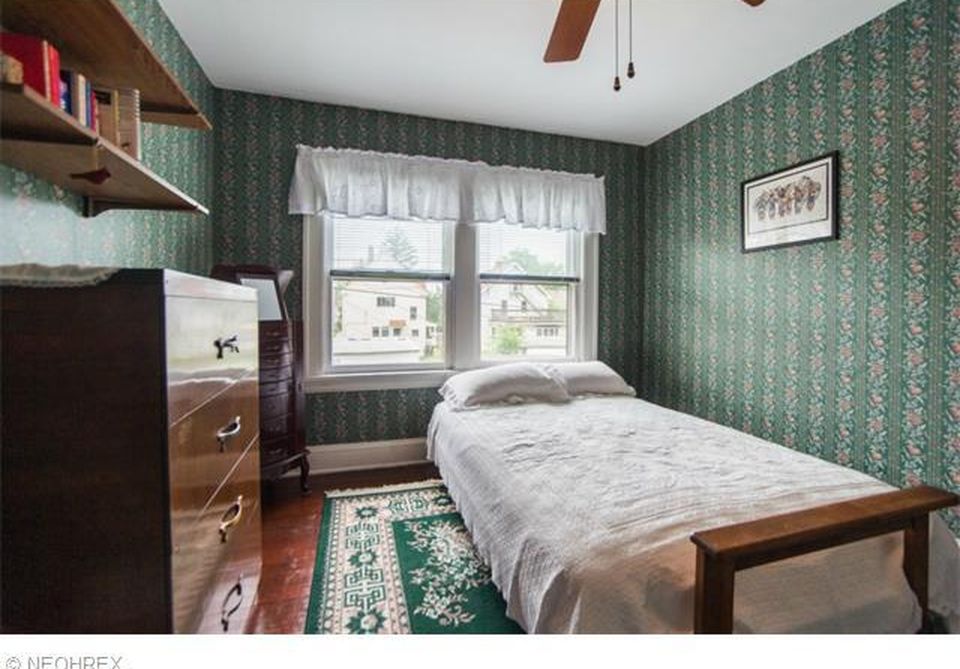
Here’s the before (from the listing before we bought the house):
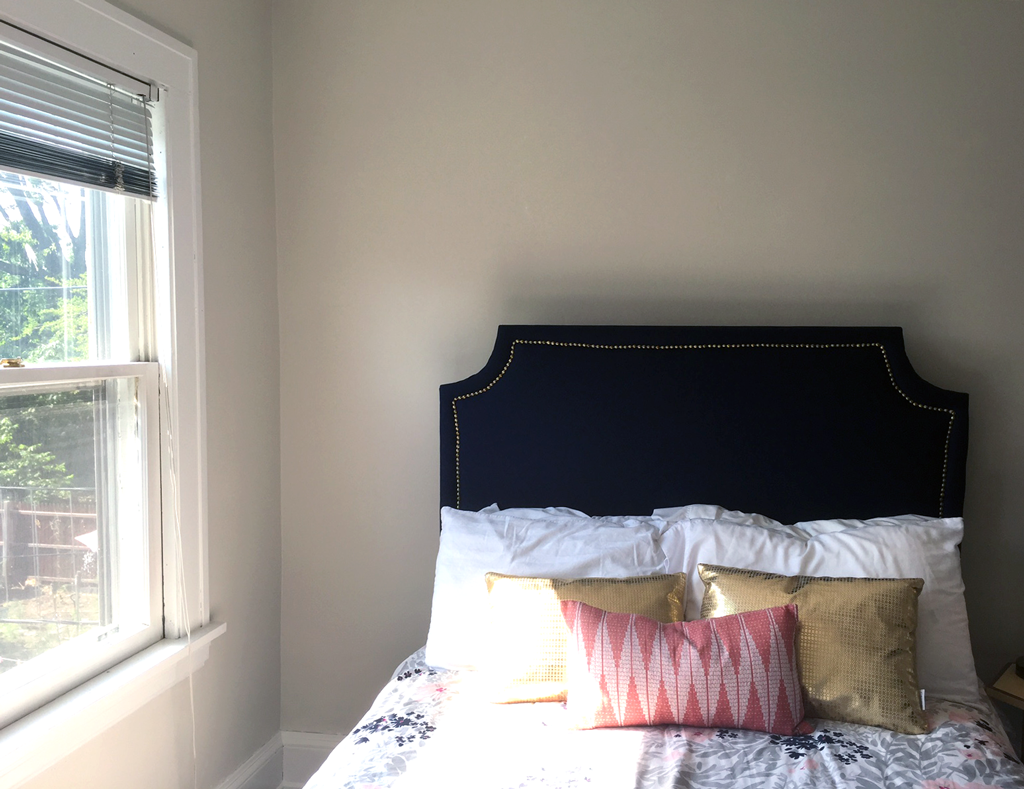
And the after:
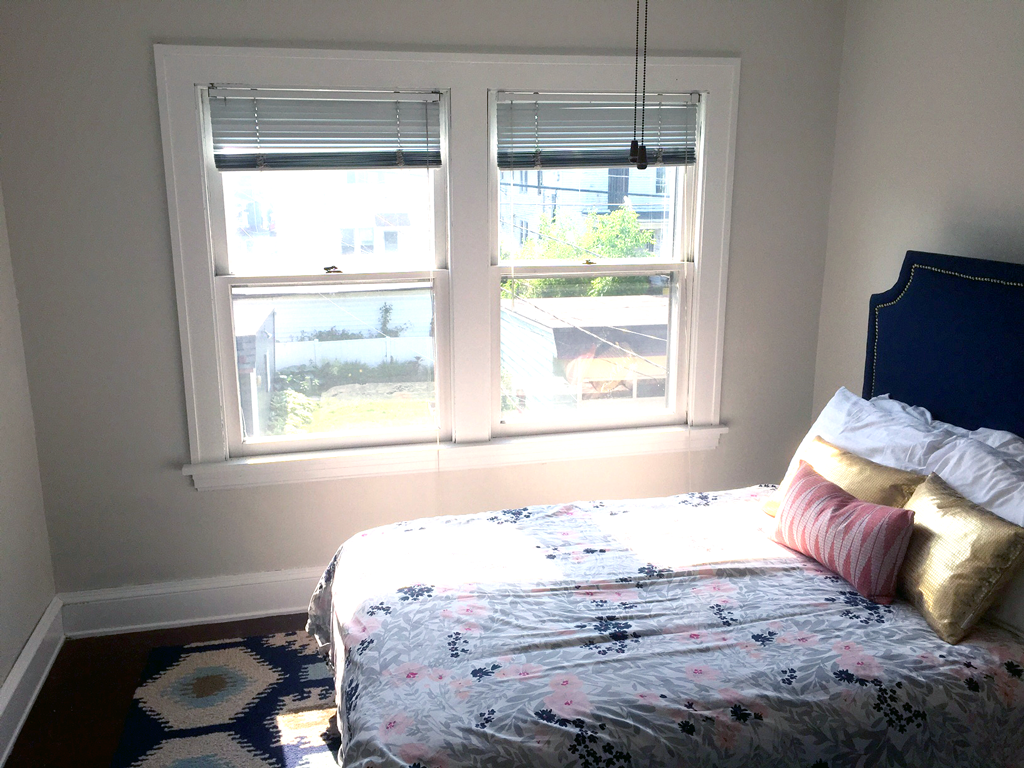
While this room certainly isn’t finished by any means, it’s miles from where we started. Despite what the pictures show, the room feels a lot bigger and cleaner now that the dark wallpaper is gone. It won’t be winning any design awards anytime soon, but I just love walking in here, knowing that such a huge impact was made without spending any additional money.
Up next for the guest room:
- Replace the blinds with bamboo shades
- Hang curtains
- Figure out a closet door/curtain situation
- Hang art
- Do something with that south (left in the above pics) wall. It could be interesting to put the bed on that wall and build some shelves around it, like this room from Our Humble Abode.
What do you guys think? Anyone else always forget about the free updates they could be making? I tend to get sidetracked by the next new, exciting project, but these low-cost projects can have just as big as an impact. Show me your painting before and afters in the comments!

