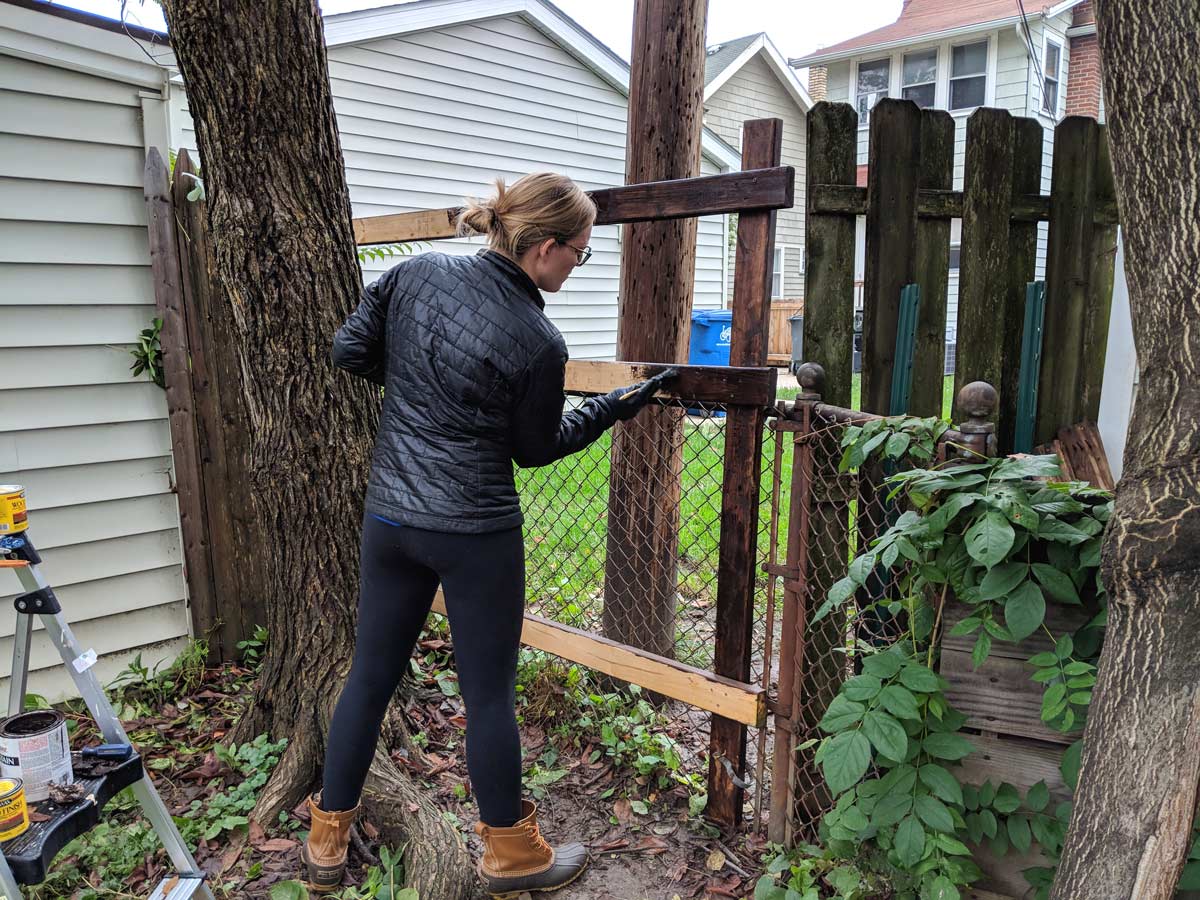
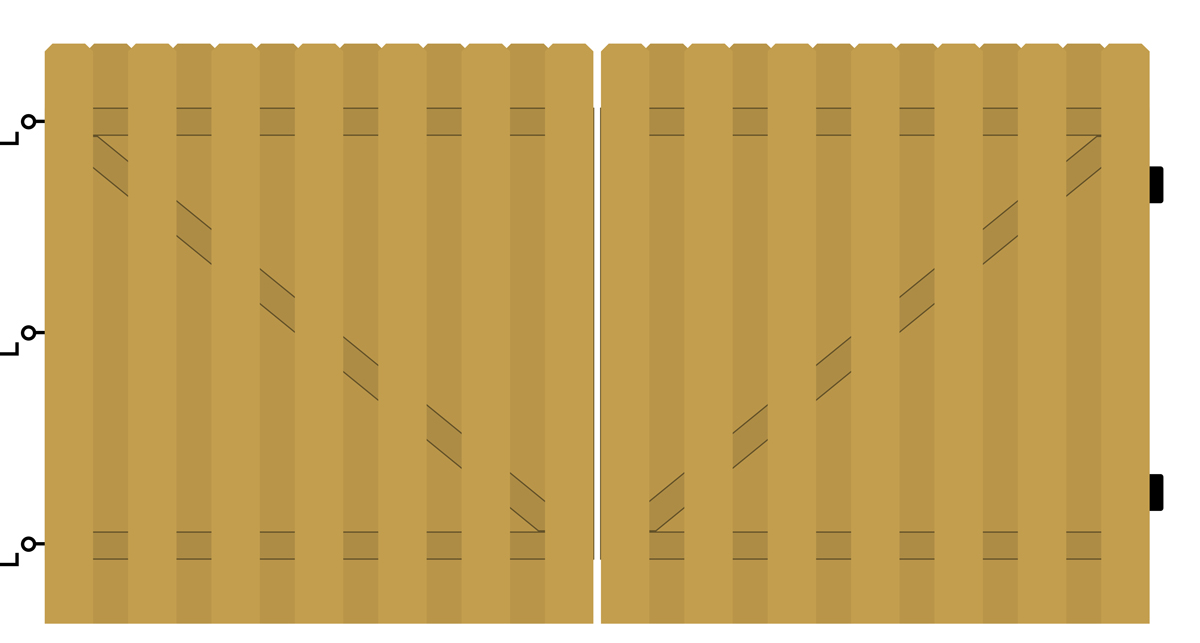
Welcome to The Fence Saga Part 2. Part 1 left off with a freshly laminated building permit, a giant pile of dirt, and a mix of old and new fence panels. A couple of the old panels looked salvageable, so I tried a test patch of stain on them to see if it would sort of match the stained fence along the side of the house.
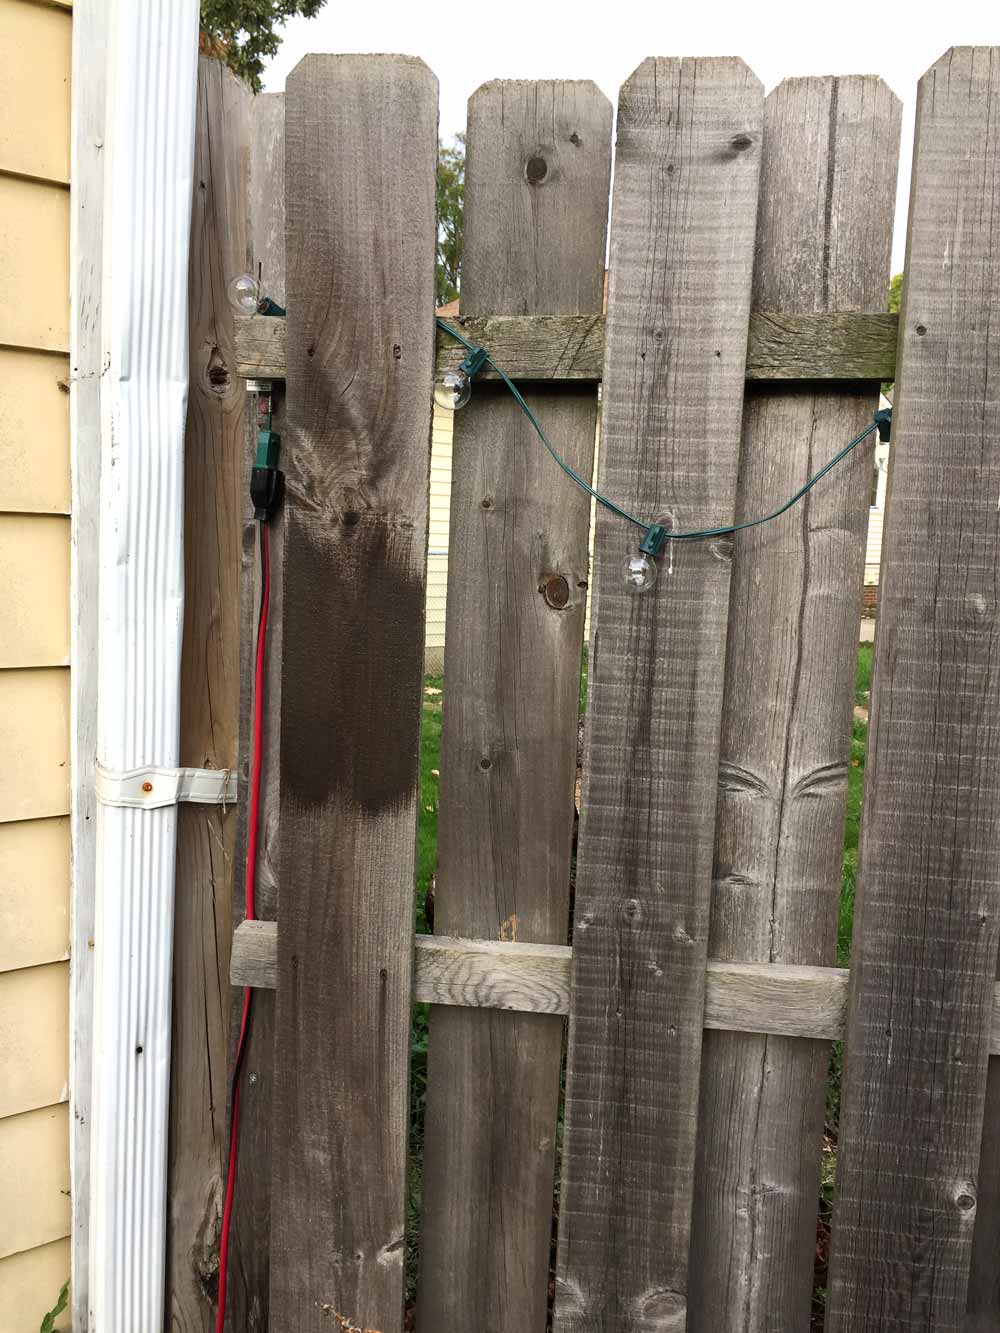 It did not work. The old panels had seen too much and were covered in too much dirt and grossness. This meant I got a chance to use a pressure washer! Pressure washing the grimy old panels made them almost good as new. Here’s a video of my dad working on a panel:
Magic!
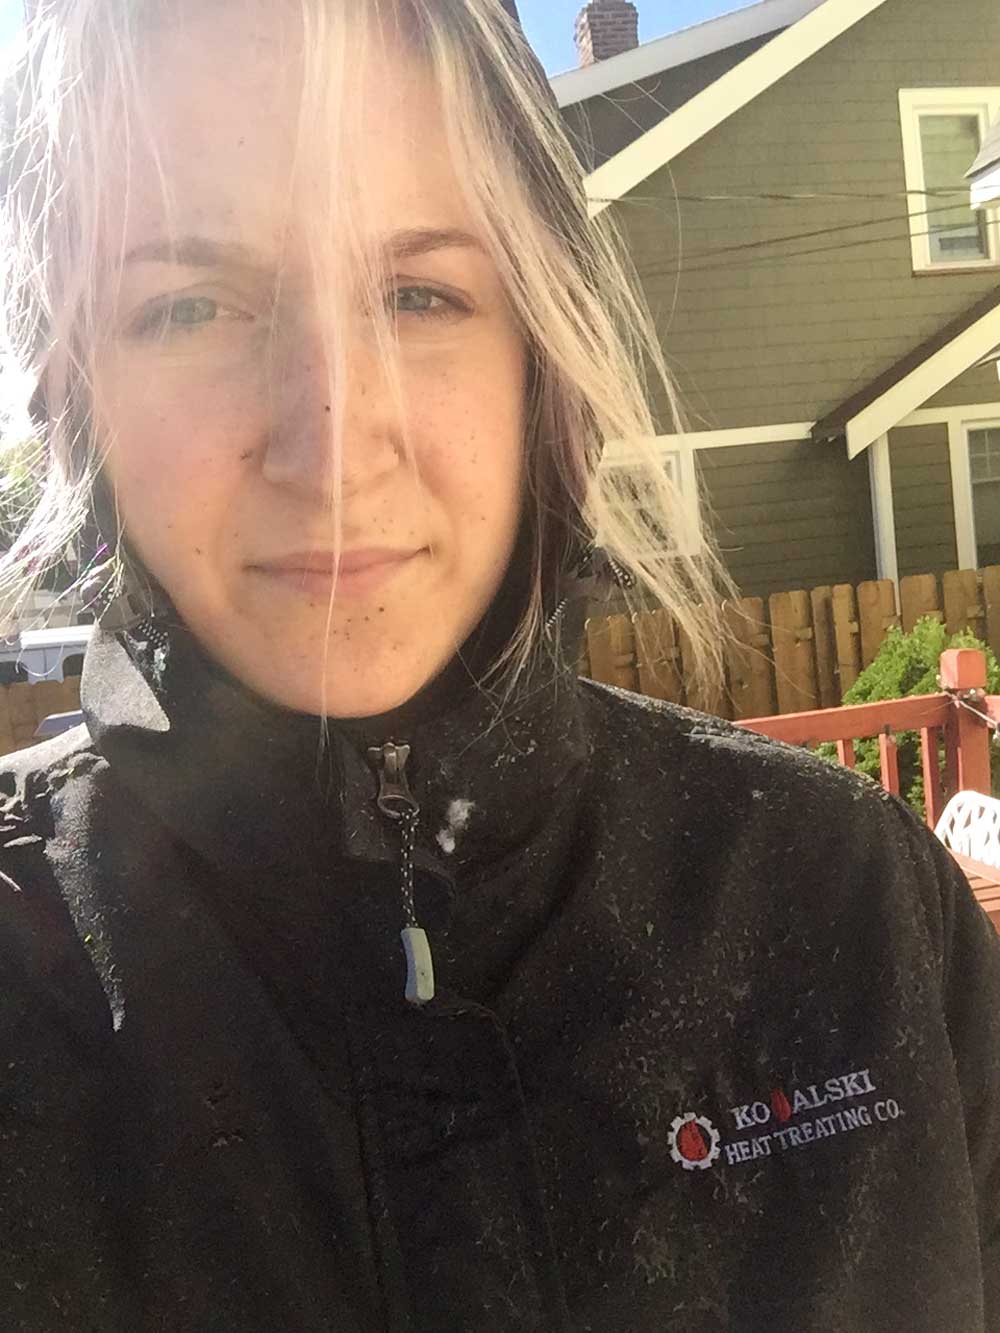
Pressure washing years of slime off of the fence was a nasty job, as evidenced by this post-wash selfie:
Staining Fence Panels
 While the freshly cleaned old panels dried out for a few days, I got to work staining the new panels in my overcrowded garage workshop. I used Behr Transparent Weather Proofing wood finish tinted to Antique Oak to match the stain color my neighbors picked for the fence along the side.
Since the fence is built with shadowbox panels, there were a lot of nooks and crannies that could get overlooked. Here was my method for how to stain fence panels without missing a section:
Working from left to right, complete one picket at a time. Stain the outside edges first, including the top of the picket.
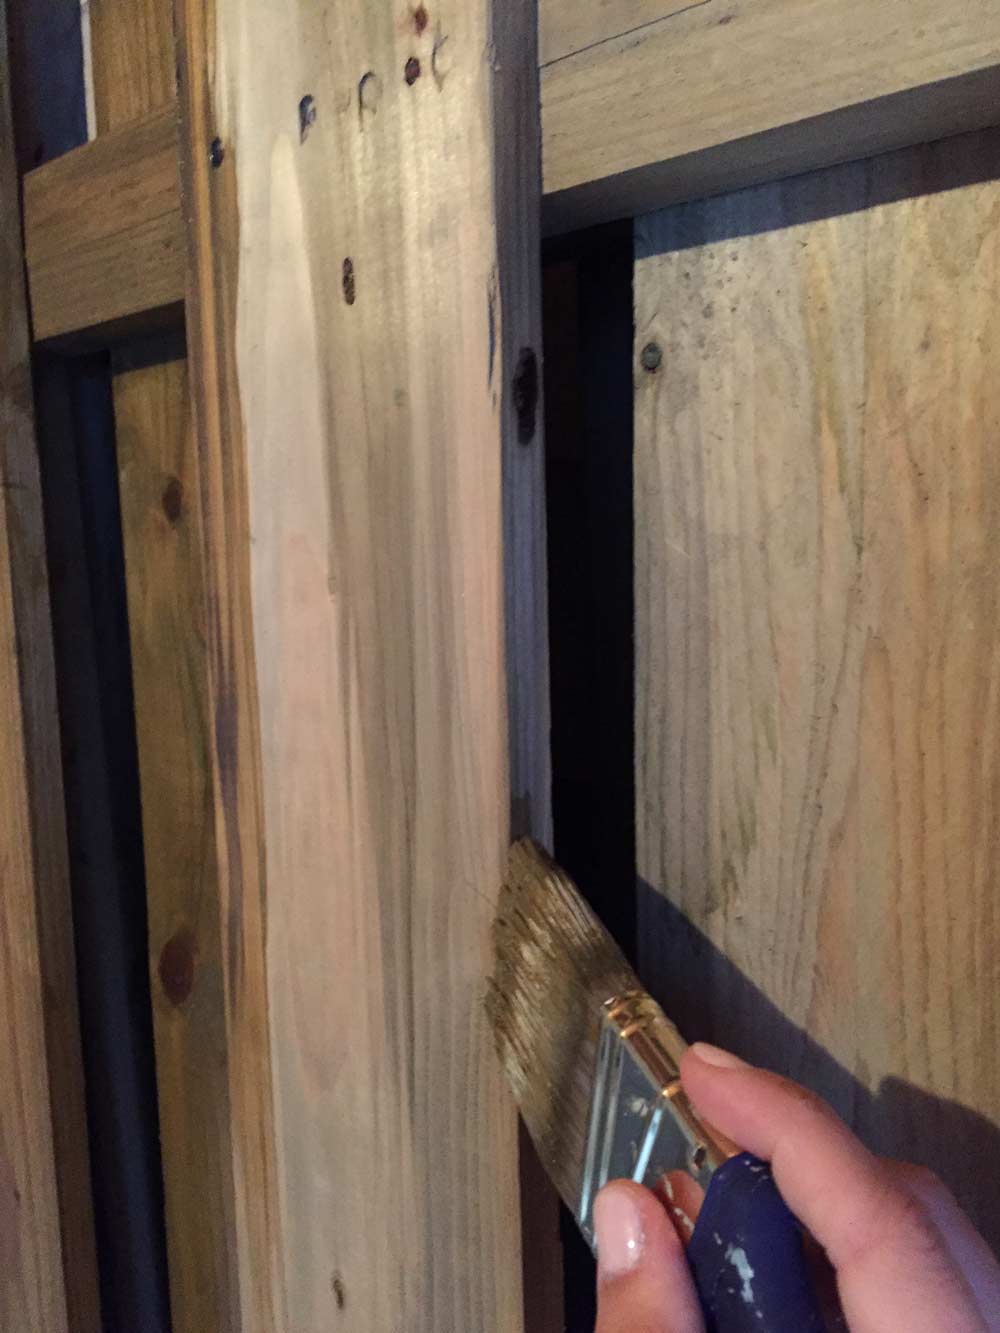
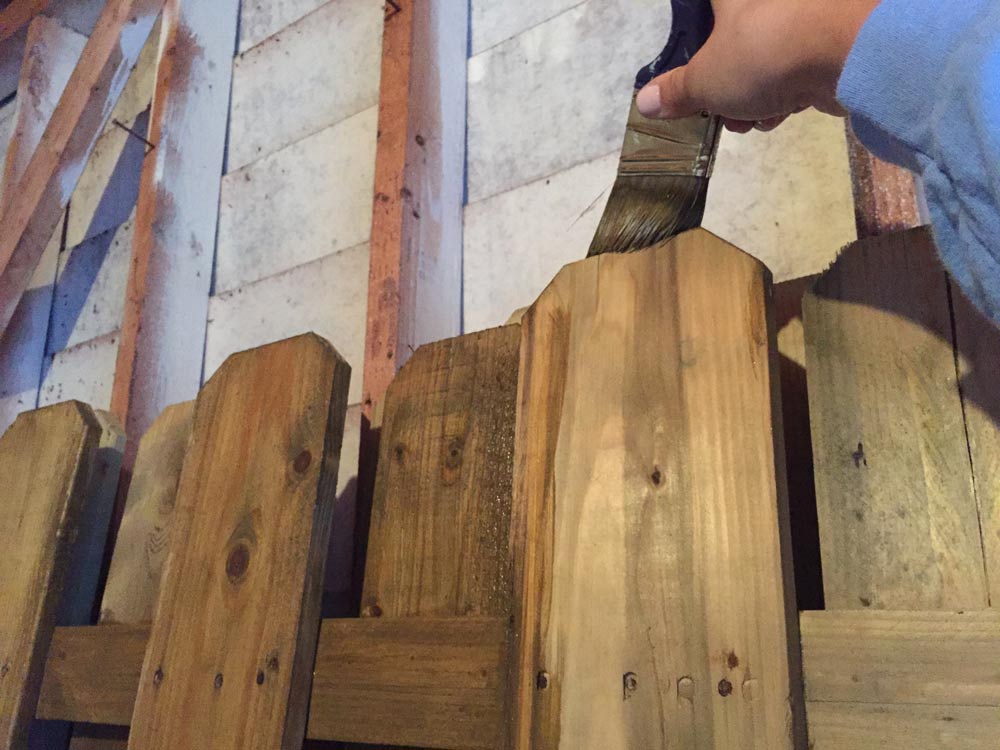
Next, stain the front of the picket, keeping a wet edge and catching any drips along the way.
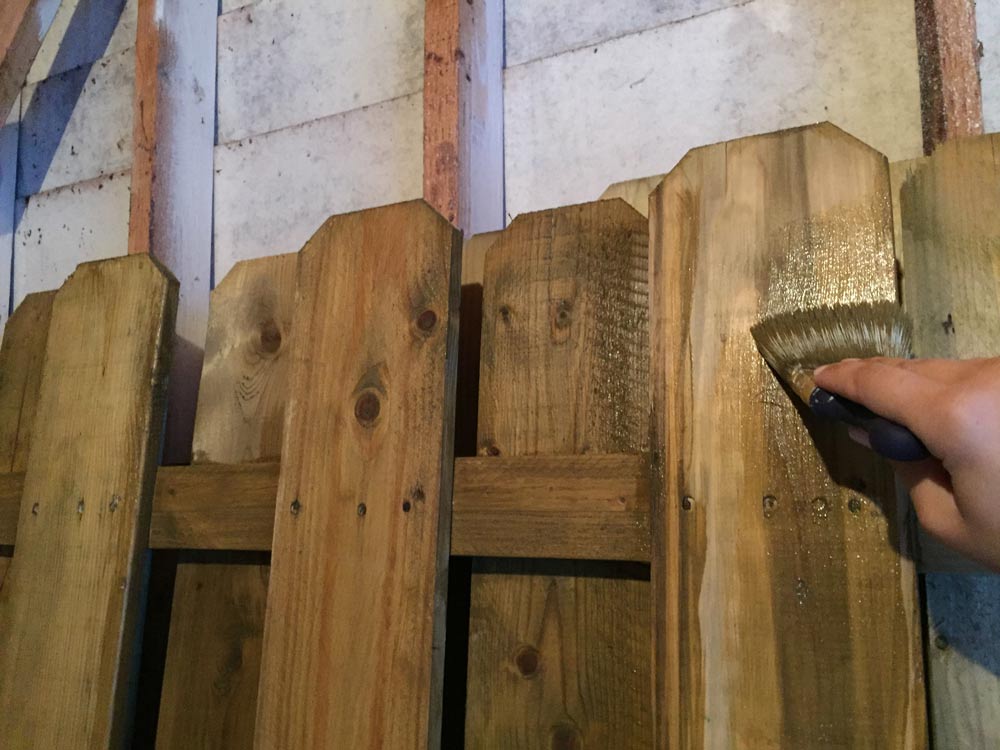
The wood on the panels will have some imperfections, so make sure to push the stain into any holes or cracks to help create a solid seal to protect the wood. After finishing staining the first front picket, move on to the cross pieces in front of the set back pickets.
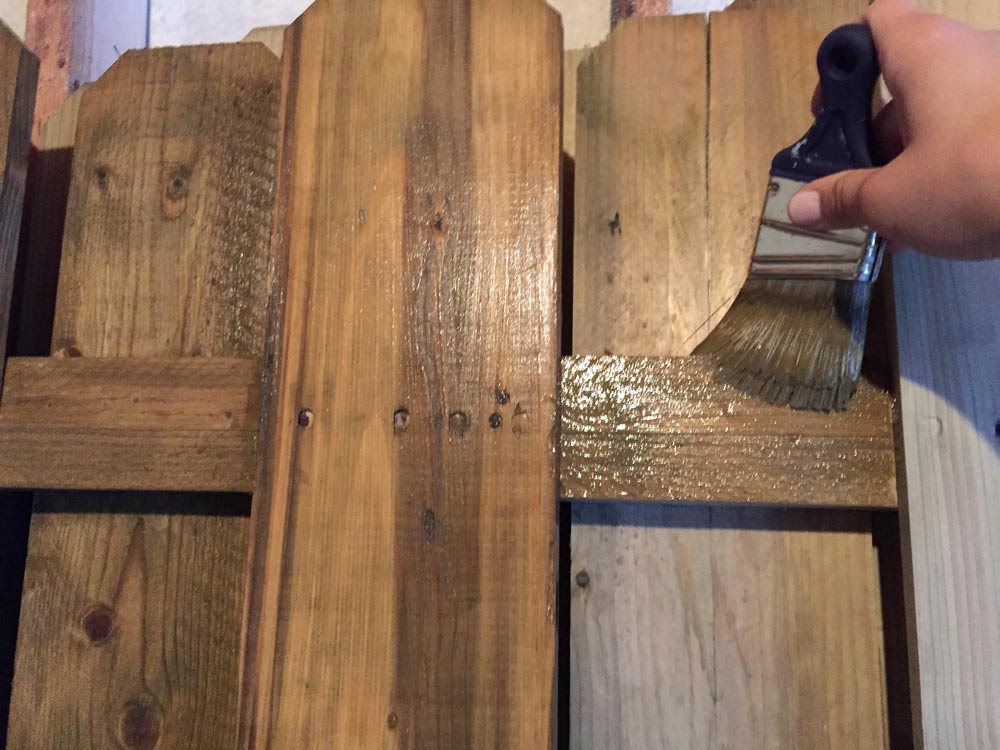
Make sure to coat the underside of the board too. 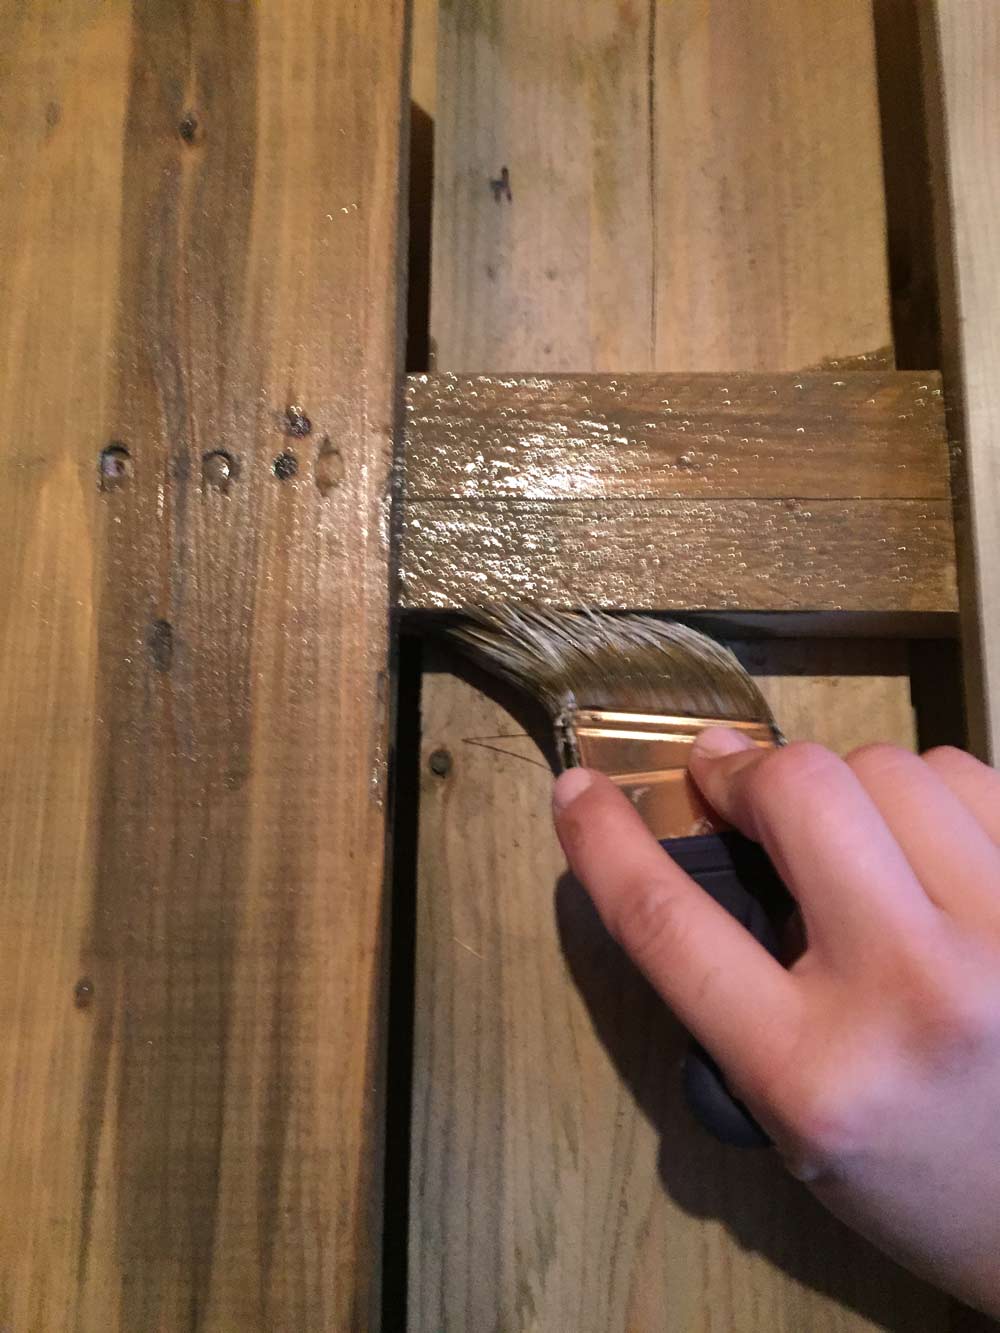
The edges of the set back pickets will get painted when you flip the panel around and stain from the other side.
The new panels all needed two coats of stain, and the old panels all got one coat before the color started to match. If I did a second coat on them, they would have been too dark.
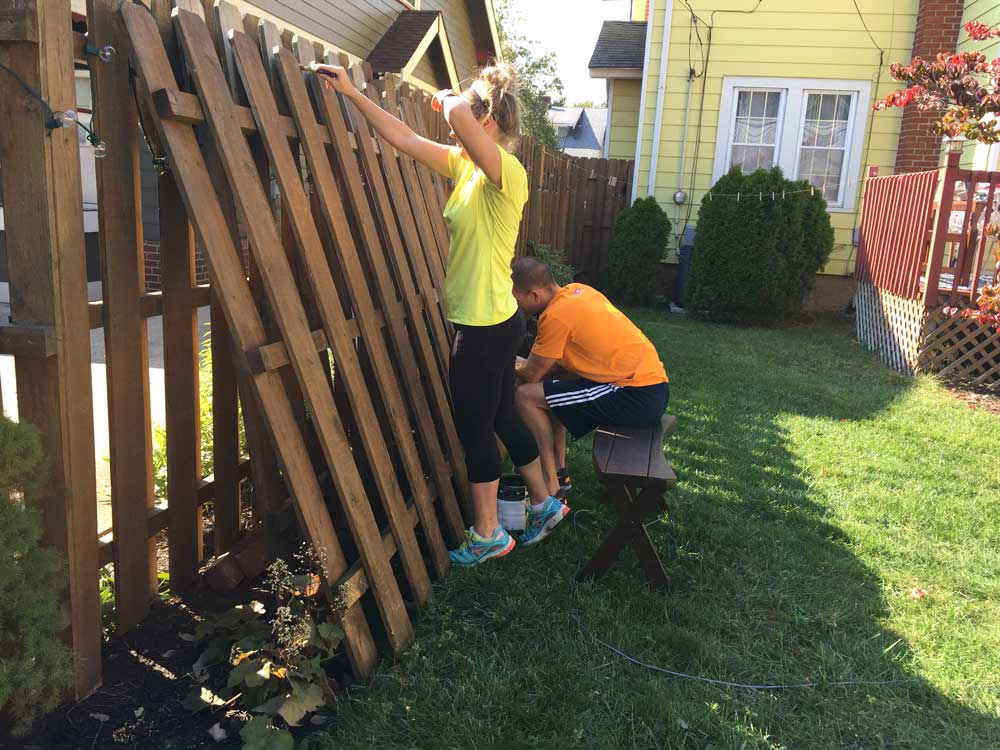
Katie and Nathan volunteered to help stain panels while my dad and I worked on digging the holes and installing the fence.
Stay tuned for Part 3: The Installation!

