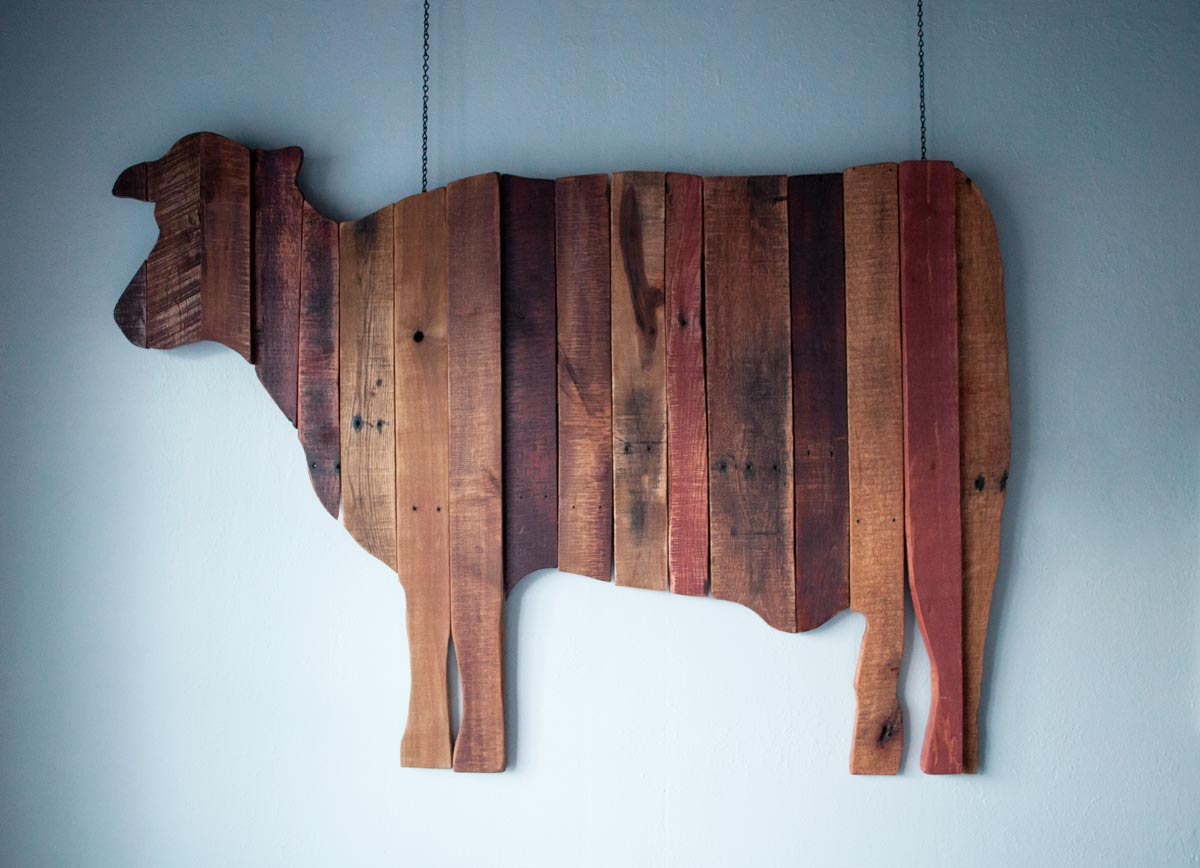
A few years ago, I was at a flea market with my family and my sister Jennifer saw and fell in love with a giant reclaimed wood cow, but it was super expensive, so I decided I could make it for less. A common theme with the ladies of And Then We Tried. I made this DIY reclaimed pallet wood cow for her for Christmas and have gotten a lot of questions about it recently, so here’s how it went down.
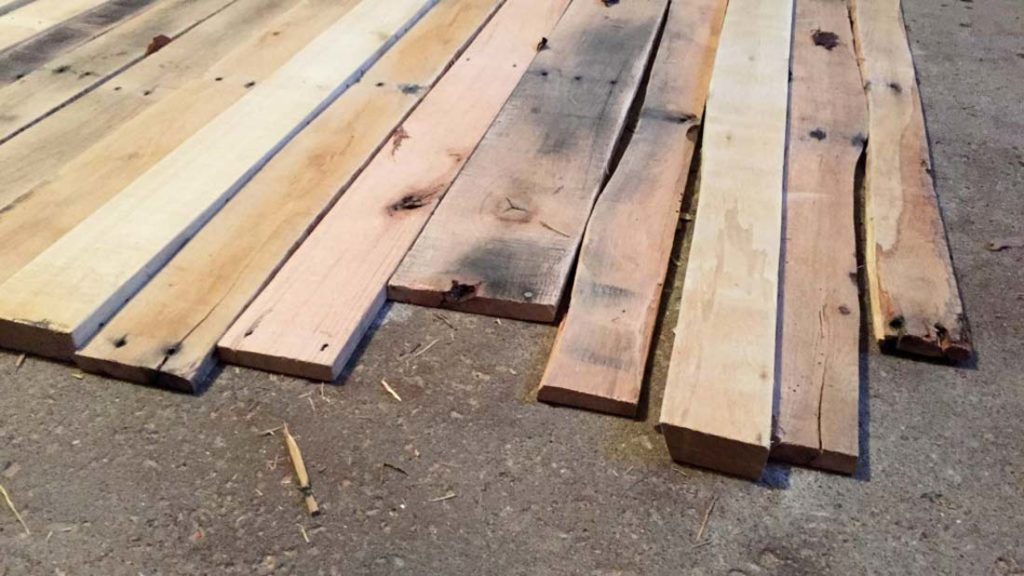
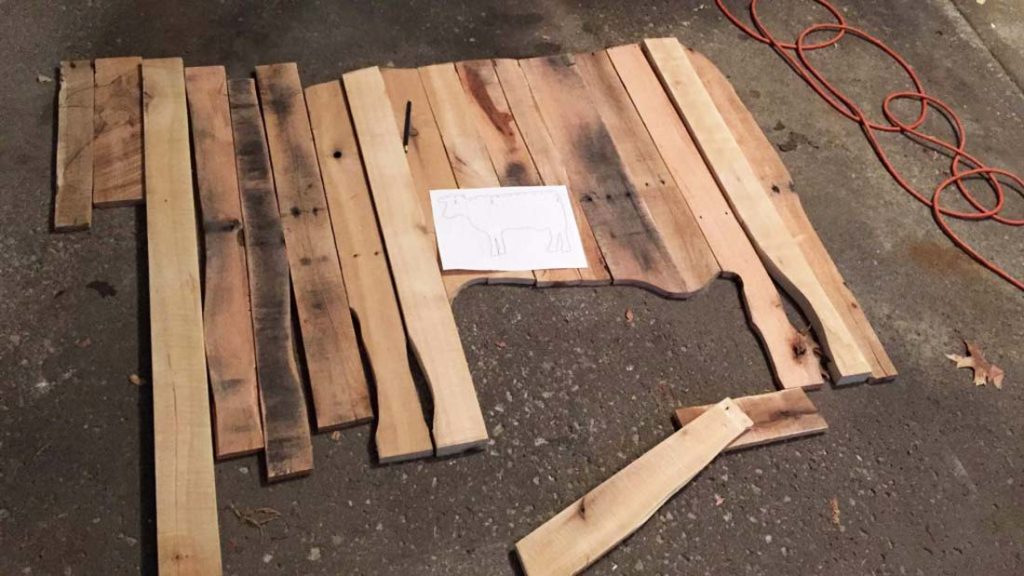
I started by gathering up all of my pallet wood and scrap wood and laid it out in a rough cow shape. You could follow this process to make any animal out of reclaimed wood, but my descriptions will be cow-specific. I tried to maximize the scraps I had by placing each board where I could use the most of it, so the shortest boards become the head, and the longest ones are used for legs. Note: I had no idea how hard it would be to tear apart some pallets, I had several pallets and wasn’t able to salvage much.
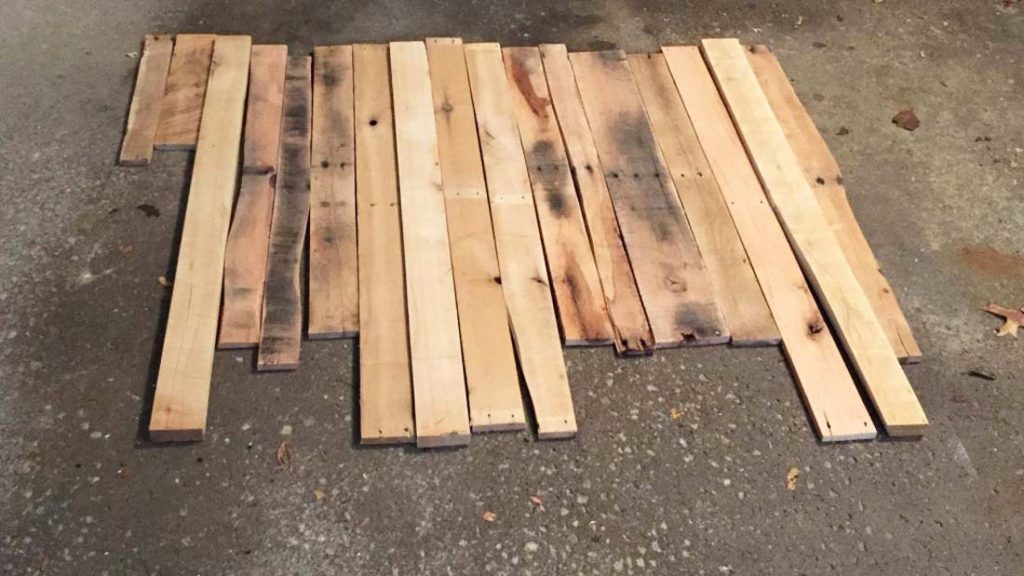
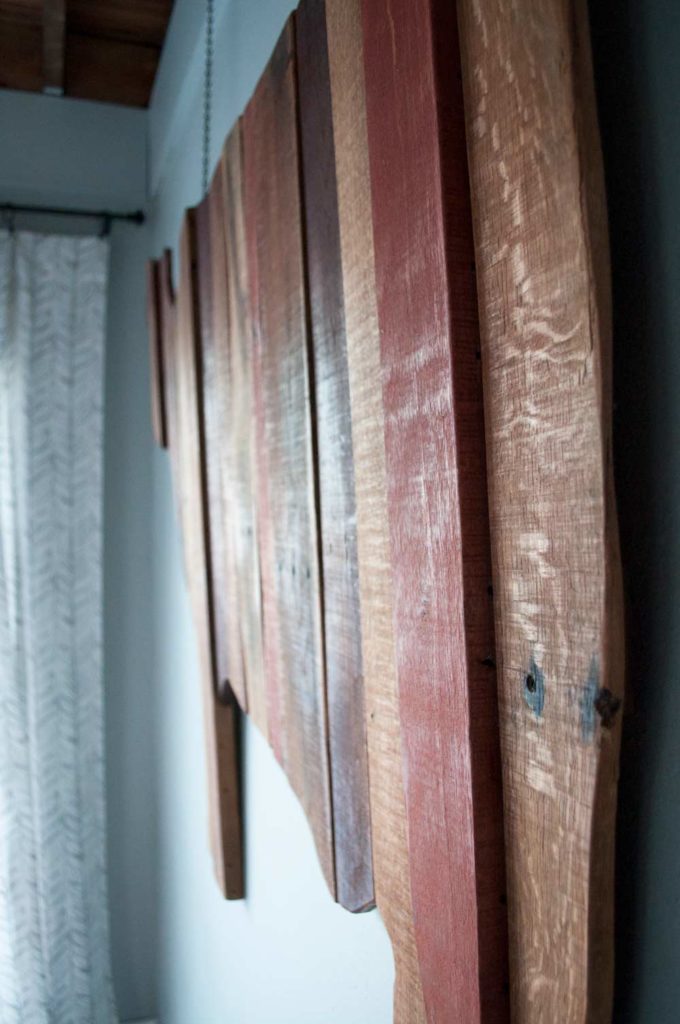
I also tried to space out the darker boards and the knots so there wouldn’t be one section of cow that was darker, or holier than others. A few of my boards were thicker and sturdier than the rest, so I tried to place those as the legs so the cow would be strong enough to lean on them. The different thicknesses of the board add nice dimension to the cow.
Once I could see how many boards I had to work with, I mocked up the cow in Adobe Illustrator to plan my cuts.
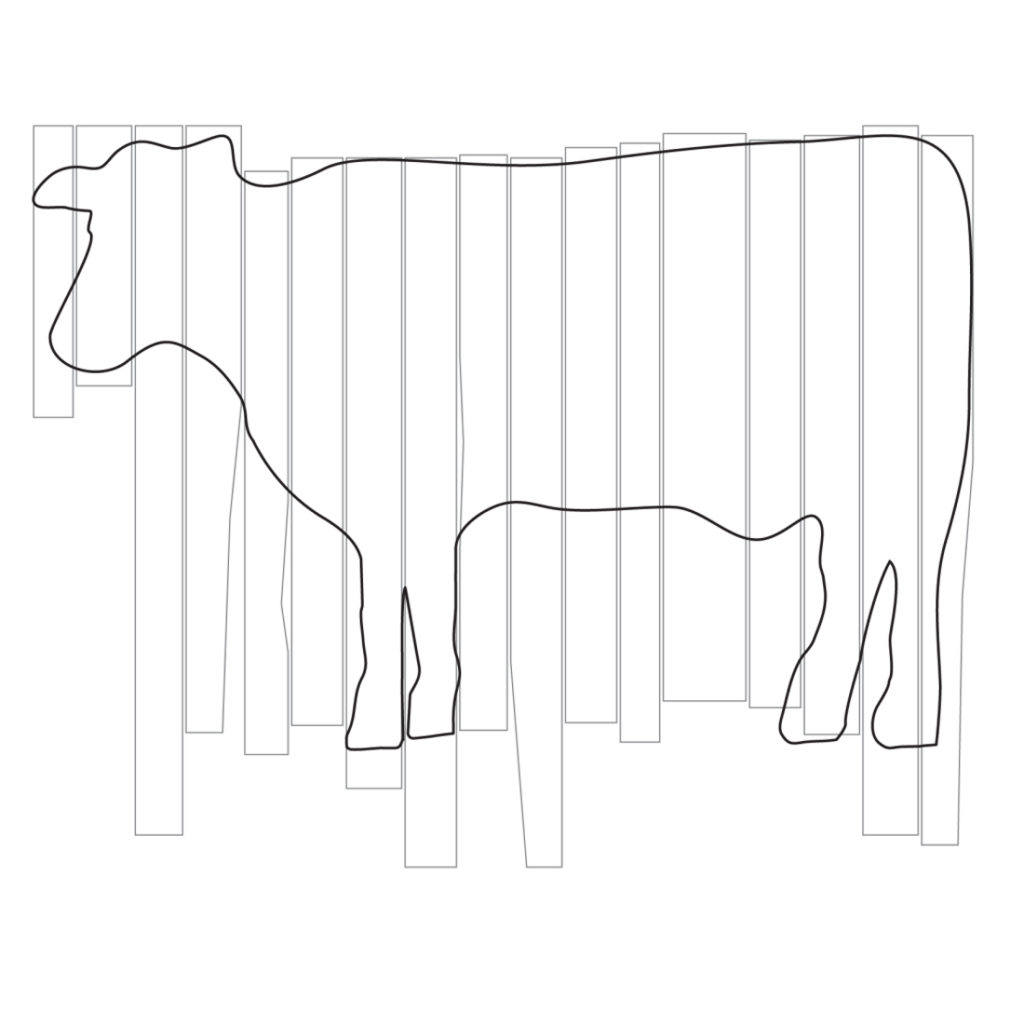
I printed out my cut plan and sketched the cow outline onto my boards. Then, I cut each board individually with a jig saw. Another option would be to attach all of the boards first, then cut the full cow outline at once, but I had limited space and found it was easier to control the saw for smaller areas if I could move the boards around.
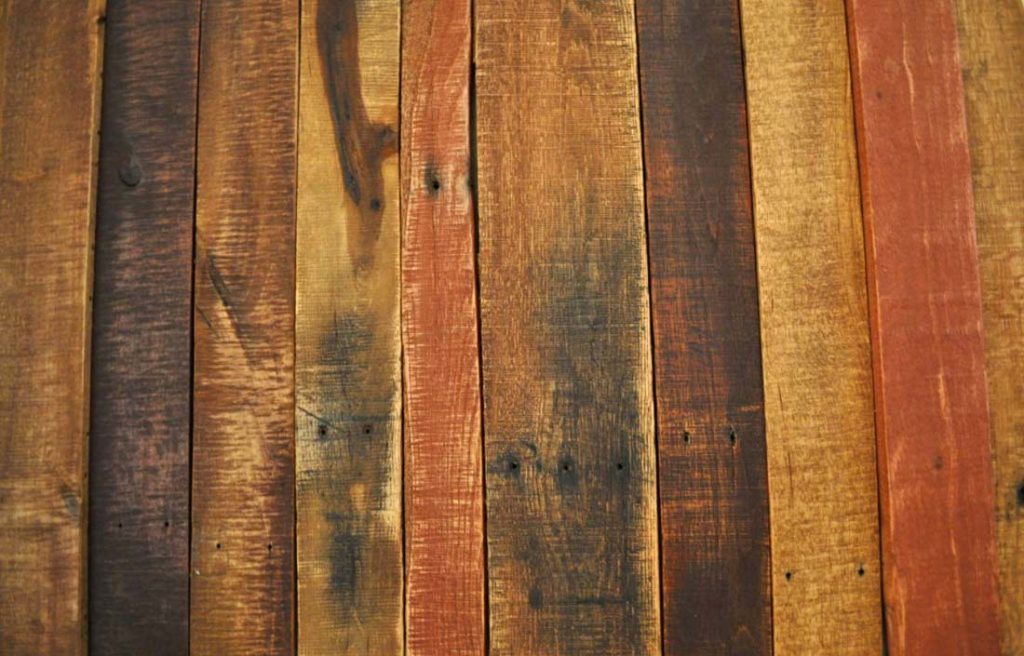
After cutting all the pieces, I used 5 remnant cans of stain I had laying around to get a nice variation of colors on the cow. I layered a few stains on some boards, and the natural wood grain helped to make each board a slightly different color. Since this is a reclaimed pallet wood cow, I was really leaning into the rustic style.
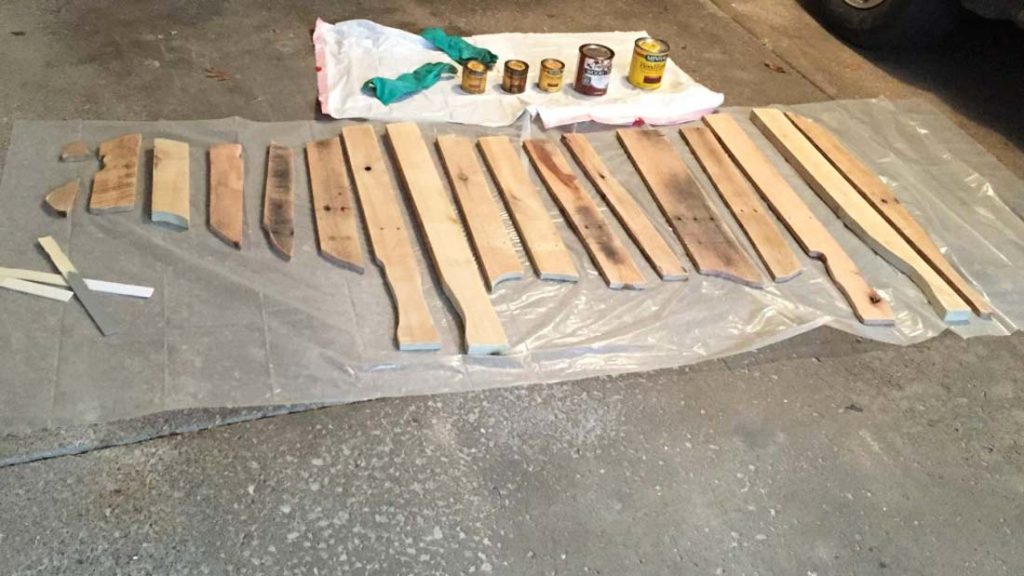
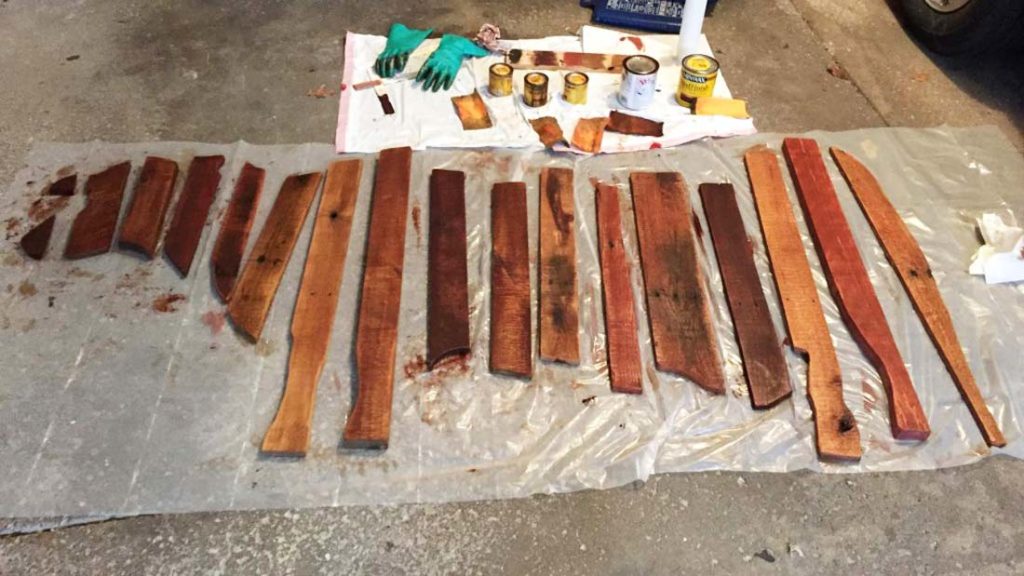
I tried to keep a nice mix of darks and lights throughout the cow. I glued a few of the tiny face pieces together and braced the back of the cow with three cross pieces to hold it all in place. Be sure to screw in from the backside of the braces so you don’t have visible screws from the front. Finally, I wiped on a few coats of Tung Oil to seal in the stain, mostly so no color would transfer to clothes if someone bumps up against it.
The cow traveled with Jennifer to her college apartment, then lived at my parent’s house for a while, but now that she moved in with me, he gets to live in the kitchen!
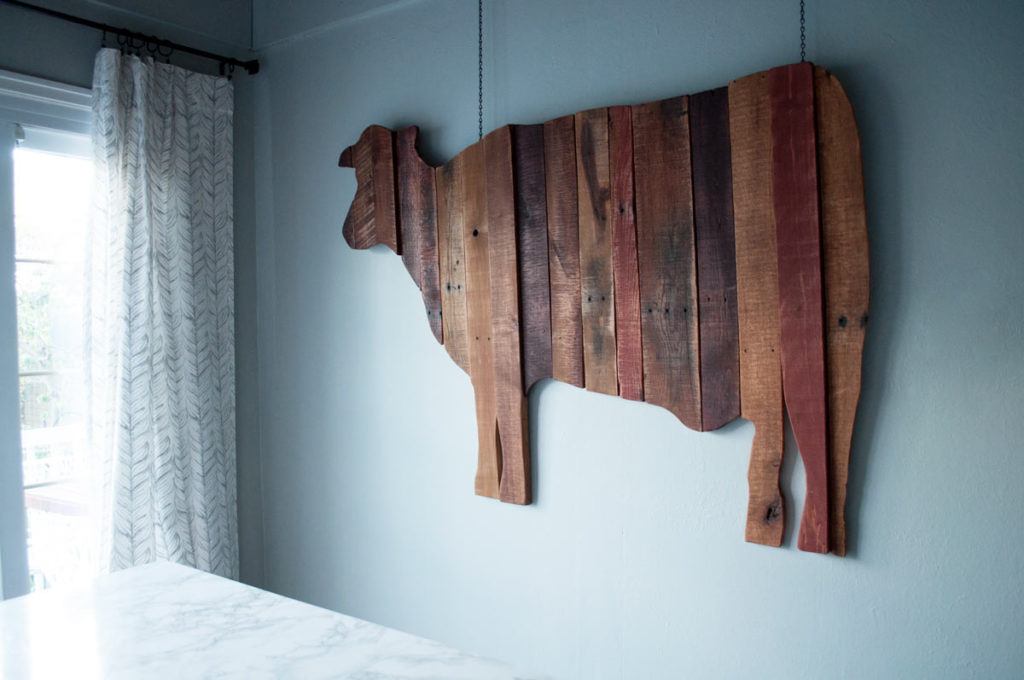
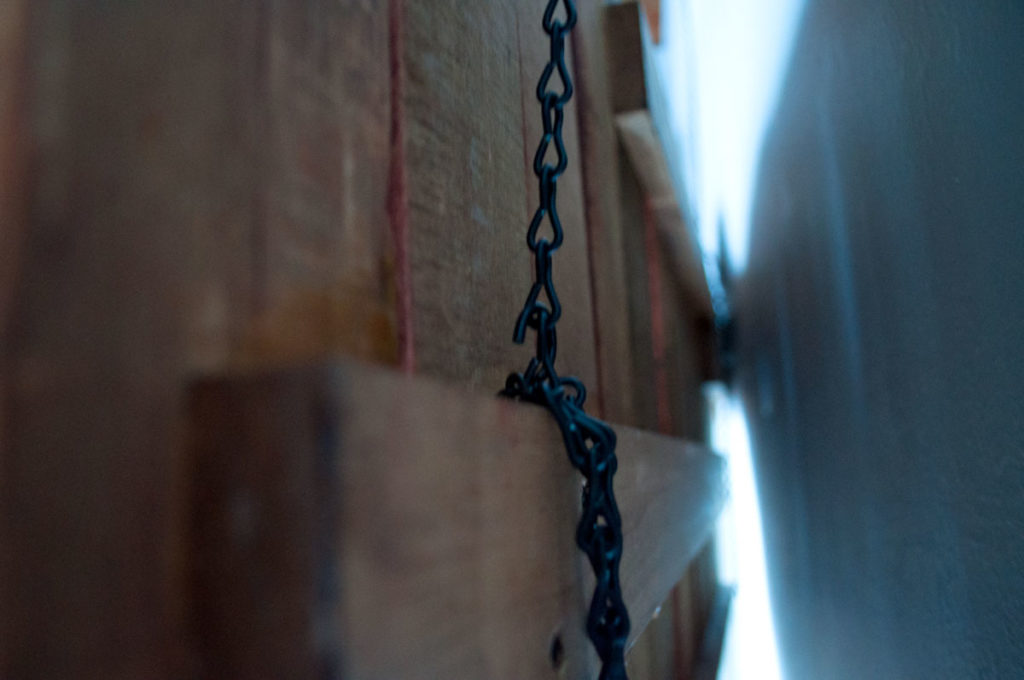
We added two cup hooks to the braces and ran lengths of black chain up to additional cup hooks we installed in the exposed rafter in the ceiling. The hardest part was holding up the cow while adjusting the chain to keep him level.

You can really appreciate the thicker boards from the side.
What do you think? Would you hang a giant wood cow in your kitchen? If there is a ton of interest in reclaimed pallet wood creatures, I’d be happy to start selling them! Let me know in the comments.