And now, onto a quick recap for anyone who needs to get caught up on my kitchen progress: we left off here after removing six ceilings and sistering the joists to support the tub. Now it was time to add the kitchen finishing touches.
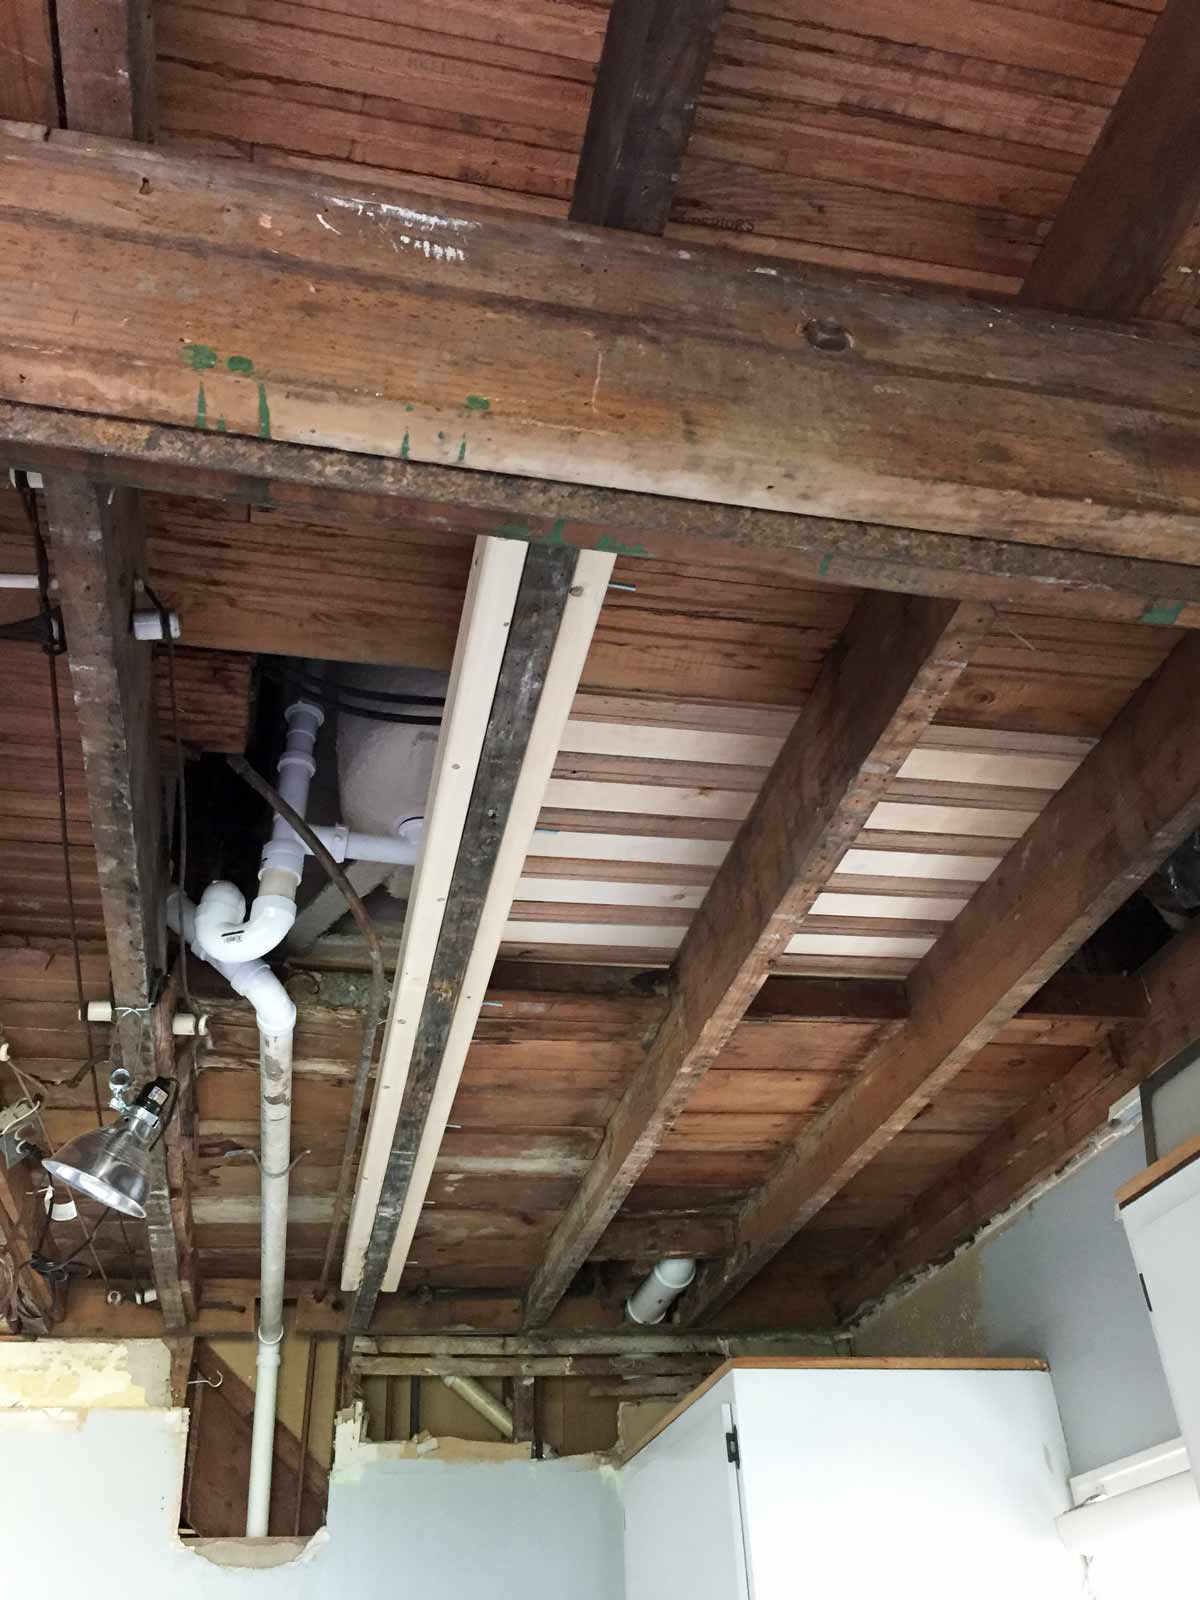

Those 2x4s sistered to the joists were calling a lot of attention to themselves and there were some huge gaps in the drywall from the rerouting the plumbing work. Note: we were doing a ton of work in here all at the same time (ceiling, walls, cabinet knobs, curtains, paint, etc.) so I’ll try to cover all of the changes, but if you see something in a picture that I haven’t pointed out, read the whole post since it might be covered later, otherwise, let me know in the comments and I’ll make updates!
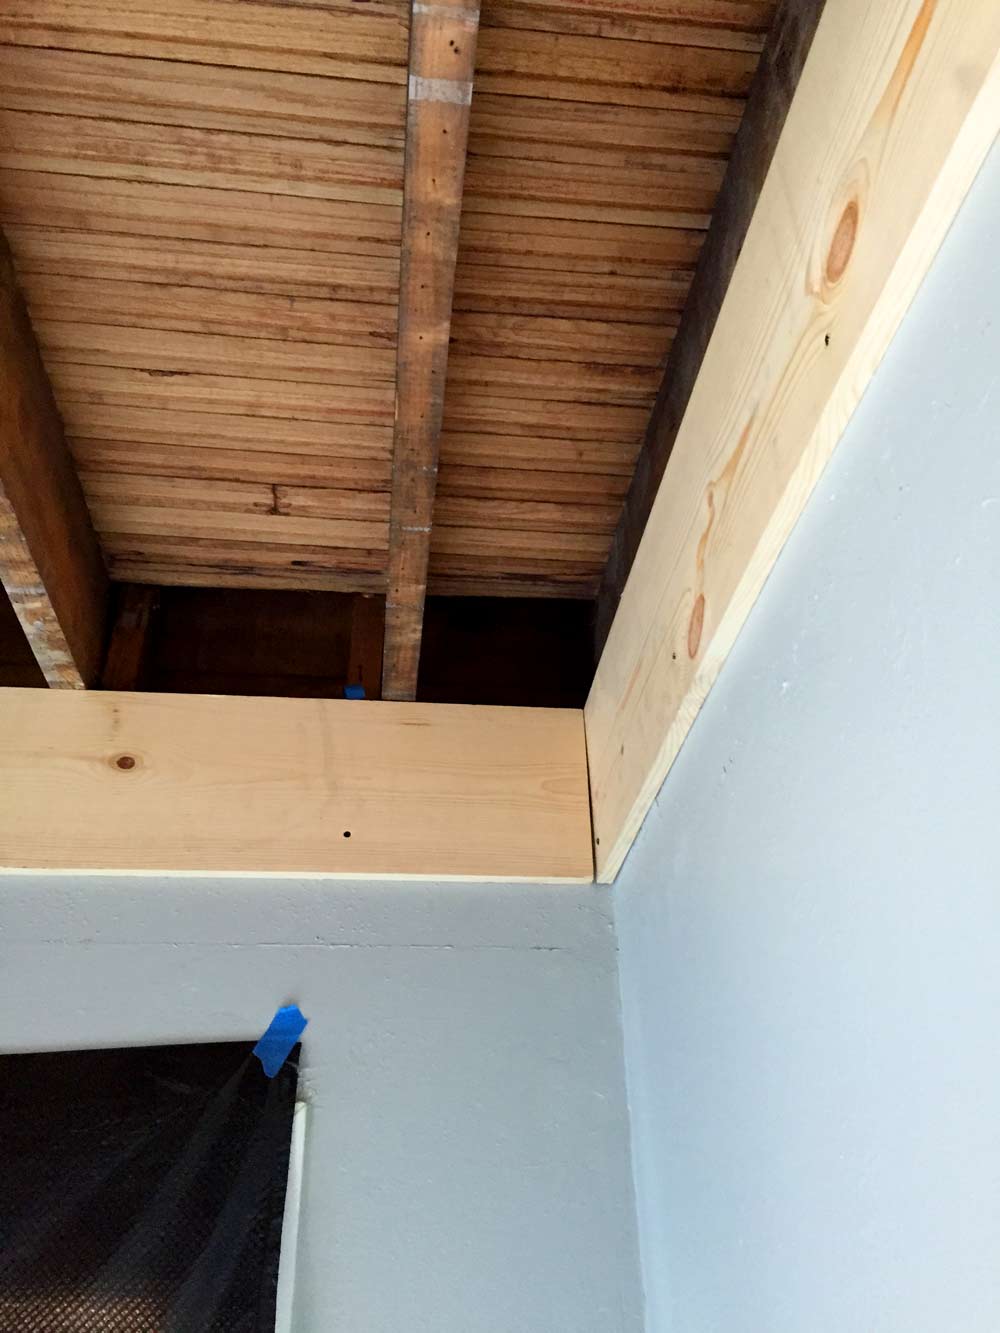
I got to work staining the 2x4s to match the color of the wood floors and the rafters. I think I went with Minwax Early American, but it might have been a mix of several remnant stains.
[column type=”1/2″][/column] [column type=”1/2″ last=”true”] [/column]
In order to cover up the holes in the wall for the plumbing work, I took a couple of scrap pieces of drywall and patched them in. I’m not great at drywall mudding, but having wonky old walls with a ton of texture made it a little easier. I mudded the seams and then sprayed everything with the Homax Orange Peel spray to help it blend in.
[column type=”1/2″]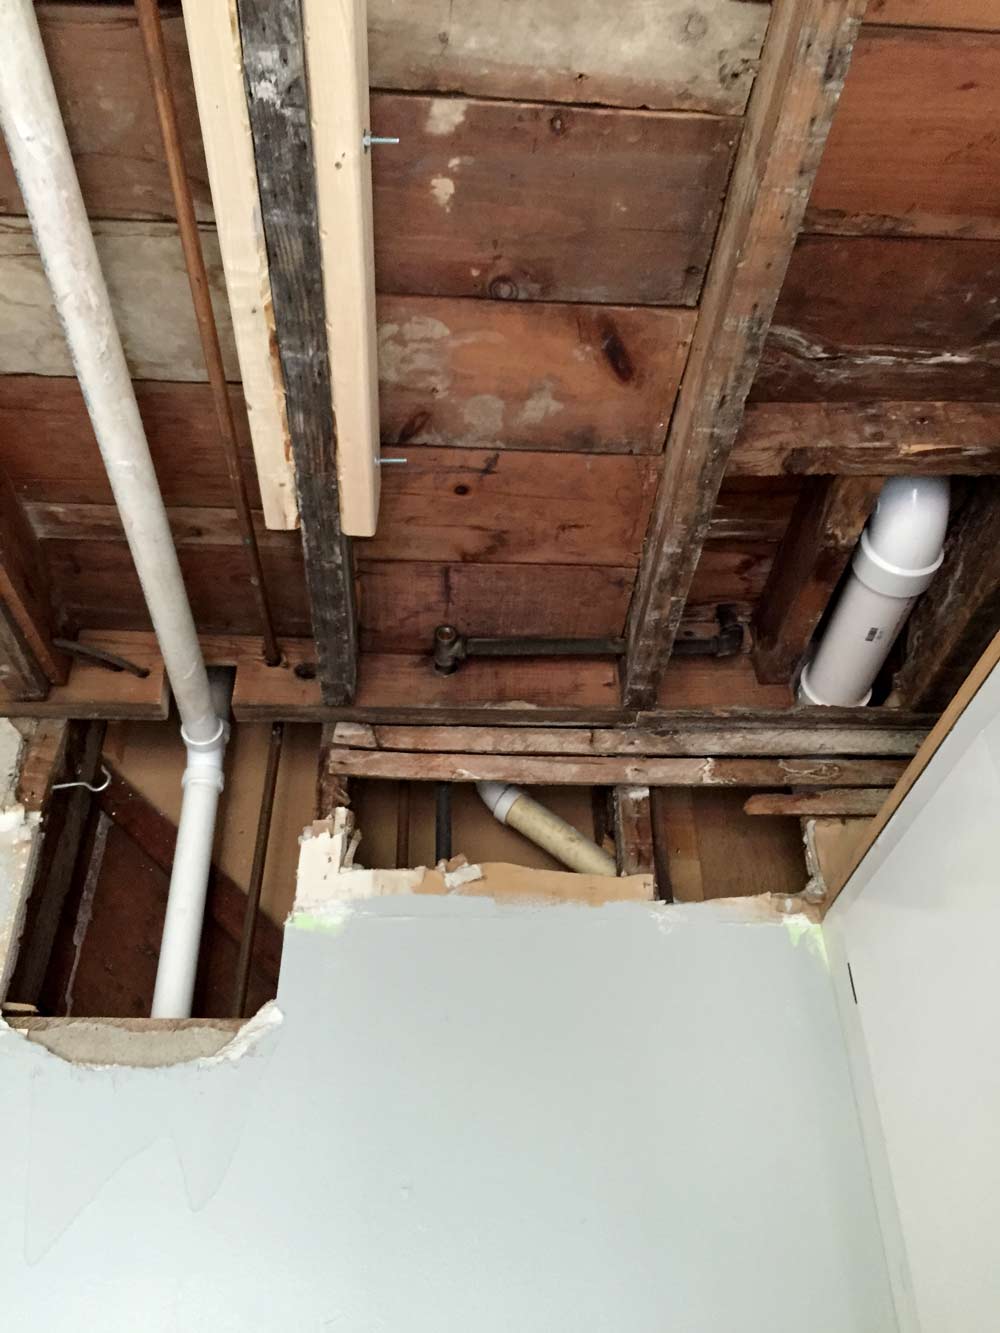 [/column] [column type=”1/2″ last=”true”]
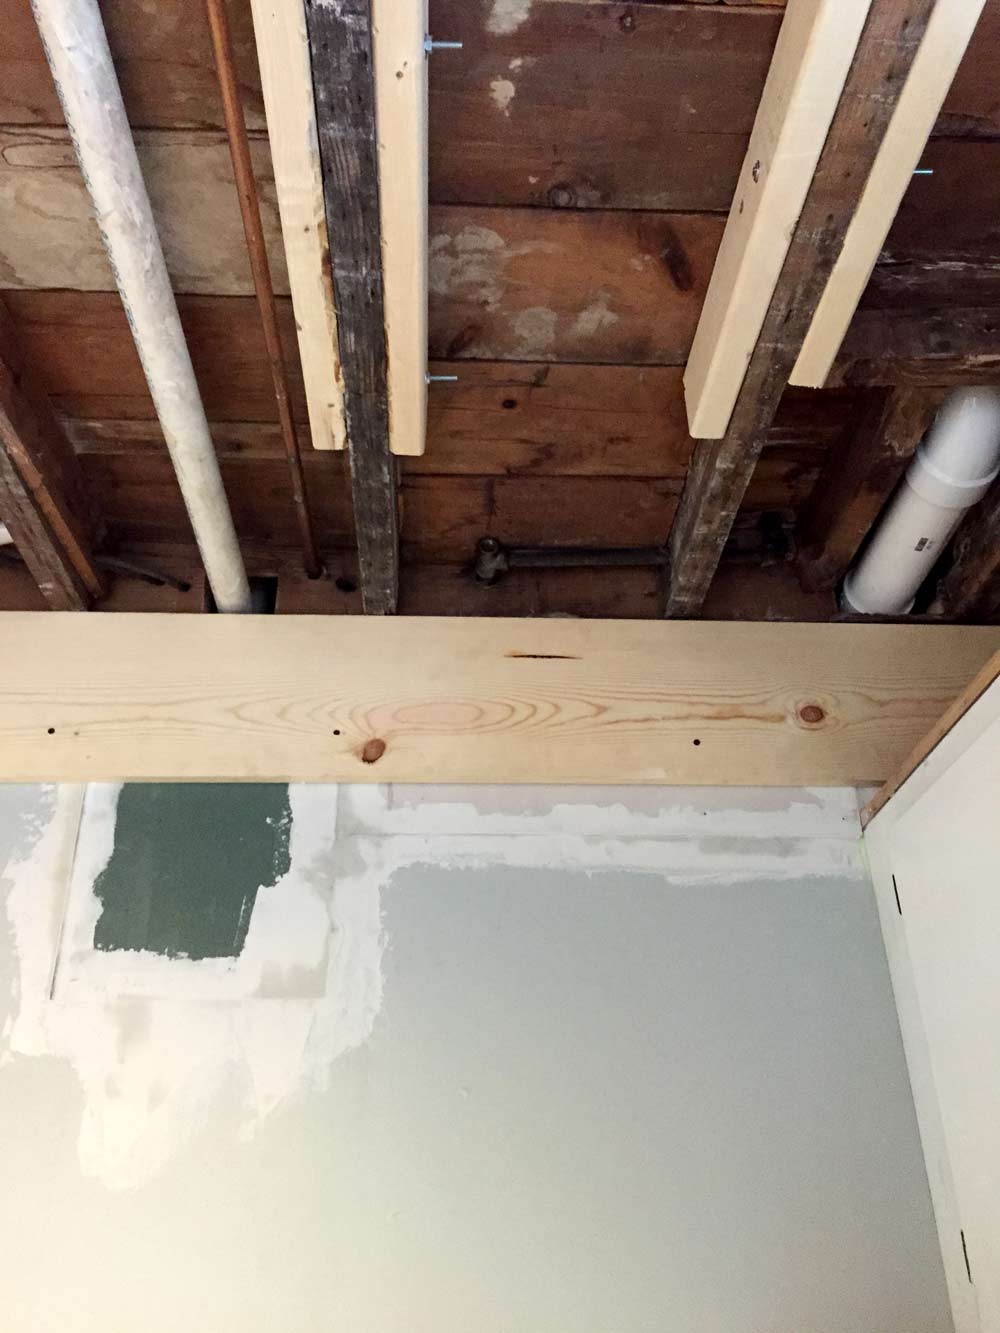 [/column]
The biggest improvement to the room was running 1 x 10 boards along the ceiling to cover the chewed up gaps left by removing the six ceilings. While making all of these updates, I knew that this couldn’t be my forever kitchen, but I would be using it for several years while I came up with a kitchen plan (and all that $$$$$ to make it happen) so I wanted everything to look “finished” and semi-purposeful. I tried a 1 x 8 board and it wasn’t big enough for a few of the more busted areas, so a 1 x 10 was necessary. We cut them roughly to size and then screwed them into the walls. I didn’t worry about filling in the screw holes with wood filler (in case you missed it, I’m a wood filler pro) because I wanted to make it easier to take them down in the future while doing the least amount of damage to the walls.
[column type=”1/2″]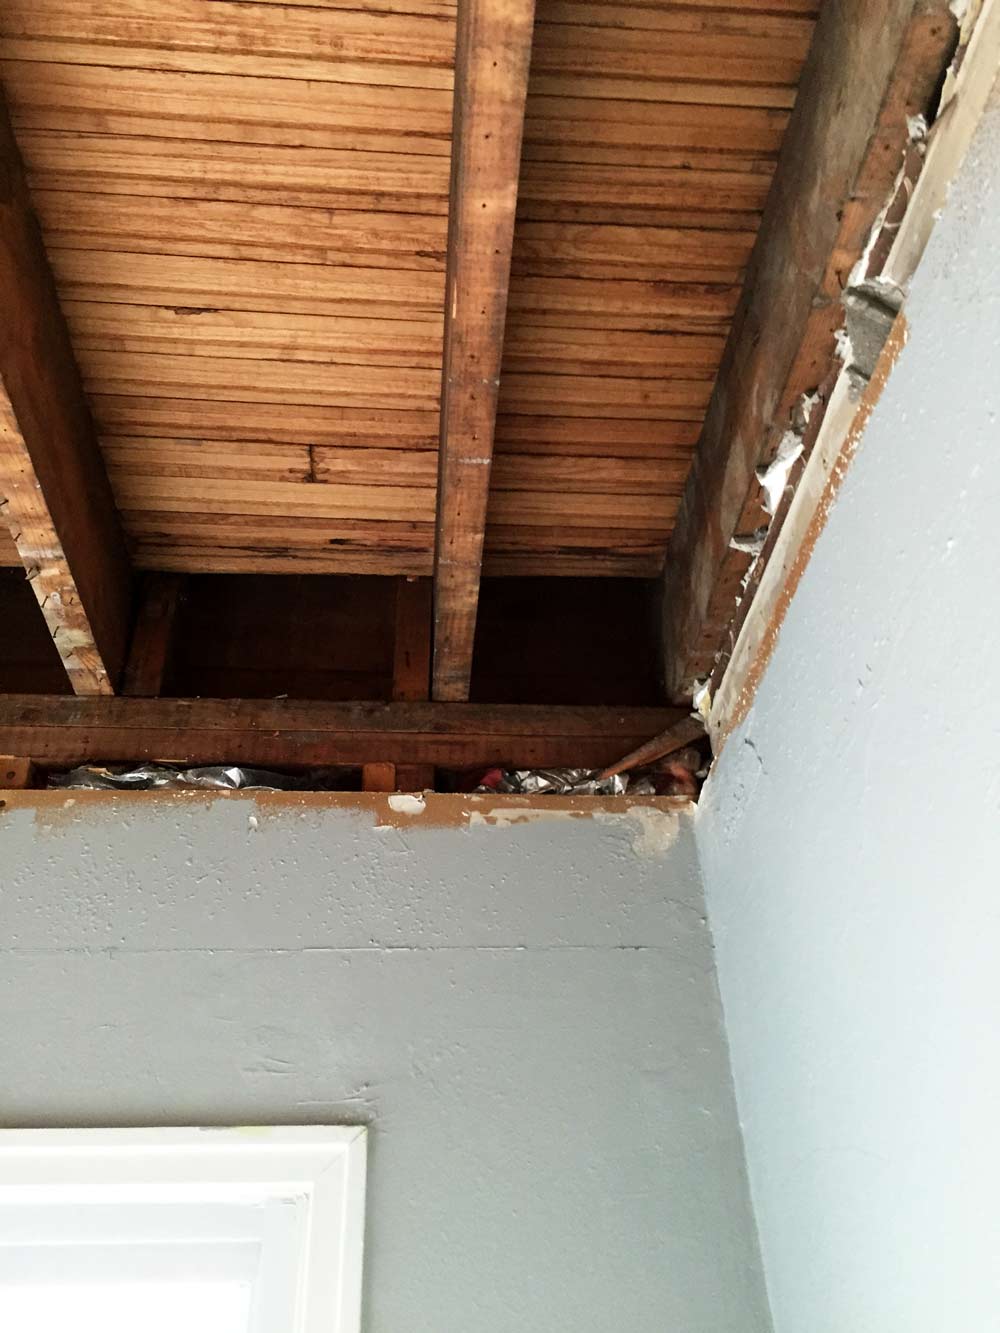
 [/column]
We preserved that hilarious wallpaper under a 1 x 10, so you can be sure that when I gut the kitchen I’m carving out that section of wall to treasure forever.

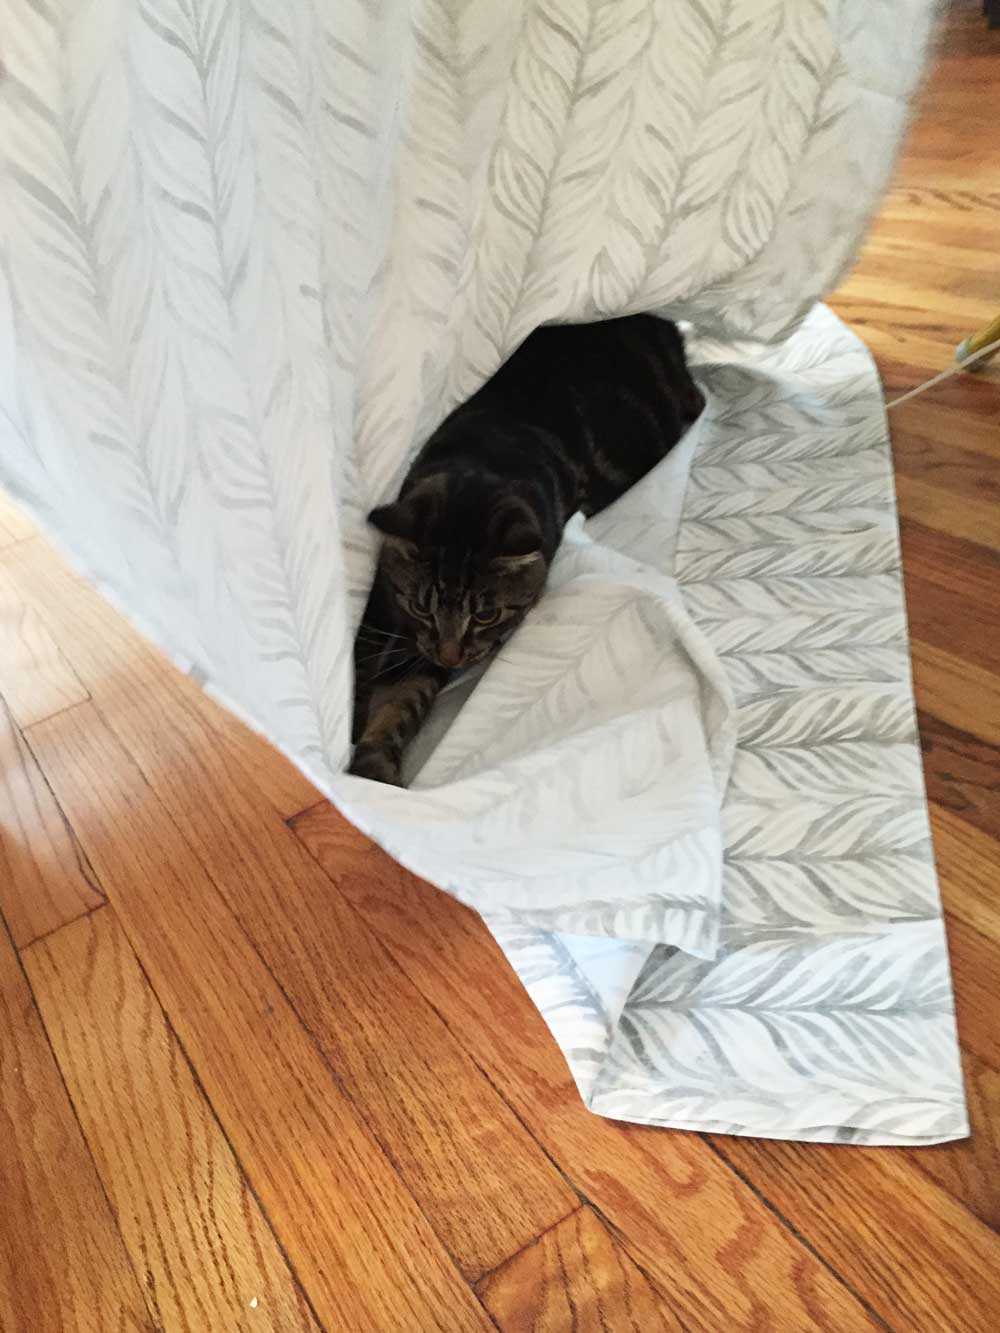
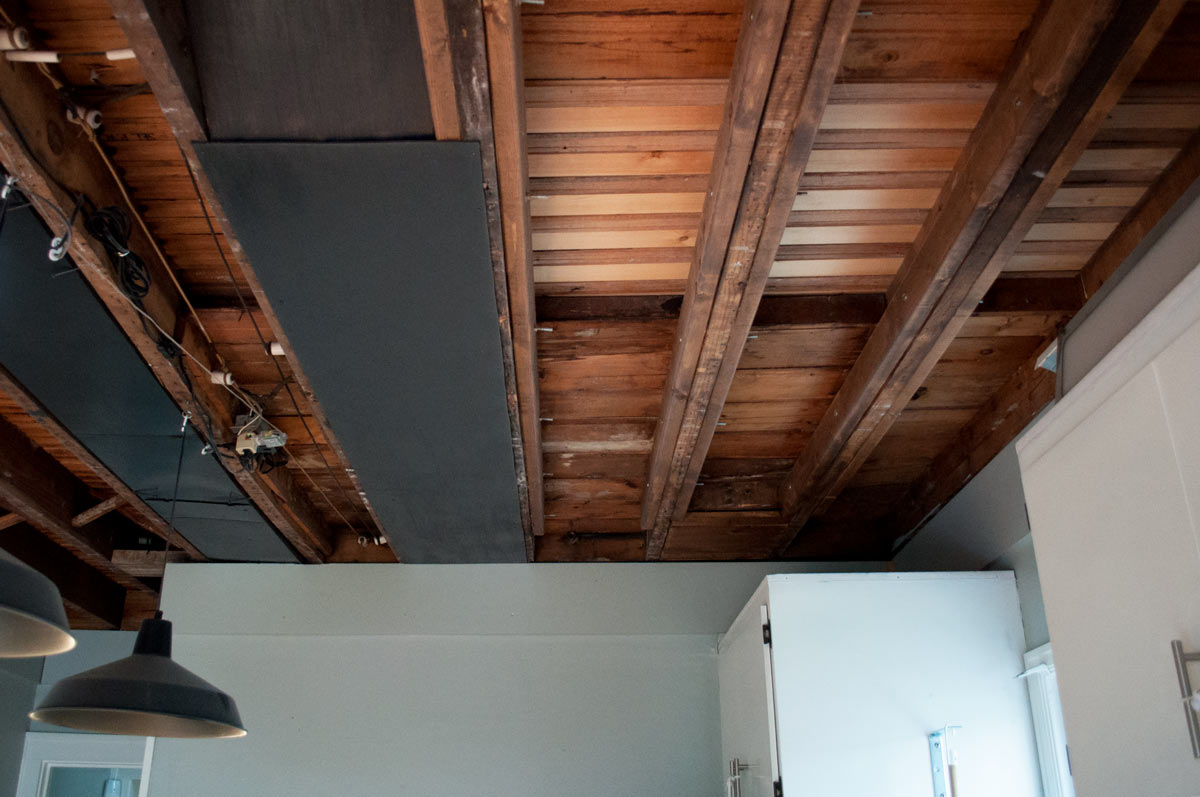
After the boards were all up and painted, it really cleaned up the ceiling and everything was starting to look industrial-chic and not just “oh she must be in the middle of demo-ing the kitchen.” We added some scrap wood to each of the gaps in the rafters on this edge (and also in the basement) to prevent a certain boy cat from climbing into the walls. Since he loves to hang out on top of the cabinets, this would have been an easy spot for him to shimmy into and then scurry through the walls of the house.
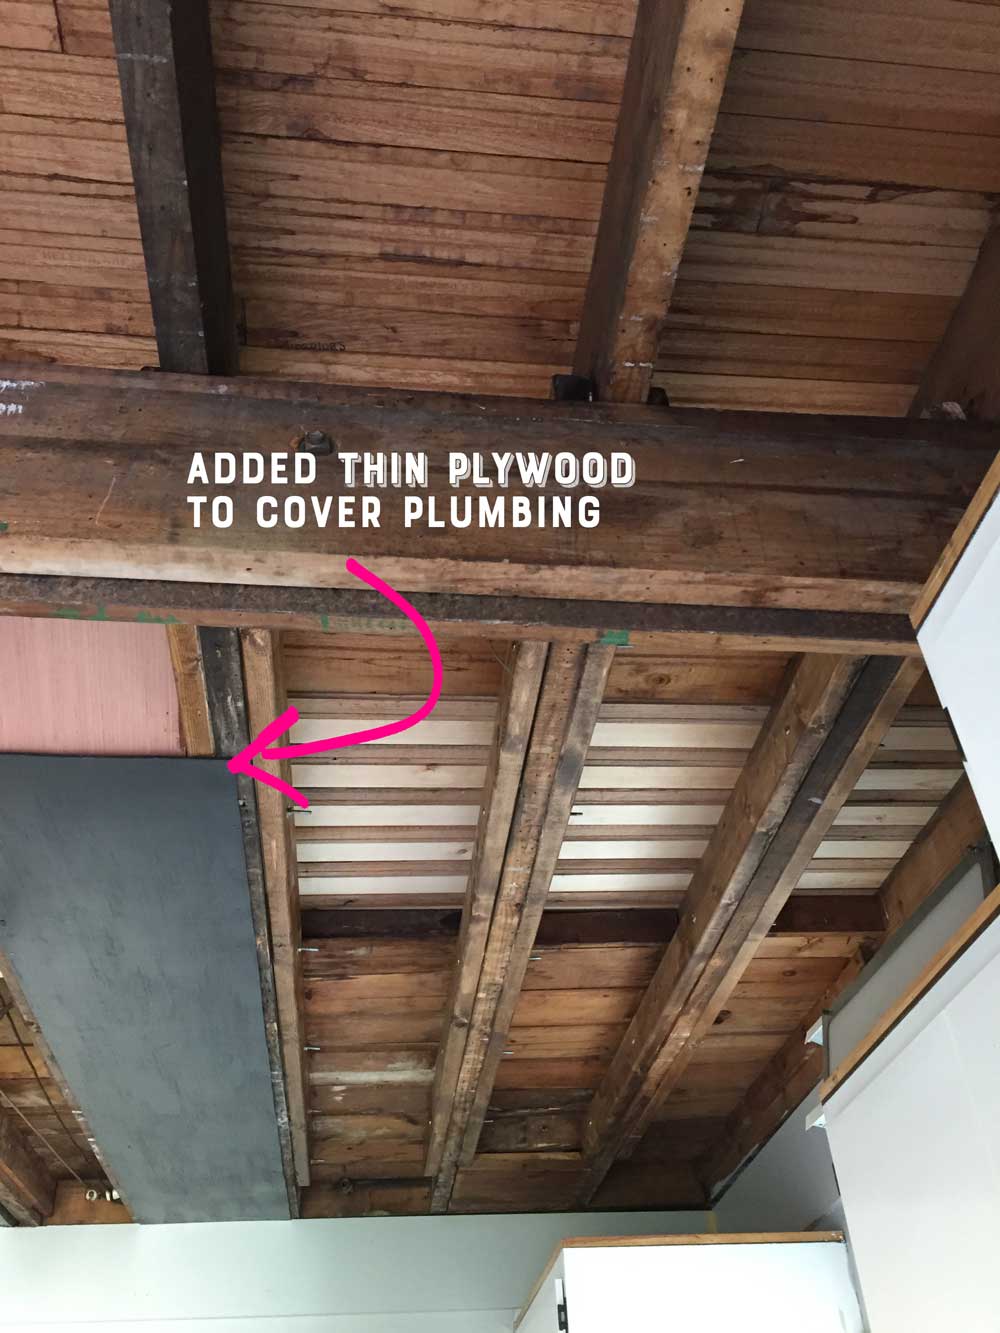
Tucking the plumbing into the ceiling joists was a cleaner solution than dangling it through the kitchen with packing tape, but it still wasn’t anything special to look at. So I nailed up some thin plywood over that section and painted it black. I also painted the rusty ductwork black and now both areas fade away into the ceiling and look a lot cleaner. Apparently, my goal for the kitchen project was to make everything look cleaner and I didn’t even know about it until writing this post. ATWT drinking game: take a shot when you read the word “cleaner.”
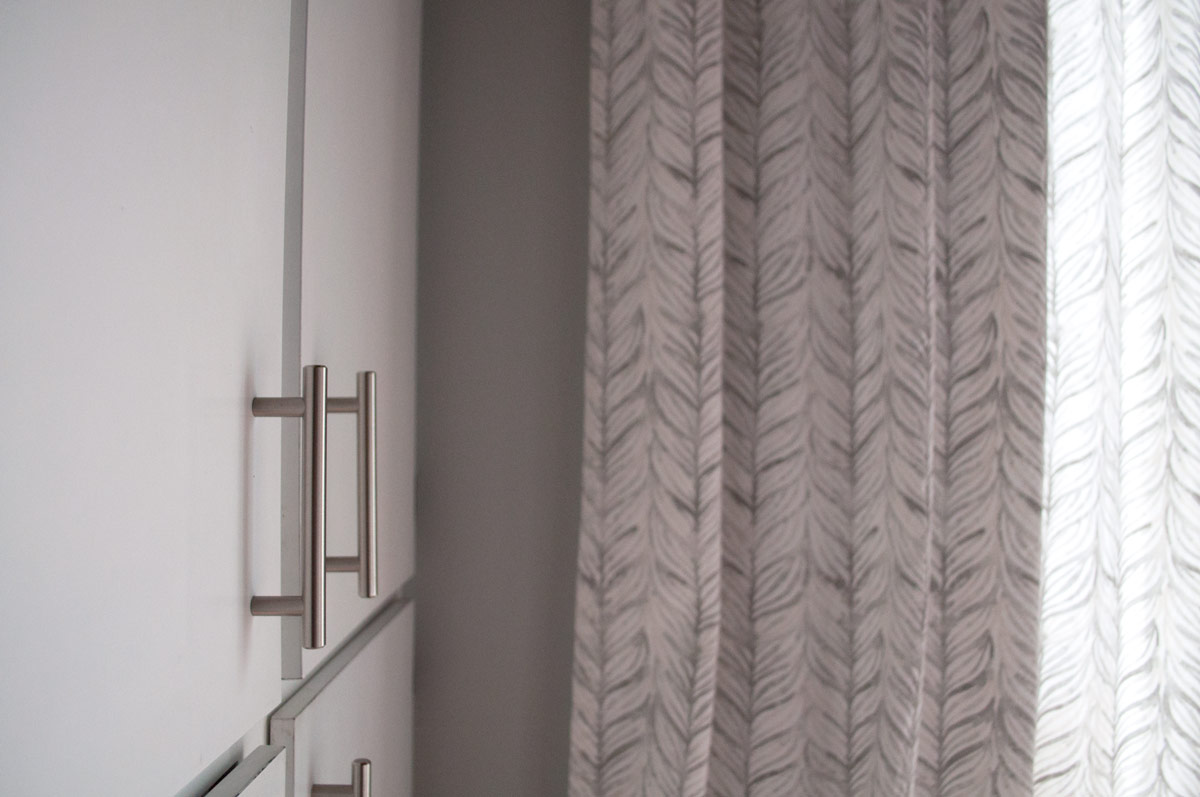
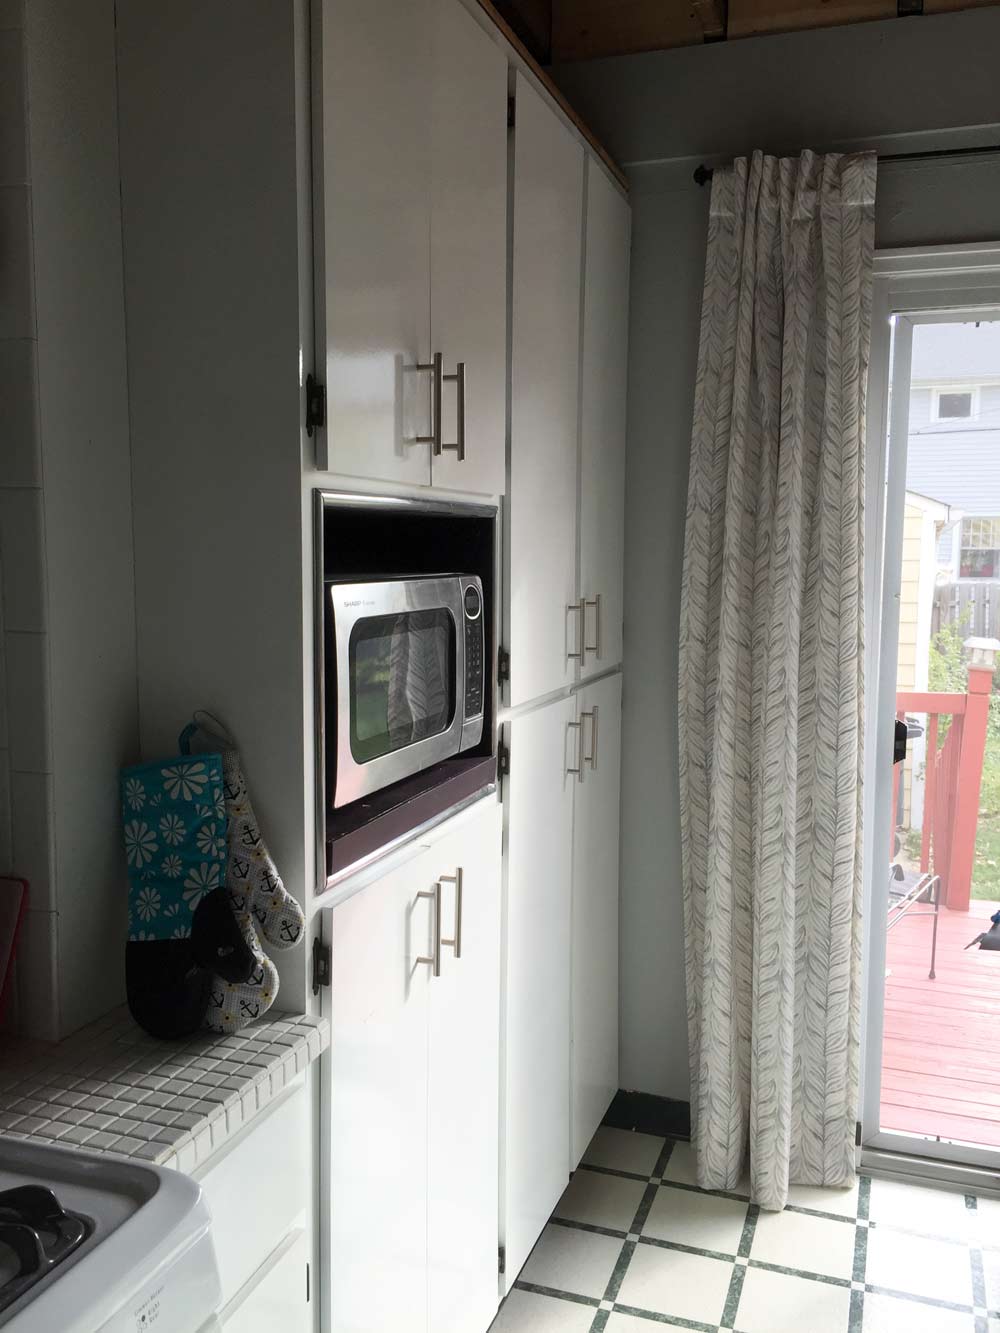
I decided to work with the shiny flat front cabinets and install some modern, simple cabinet pulls. Amazon had the cheapest price on these simple silver handles, so I ordered a 25-pack. I was initially planning on spraying them gold, but the silver related better to the faucet, which I wasn’t planning on changing, so I left the silver. Thanks, Mom, for installing these while I worked on other things! Shameful admission: it took me over a year to install the handles on the drawers. I just recently installed them and opening drawers is so nice now.
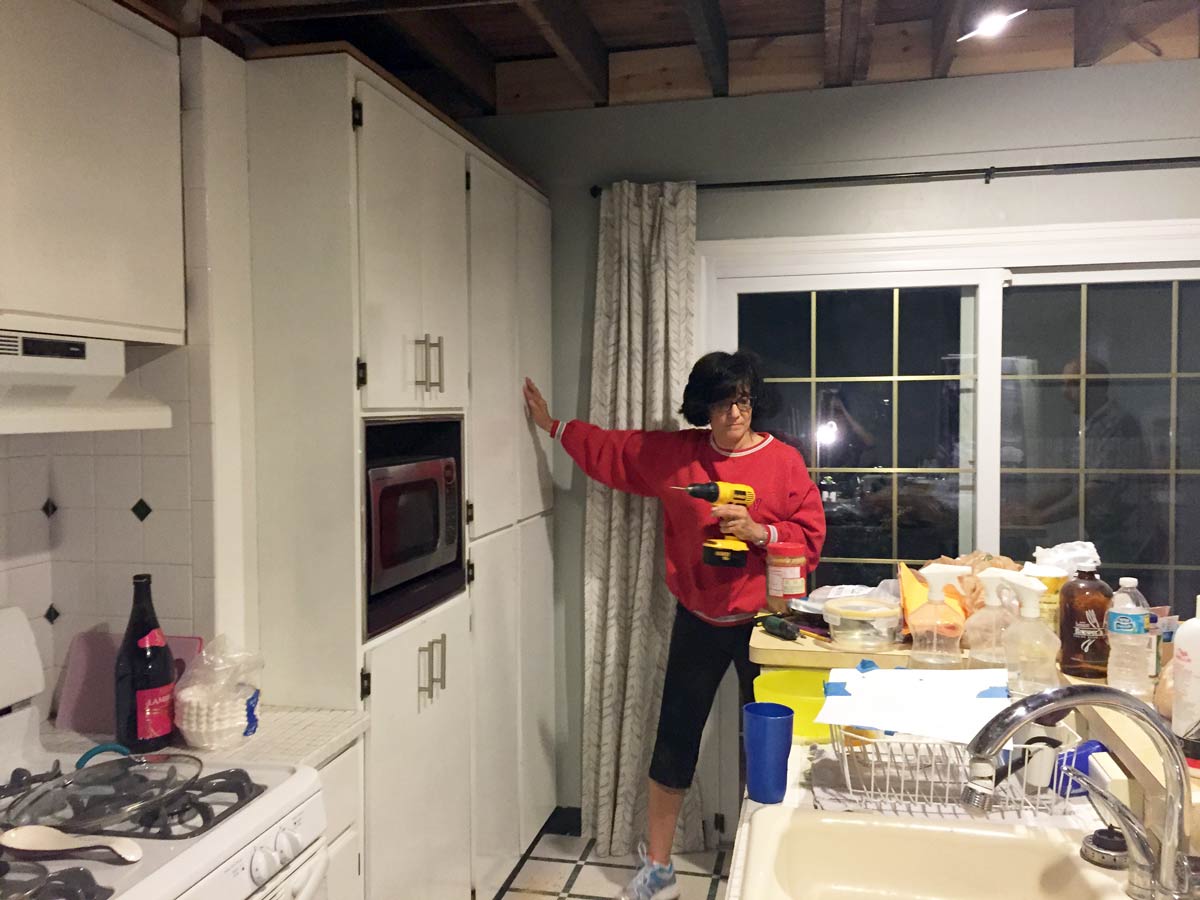
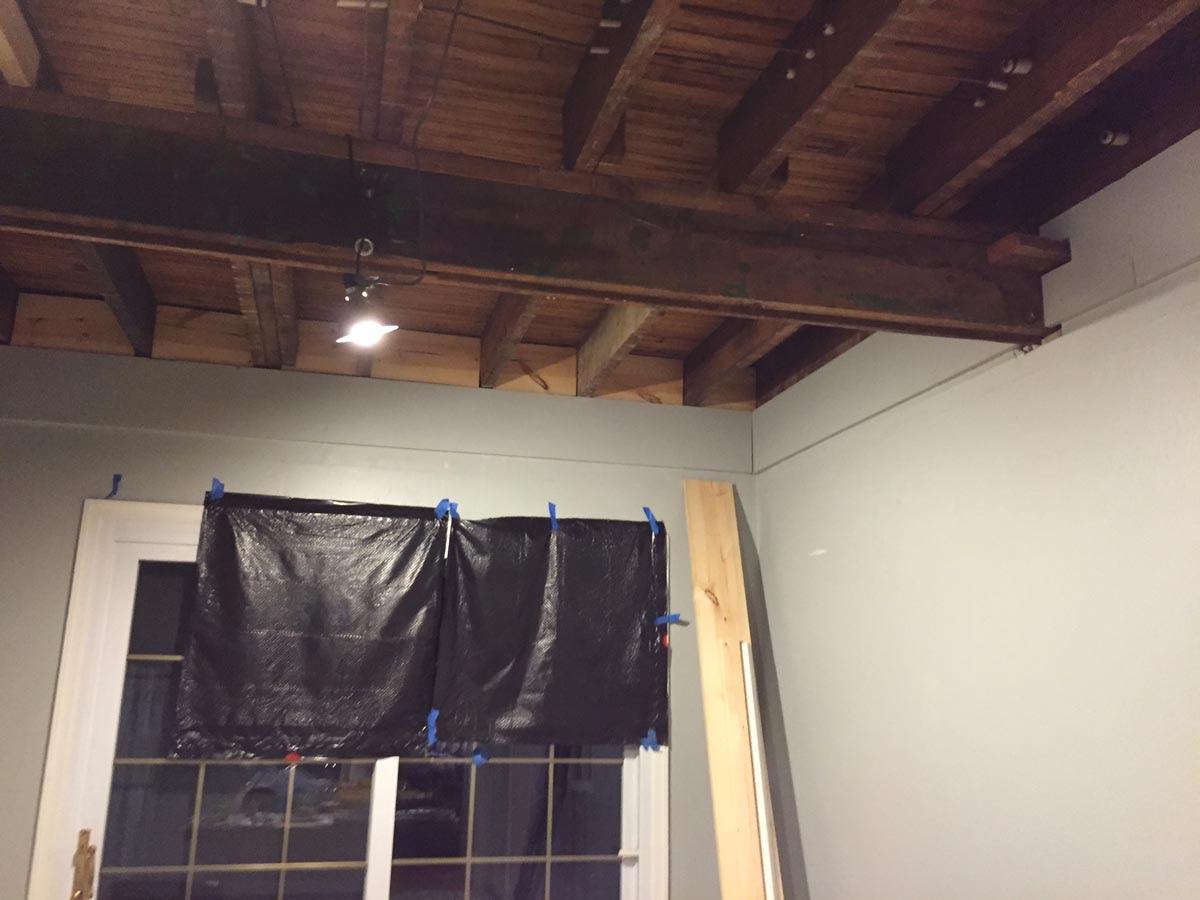
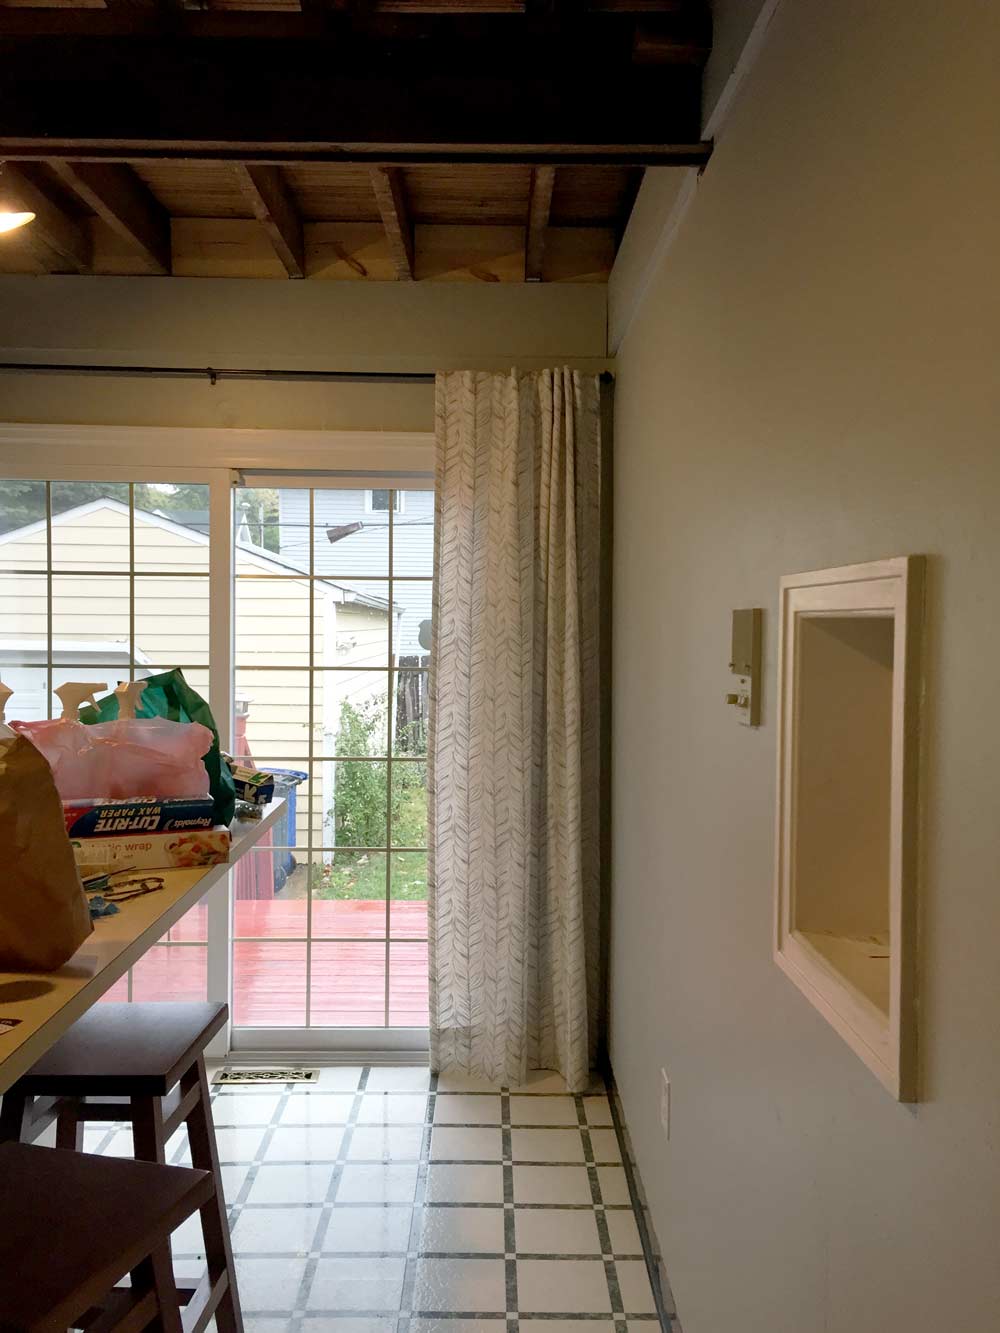
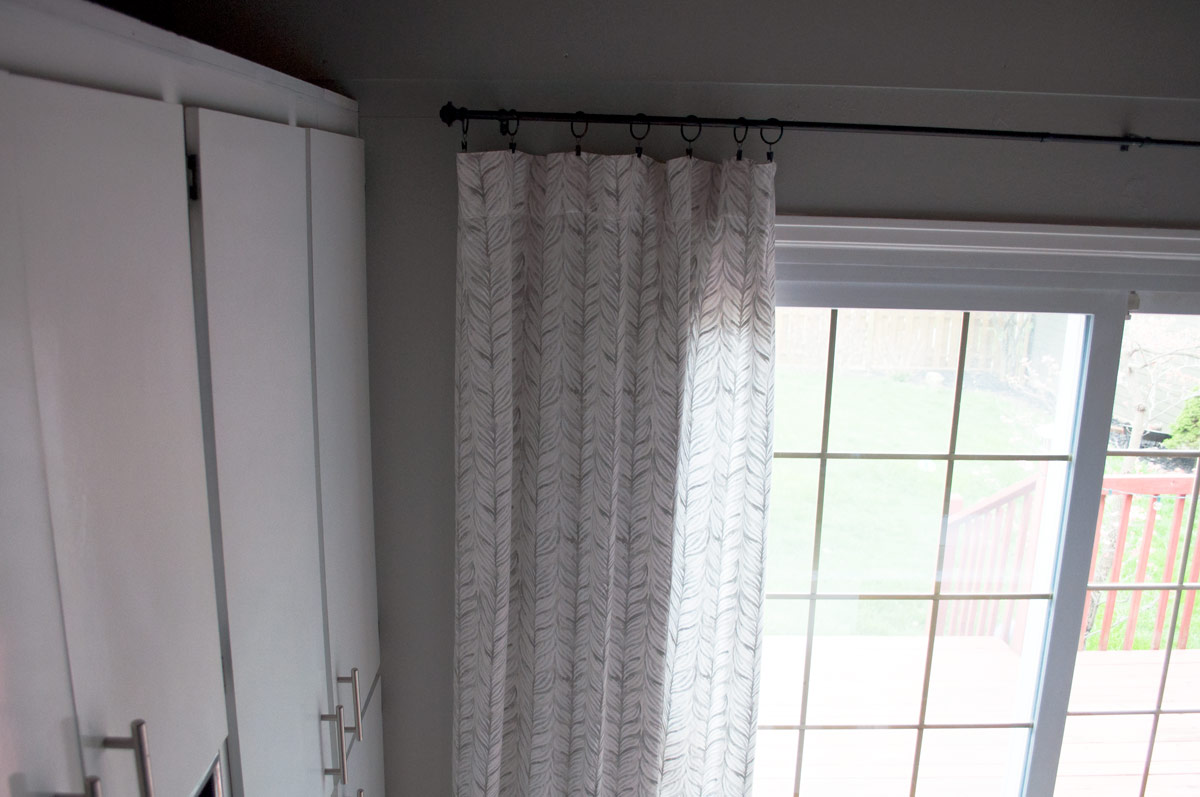
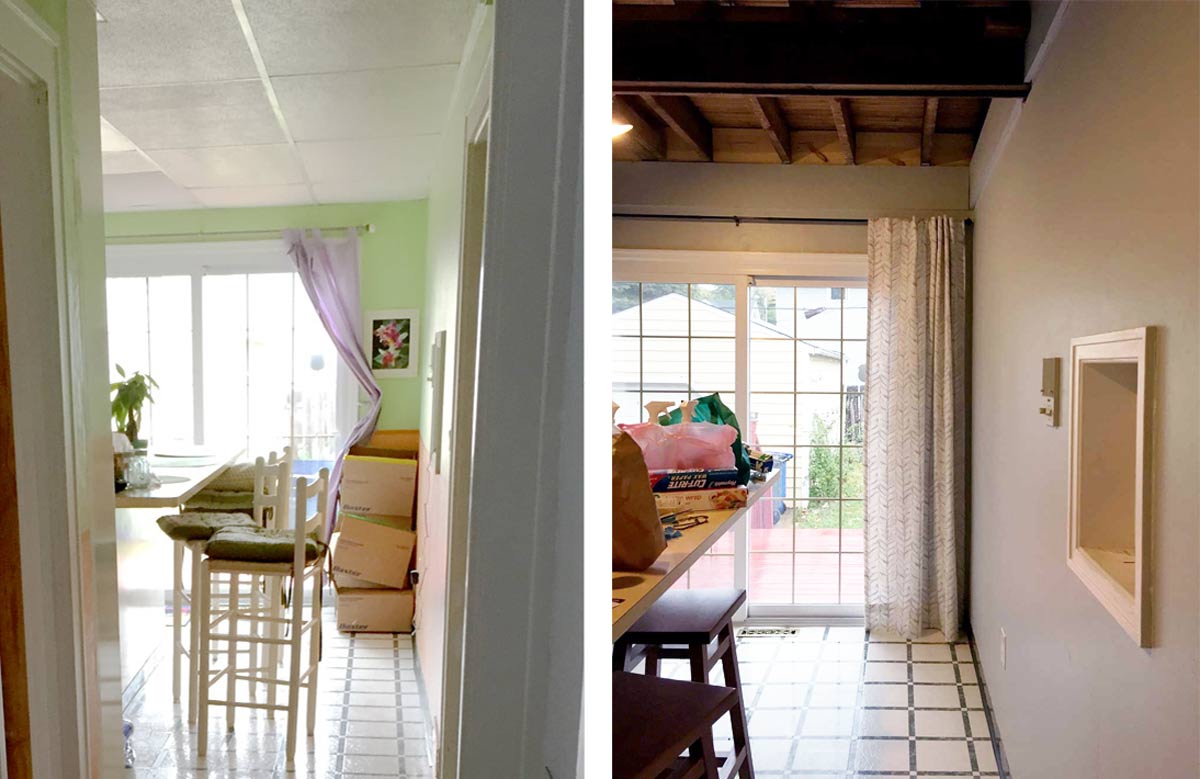
Those black trash bags over the sliding doors earlier in this post were not just for show, the kitchen gets a TON of light during the day and it was way too hot, so the trash bags were my curtains during construction. Now that the debris portion of the project was over, I found these great West Elm Vine Leaves curtains (those are no longer available, so try these Bark Texture Jacquard instead, or the Diamond Stripe) and my Mom got them for me for my birthday. Then I brought in my trusty seamstress to help hem the curtains.
Thanks, George, great work. I had an extra curtain rod left over from the apartment, so I used that here. It’s definitely not strong enough, and bows in the middle and is now reinforced with a lot of black electrical tape. But hey, sometimes you gotta work with what you have on hand.
[column type=”1/2″]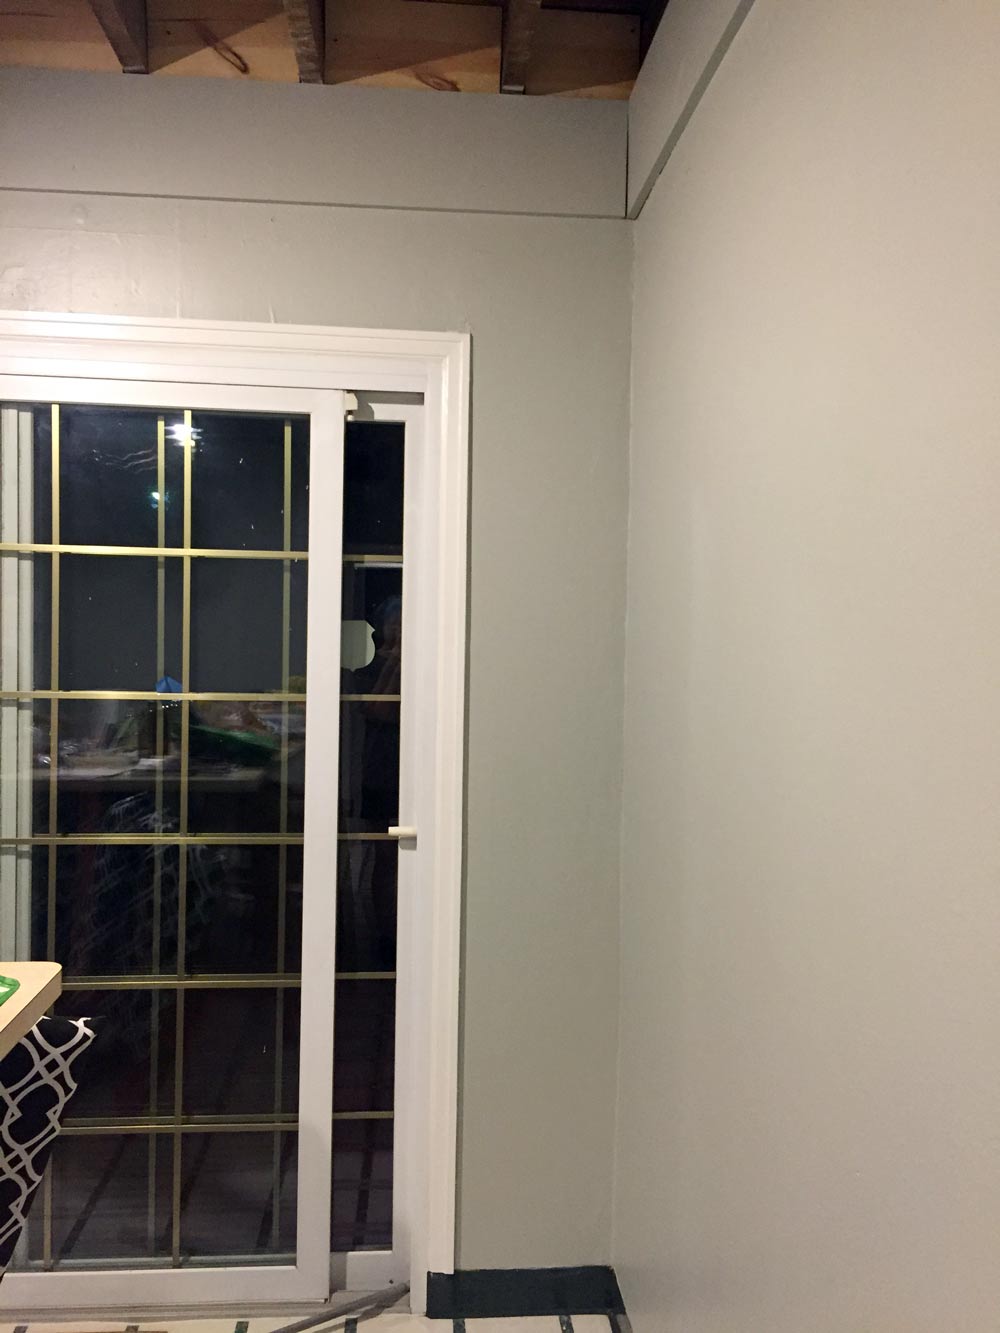
 [/column]
I didn’t want to run additional electrical at this phase, so I bought some plug-in pendants that fit with the industrial-chic vibe and worked with Hannah to test the height over the island.
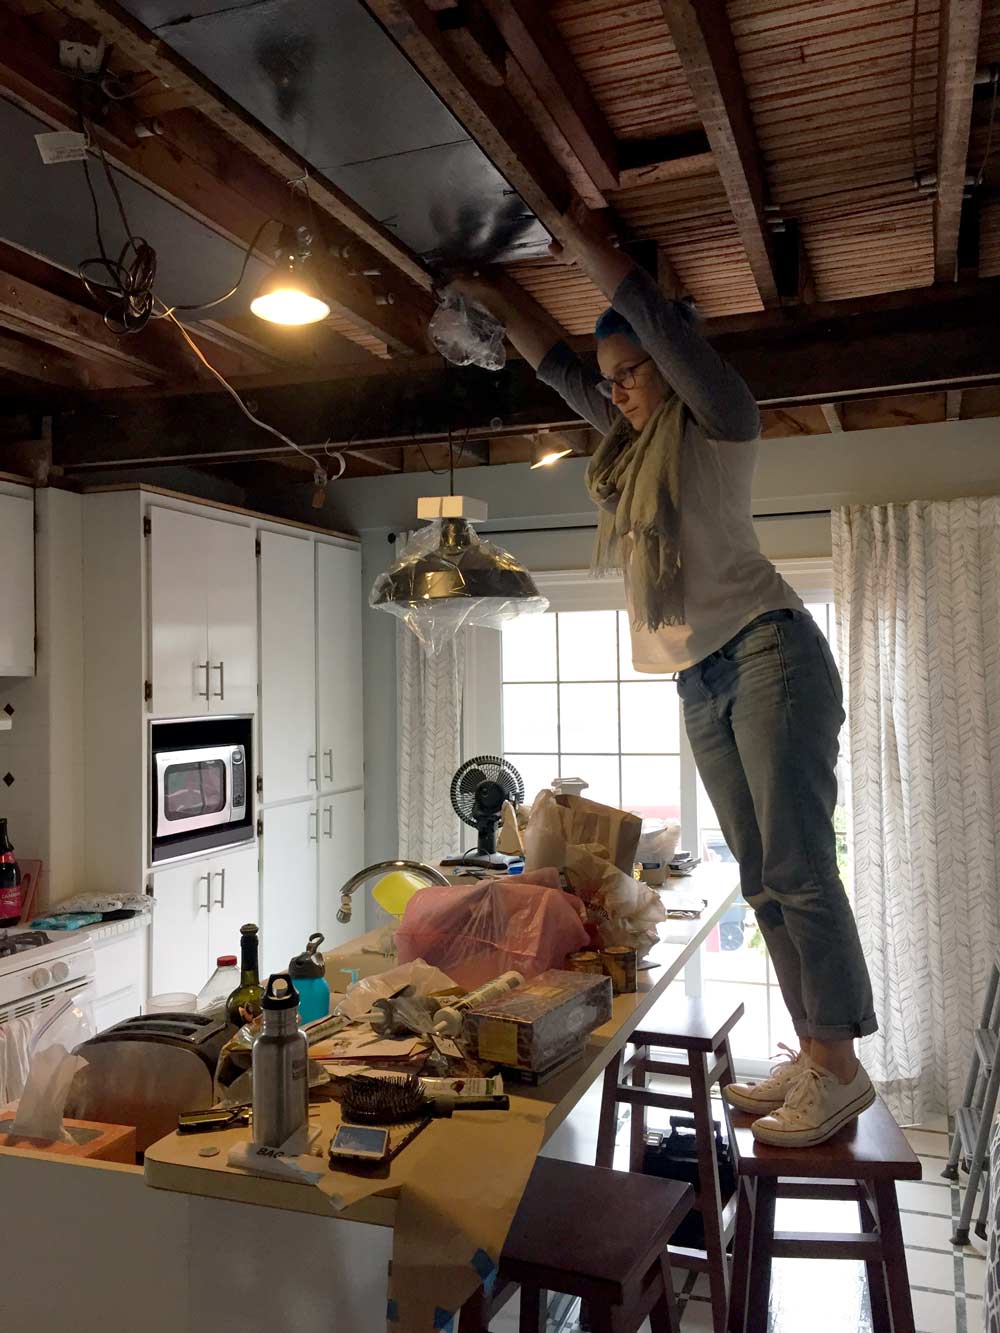
Then I strung them up and spaced them out over the island and those pendants have been covered in dust ever since. Any tips on how to keep industrial pendants clean? These look filthy all the time and are covered in finger prints when I try to clean them. Help me in the comments!

One last finishing touch was painting that small strip at the top of the cabinets that was covered by the drop ceiling metal frame white. Now it blends in with the cabinets and helps everything feel more cohesive and cleaner (take a shot.)
So here is the current kitchen ceiling after removing six ceilings, rerouting plumbing, reinforcing a bathtub, adding 1 x 10 “crown,” adding cabinet hardware, hanging curtains, and hanging three pendant lights.
A reminder of where we started:
Swipe to see the before and after (you can also see my baby cat-proofing ropes on the doors over the stove!):
So that concludes Phase 1 of the kitchen renovation and after all that, I took a break from kitchen projects for about a year. Thankfully for you, I also took a break from the blog for about a year, so I’m ready to jump right into sharing the Phase 2 kitchen updates, so check back soon!
Let me know what you think about the open ceiling and the whole Phase 1 process in the comments!


